Customizing Lead Views
After a new lead is saved, it appears on the Leads page together with the existing lead records. This page allows users to review and manage saved leads without opening each individual profile. Leads can be viewed in different display modes, with Table View being the default option. Table View organizes lead information into rows and columns, making it easier to scan, compare, and manage multiple leads from one place.
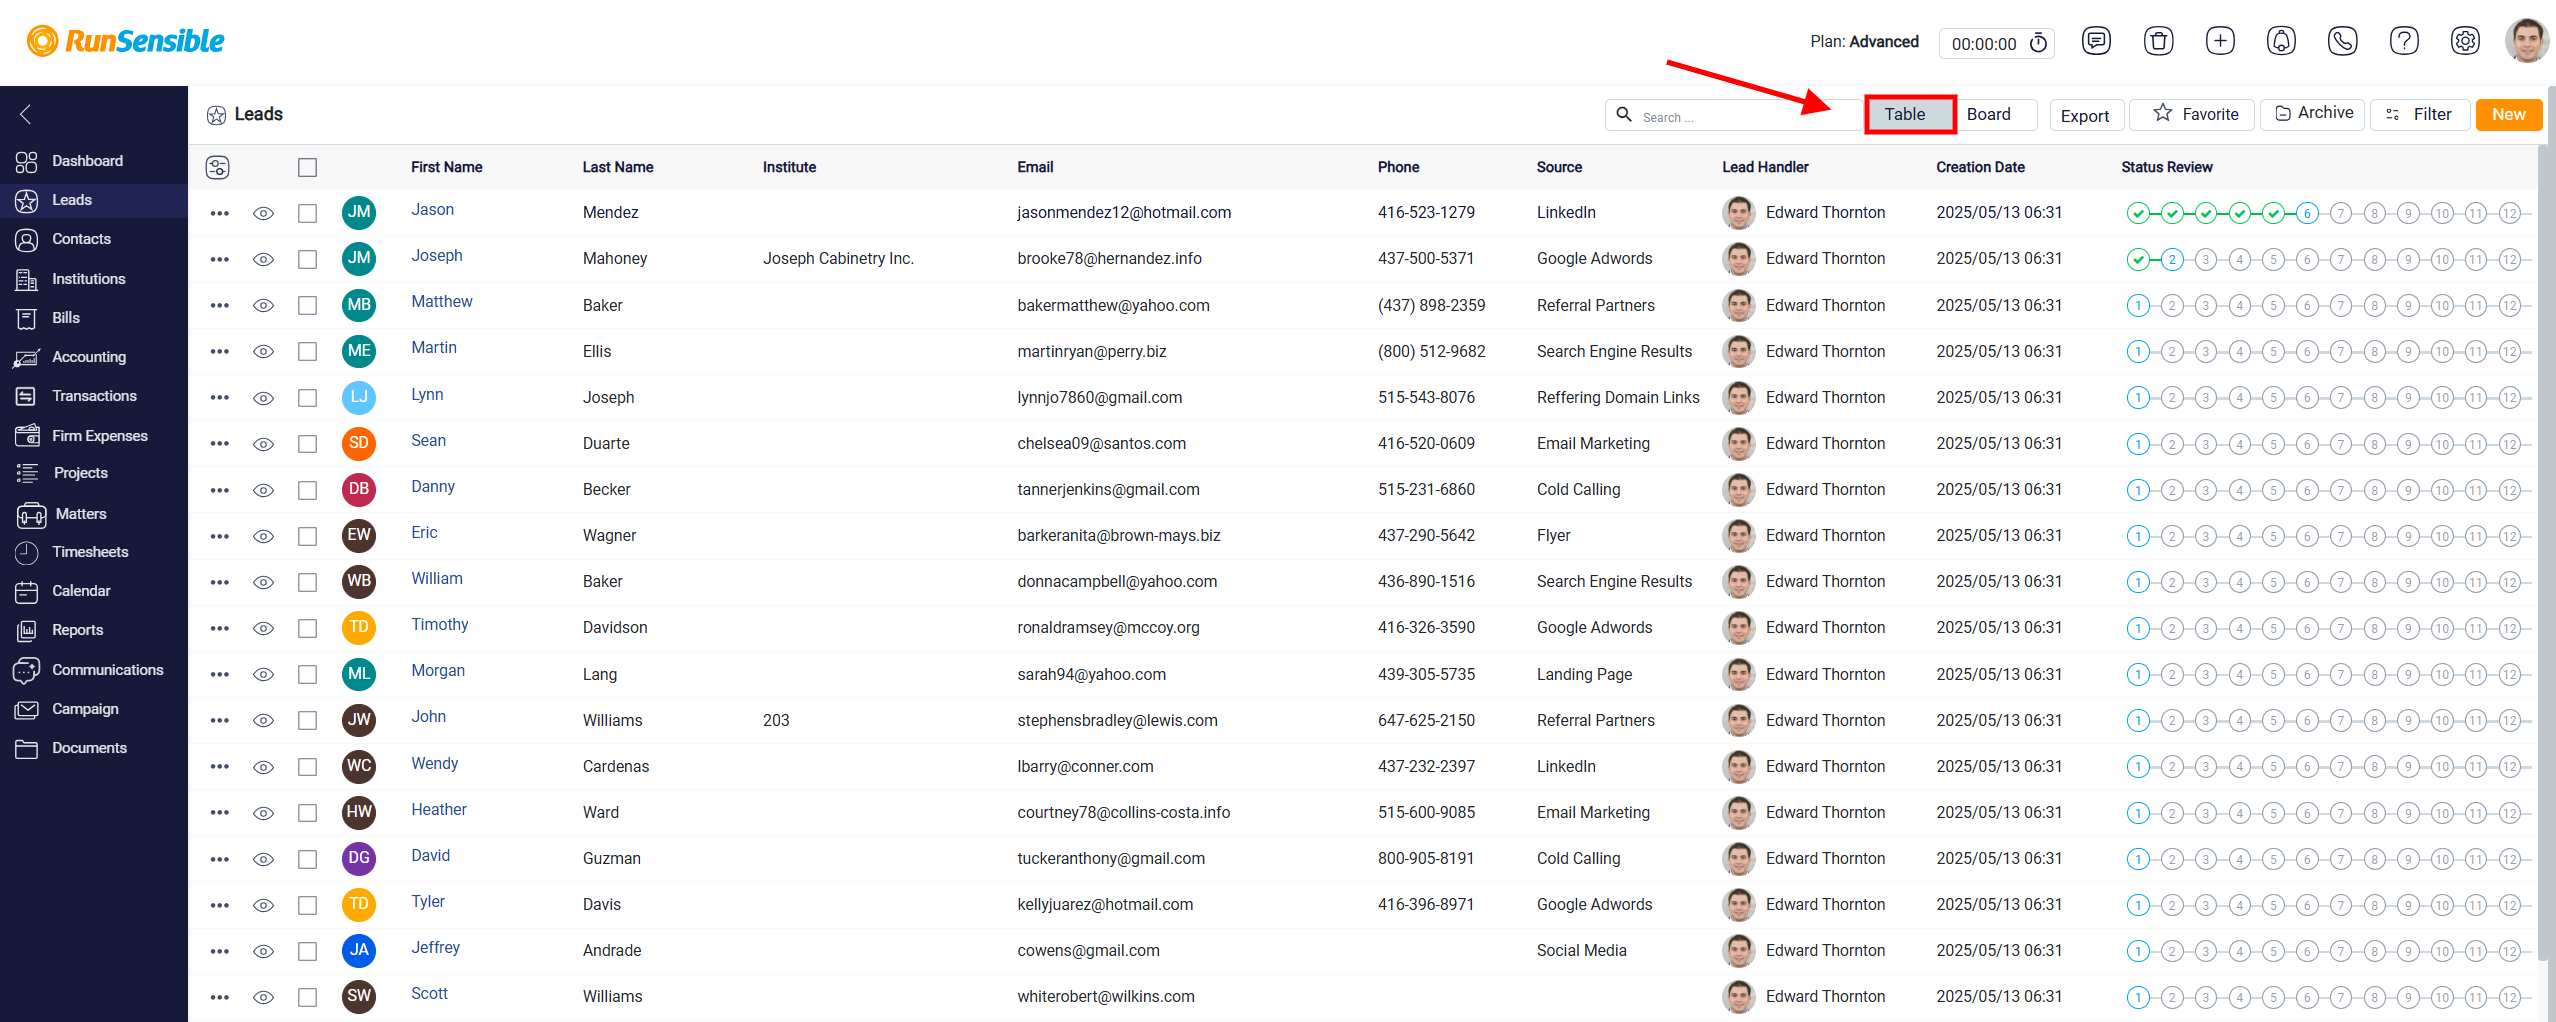
In the table view mode, you can sort the leads by clicking on the name of any column. Initially, this will sort the column’s data in ascending order, from least to most. If you wish to reverse the order to sort from most to least, click on the small arrow that appears on the right side of the column name after your first click. This arrow will change direction, indicating the new sort order.
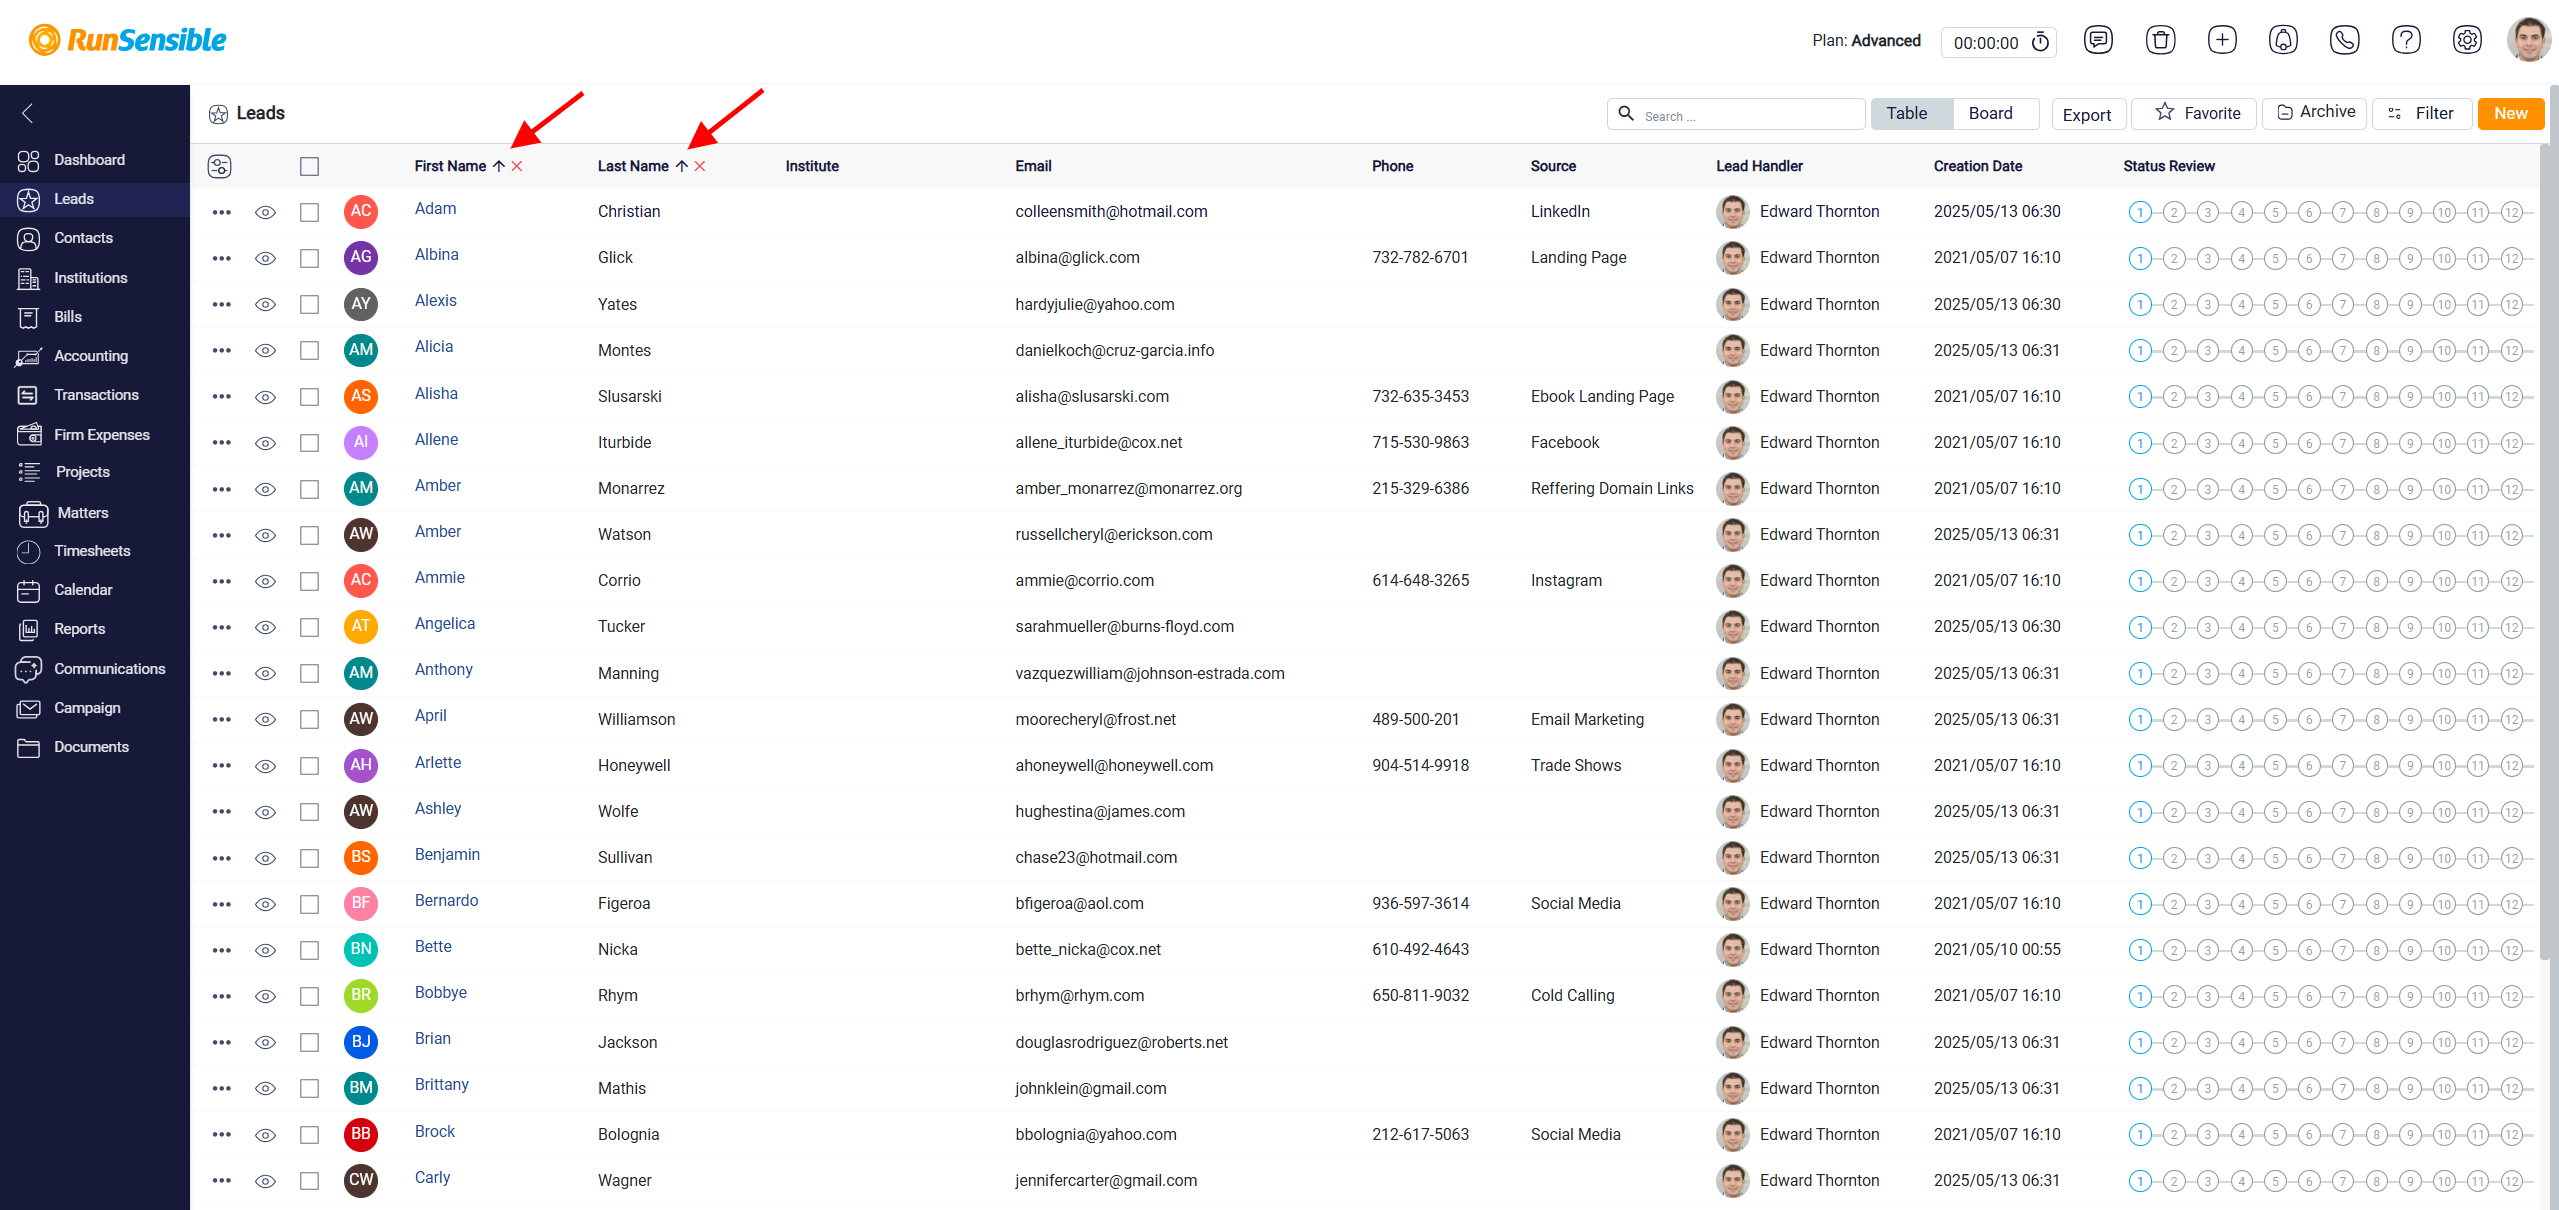
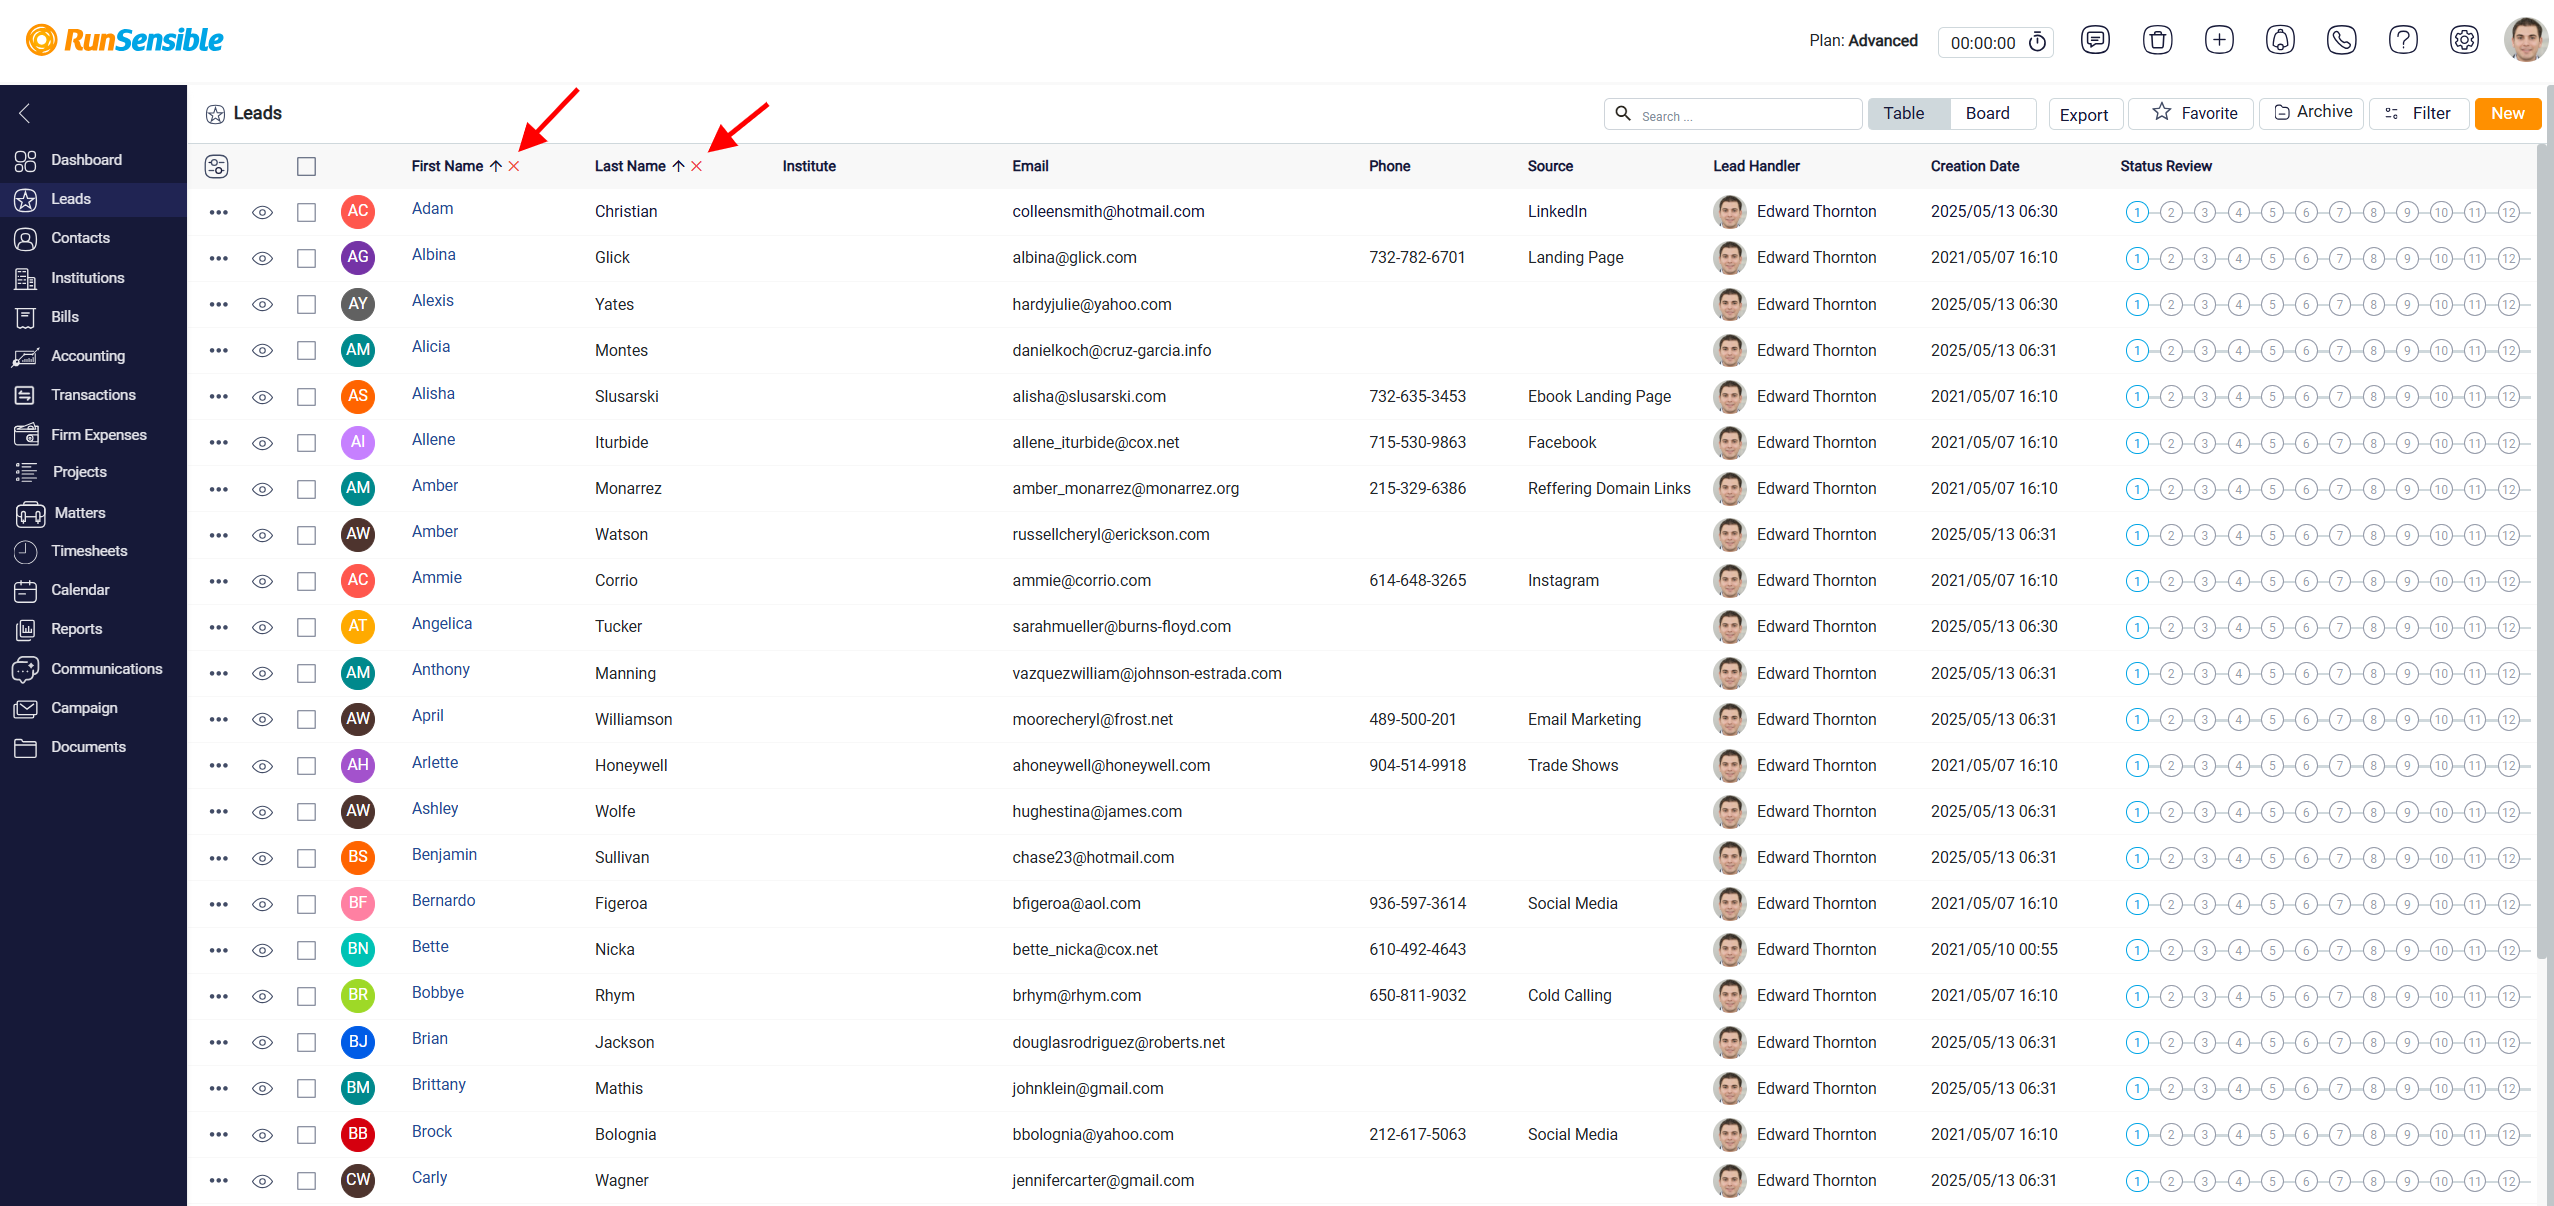
If you want to remove the sorting from a column, click the X button that appears next to the column name after sorting. Additionally, you can apply multiple sorts by selecting and sorting multiple columns.
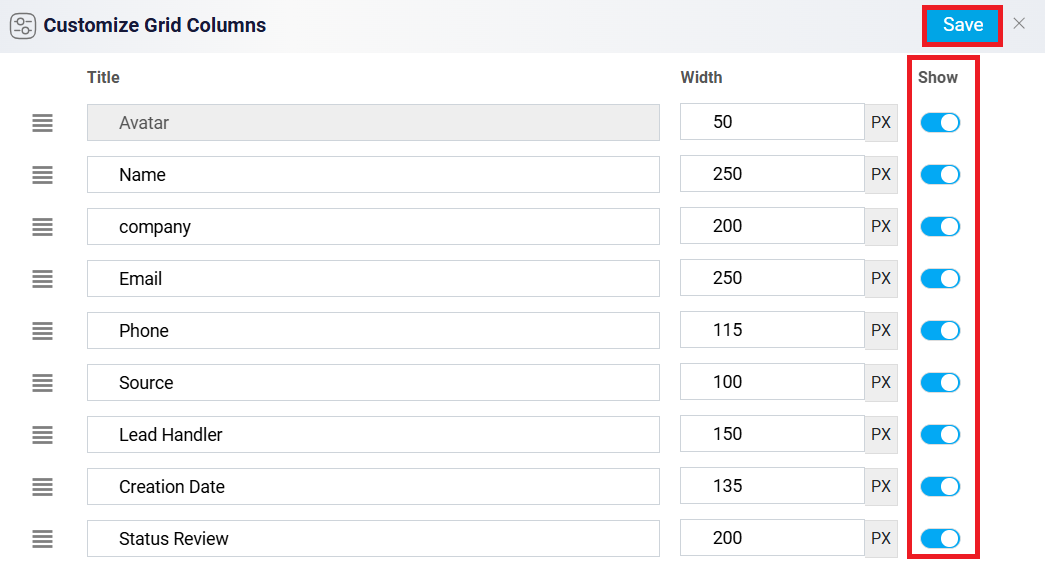
Users can change how columns appear in the Leads table by using the Grid Customization button. This button is located at the top left of the Leads panel. When selected, it opens a customization menu where users can adjust the table layout for Table View. The customization menu allows users to reorder columns, rename column titles, change column widths, and show or hide specific columns. These changes only affect how the table is displayed. They do not change or remove the information saved in the lead records.
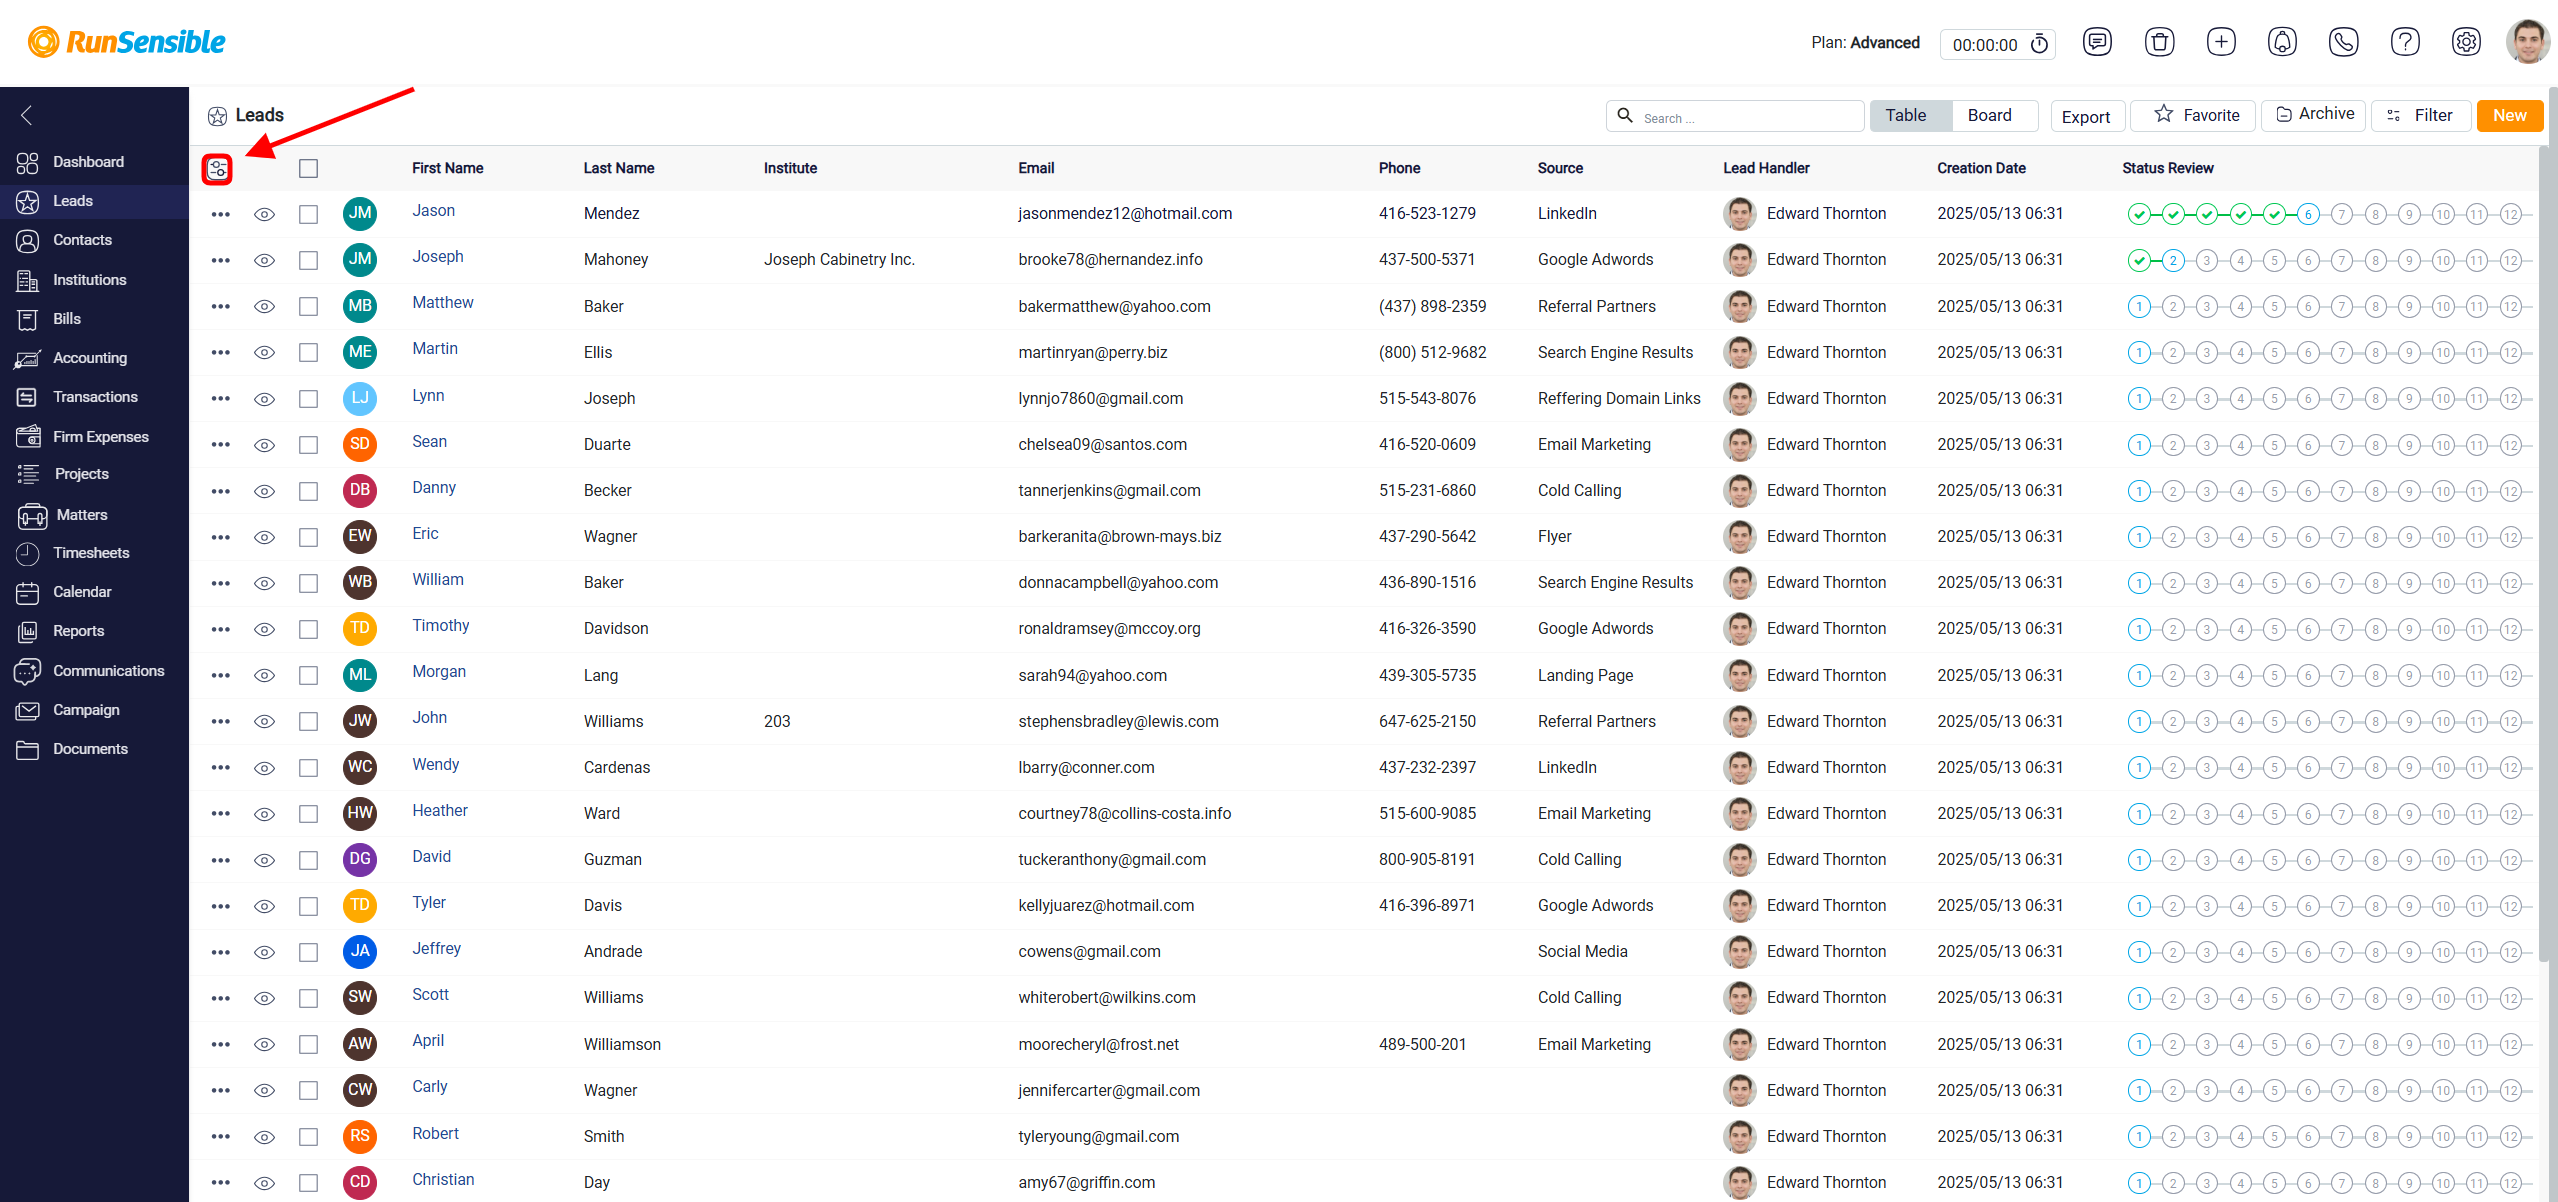
If you wish to reorder the columns, locate the Reorder button on the left side of each column name, clicks and holds the Reorder button, then drags the column to the desired position in the list. This changes where the column appears in the Leads table. This feature enables you to prioritize the information that is most relevant to your workflow.
Additionally, should you want to rename a column to better reflect the data it represents, click directly on its current name within the Title column; this will allow you to edit and update the name accordingly. To adjust the visibility of each column, navigate to the Width column within the customization panel, where you can modify the width of individual columns by changing the numerical value, ensuring that each piece of data fits comfortably within your layout.
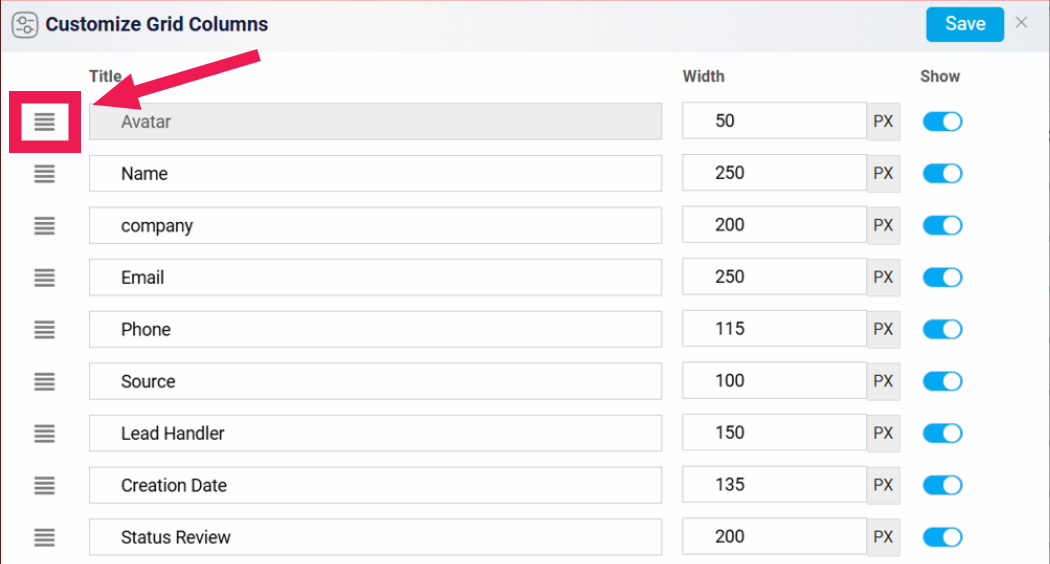
The Show column controls whether each column is visible in Table View. Each column has a toggle button. When the toggle is turned on, the column appears in the Leads table. When the toggle is turned off, the column is hidden from the table. Hiding a column does not delete its information from the lead record. It only removes the column from the current table view.
After finalizing all your adjustments, click the Save button, located at the top right corner of the screen, to preserve your customized layout.