
Using Quick View and Detailed View for Leads
In Table View mode, each lead has two buttons on its left side.
The first button is the Quick View button. When the user selects this button, a compact Quick View panel opens on the right side of the Leads panel. This panel displays a brief overview of the selected lead and allows the user to review important lead information without opening the full lead details page. The Quick View panel also provides access to the tabs associated with the lead. The user can view existing tabs or add new ones from this panel, making it possible to check and update lead-related details while staying on the main Leads screen.
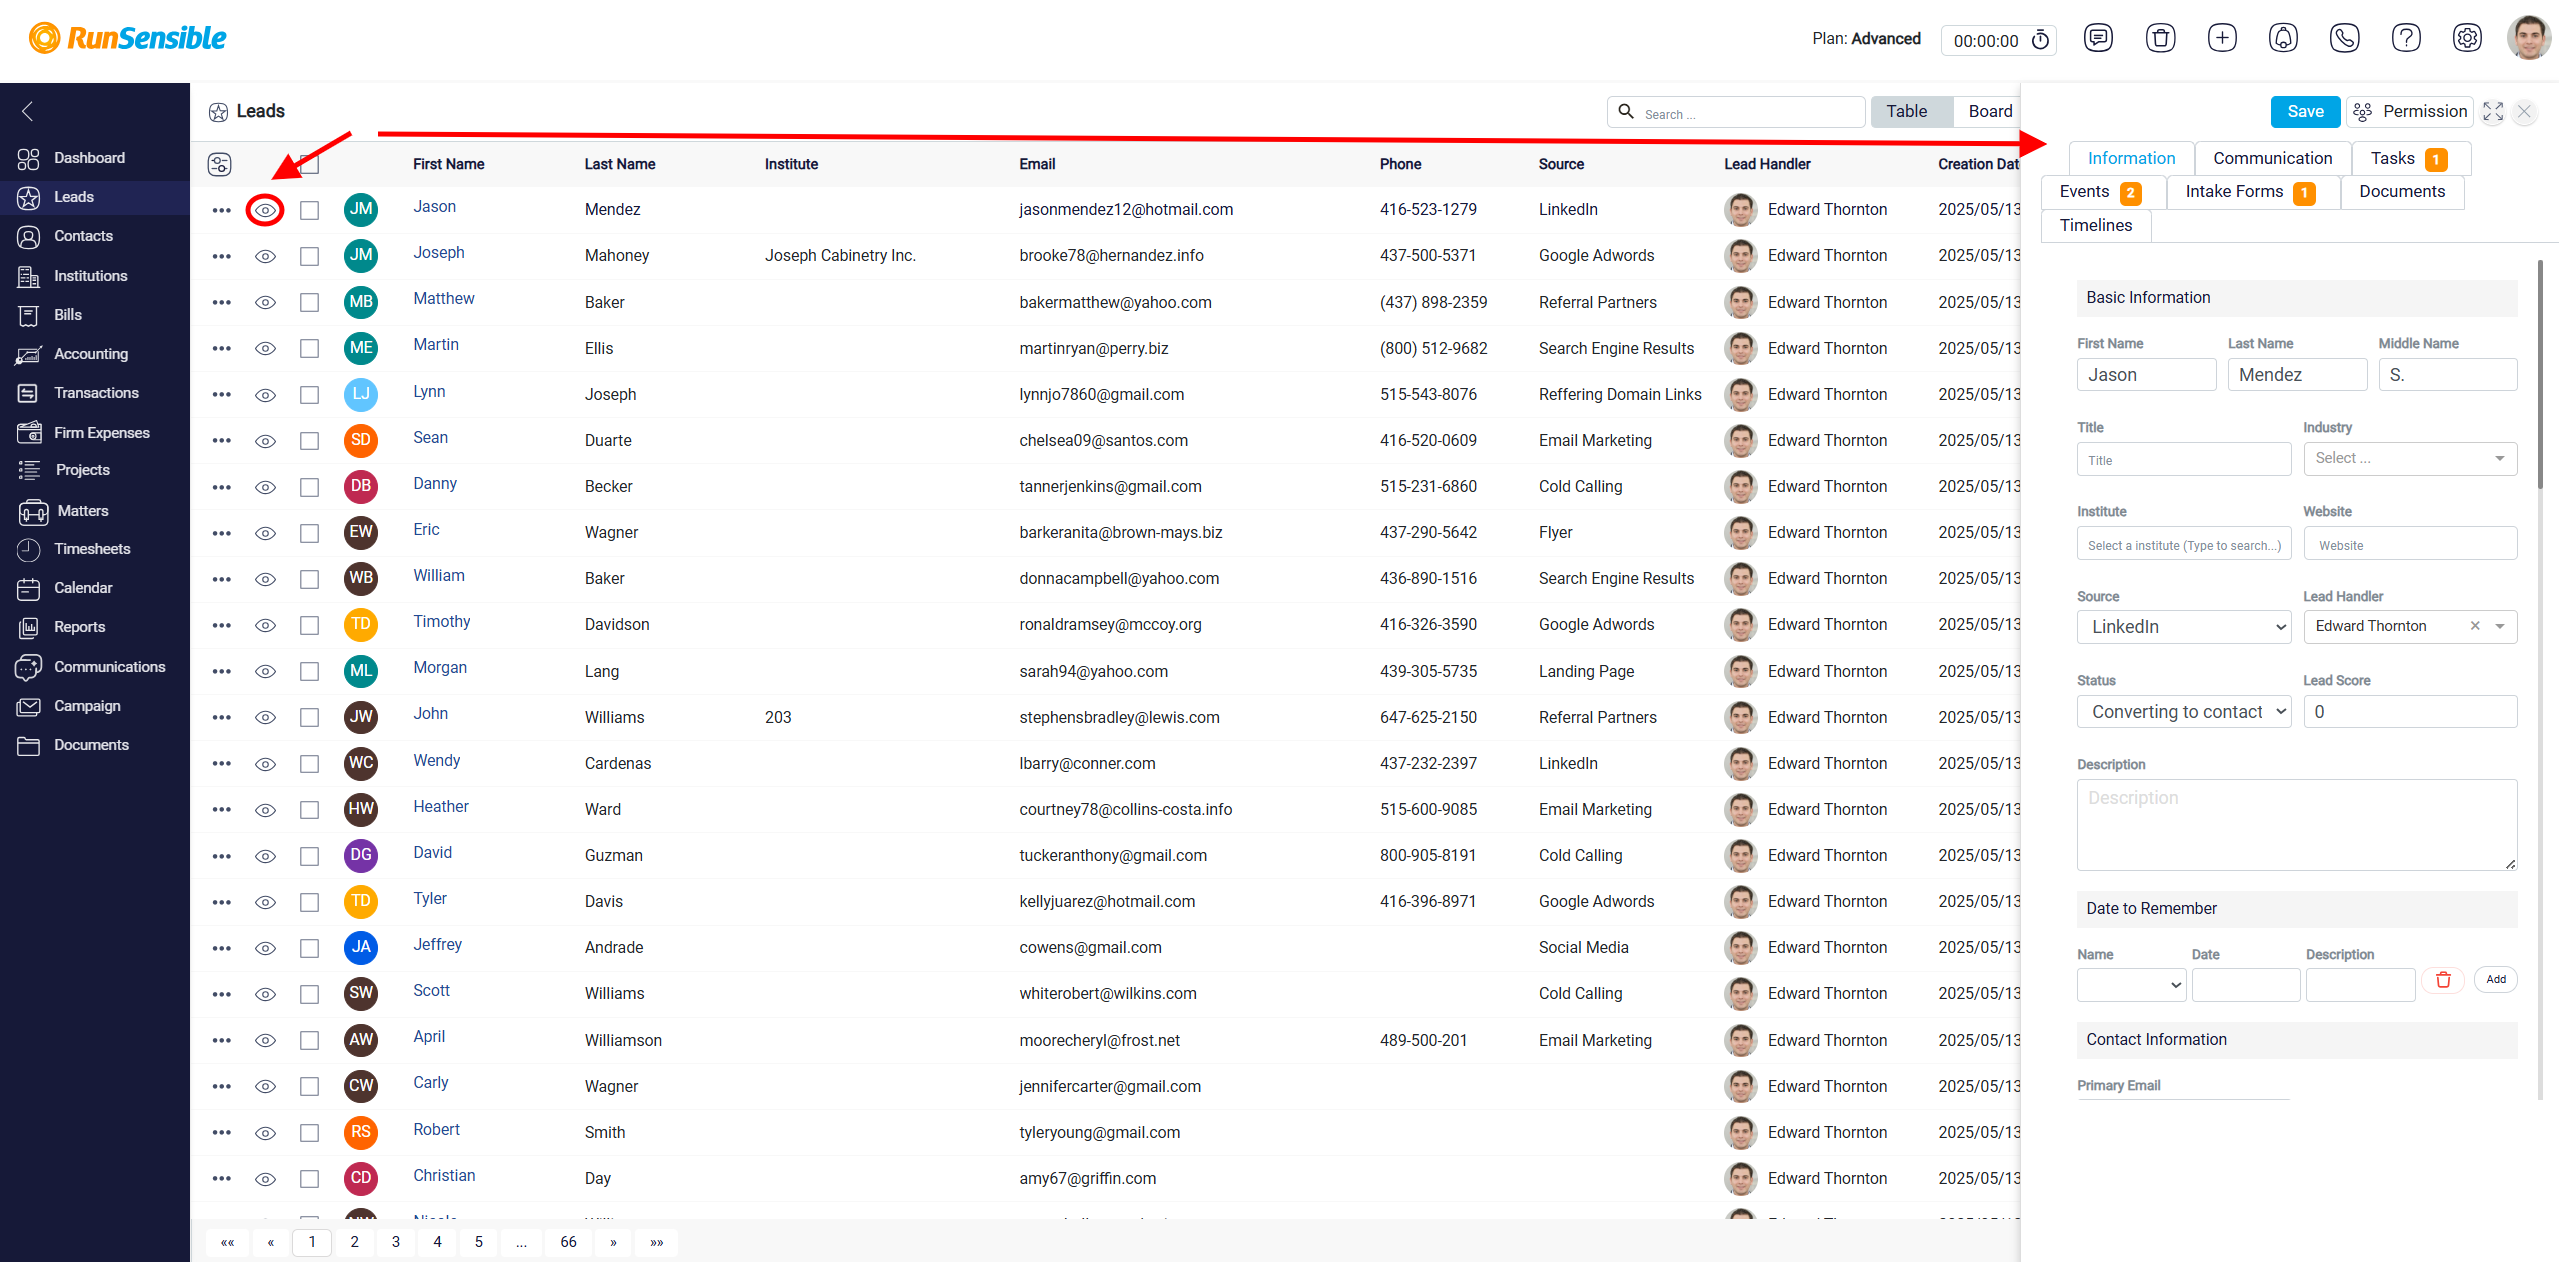
To the left of the Quick View button, there is a Three-Dot menu button. Selecting this button opens a menu with four additional lead actions. These actions give the user more control over how they view, manage, convert, or delete a lead. The available options in this menu are Show Detail, Quick View, Convert, and Remove.
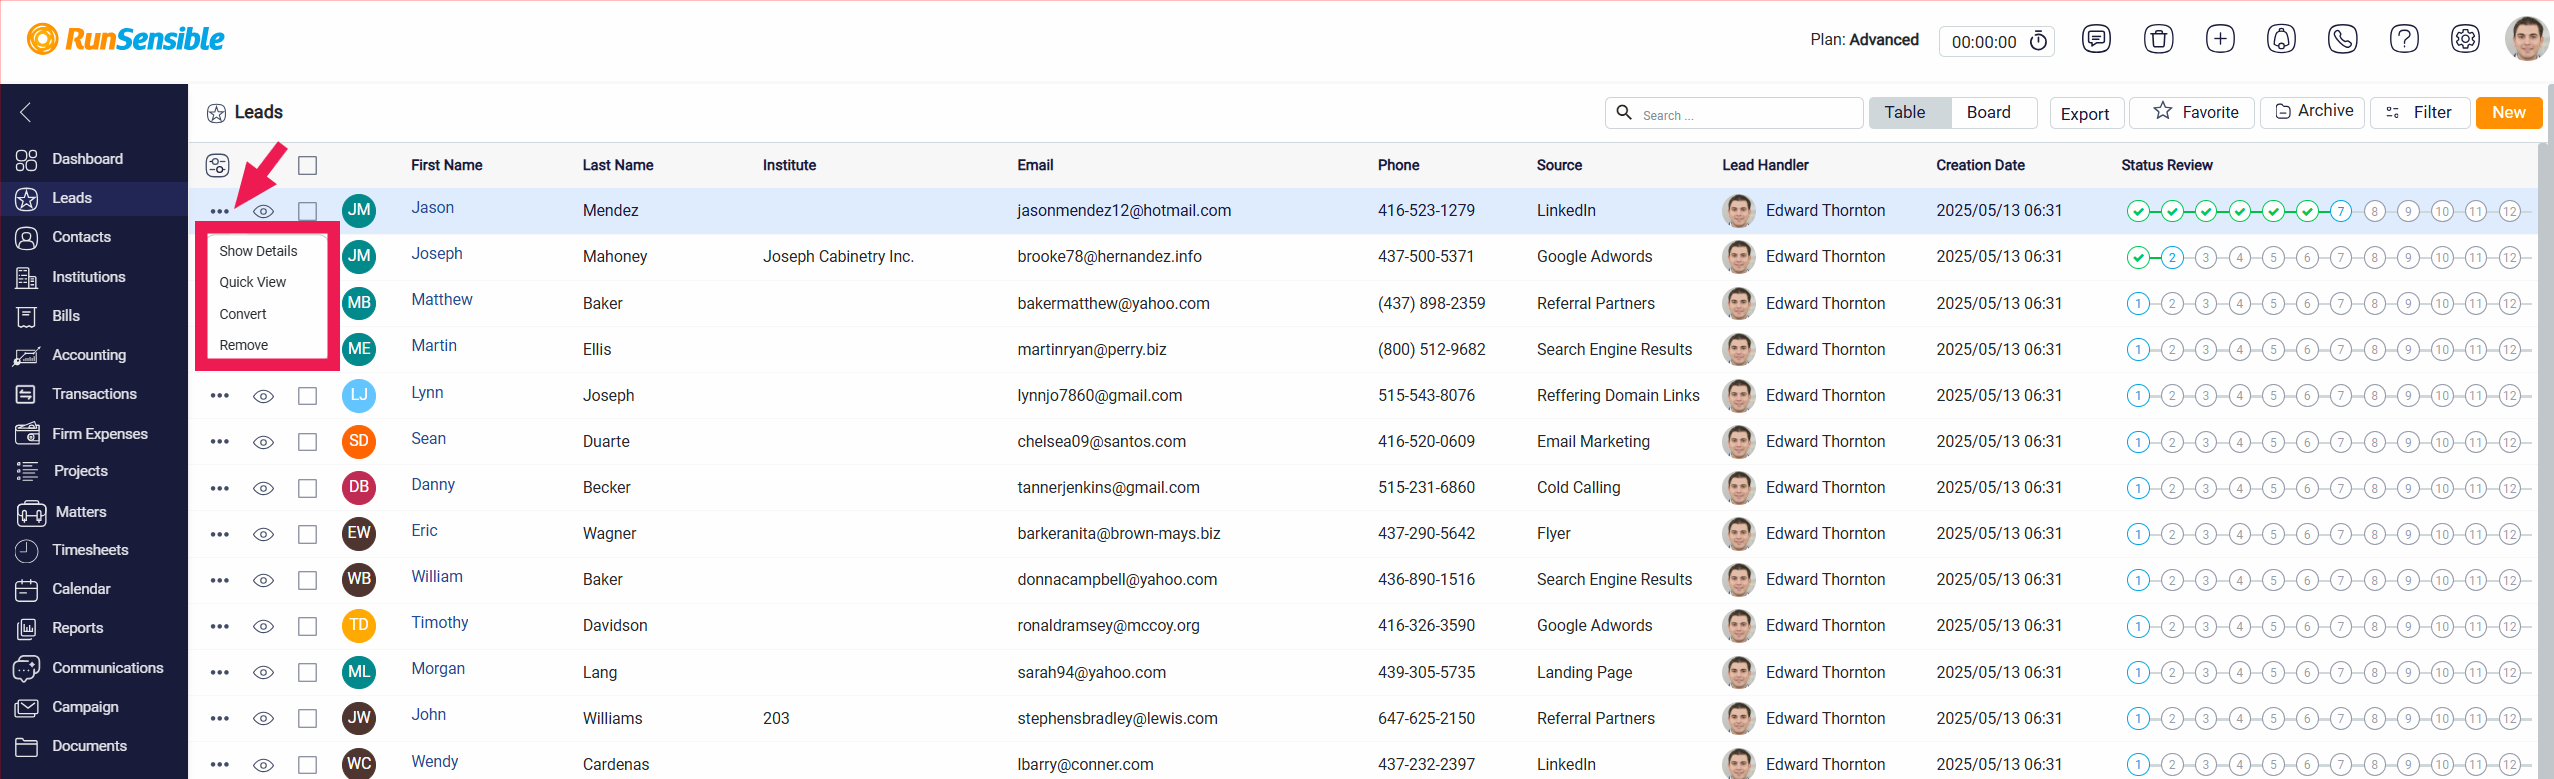
The Show Details option opens the full lead details panel. This panel provides a more complete view of the selected lead’s information than the Quick View panel. It is used when the user needs to review the lead in greater detail, check all saved information, or manage the lead from a more detailed record view. Unlike Quick View, which is intended for a brief summary, the Show Detail option displays a broader and more comprehensive overview of the lead.
The Quick View option is also available inside the Three-Dot menu. This option performs the same function as the direct Quick View button shown beside the lead. When selected, it opens the Quick View panel on the right side of the Leads panel and displays a short summary of the selected lead. This gives the user more than one way to access the same quick lead overview.
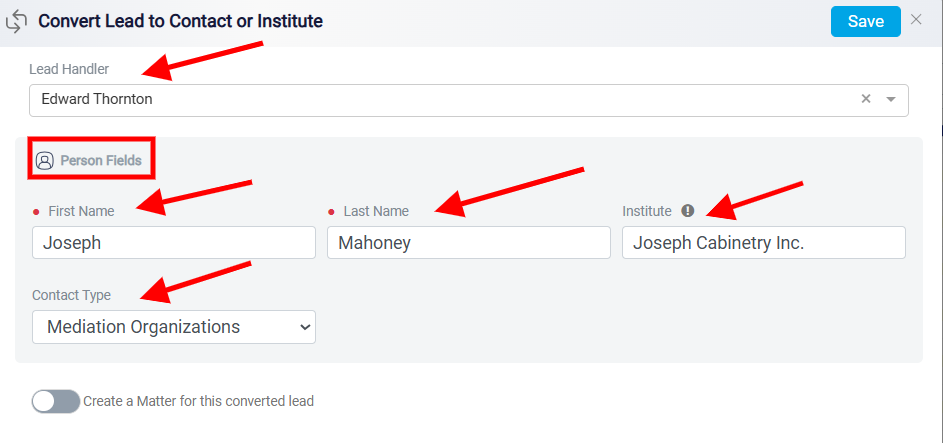
The Convert option is used when a lead is ready to become a contact in the system. When the user selects Convert, the Convert Lead to Contact or Institute panel opens. This panel uses the information already saved in the lead record and allows the user to review or update it before completing the conversion. At the top of the panel, the Lead Handler field shows the person currently responsible for the lead. The user can keep the existing handler or select a different handler from the dropdown if responsibility should be assigned to someone else before the lead is converted.
The Person Fields section contains the main information needed to create the converted contact record. This includes the lead’s First Name, Last Name, Institute, and Contact Type. Fields marked with a red dot are required and must be completed before the conversion can be saved.
The Institute field connects the converted contact to an institute in the system. This field works like a search box. If the institute already exists, the system will show it as an option, and the user can select it. If the institute does not already exist, the system will create a new institute record after the conversion is saved and connect the new contact to that institute.
The Contact Type field is used to choose the category that best describes the lead after conversion. This helps organize the new contact record correctly. The list may include different types of people, clients, organizations, or related parties. Select the option that best matches the lead’s role or relationship to your firm.
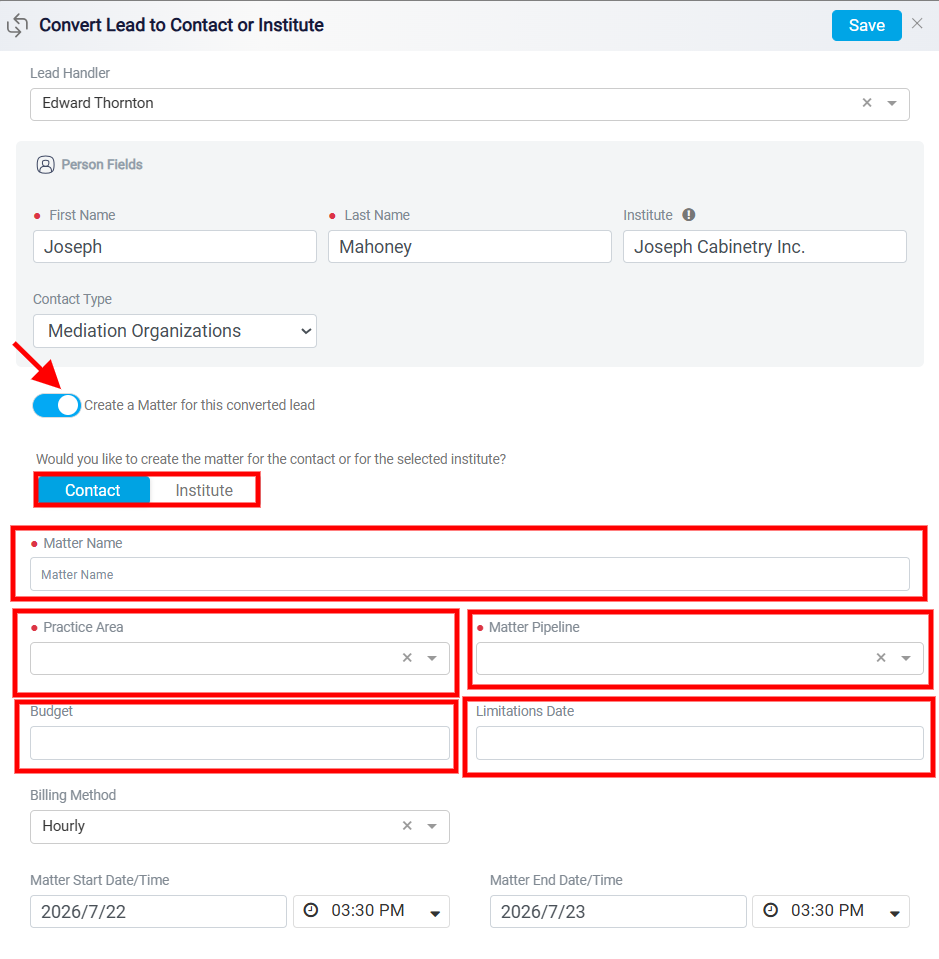
The panel also includes an option called Create a Matter for this converted lead. If this toggle is turned off, the lead can be converted without creating a matter.
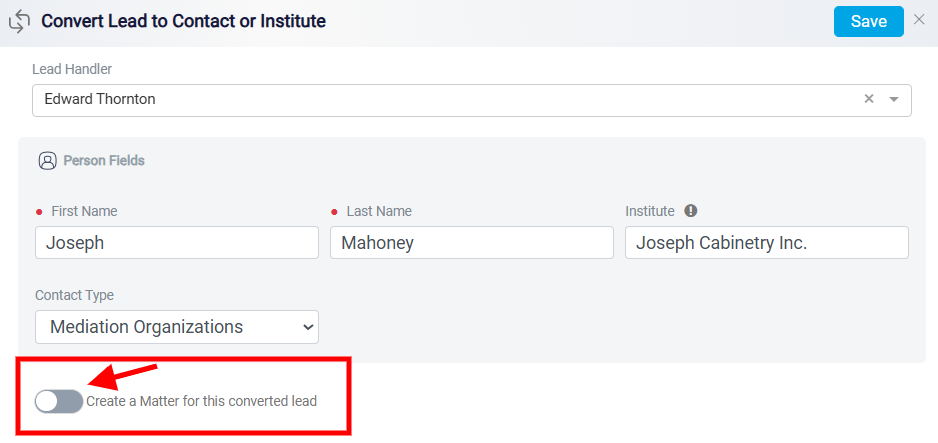
If it is turned on, the system allows the user to create a matter at the same time as the conversion. This is useful when the lead is becoming a client and needs to be connected to an active case, file, project, or matter. When creating a matter during lead conversion, the user must choose whether the new matter should be linked to the Contact or the Institute. If Contact is selected, the matter will be connected to the person created from the lead. If Institute is selected, the matter will be connected to the institute entered in the Institute field under Person Fields. The Institute field is not always required. It only becomes required when the user chooses to create the matter for an Institute. In that case, the user must enter or select an institute before saving the conversion. If no institute is provided, the system will not allow the conversion to be saved.
The matter section contains the main information needed to create the new matter. The Matter Name field is used to enter the name of the matter which is a required field. The Practice Area dropdown is used to select the legal or service category for the matter. This helps classify the matter based on the type of work involved. The Matter Pipeline dropdown is used to select the workflow the matter should follow. The pipeline represents the stages the matter will move through from start to finish, so it should match the type of matter being created. The user can also enter additional matter details. The Budget field records the expected budget for the matter, and the Limitations Date field records an important deadline or limitation date.
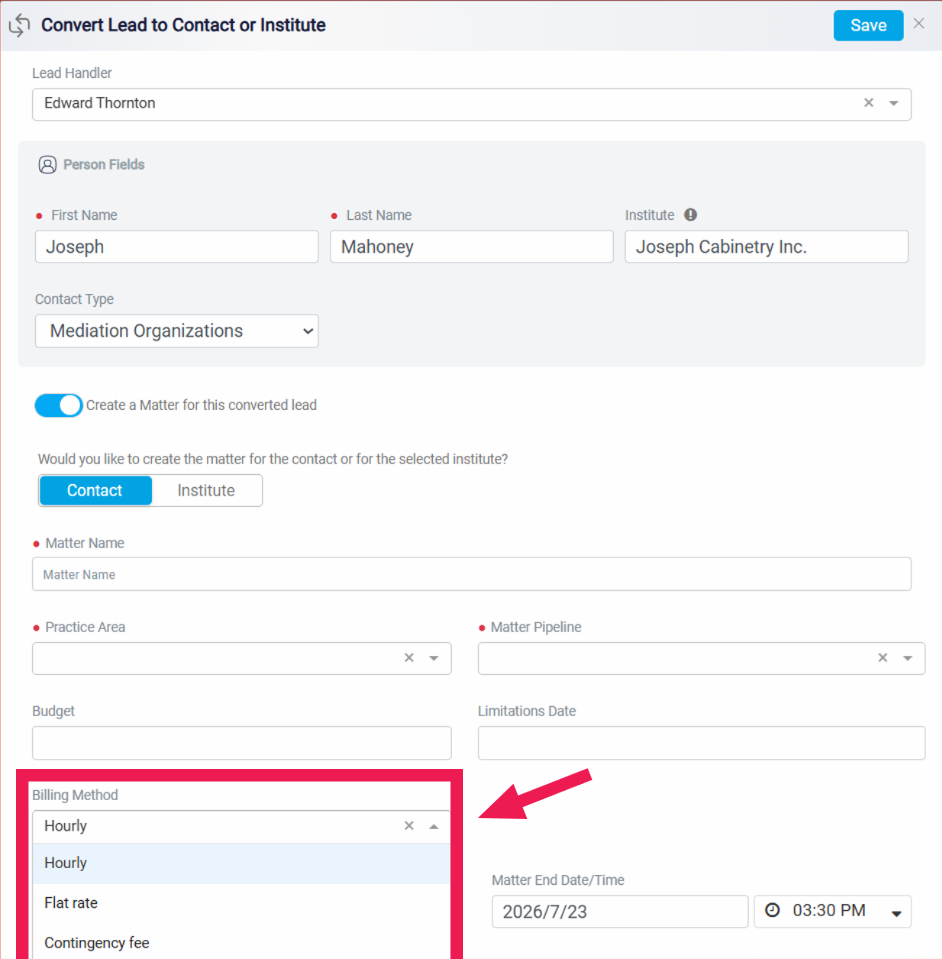
The Billing Method dropdown is used to choose how the matter will be billed, such as hourly, flat rate, or contingency fee. If Flat Rate is selected, an Amount field appears so the user can enter the flat fee amount. If Contingency Fee is selected, a Rate field appears so the user can enter the contingency rate.
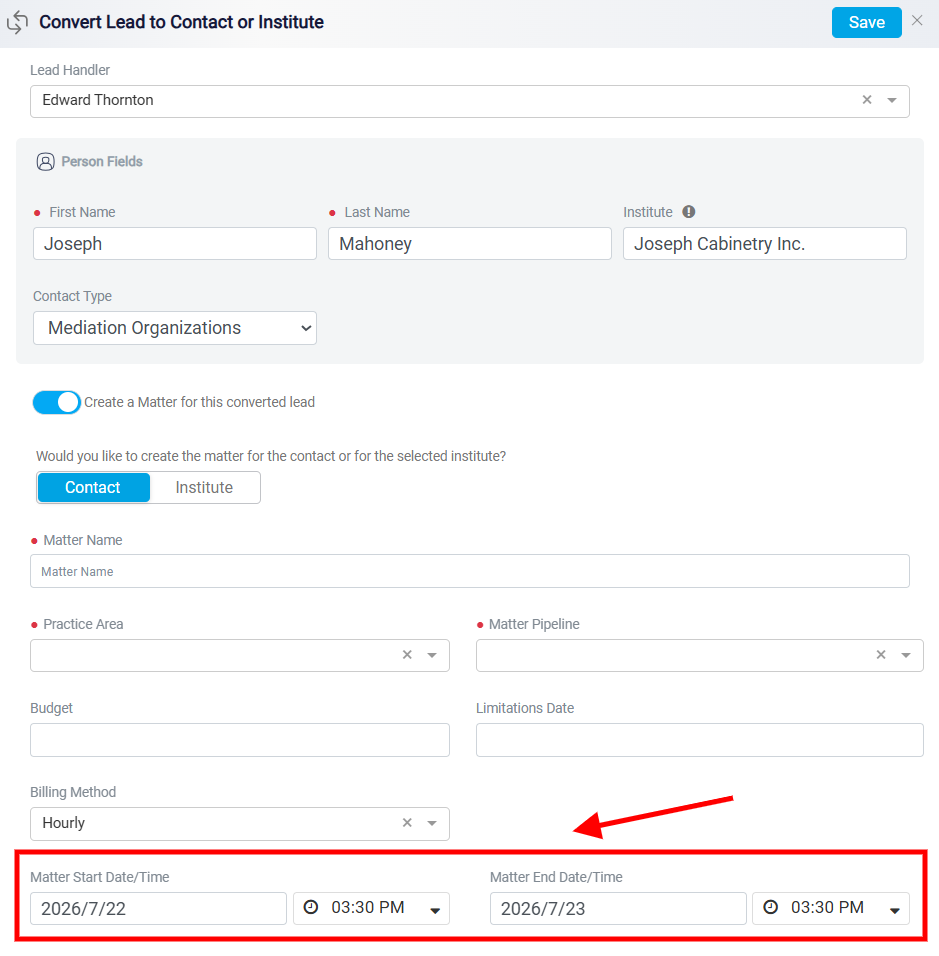
The Matter Start Date/Time and Matter End Date/Time fields are used to record when the matter begins and when it is expected to end. Each field includes both a date and a time so the matter schedule can be entered accurately.
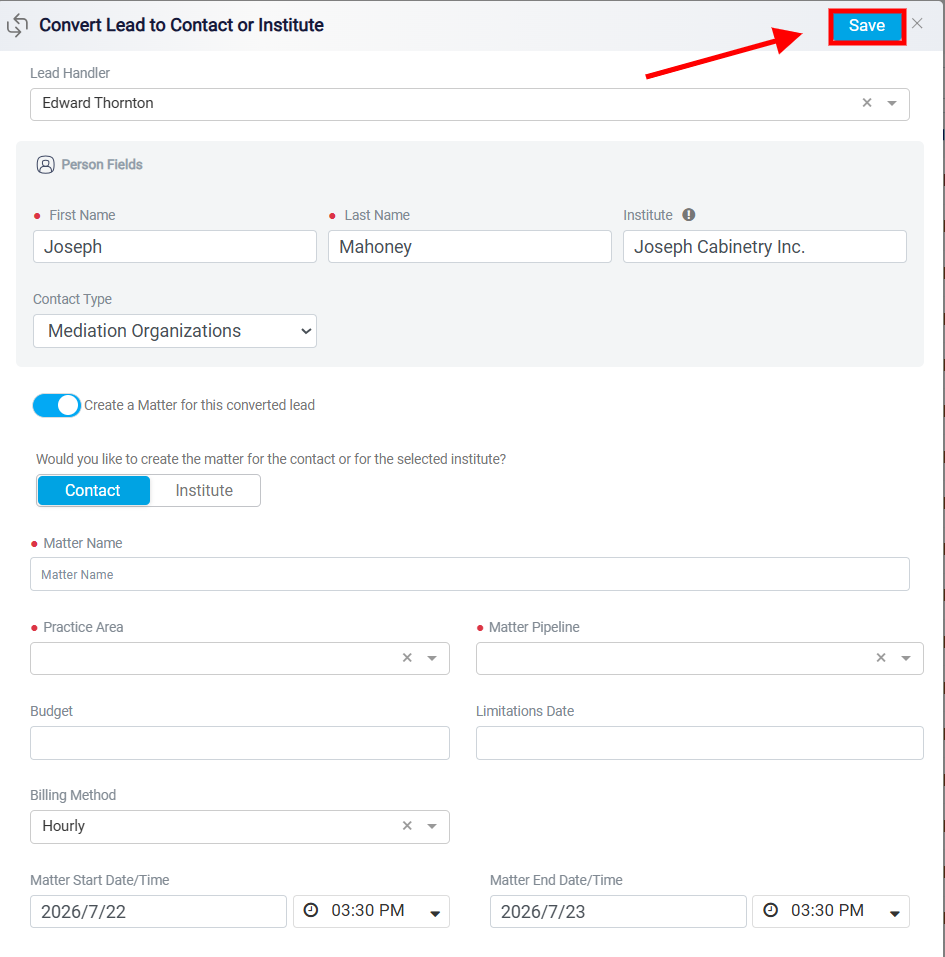
After completing all required fields, click Save to complete the conversion. The lead will be converted and saved in the system. If a matter was created during the conversion, it will also be saved and linked to the selected contact or institute.
The final option in the Three-Dot menu is Remove. This option allows the user to delete the selected lead from the lead list. The Remove action should be used when the lead is no longer needed or should no longer appear in the system’s lead records.