Exporting and Managing Leads
The Export Excel button is used to export information for the selected leads into an Excel file.
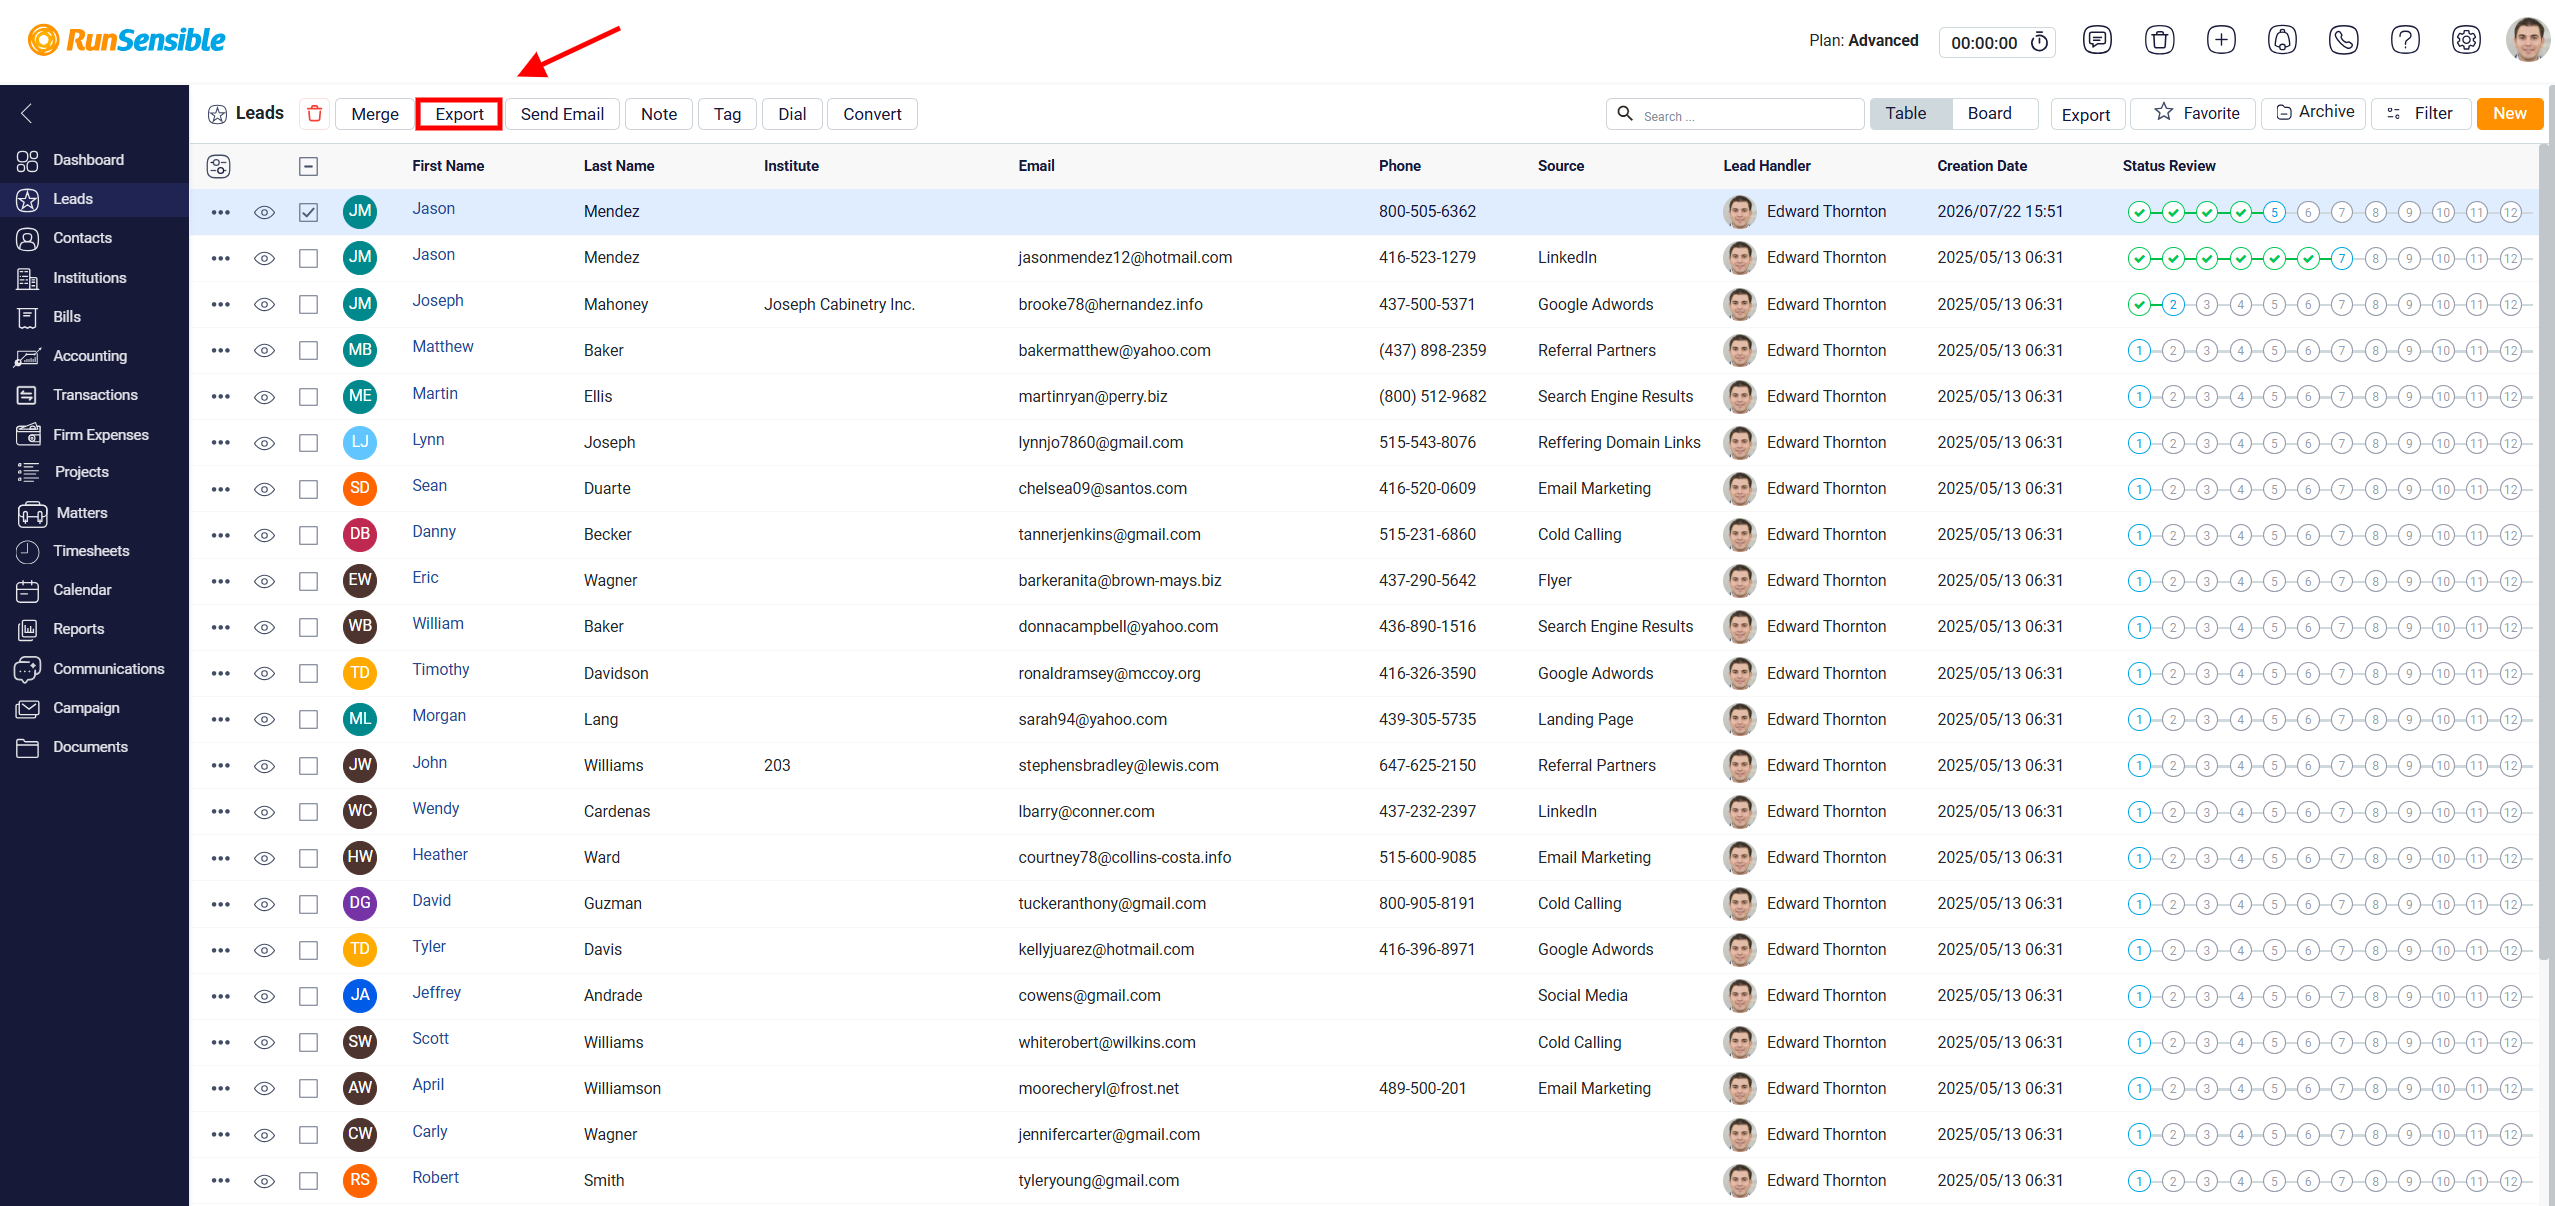
After selecting the leads and clicking this button, the system creates an Excel file that contains the lead information. The file is then sent to the email address connected to the user’s logged-in account. The email includes a download link, which the user can use to download the Excel file to their device.

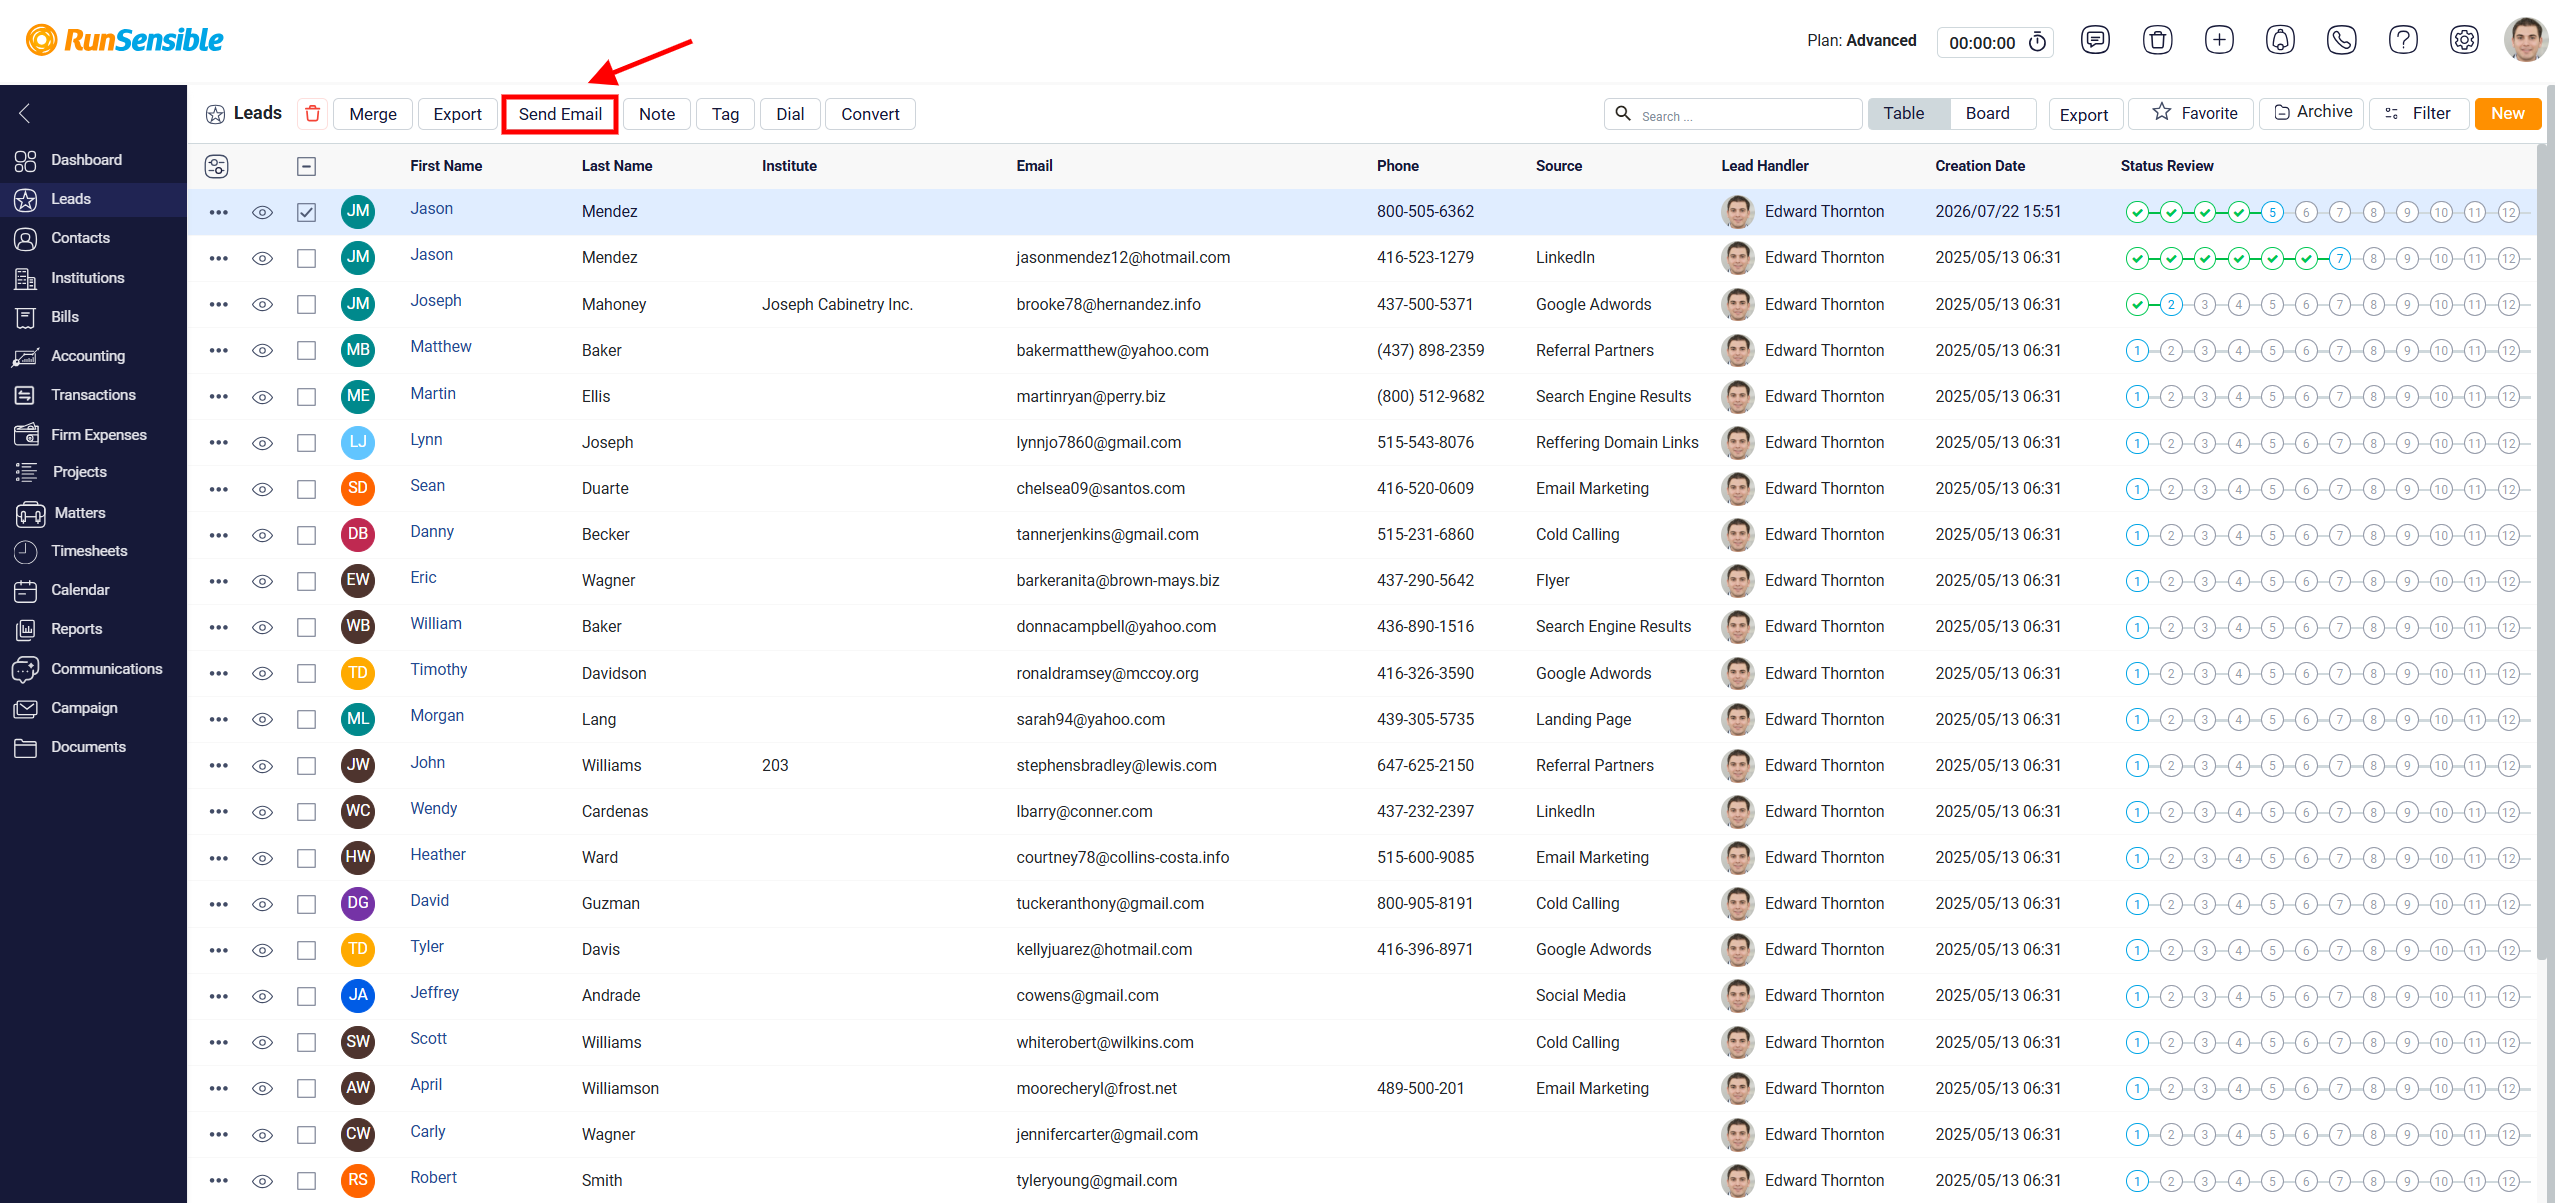
The Send Email button allows the user to send the same email to multiple selected leads at the same time. Before using this option, each selected lead should have a valid email address saved in their lead record. If one or more selected leads do not have a valid email address, the system may show an error when the user tries to send the email. After the user clicks Send Email, the email panel opens, where they can enter the required information before sending the email.
Please visit Sending and Scheduling Emails for step-by-step instructions on creating an email in RunSensible.
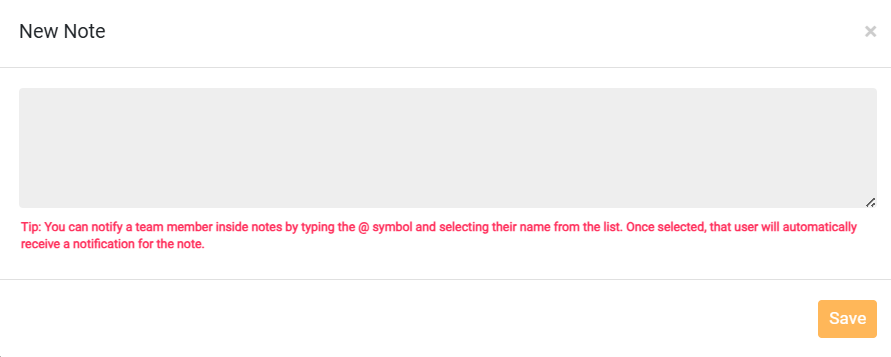
The Note button allows the user to add the same note to multiple selected leads at once. This is useful when the same reminder, update, or important detail applies to several leads.
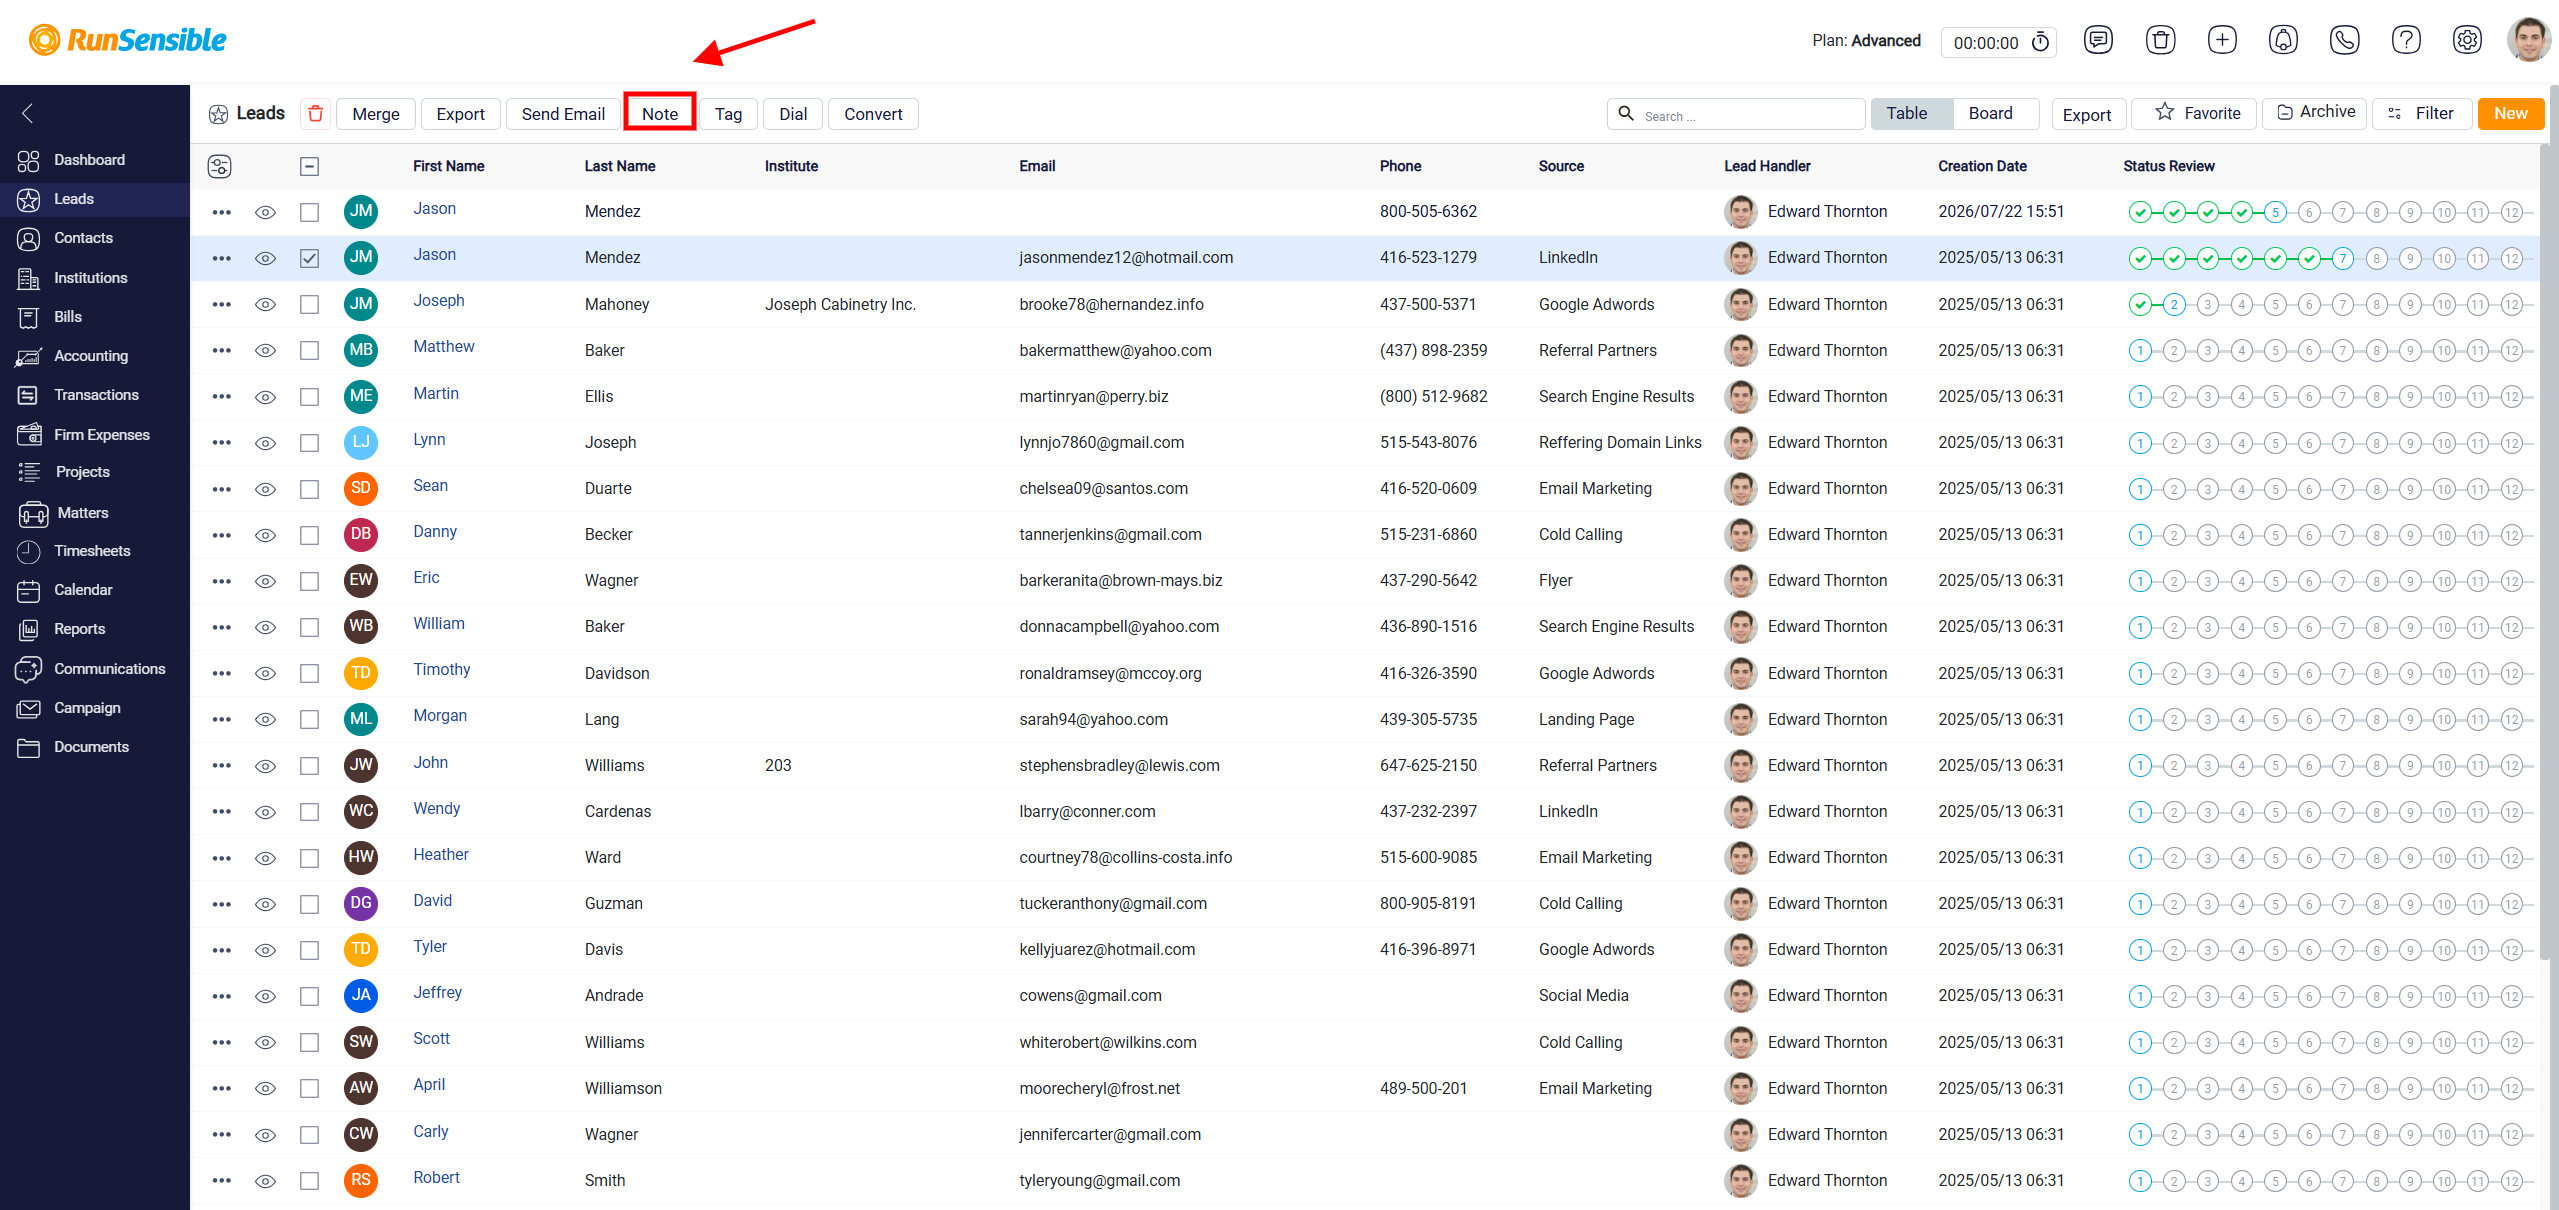
Instead of opening each lead one by one, the user can select the leads, click the Note button, and add the note to all selected records at the same time. After entering the note, click Save to apply it to every selected lead.
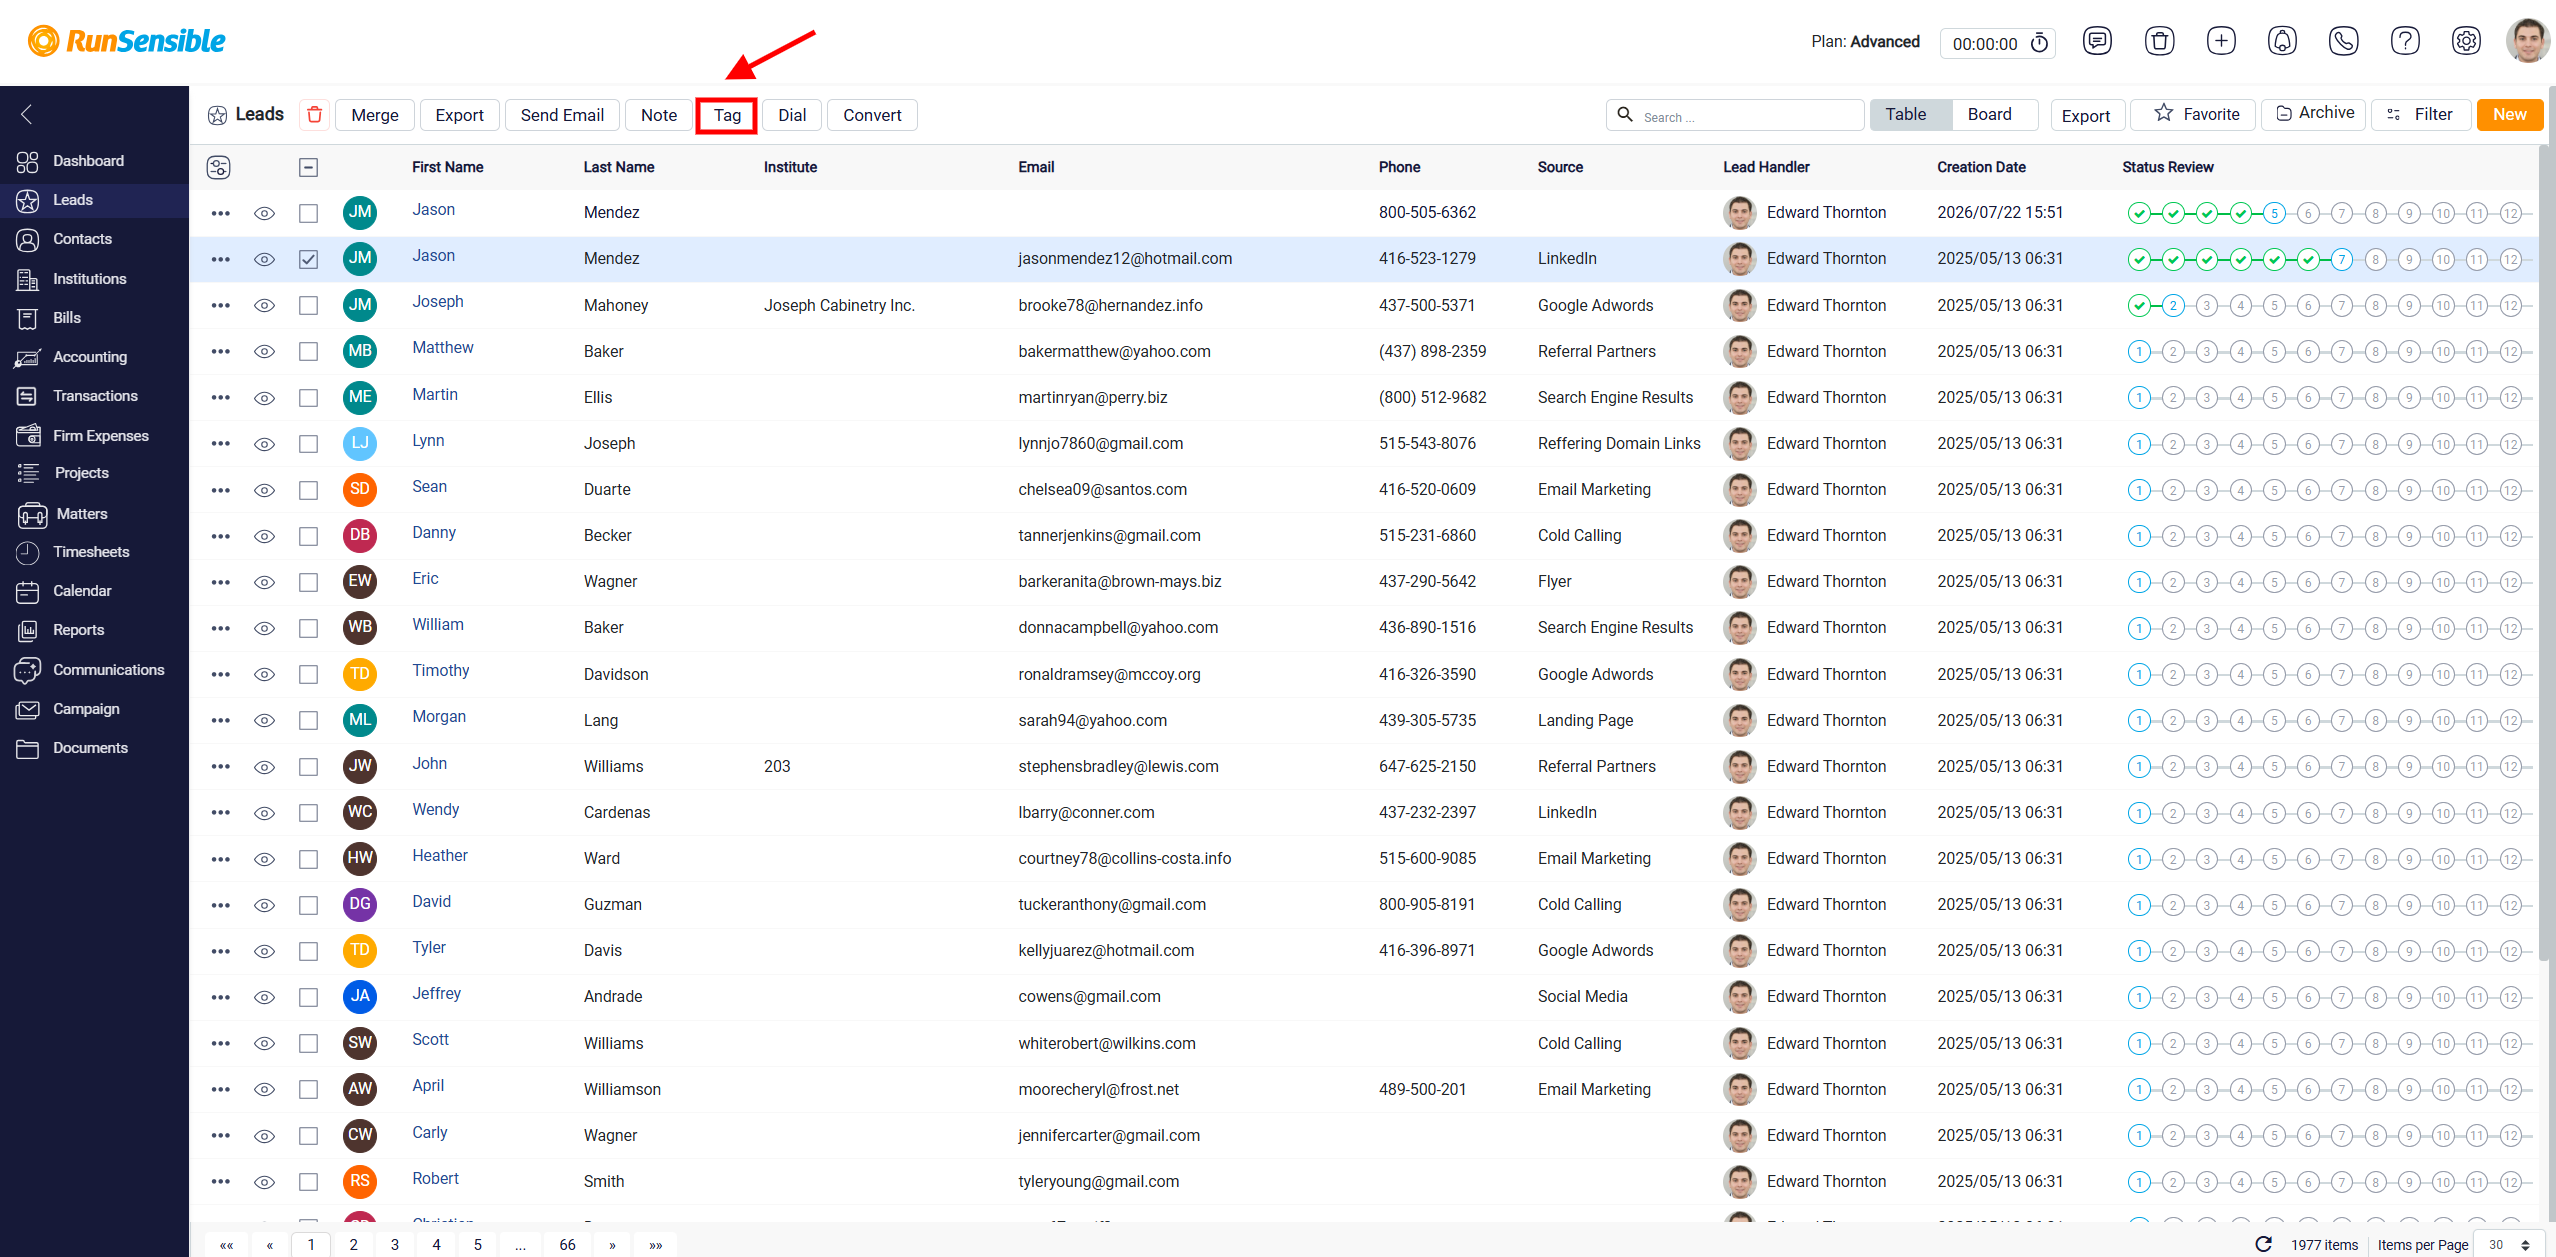
The Tag button is used to assign a tag to multiple selected leads at once. Tags help organize leads into categories that are useful for the firm. For example, a tag may be used to identify a group of leads by priority, source, location, service interest, or follow-up type. After tags are applied, it becomes easier to find, filter, and manage related leads later.
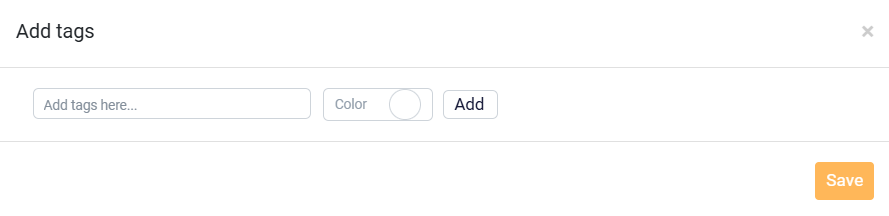
A page will open where you can enter the tag name, choose a color, and click Add to create the tag and save it to the system.
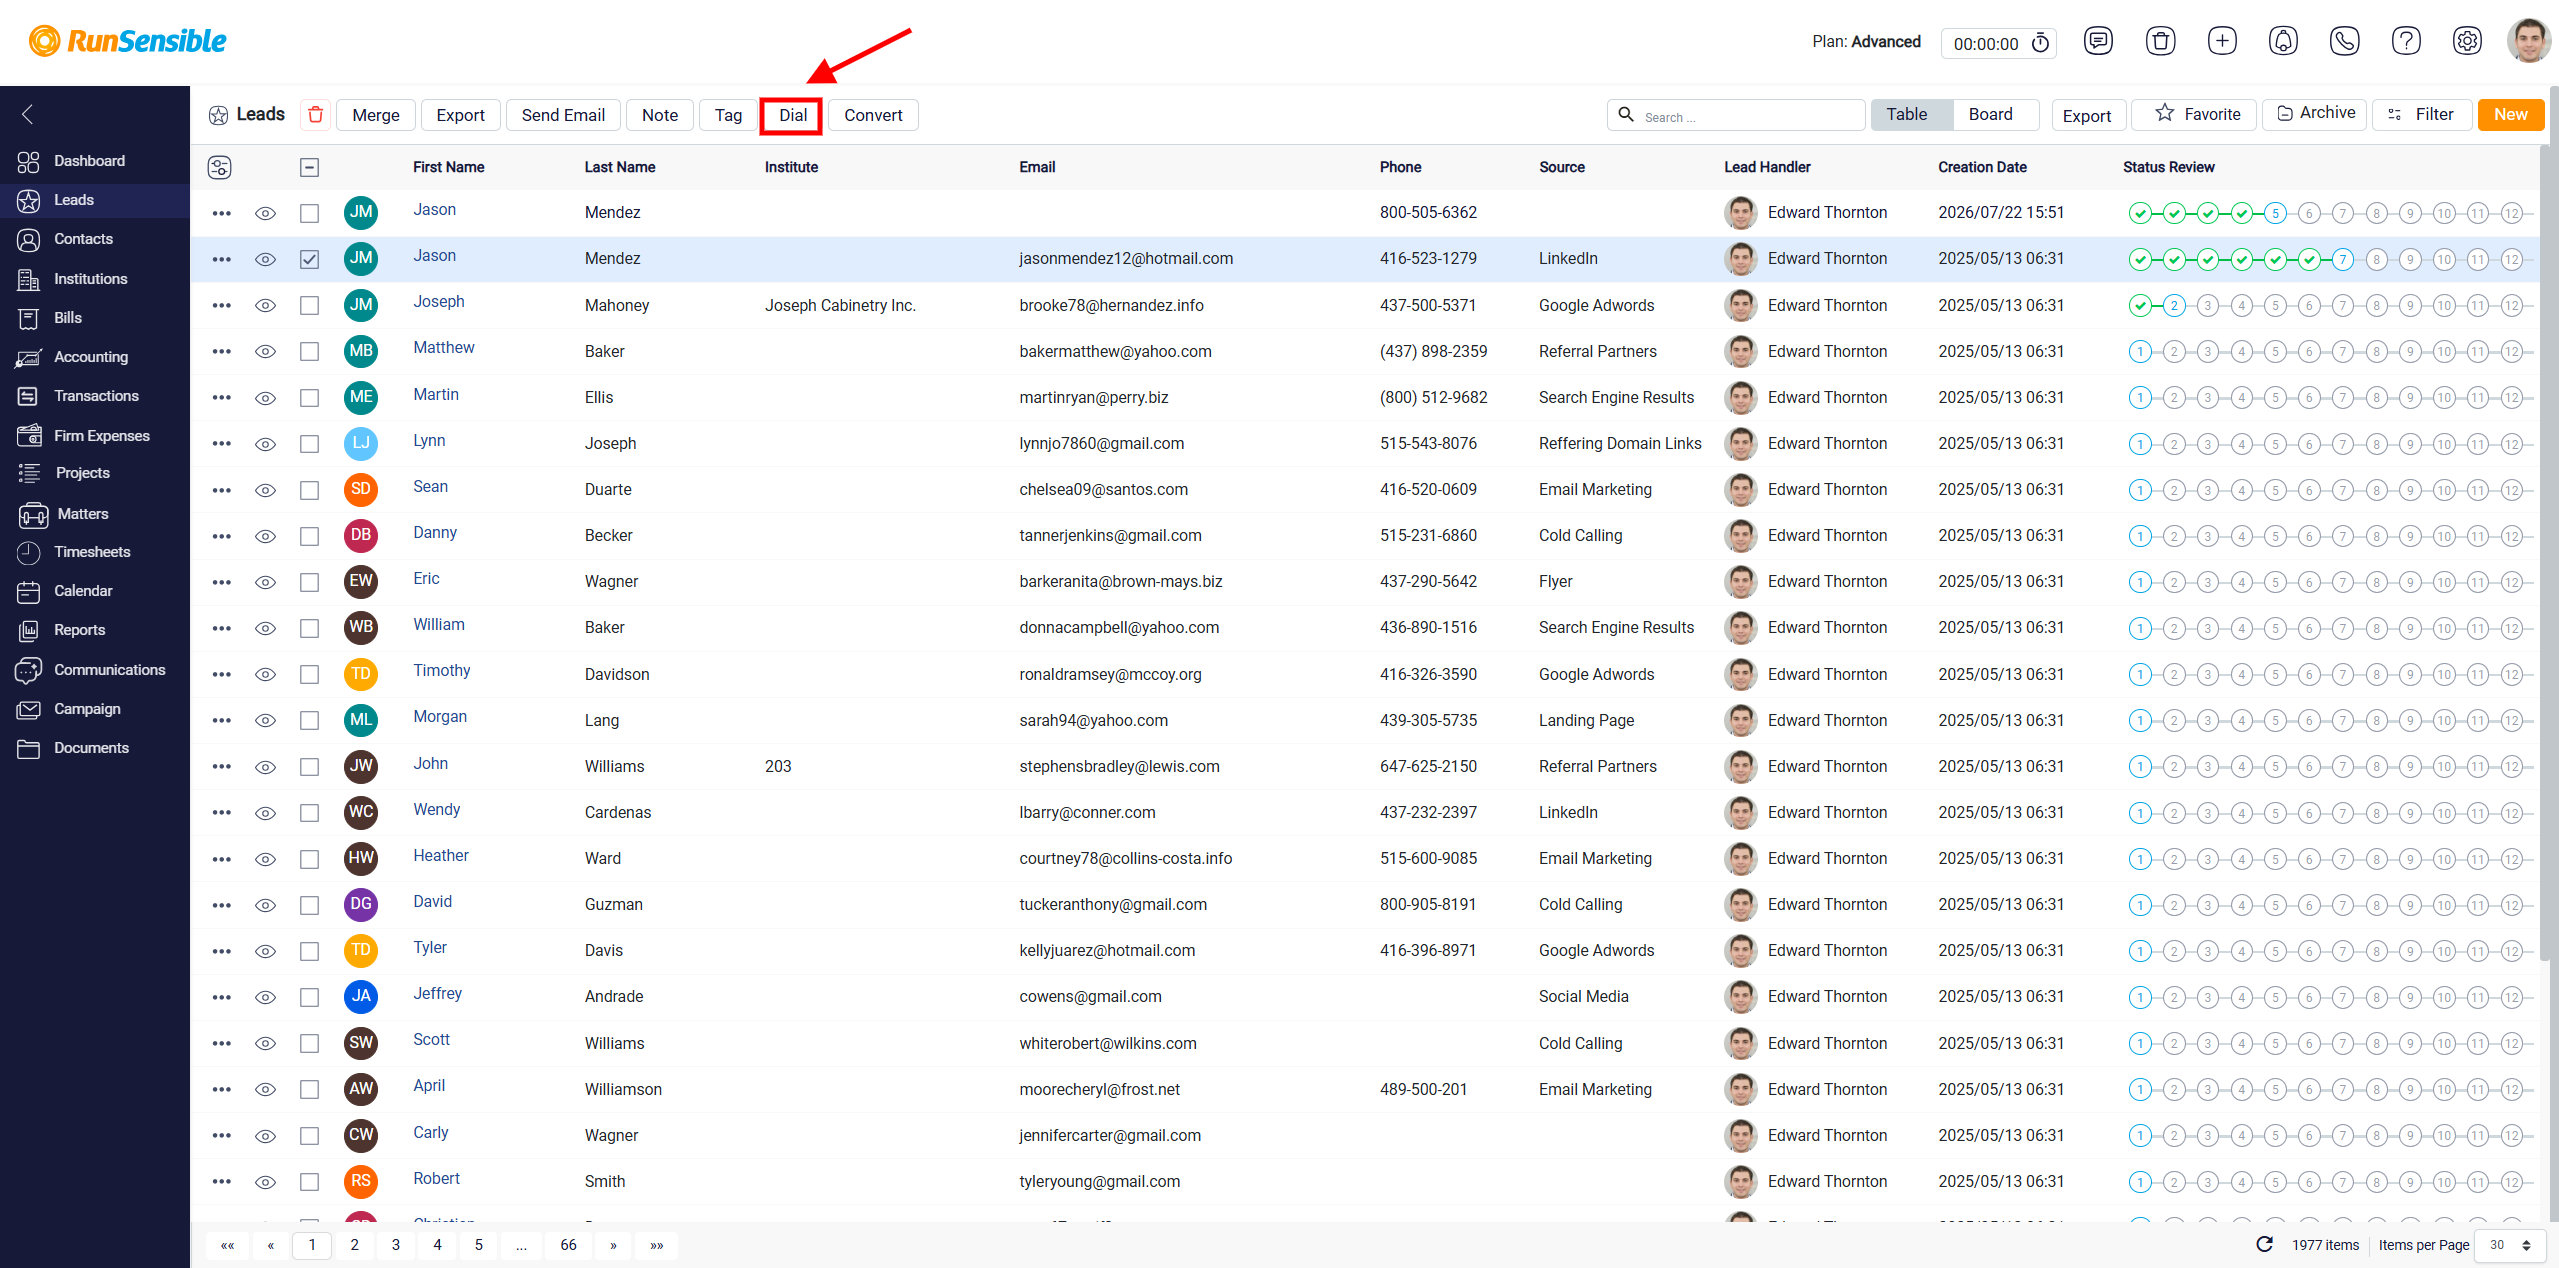
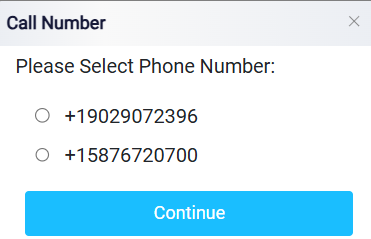
The Dial button is used to call multiple selected leads through the system. After selecting the leads and clicking Dial, the Call Number panel opens. In this panel, the user must choose the phone number they want to call from. The list only shows phone numbers that are already registered in the system. If the firm does not have an active phone number plan, this calling feature cannot be used.
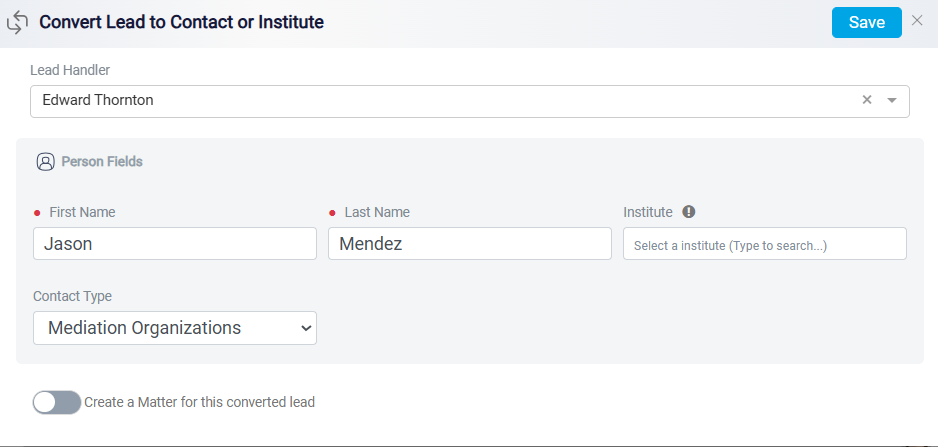
The Convert button is one of the action buttons that appears after selecting a lead from the Leads list. This button only appears when one lead is selected. If more than one lead is selected, the Convert button disappears because the conversion process must be completed one lead at a time. This is because each lead conversion requires the user to review and confirm information for that specific lead. The user may need to check the lead’s details, choose how the lead should be converted, and decide whether any related records should be created during the process. The Convert button in the selected-lead action menu works the same way as the other Convert option in the system.
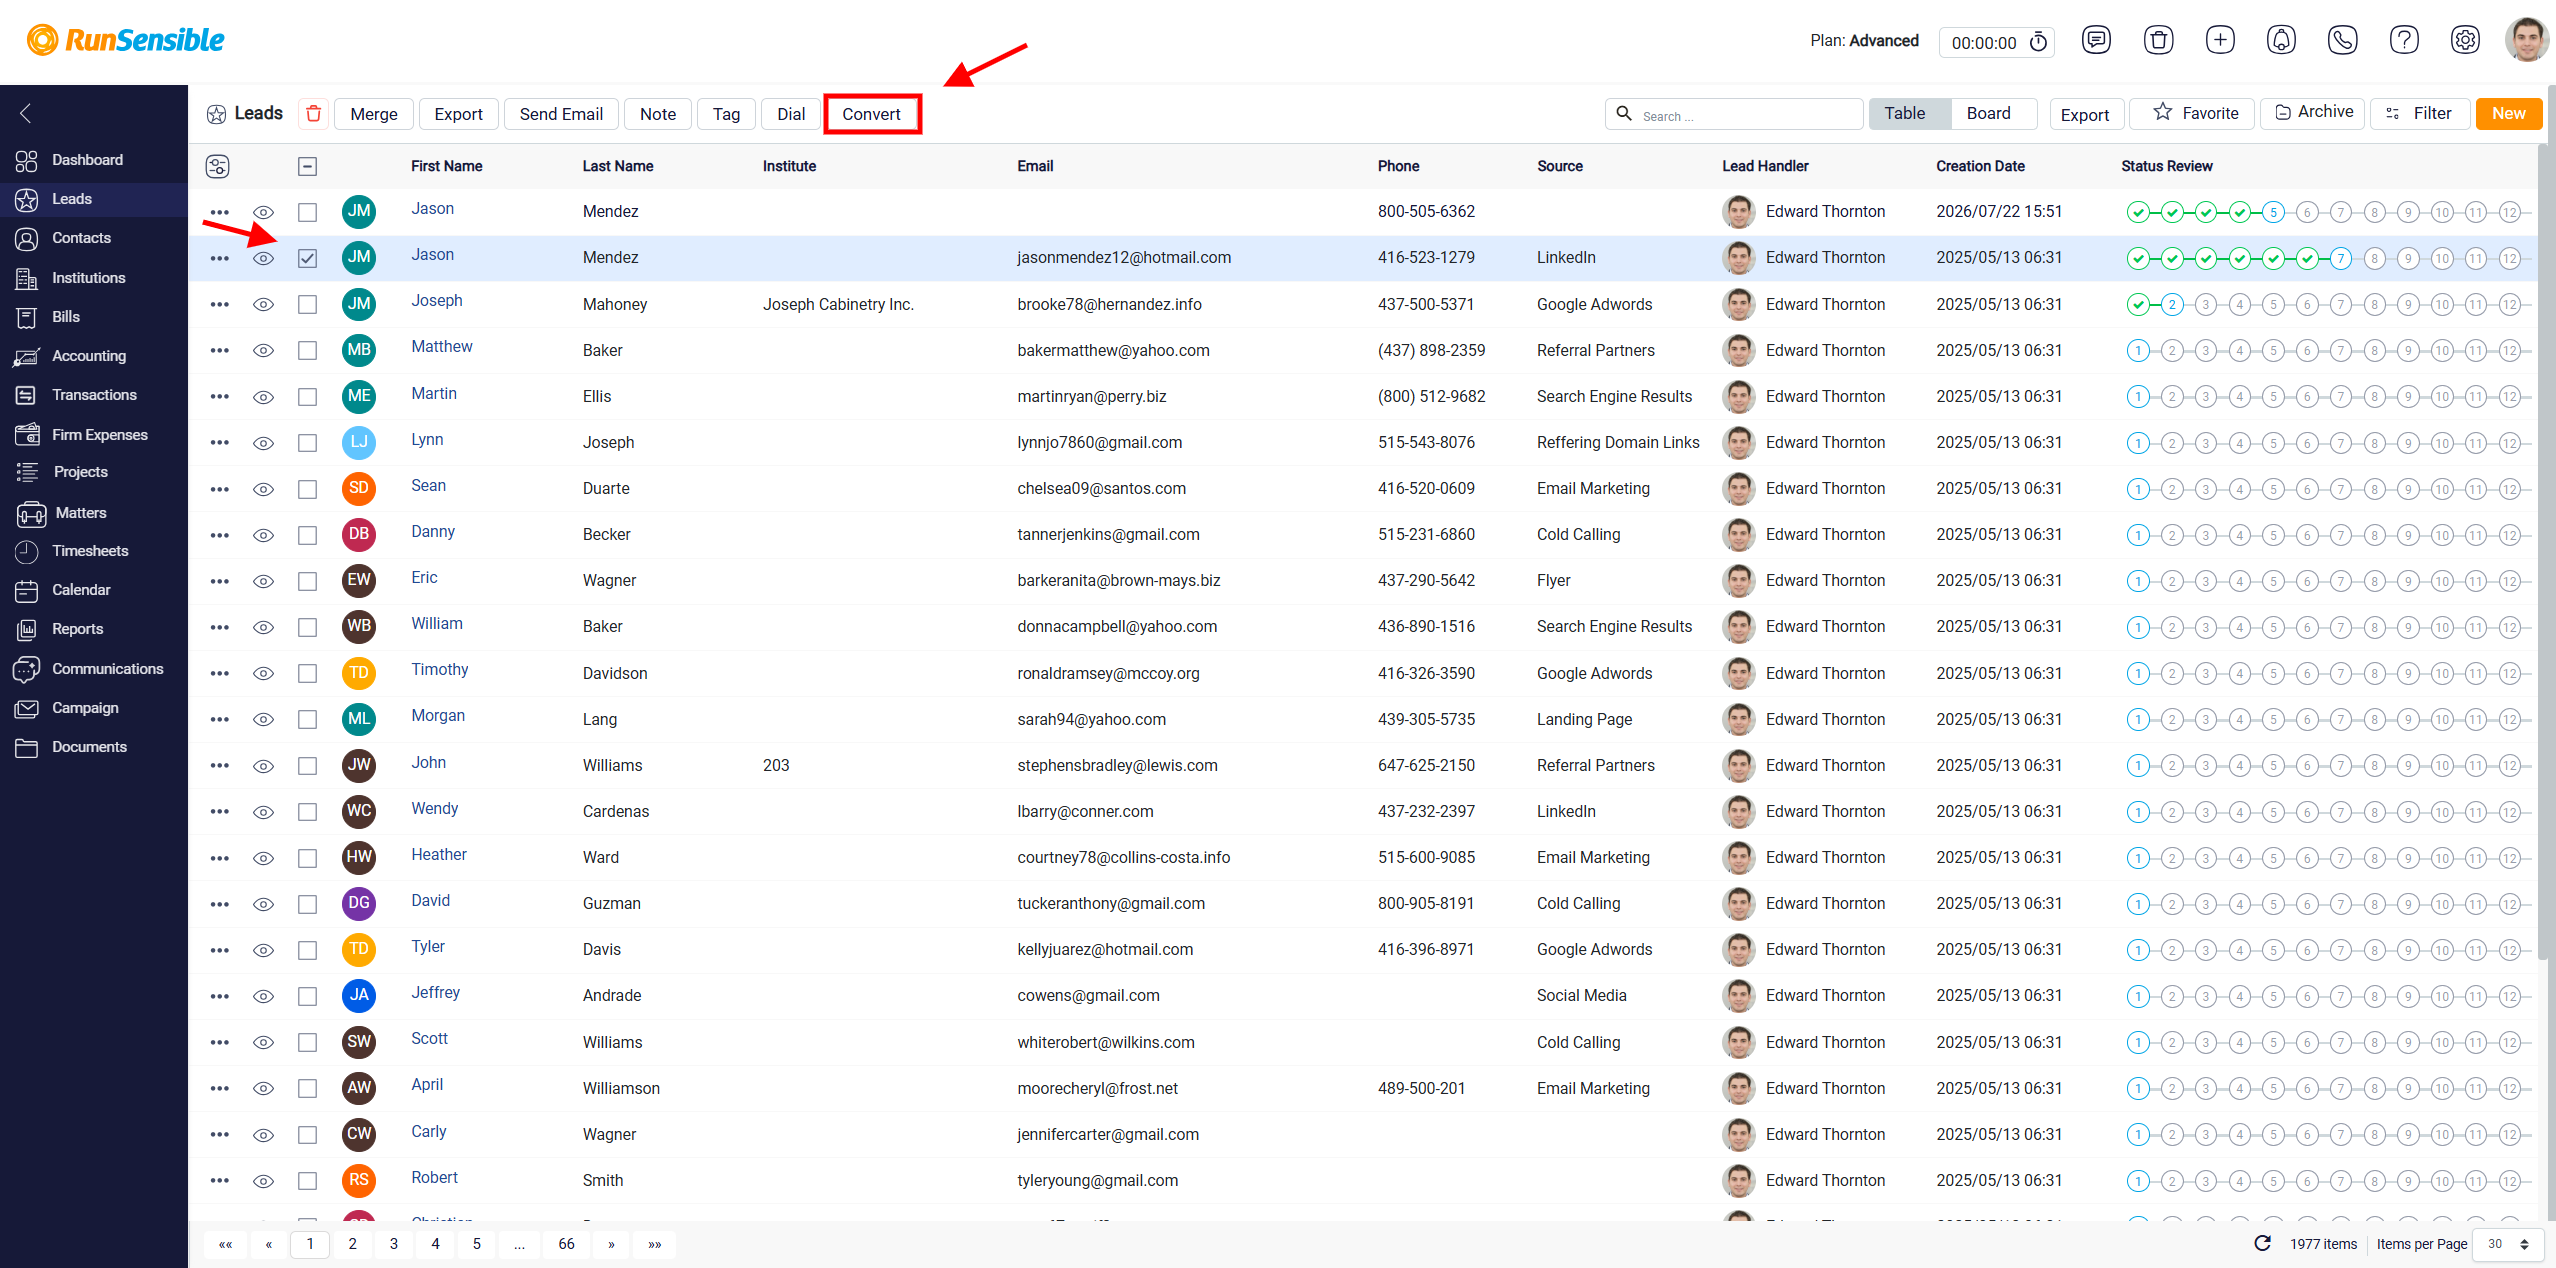
When clicked, it opens the lead conversion panel, where the selected lead can be converted into a contact or connected to an institute. This gives the user another way to start the conversion process directly from the Leads list.