Managing Lead Communications and Tasks
Lead Profile Section
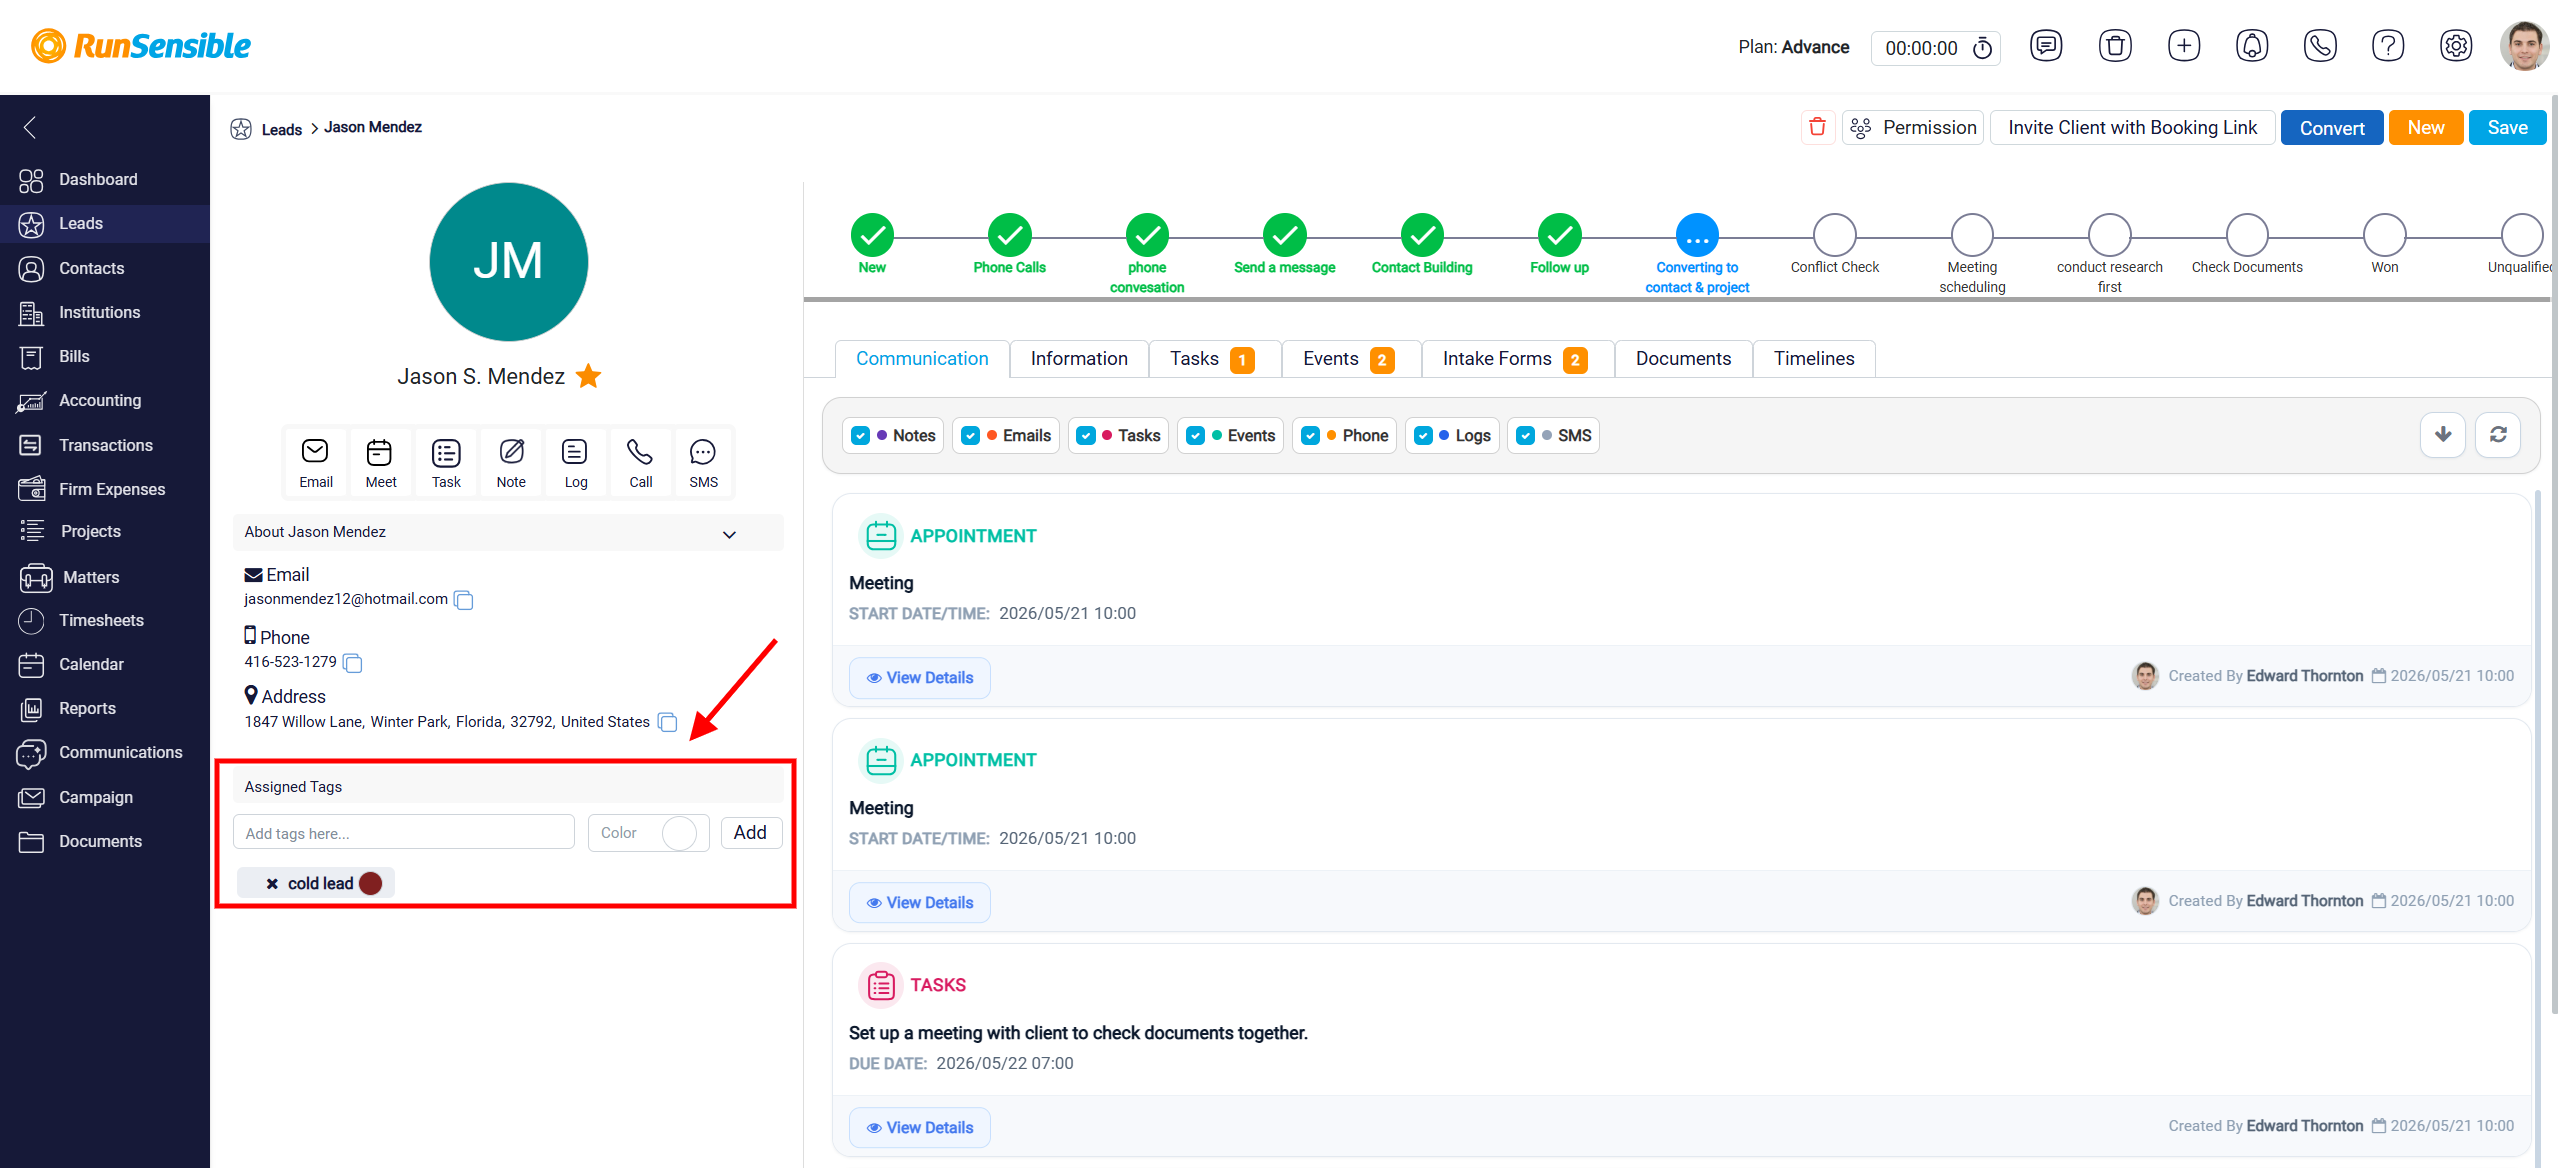
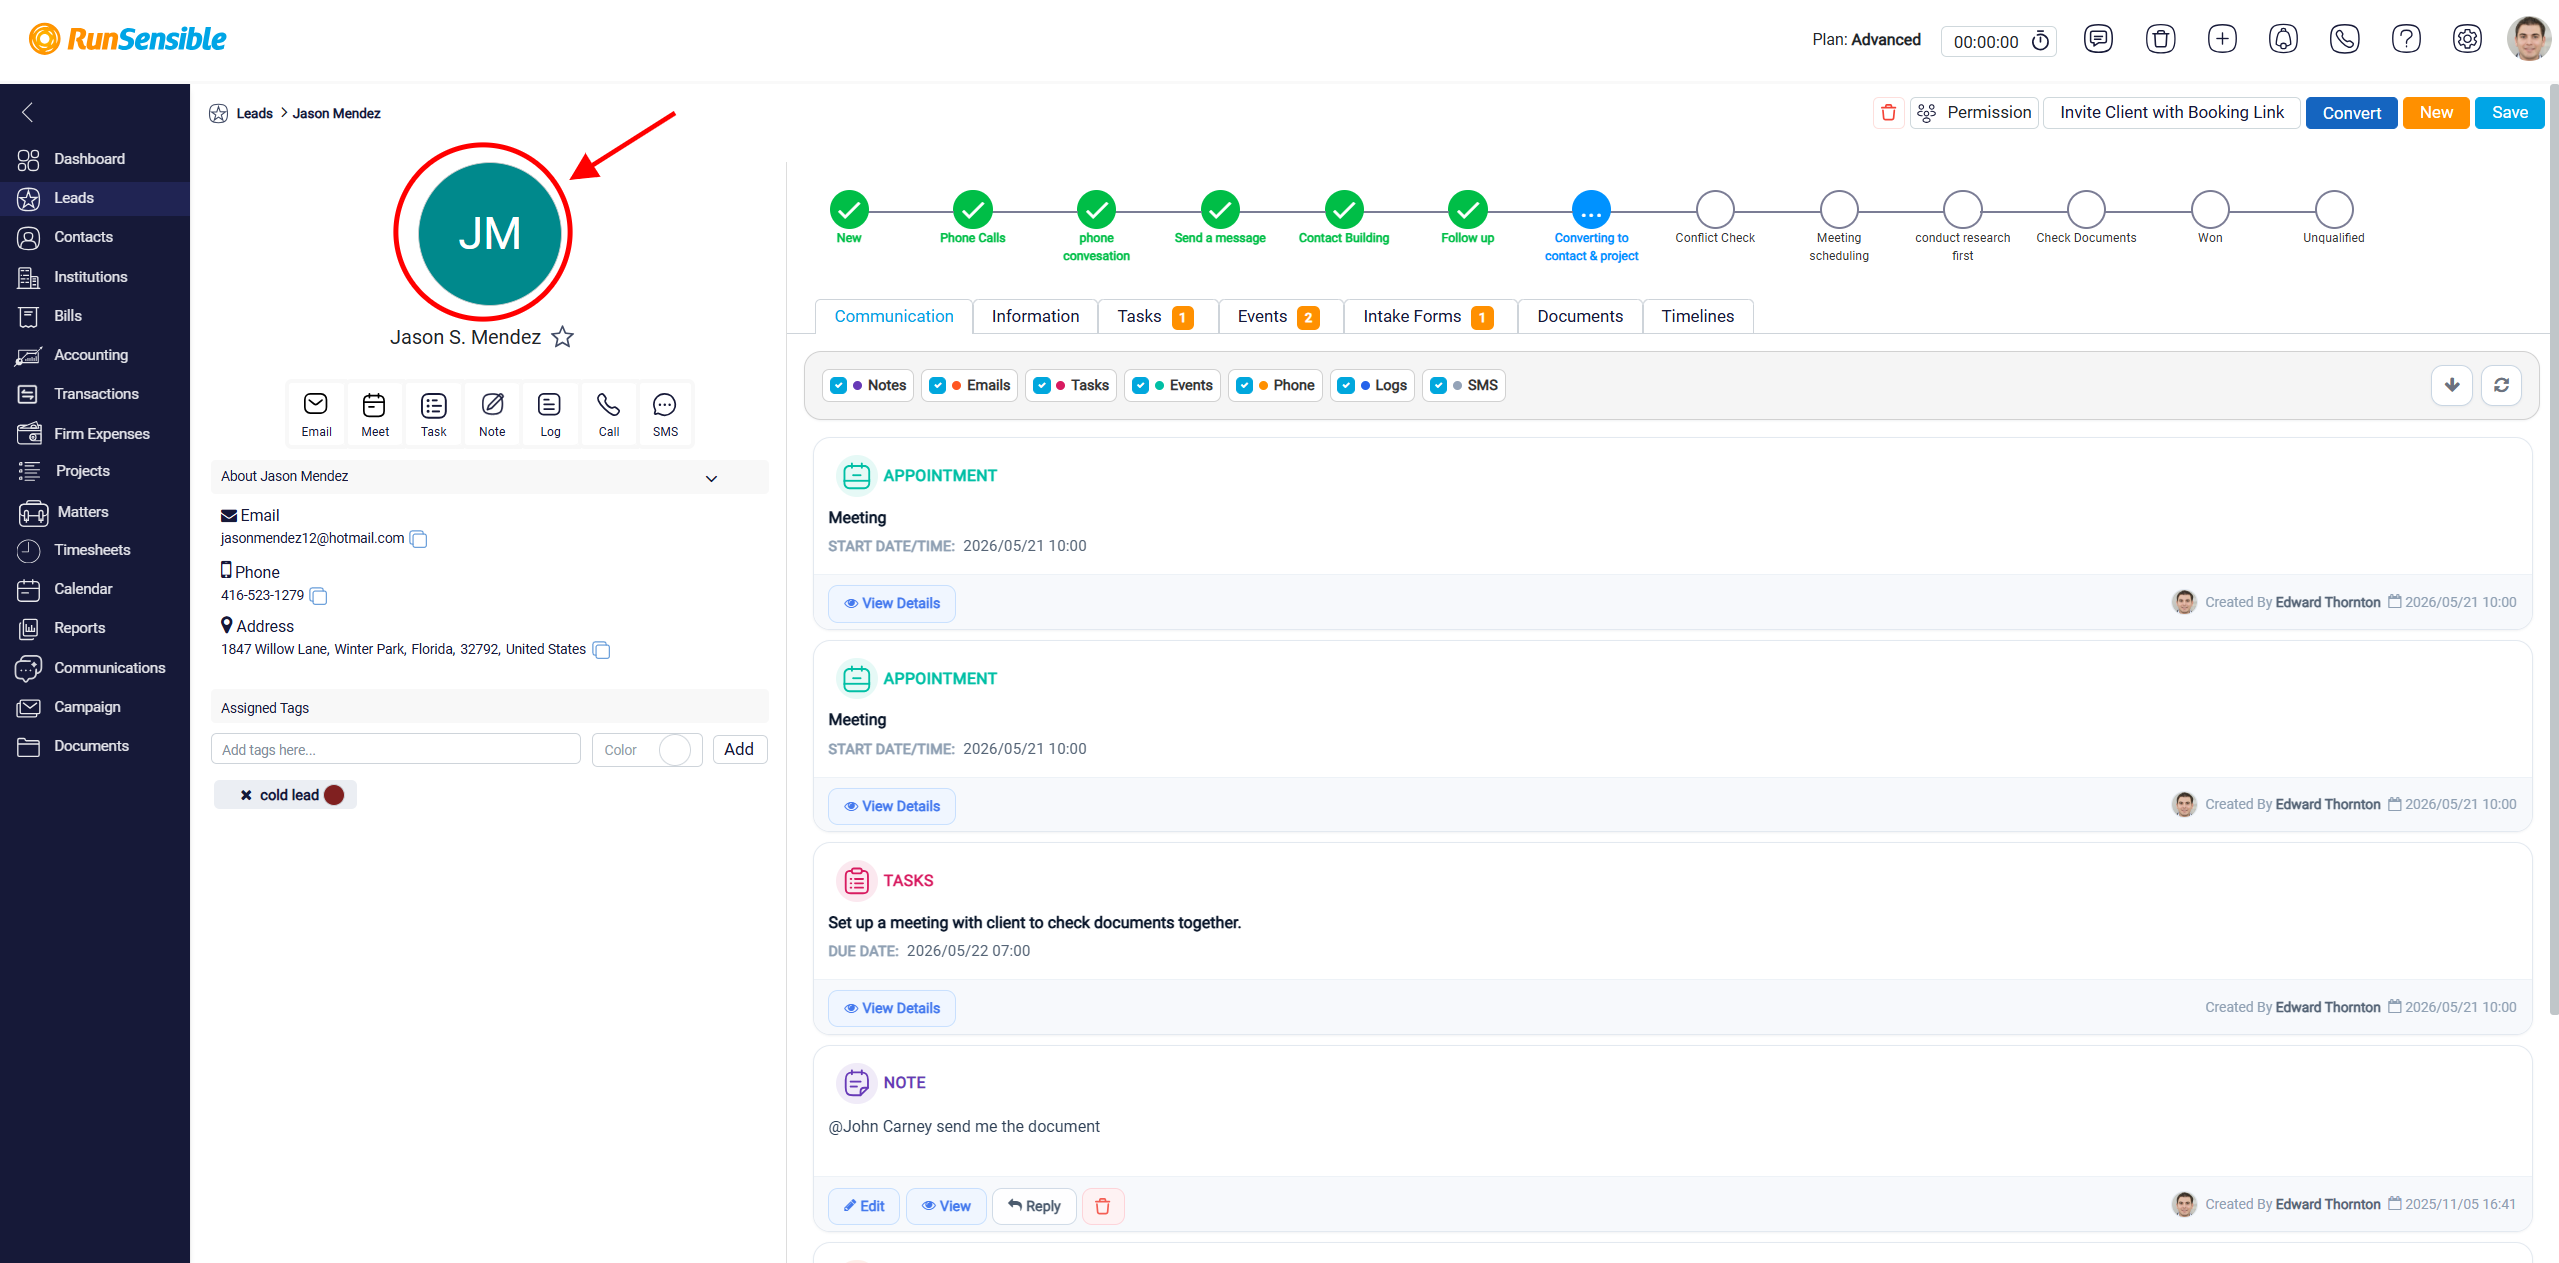
In the full-screen lead detail view, the left side of the screen displays the lead’s profile information and communication tools. At the top of this section, there is a circular Profile Image area. If a profile image has not been uploaded, the system automatically displays a placeholder using the lead’s initials. This allows the lead profile to remain identifiable even when no photo, logo, or custom image is available.
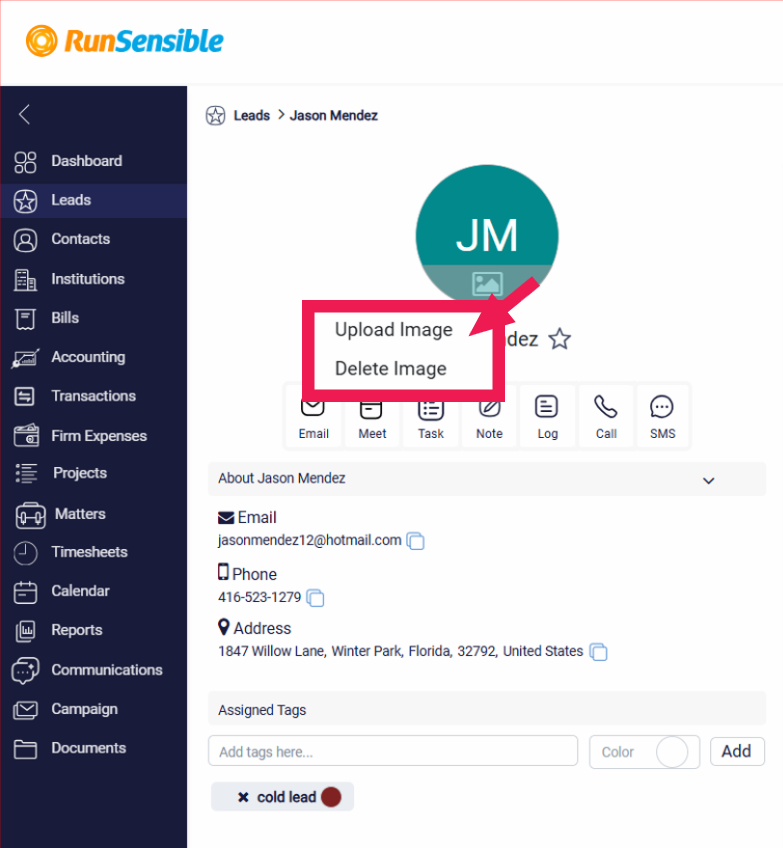
When the user moves the cursor over the profile image area, an Upload button appears. After clicking on this button, the system displays image management controls. The Upload Image button allows the user to add a photo, company logo, or other relevant image for the lead. The Delete Image button removes the image currently assigned to the lead profile. If no image has been uploaded, there is no existing image for the Delete Image button to remove.
Below the profile image, the lead’s name is displayed clearly. A Star icon appears beside the lead’s name. Selecting this star marks the lead as a favorite.
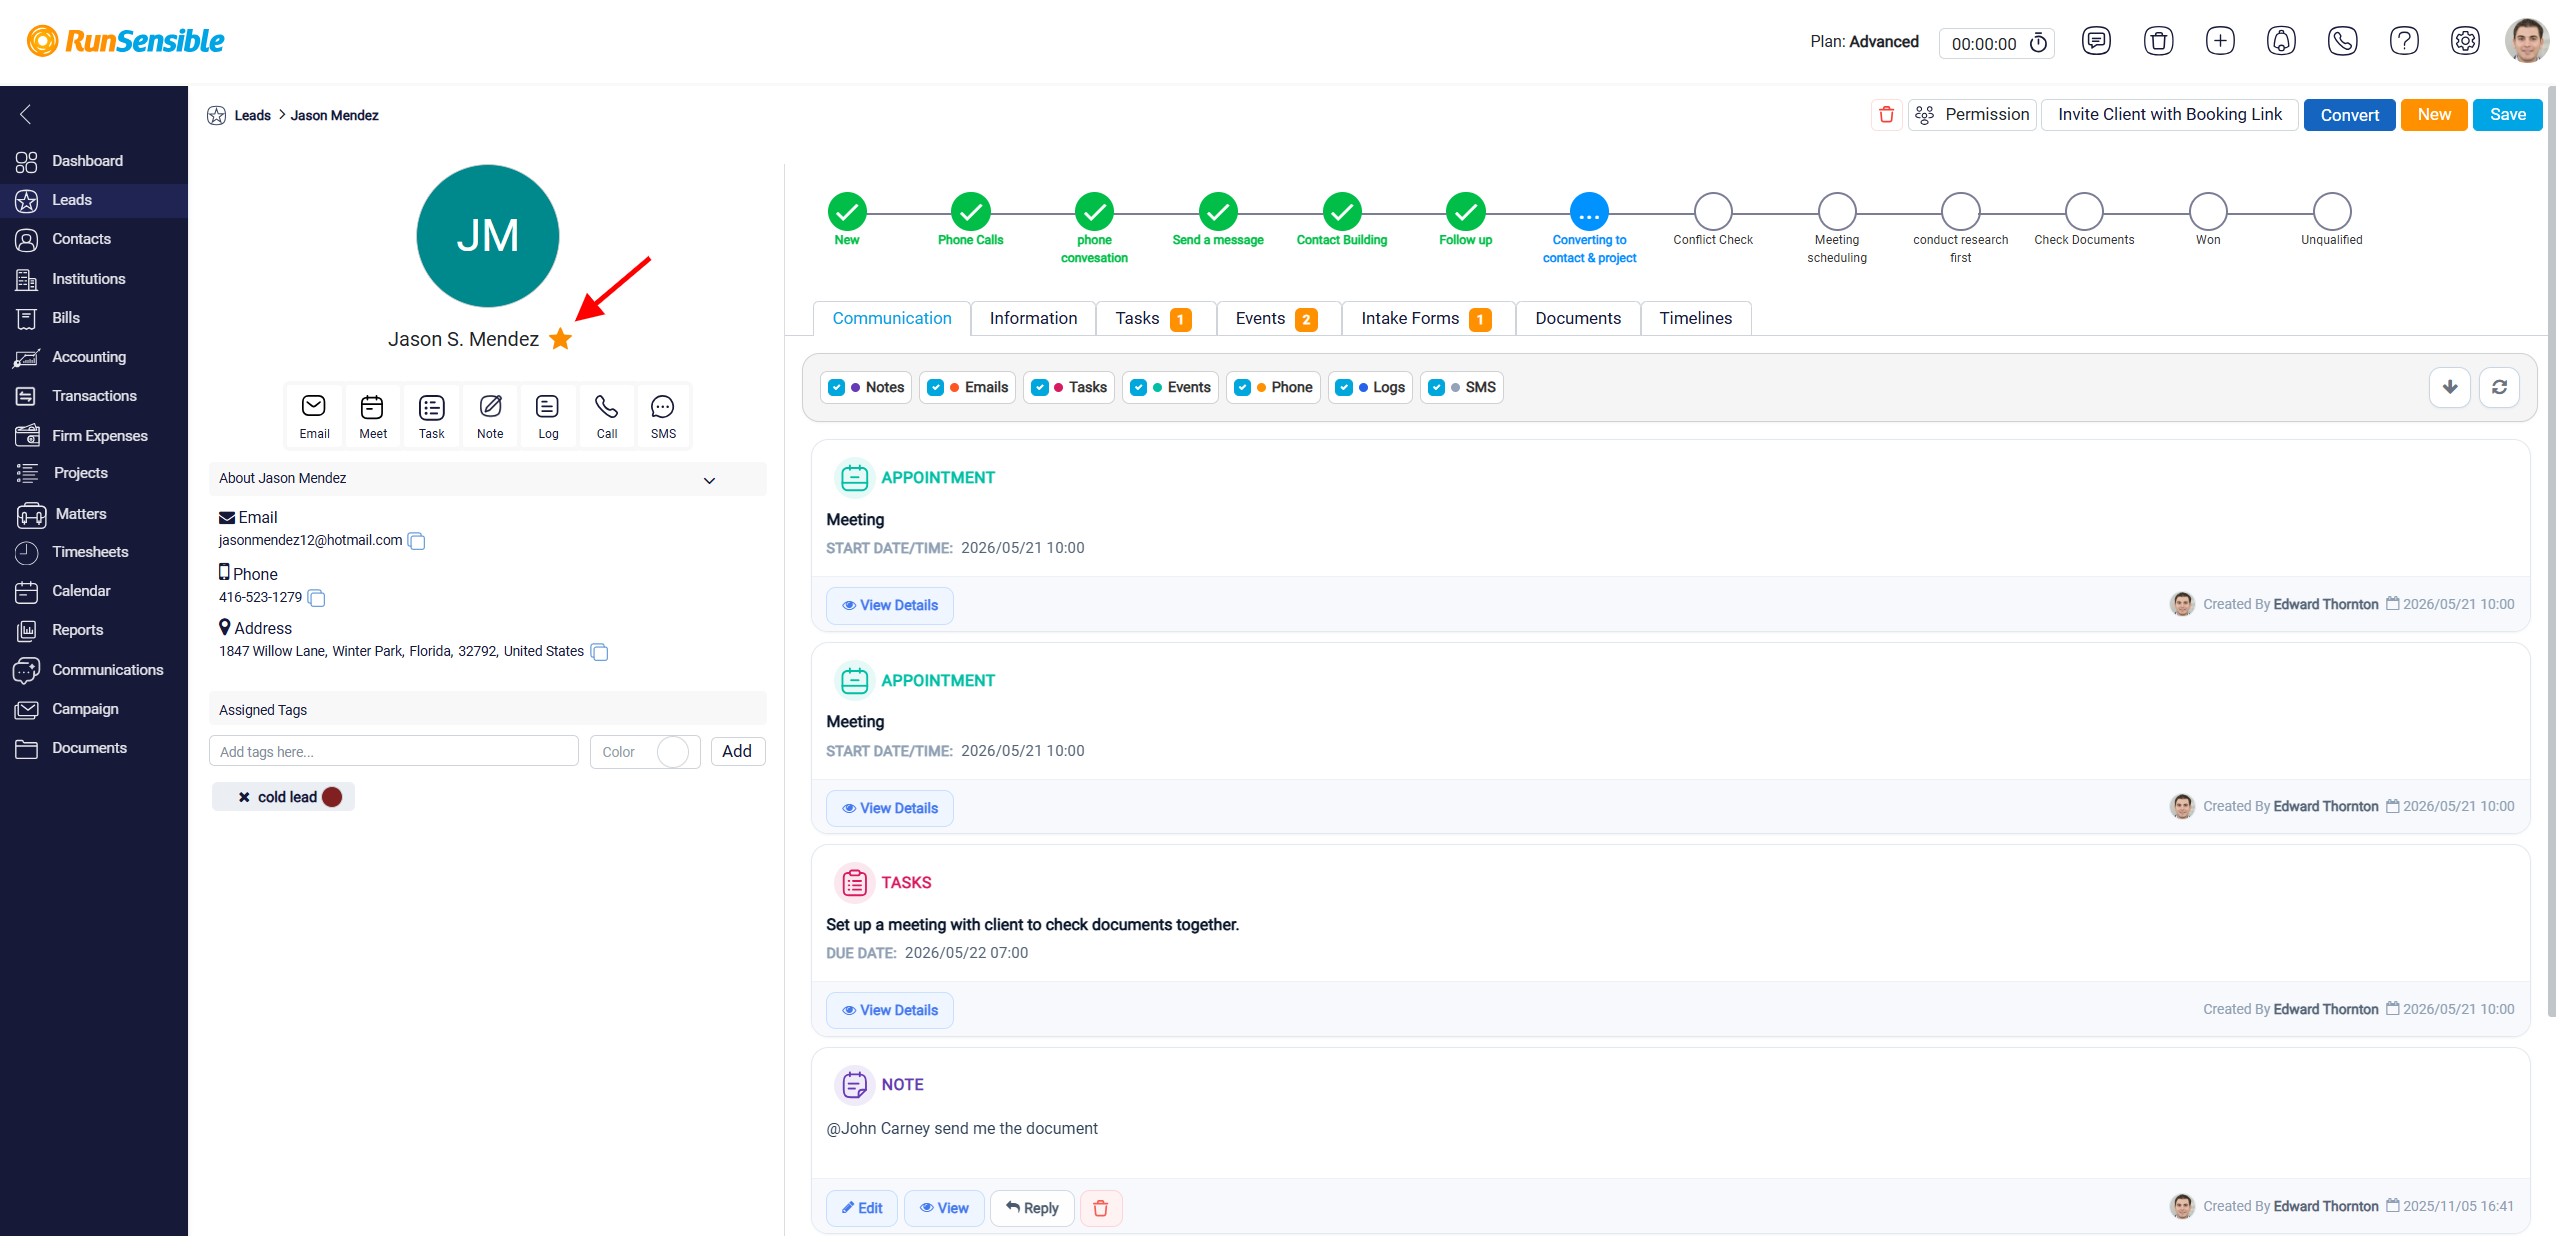
Once a lead has been marked as a favorite, the user can locate that lead from the main Leads list by using the Favorite button.
Lead Action Buttons
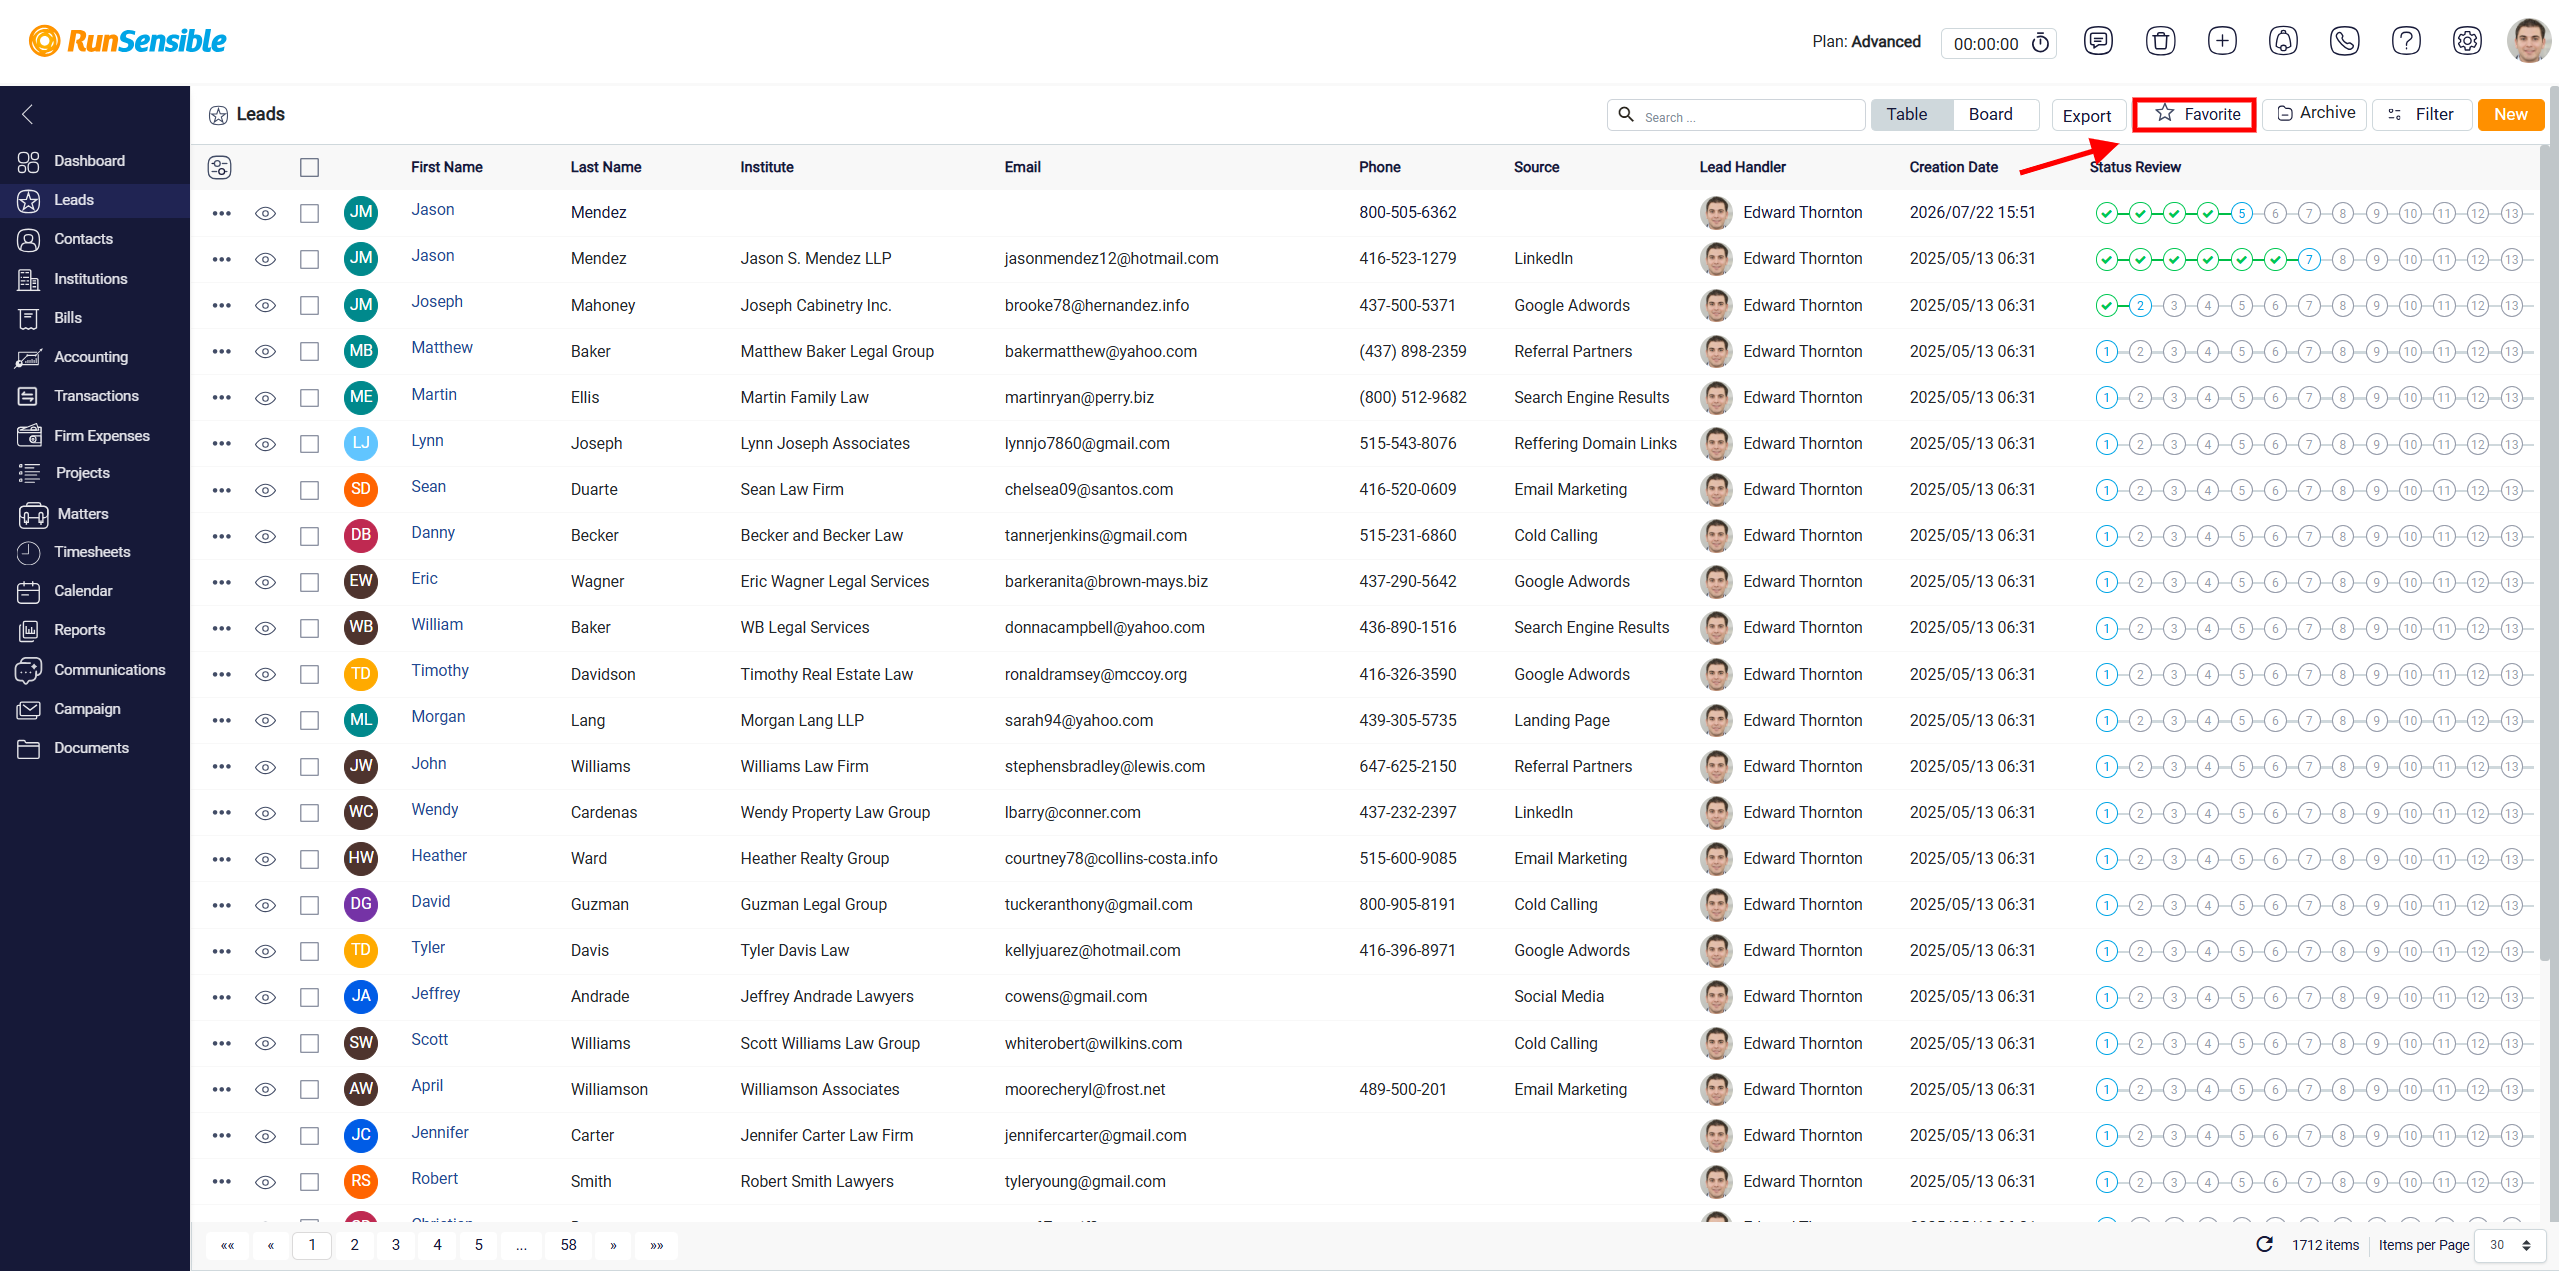
Under the lead’s name, the system displays action buttons that allow the user to communicate with the lead or create related activity records. These buttons may include Email, Meet, Task, Note, Log, Call, and SMS, depending on the available system settings and permissions. Each button opens the corresponding panel directly from the lead detail page, allowing the user to complete the selected action without leaving the lead record.
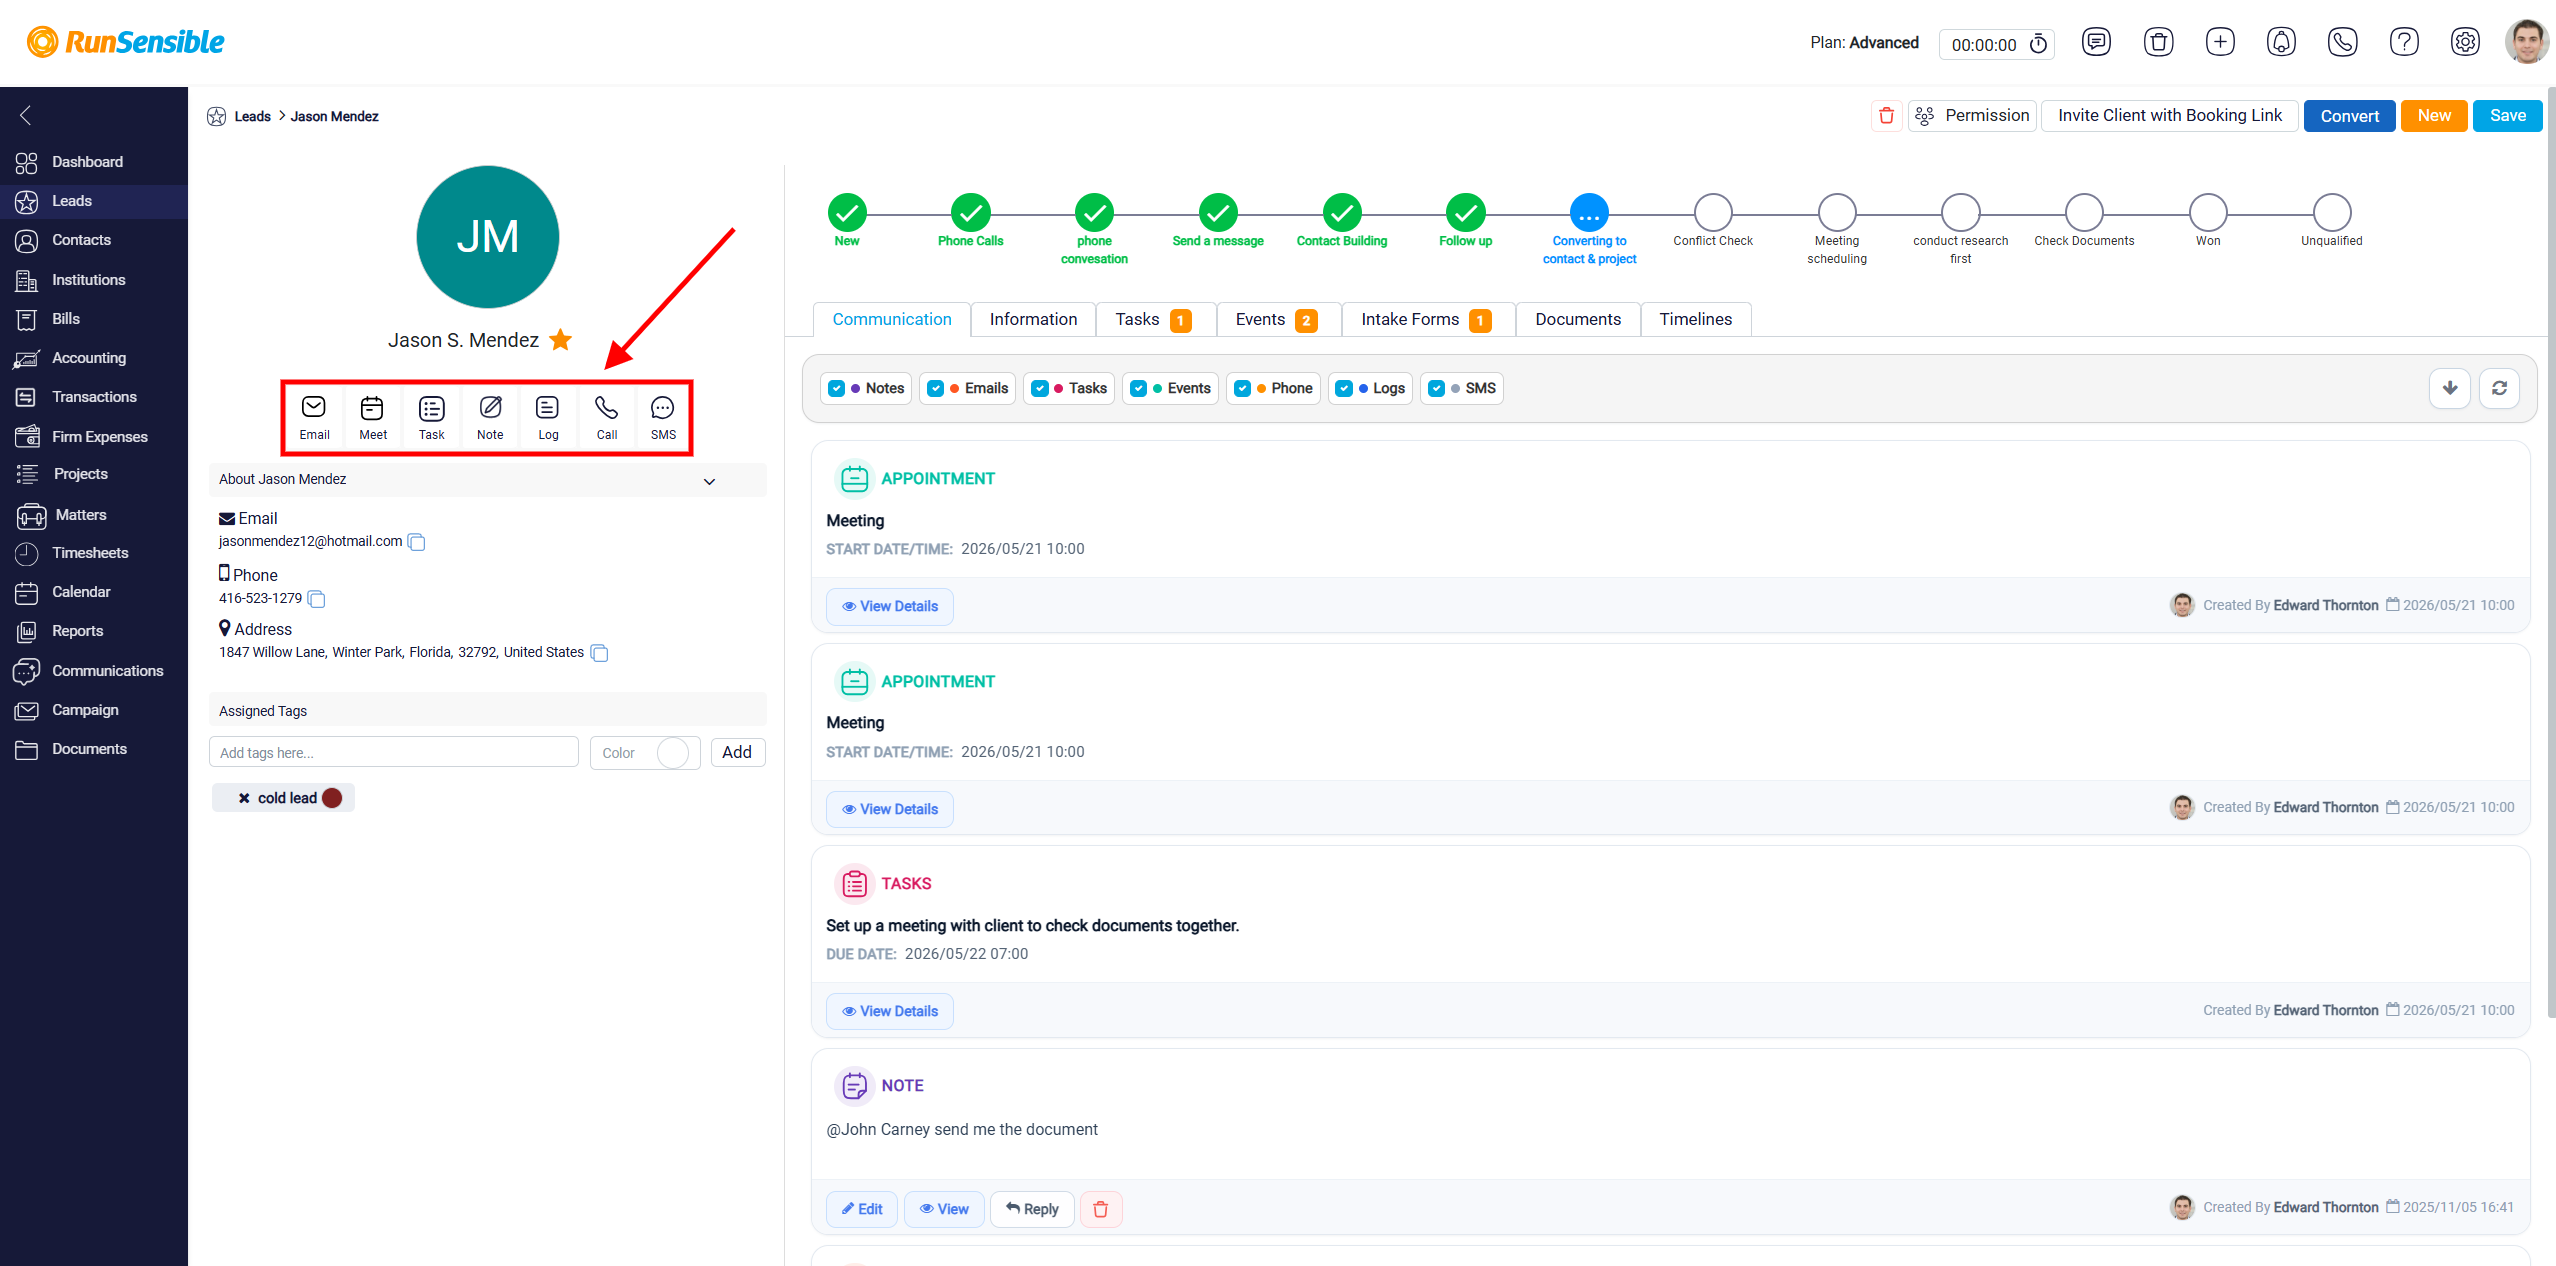
The Email button opens the email panel for the selected lead. From this panel, the user can prepare and send an email to the lead. The email panel may include options to choose an email template, attach files, write or edit the message body, select an email signature, and schedule the email to be sent at a later time if needed.
To learn how to manage your emails, including sending and scheduling emails, please see Send and Schedule Emails.
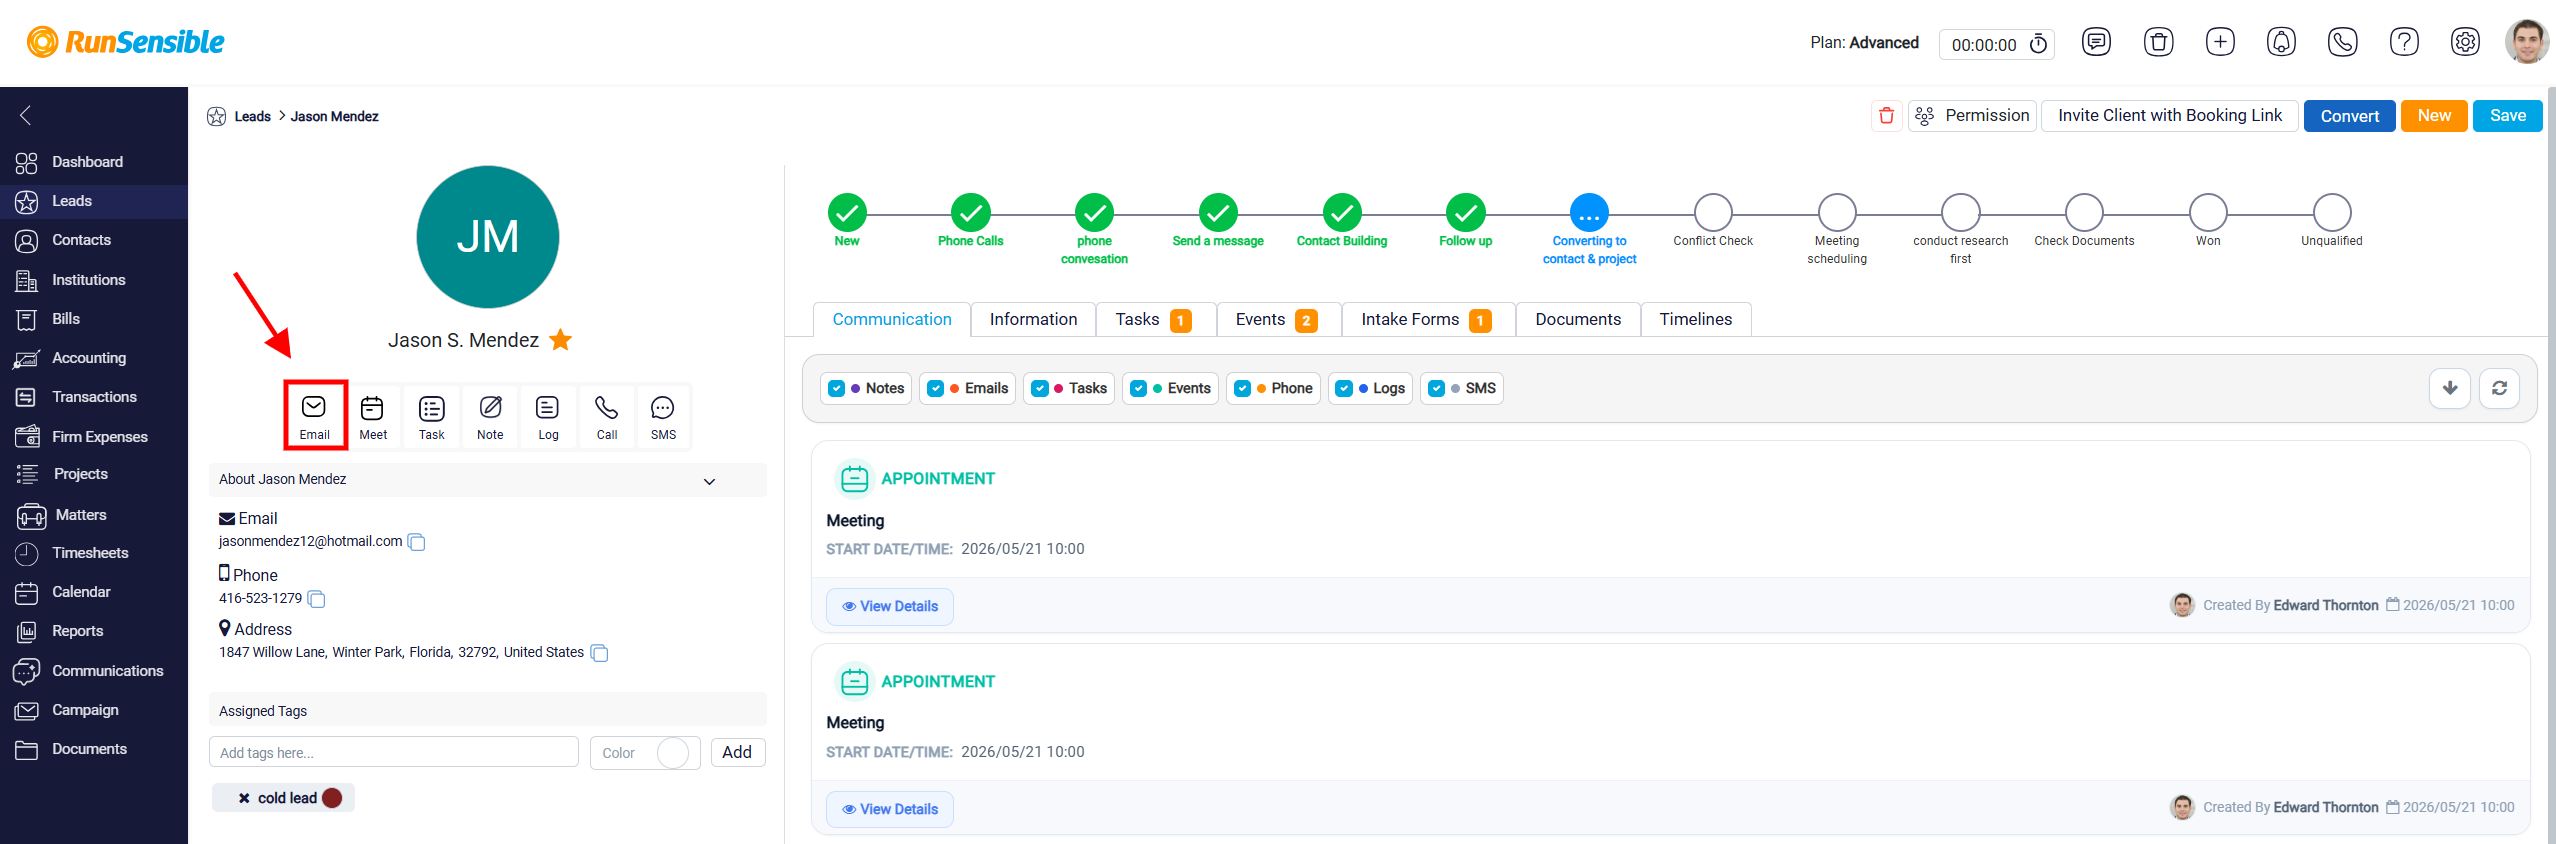
The Meet button is used to create a meeting or calendar event related to the selected lead. When the user clicks this button, the New Event panel opens. This panel allows the user to schedule the meeting, choose who should attend, set reminders, select the correct calendar, and save the event in the system.
Once saved, the event is added to the selected calendar and connected to the lead’s Events tab. If attendees were added and notification options were turned on, the system may also send meeting invitations or reminders through the selected methods.
To learn how to schedule a new meeting, please see Add New Event.
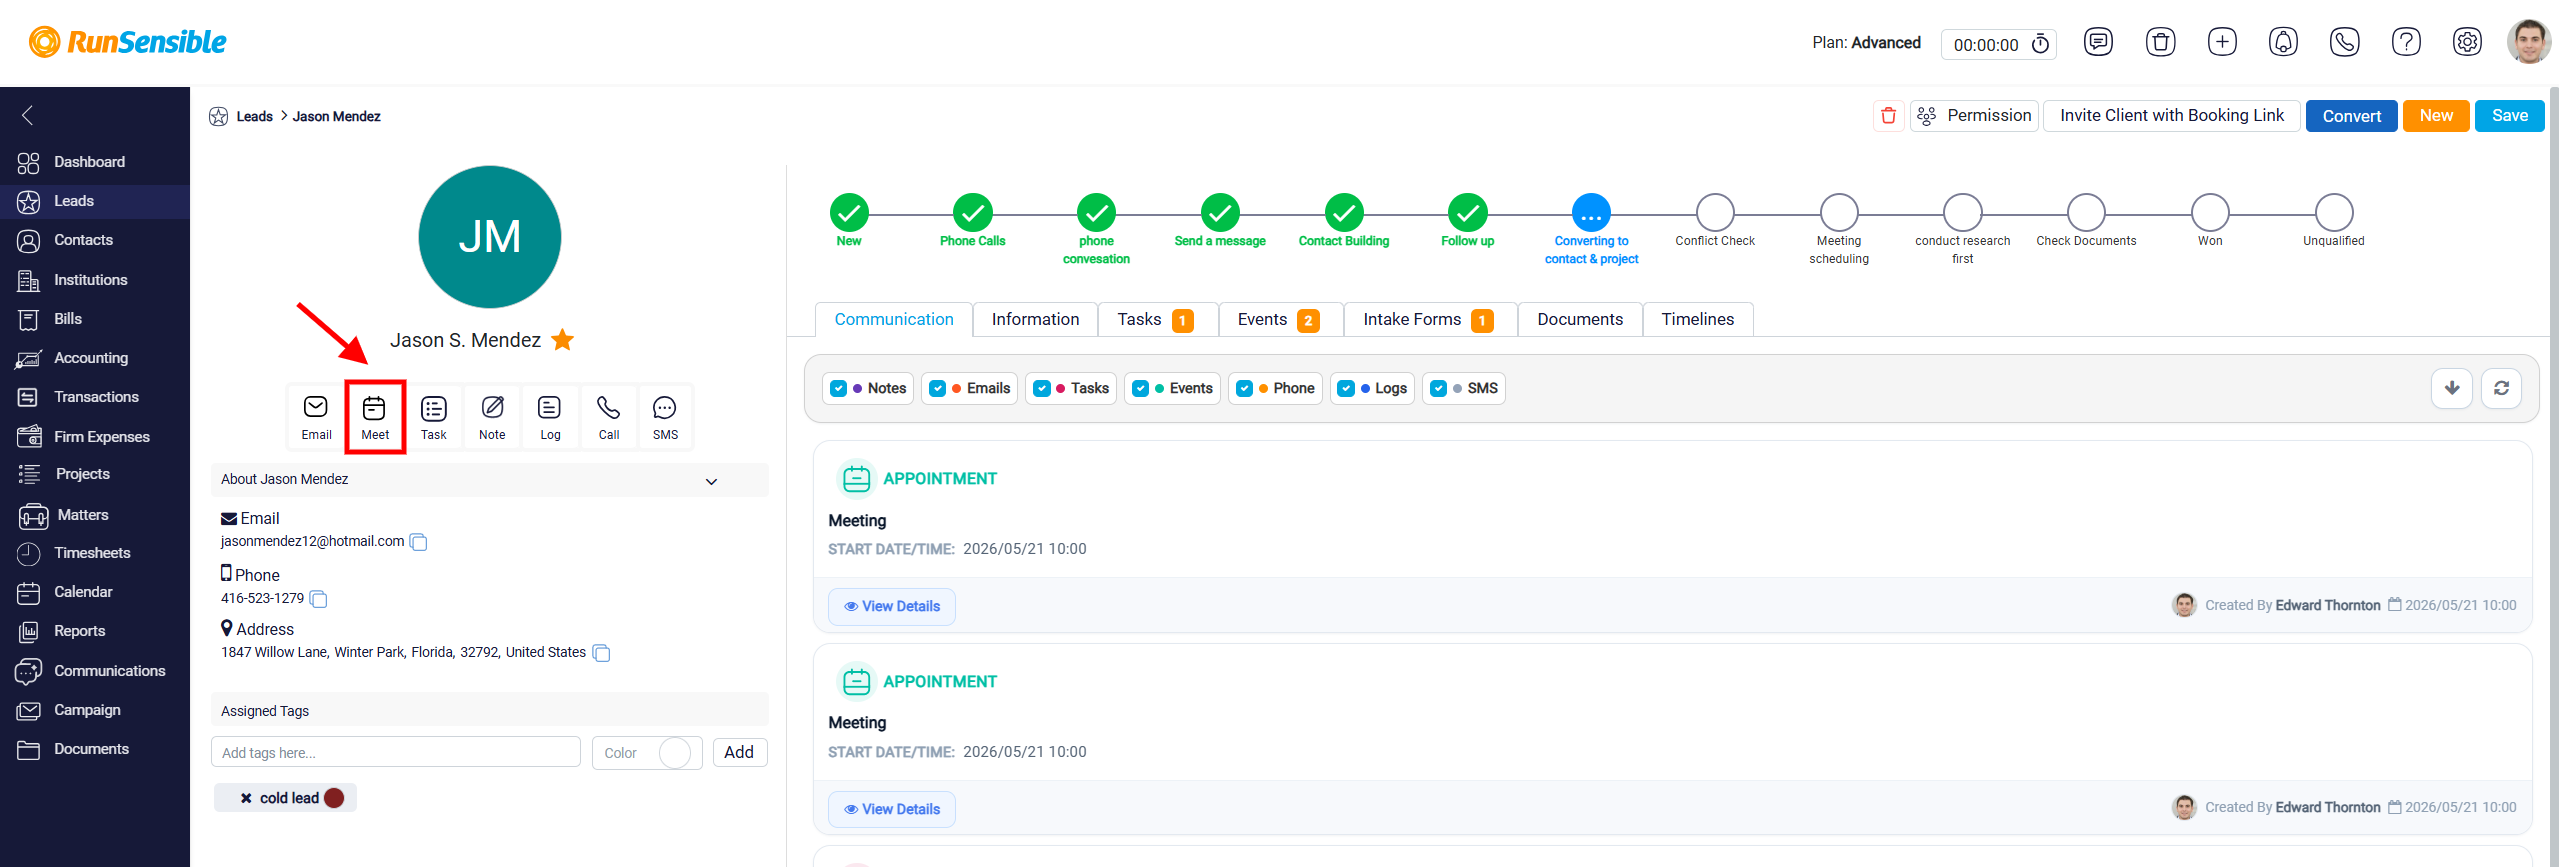
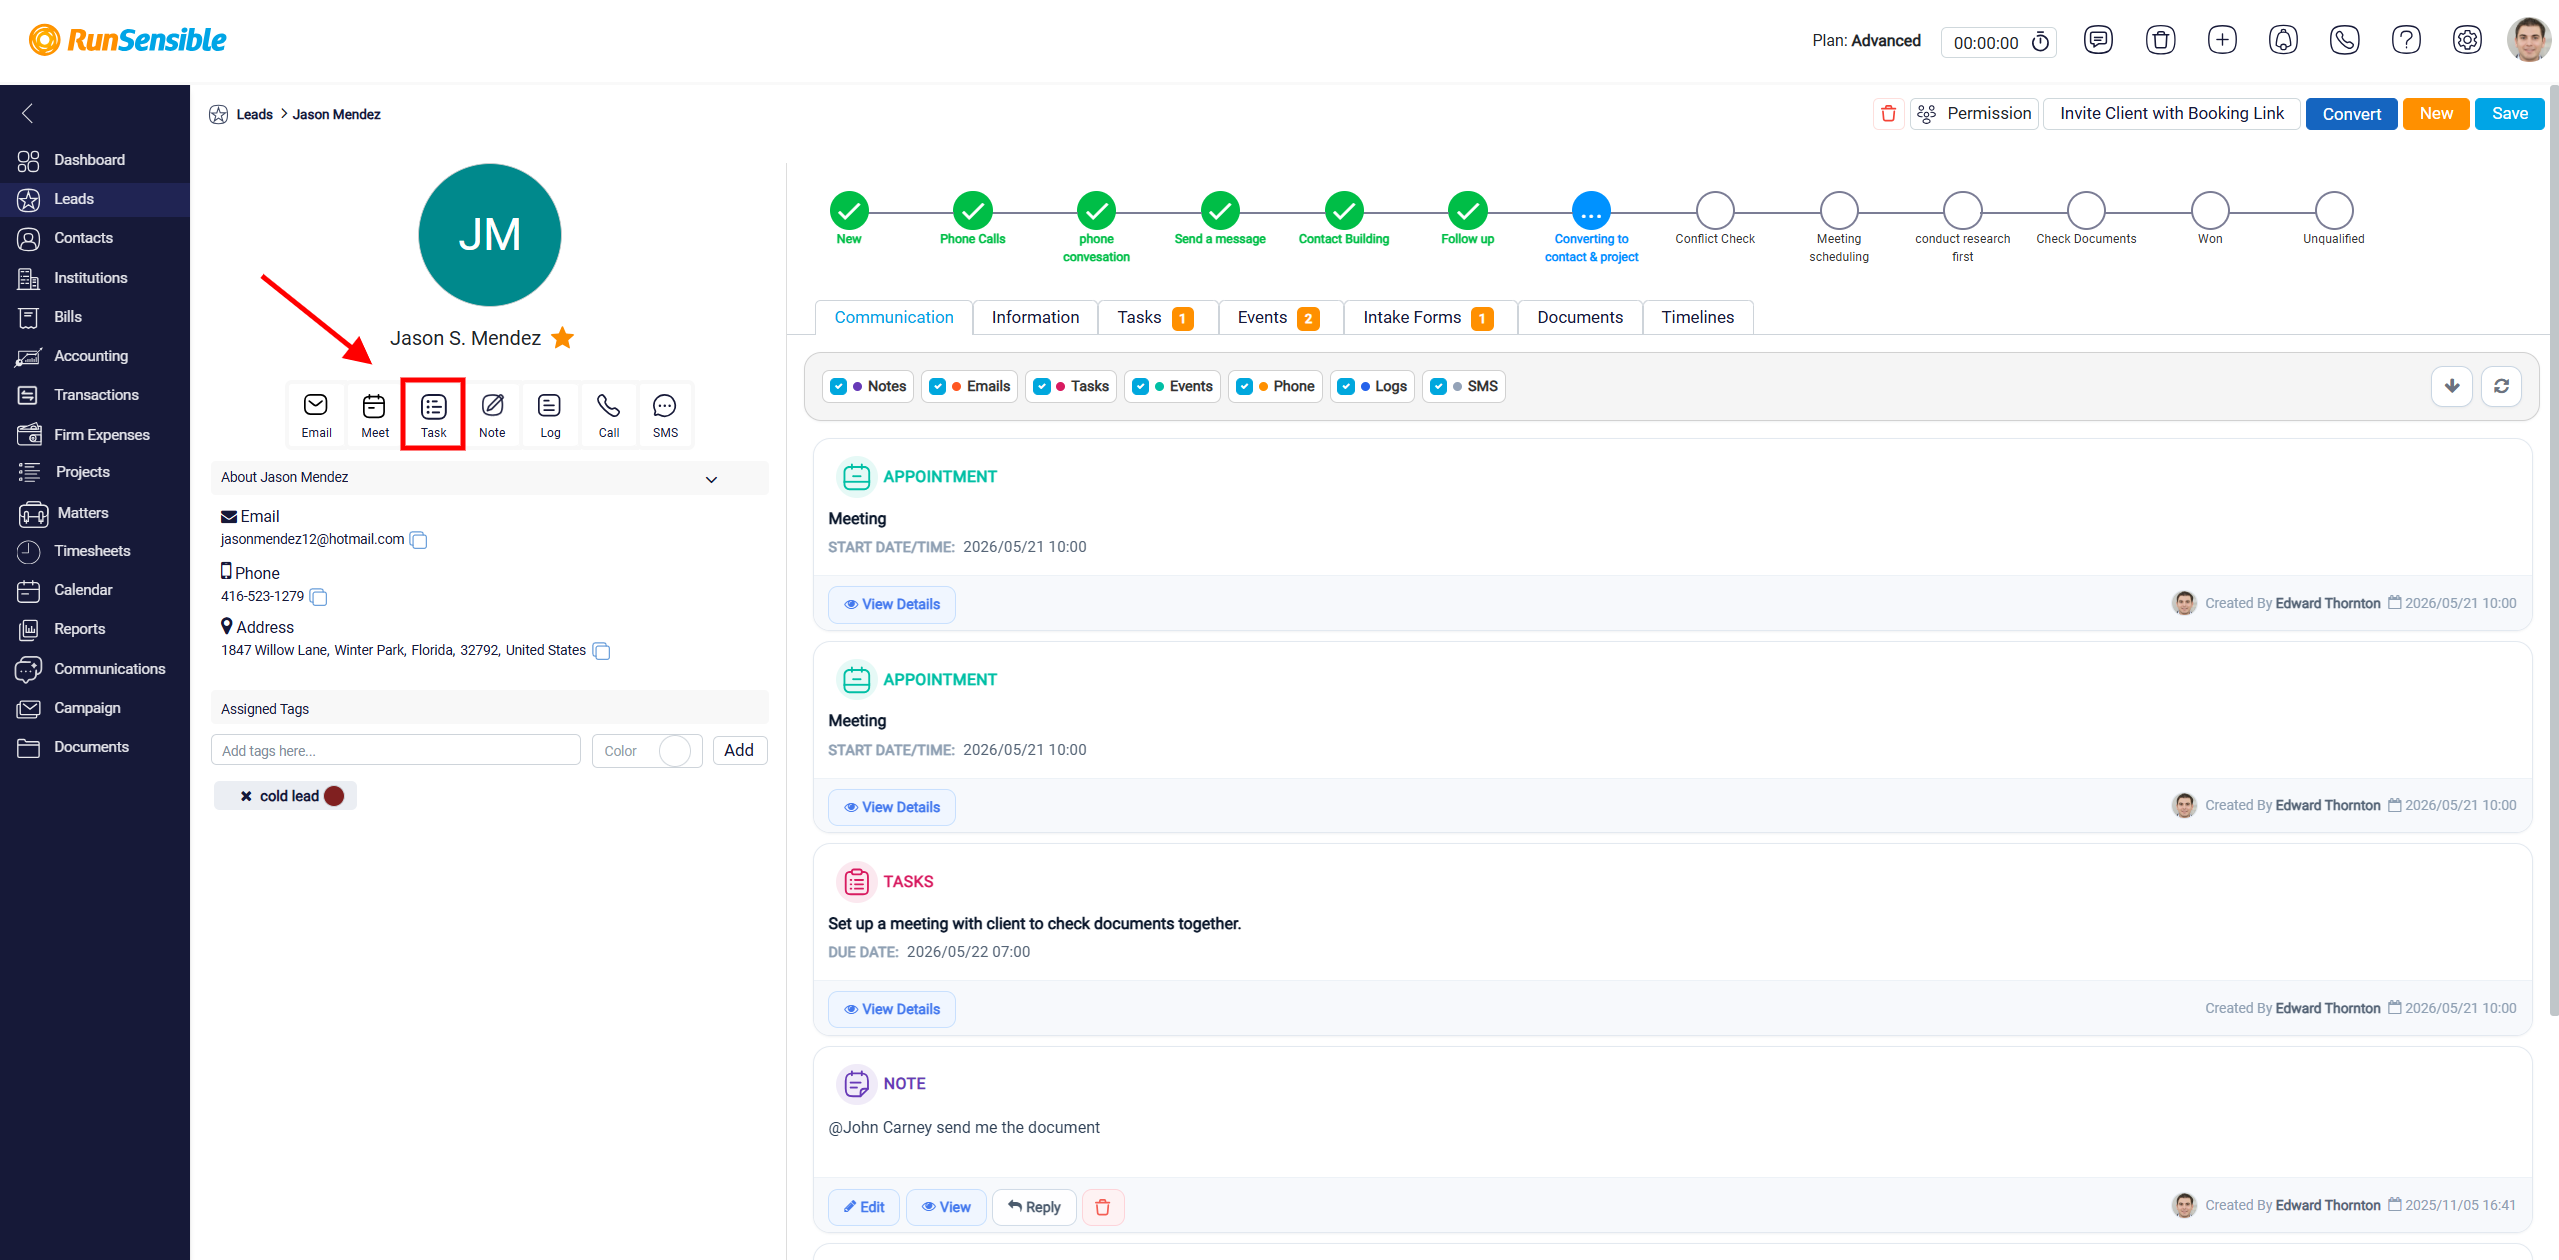
The Task button allows you to create a task that is directly connected to the lead you are currently working on.
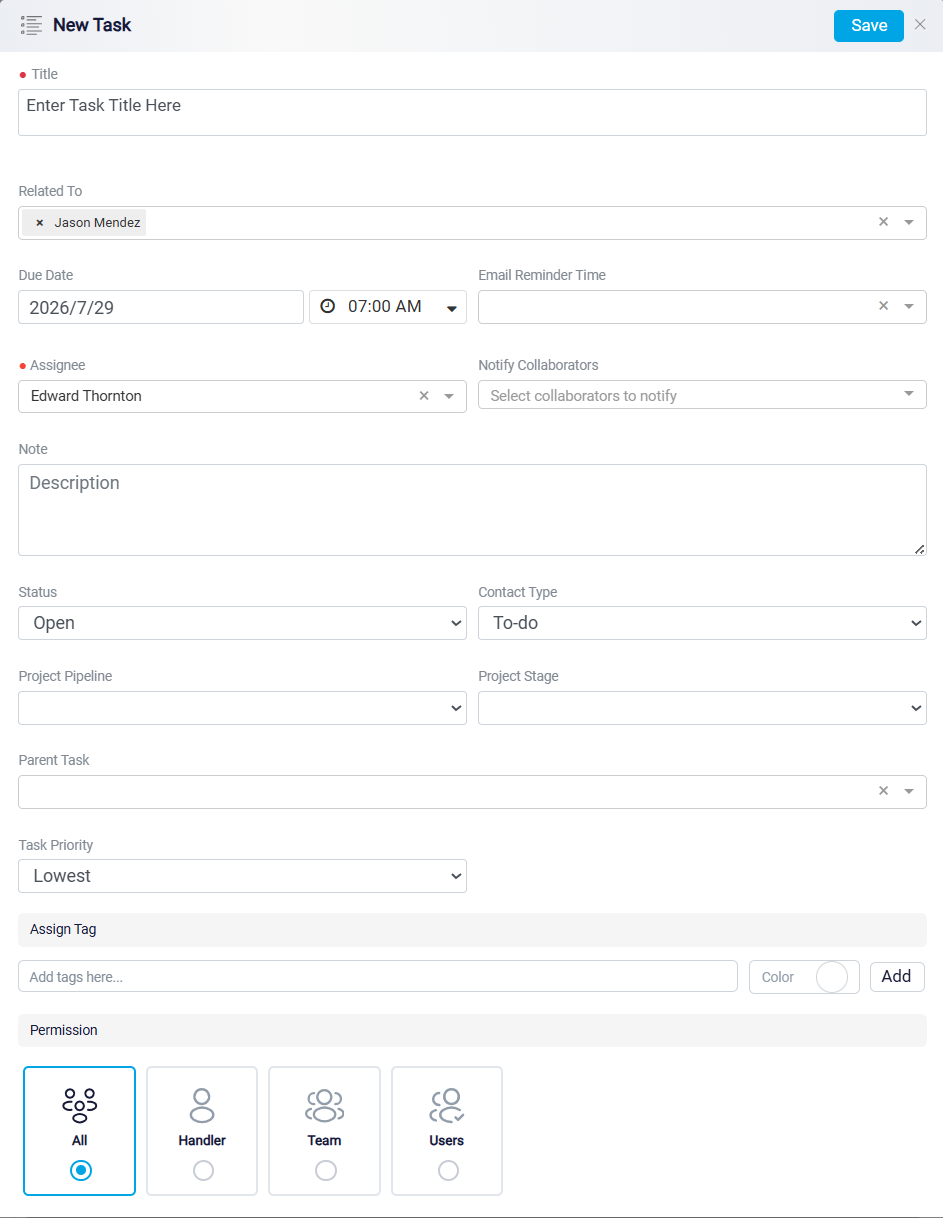
When you click the Task button, the New Task panel opens. This panel is used to enter and save task details in the system so that all follow-up actions, responsibilities, deadlines, and related work remain organized and trackable. The New Task panel is used to create and save a task in the system. In this panel, the user can enter the task details, choose who is responsible for it, set a due date and reminder, add collaborators, connect the task to related records or a project, add tags, and choose who can access it. After completing the information, the user clicks Save at the top right corner to create the task.
To learn how to schedule a new meeting, please see Creating a New Task.
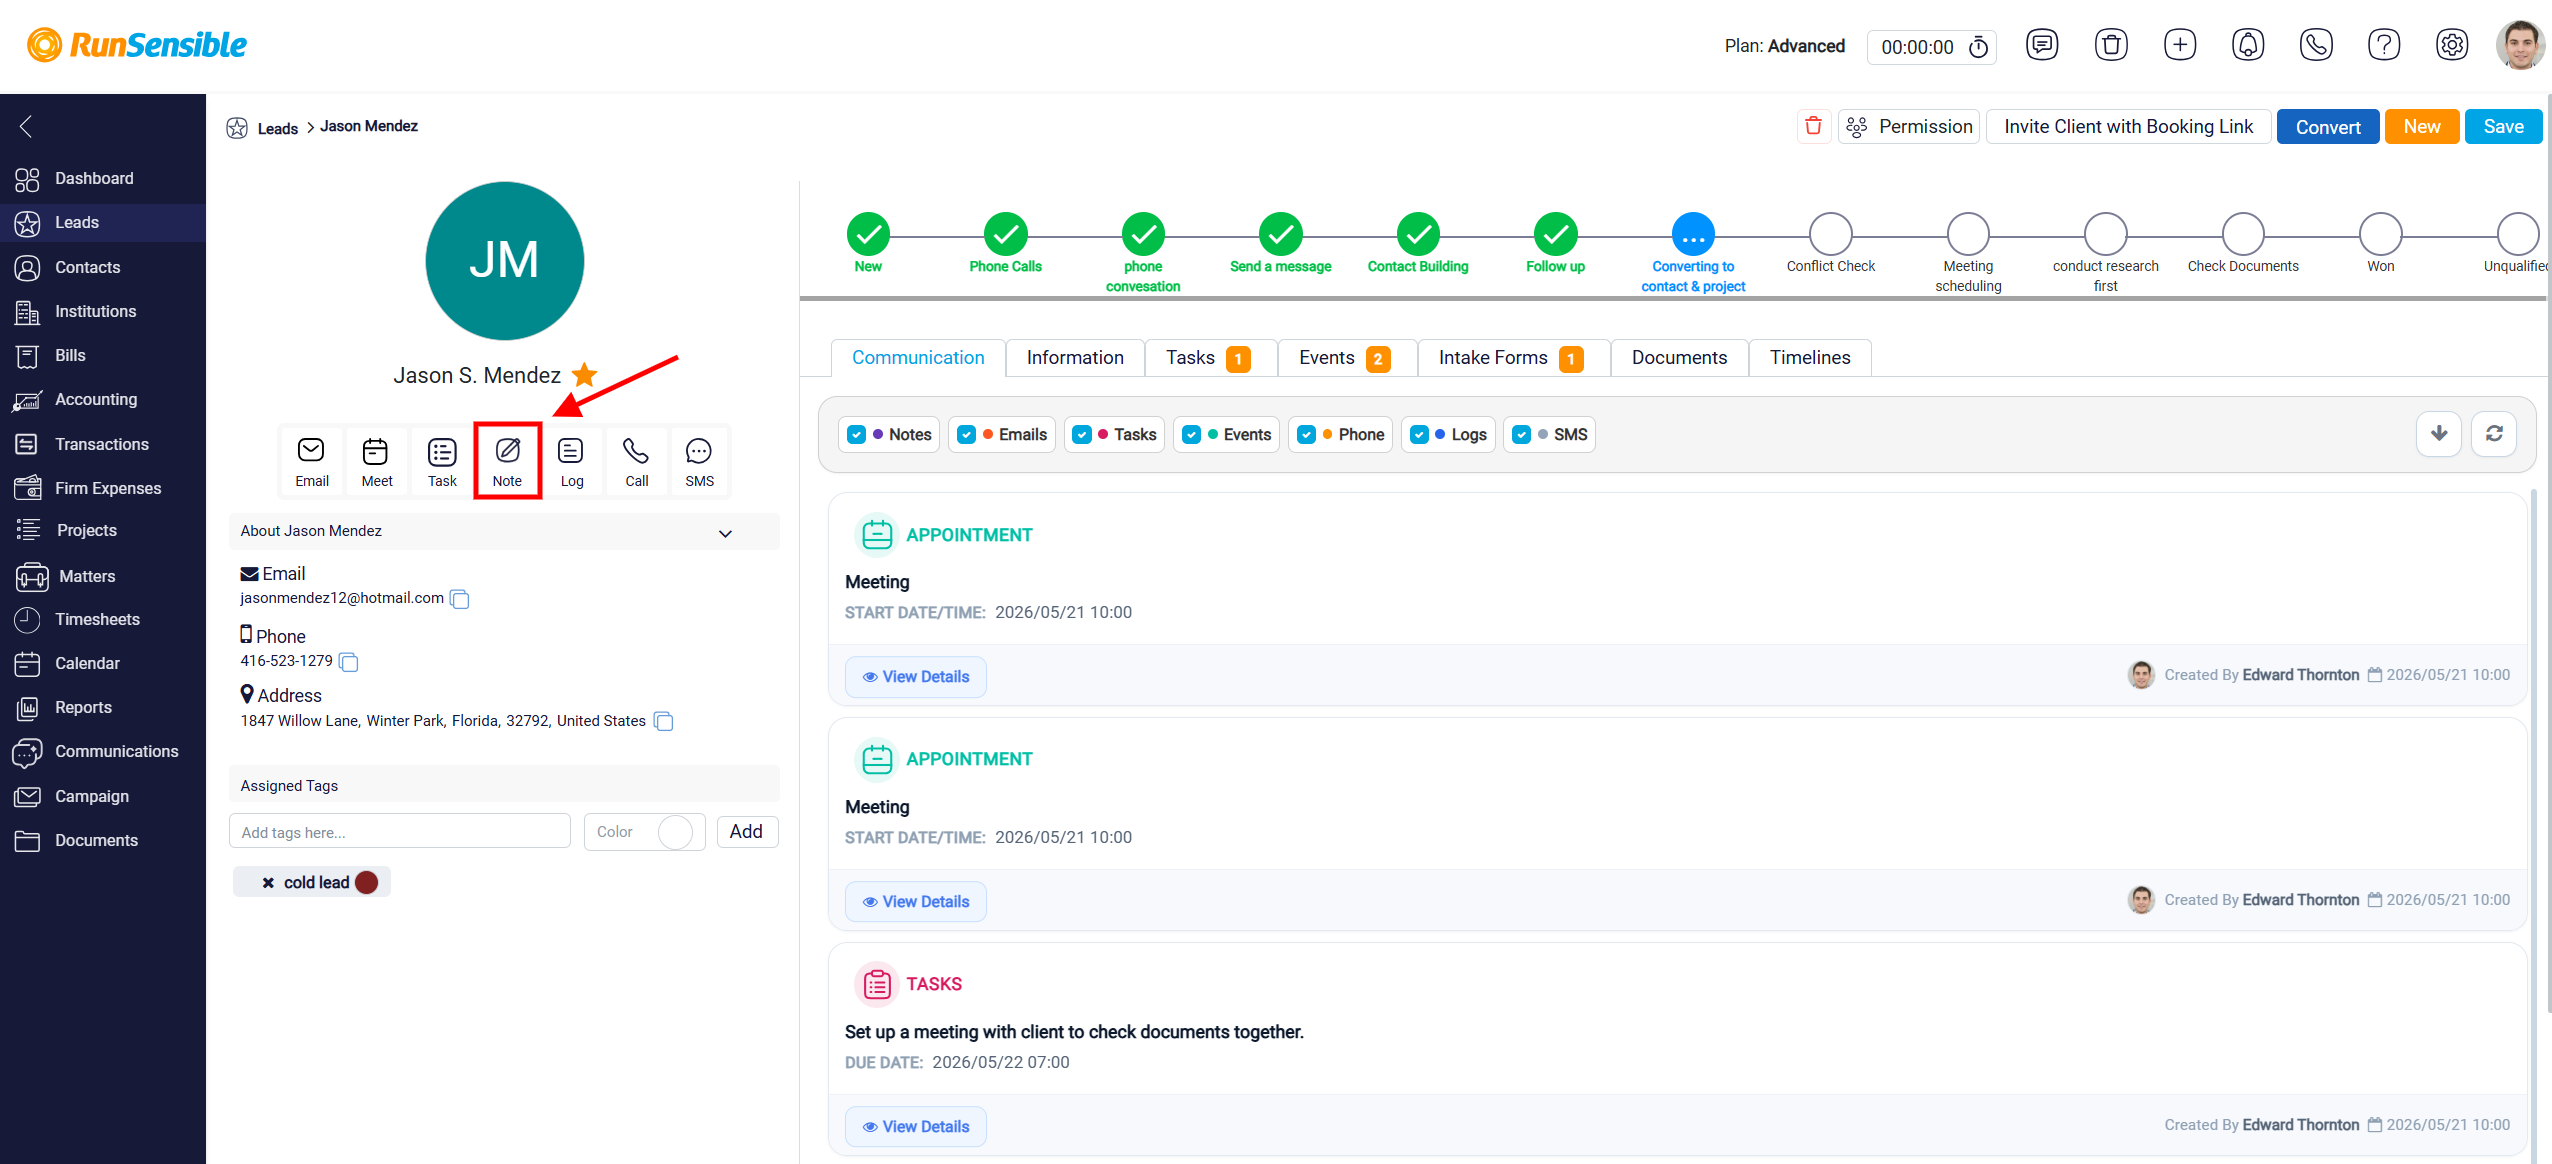
The Note button allows the user to add a note to the lead they are currently working on. When the user clicks Note, the New Note panel opens. This panel is used to save information related to the lead. The user can write a note, mention other users, record a voice note, convert the voice note into text, attach files, add tags, and choose who can access the note. This helps keep all important notes about the lead organized in one place.
To learn how to create a note, please see Creating a Note in RunSensible.
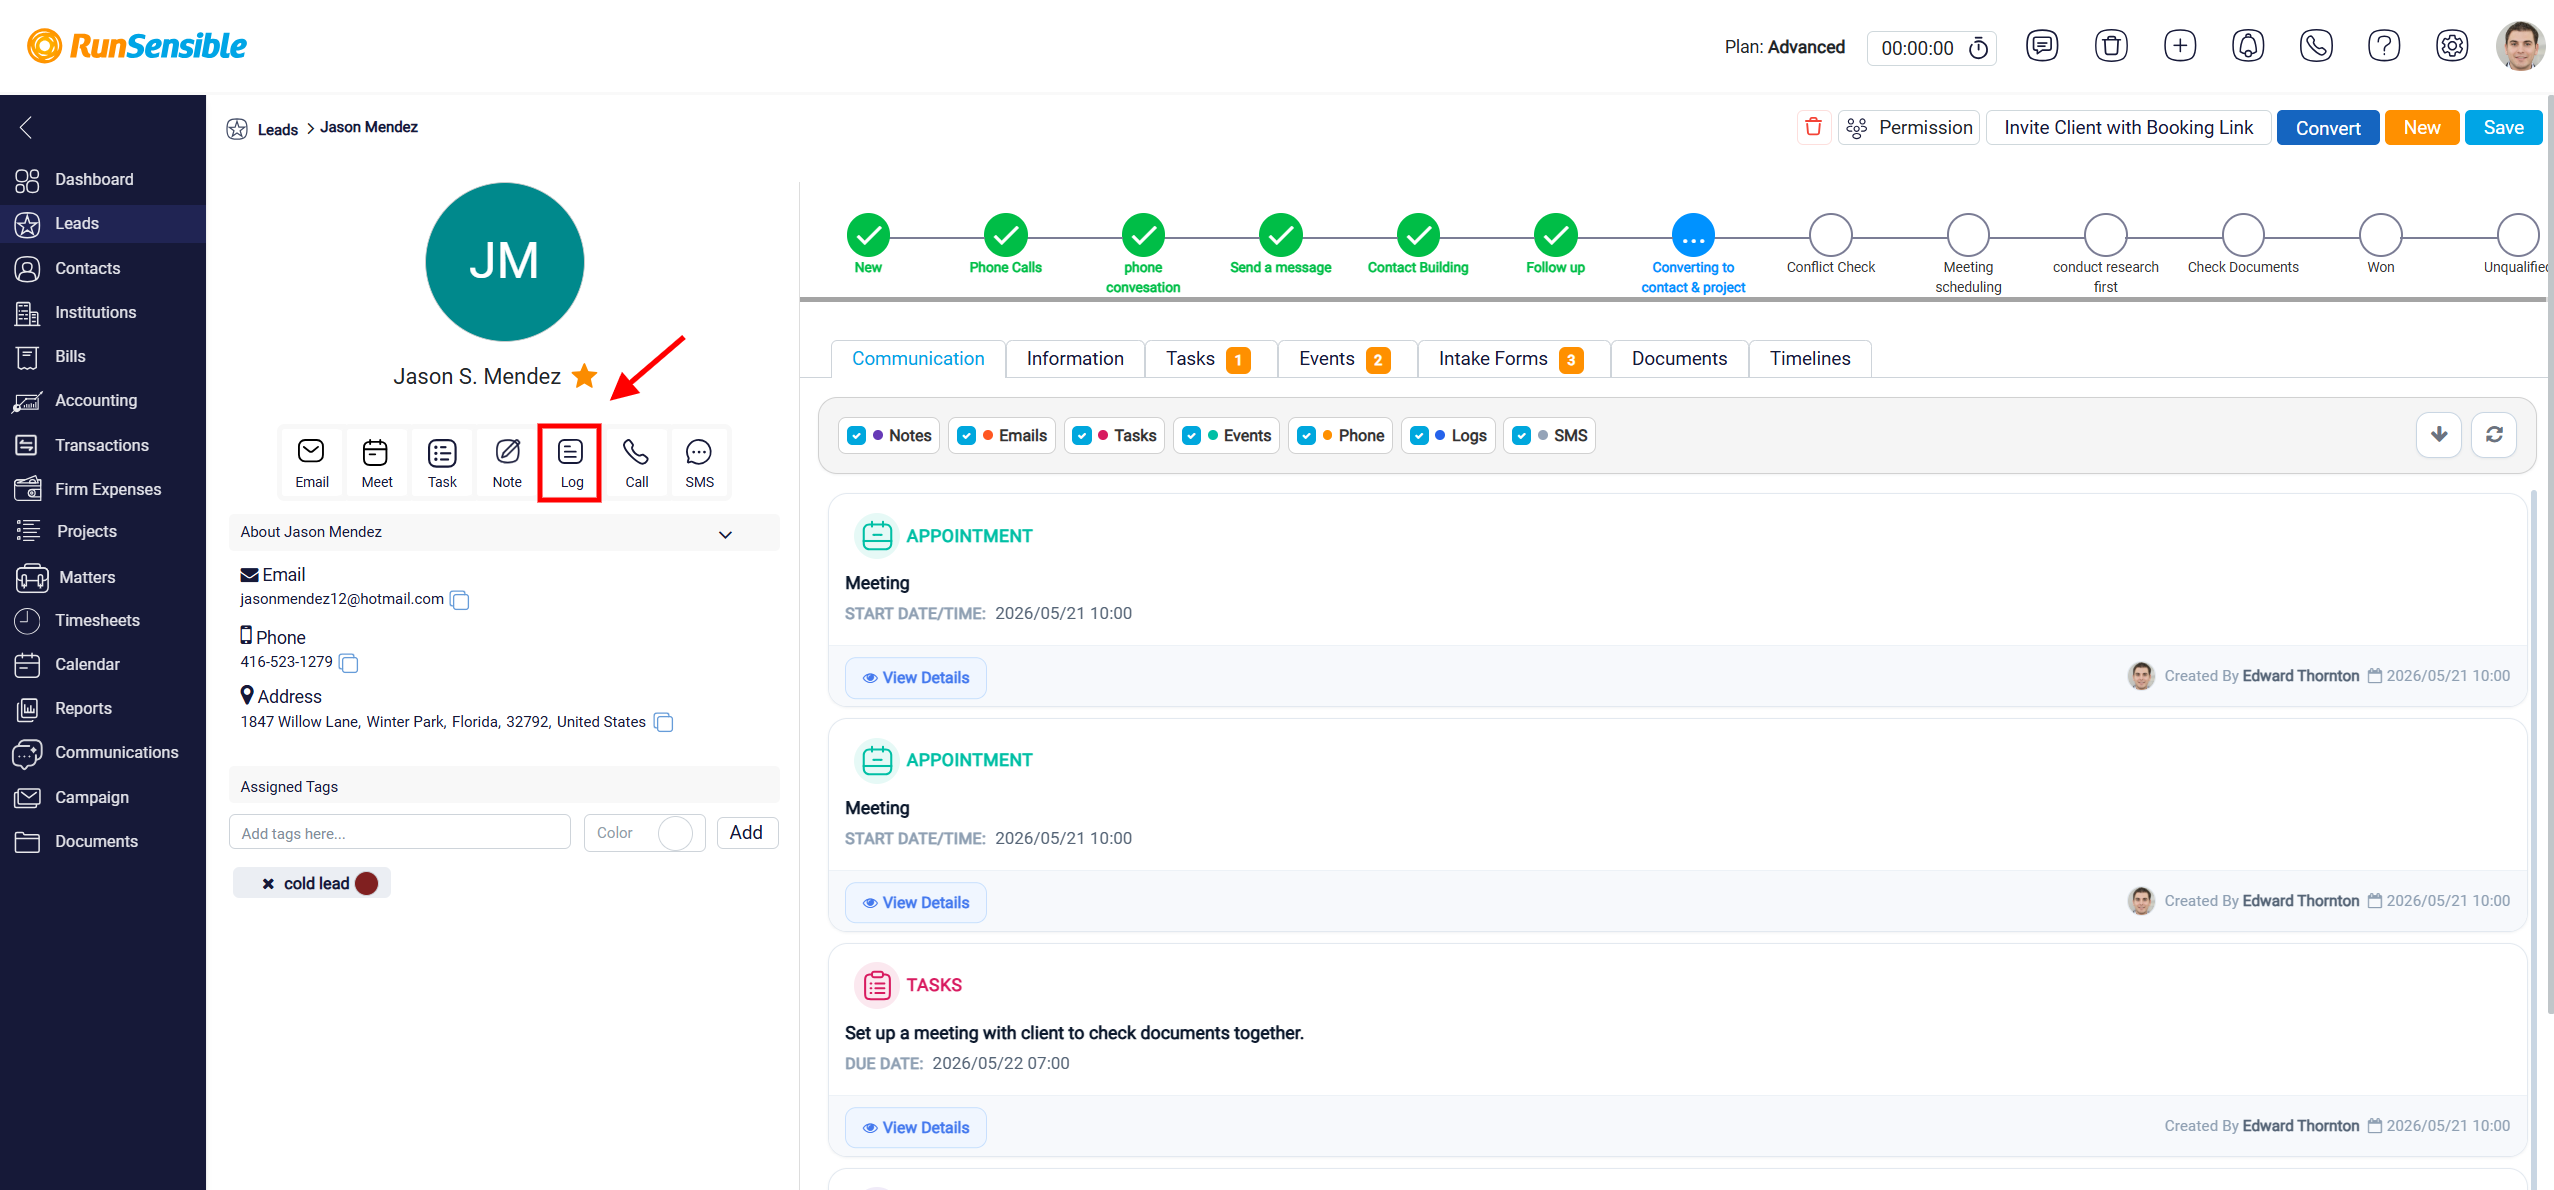
The Log button is used to record an activity or communication that already happened outside the system. This is useful when the user wants to keep a complete history of all interactions related to the lead, even if the activity did not take place inside RunSensible. For example, if the user spoke with the lead by phone outside the system, had an in-person conversation, or completed another related activity, they can record it using the Log button.
To learn how to create a log in RunSensible, please see Creating a Log in RunSensible.
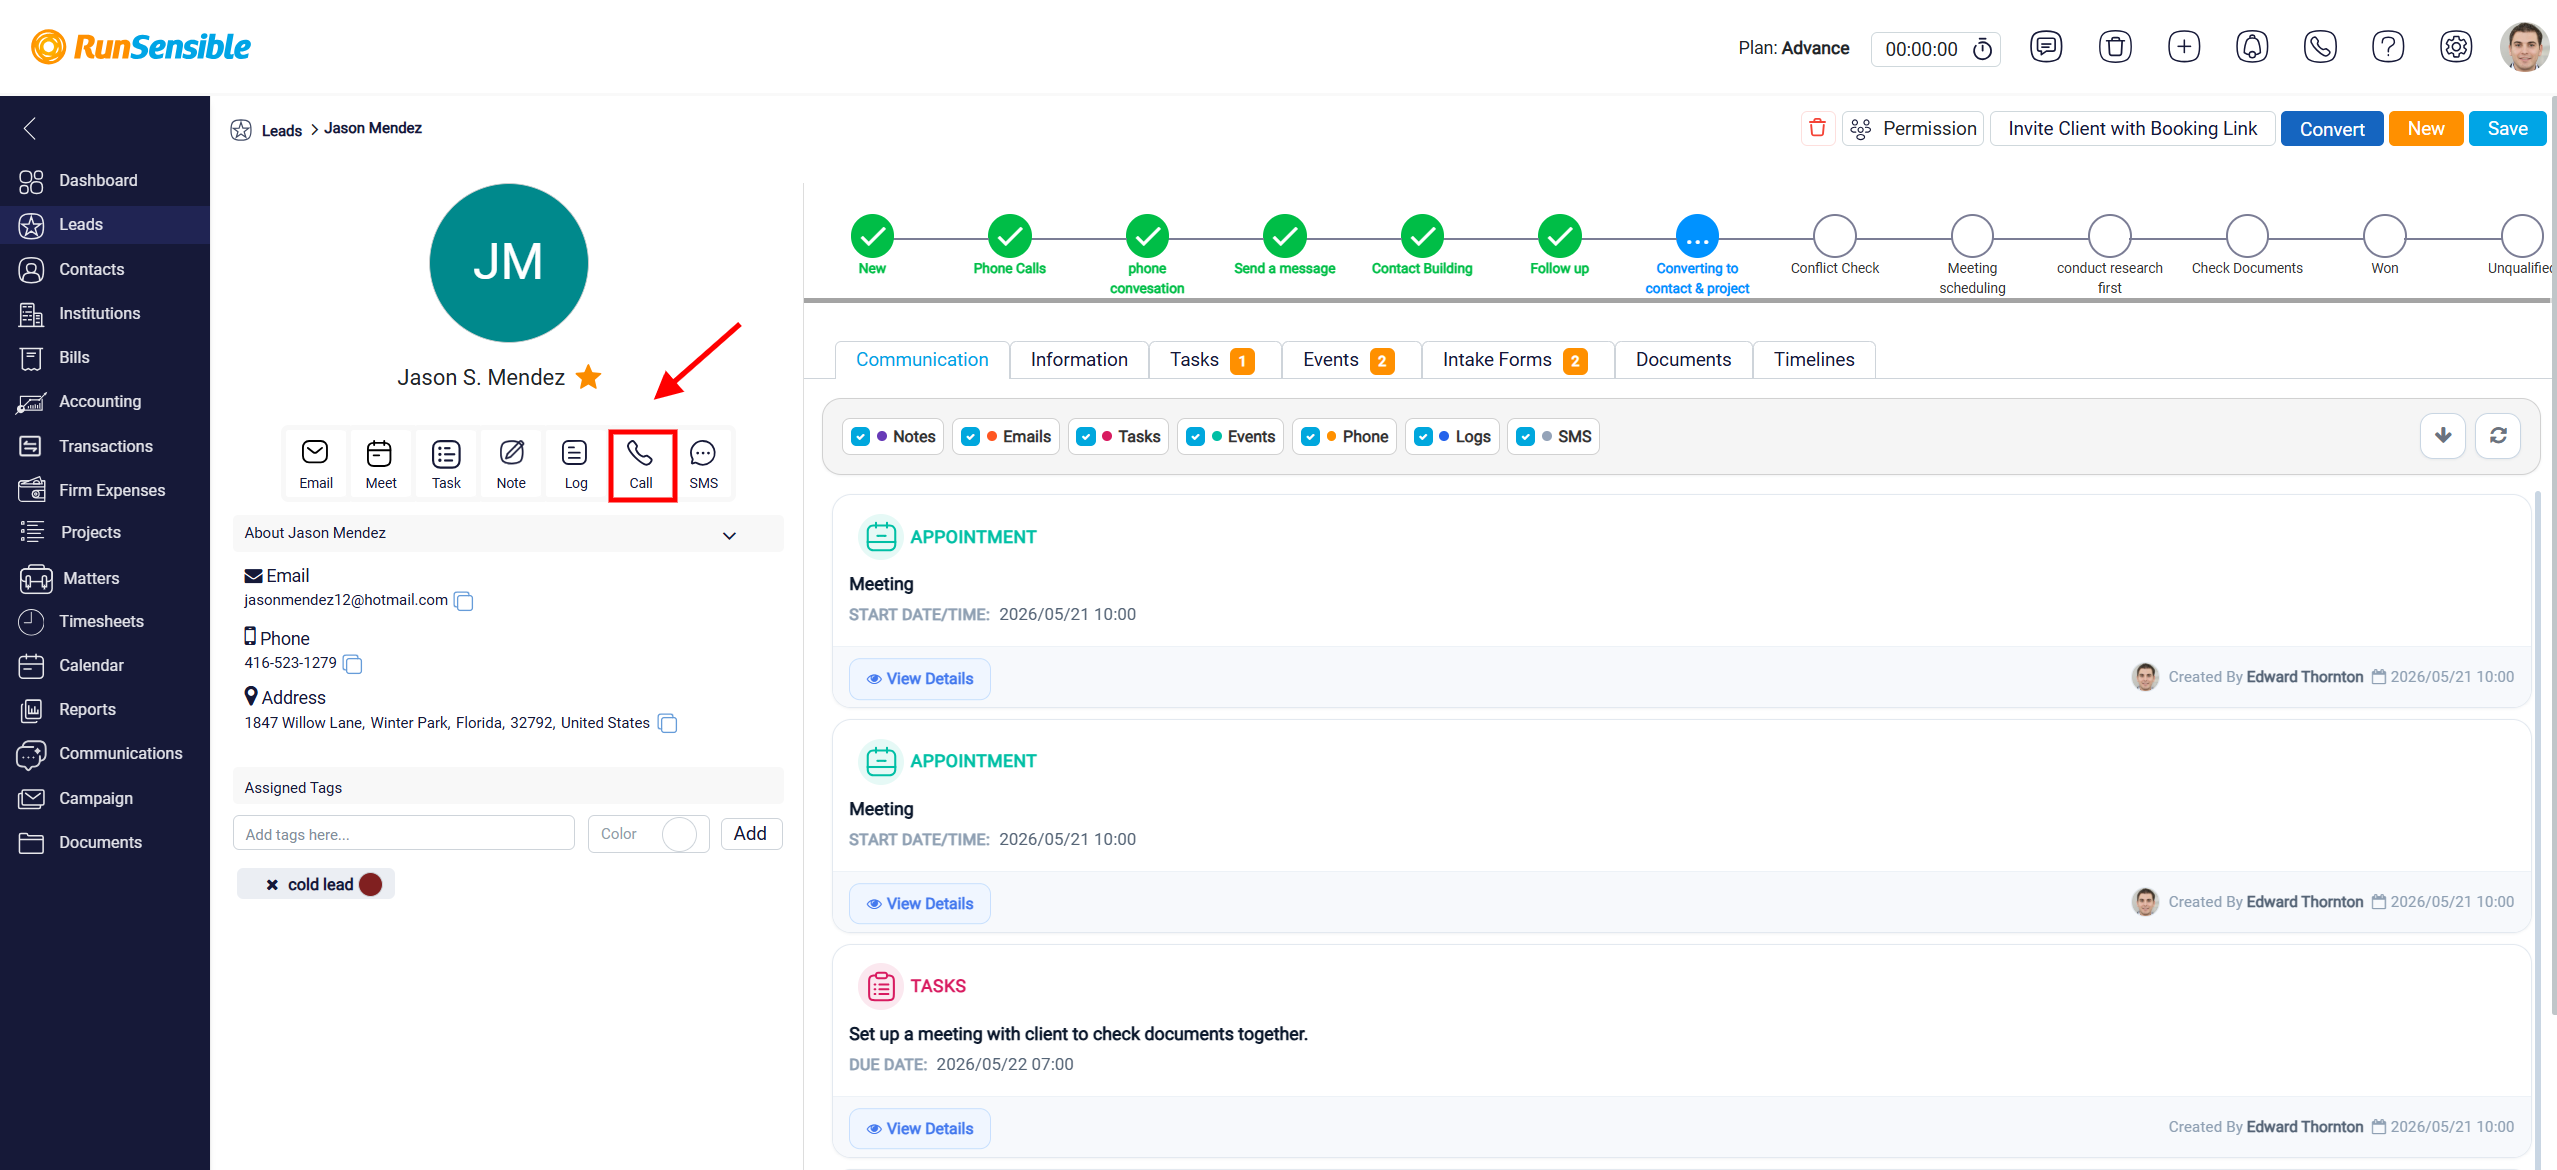
The Call button is used to call the lead directly from the system. When the user clicks this button, the Call panel opens if the lead has a phone number saved in the system.
To learn how to make a call, please see Making Calls in RunSensible.
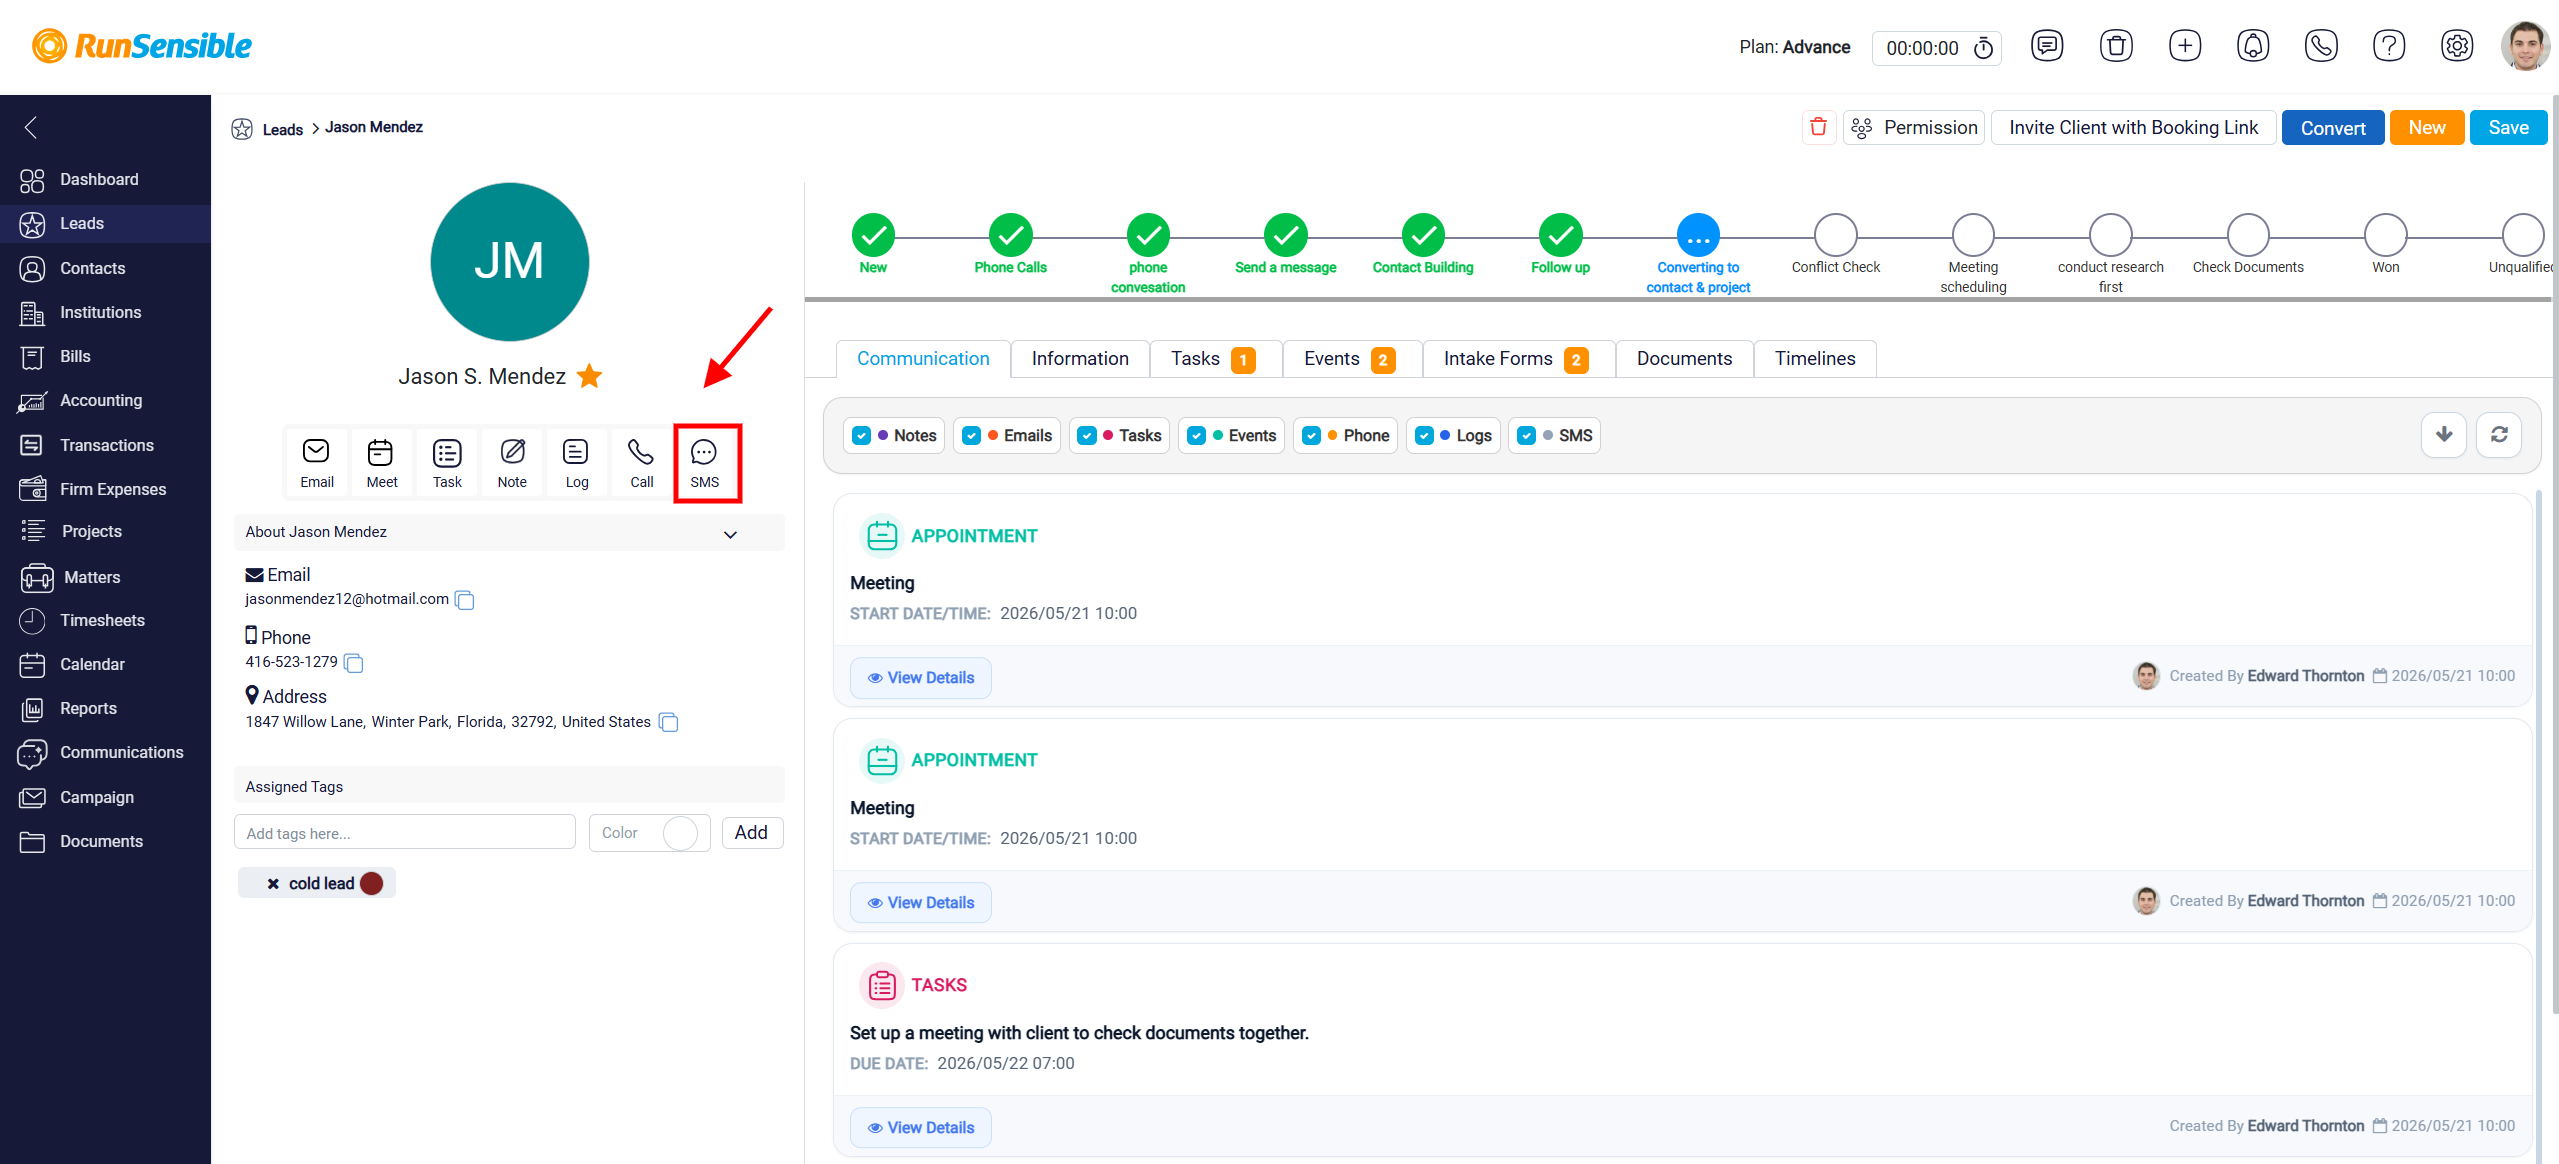
To send a text message, click the SMS button to open a text messaging window. Enter the message you want to send in the text box provided. Review the message and click Send to deliver it to the lead’s phone number.
To learn how to send an SMS, please see Sending SMS in RunSensible.
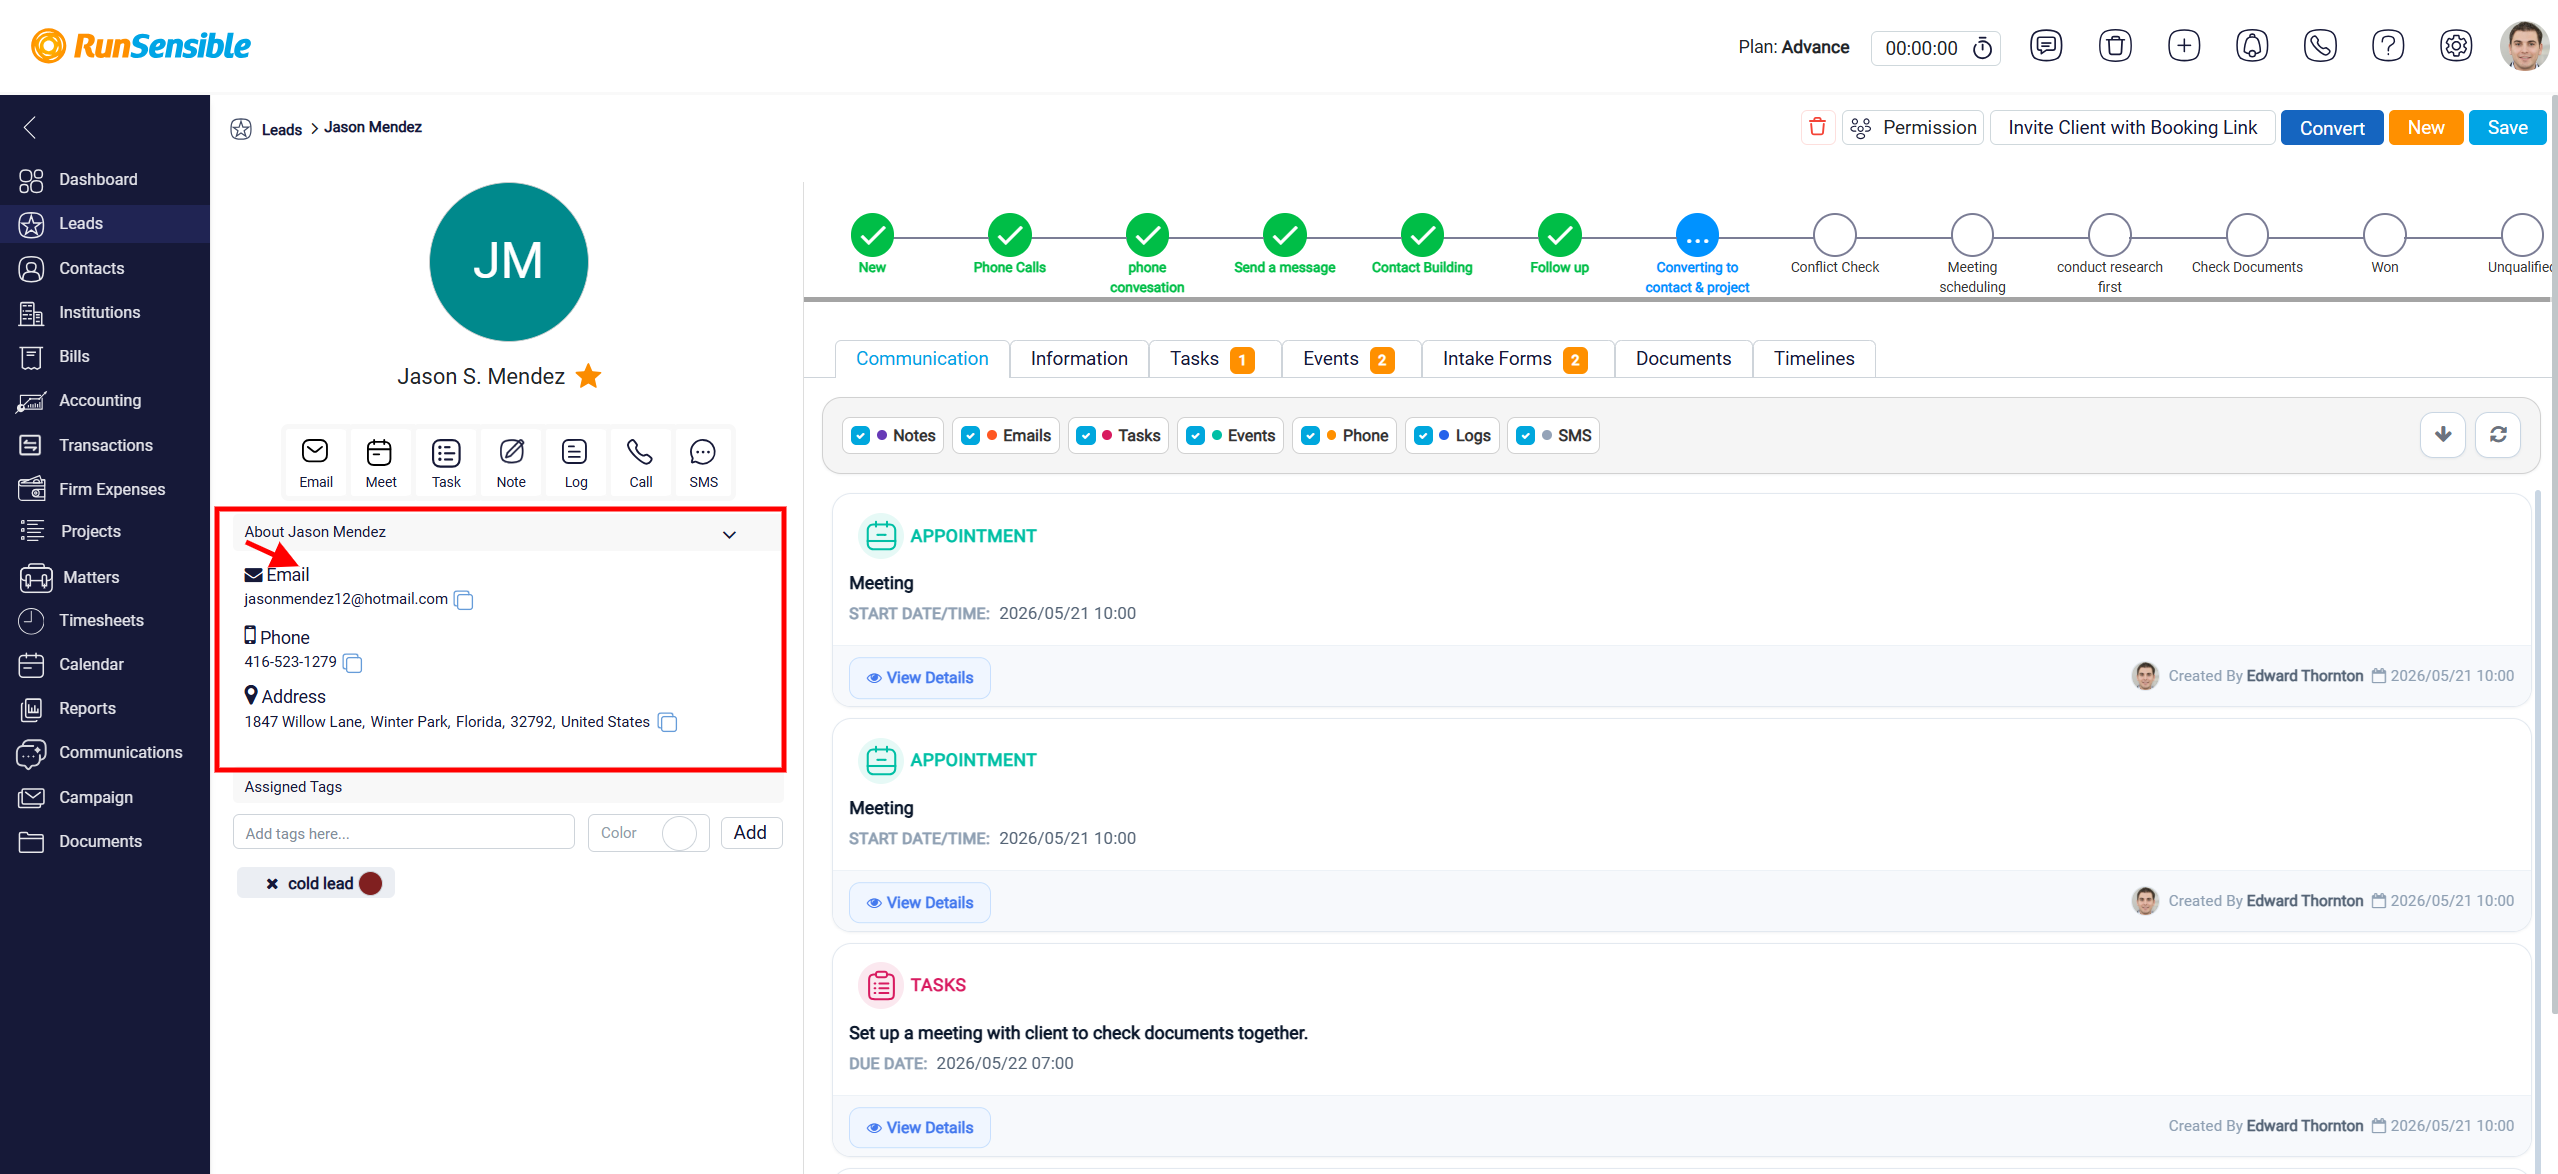
Directly beneath these action buttons, you’ll find a dropdown menu labeled “About [Lead Name]” which allows you to toggle between different views or sections of the lead’s details, including personal information, account details, and more. Additionally, this section displays metrics related to the lead’s engagement and relationship status with your organization such as loyalty point, and trust levels.
There is an area dedicated to assigning tags to the lead. To add a new tag, click inside the text box labeled Add tags here and type the name of the tag you want to use. If the tag already exists, it will appear in a dropdown list for you to select. If it is a new tag, press Enter to create it. You also have the option to set a color for the tag by clicking the color toggle next to the tag name. Assigning a color can help make tags more visually distinctive, making it easier to identify categories at a glance. You could also click the Add button to apply the tag to the lead. The tag will then appear in the Assigned Tags section.
To learn how to manage tags, please see Tag Management.