Creating and Adding Information to a New Lead
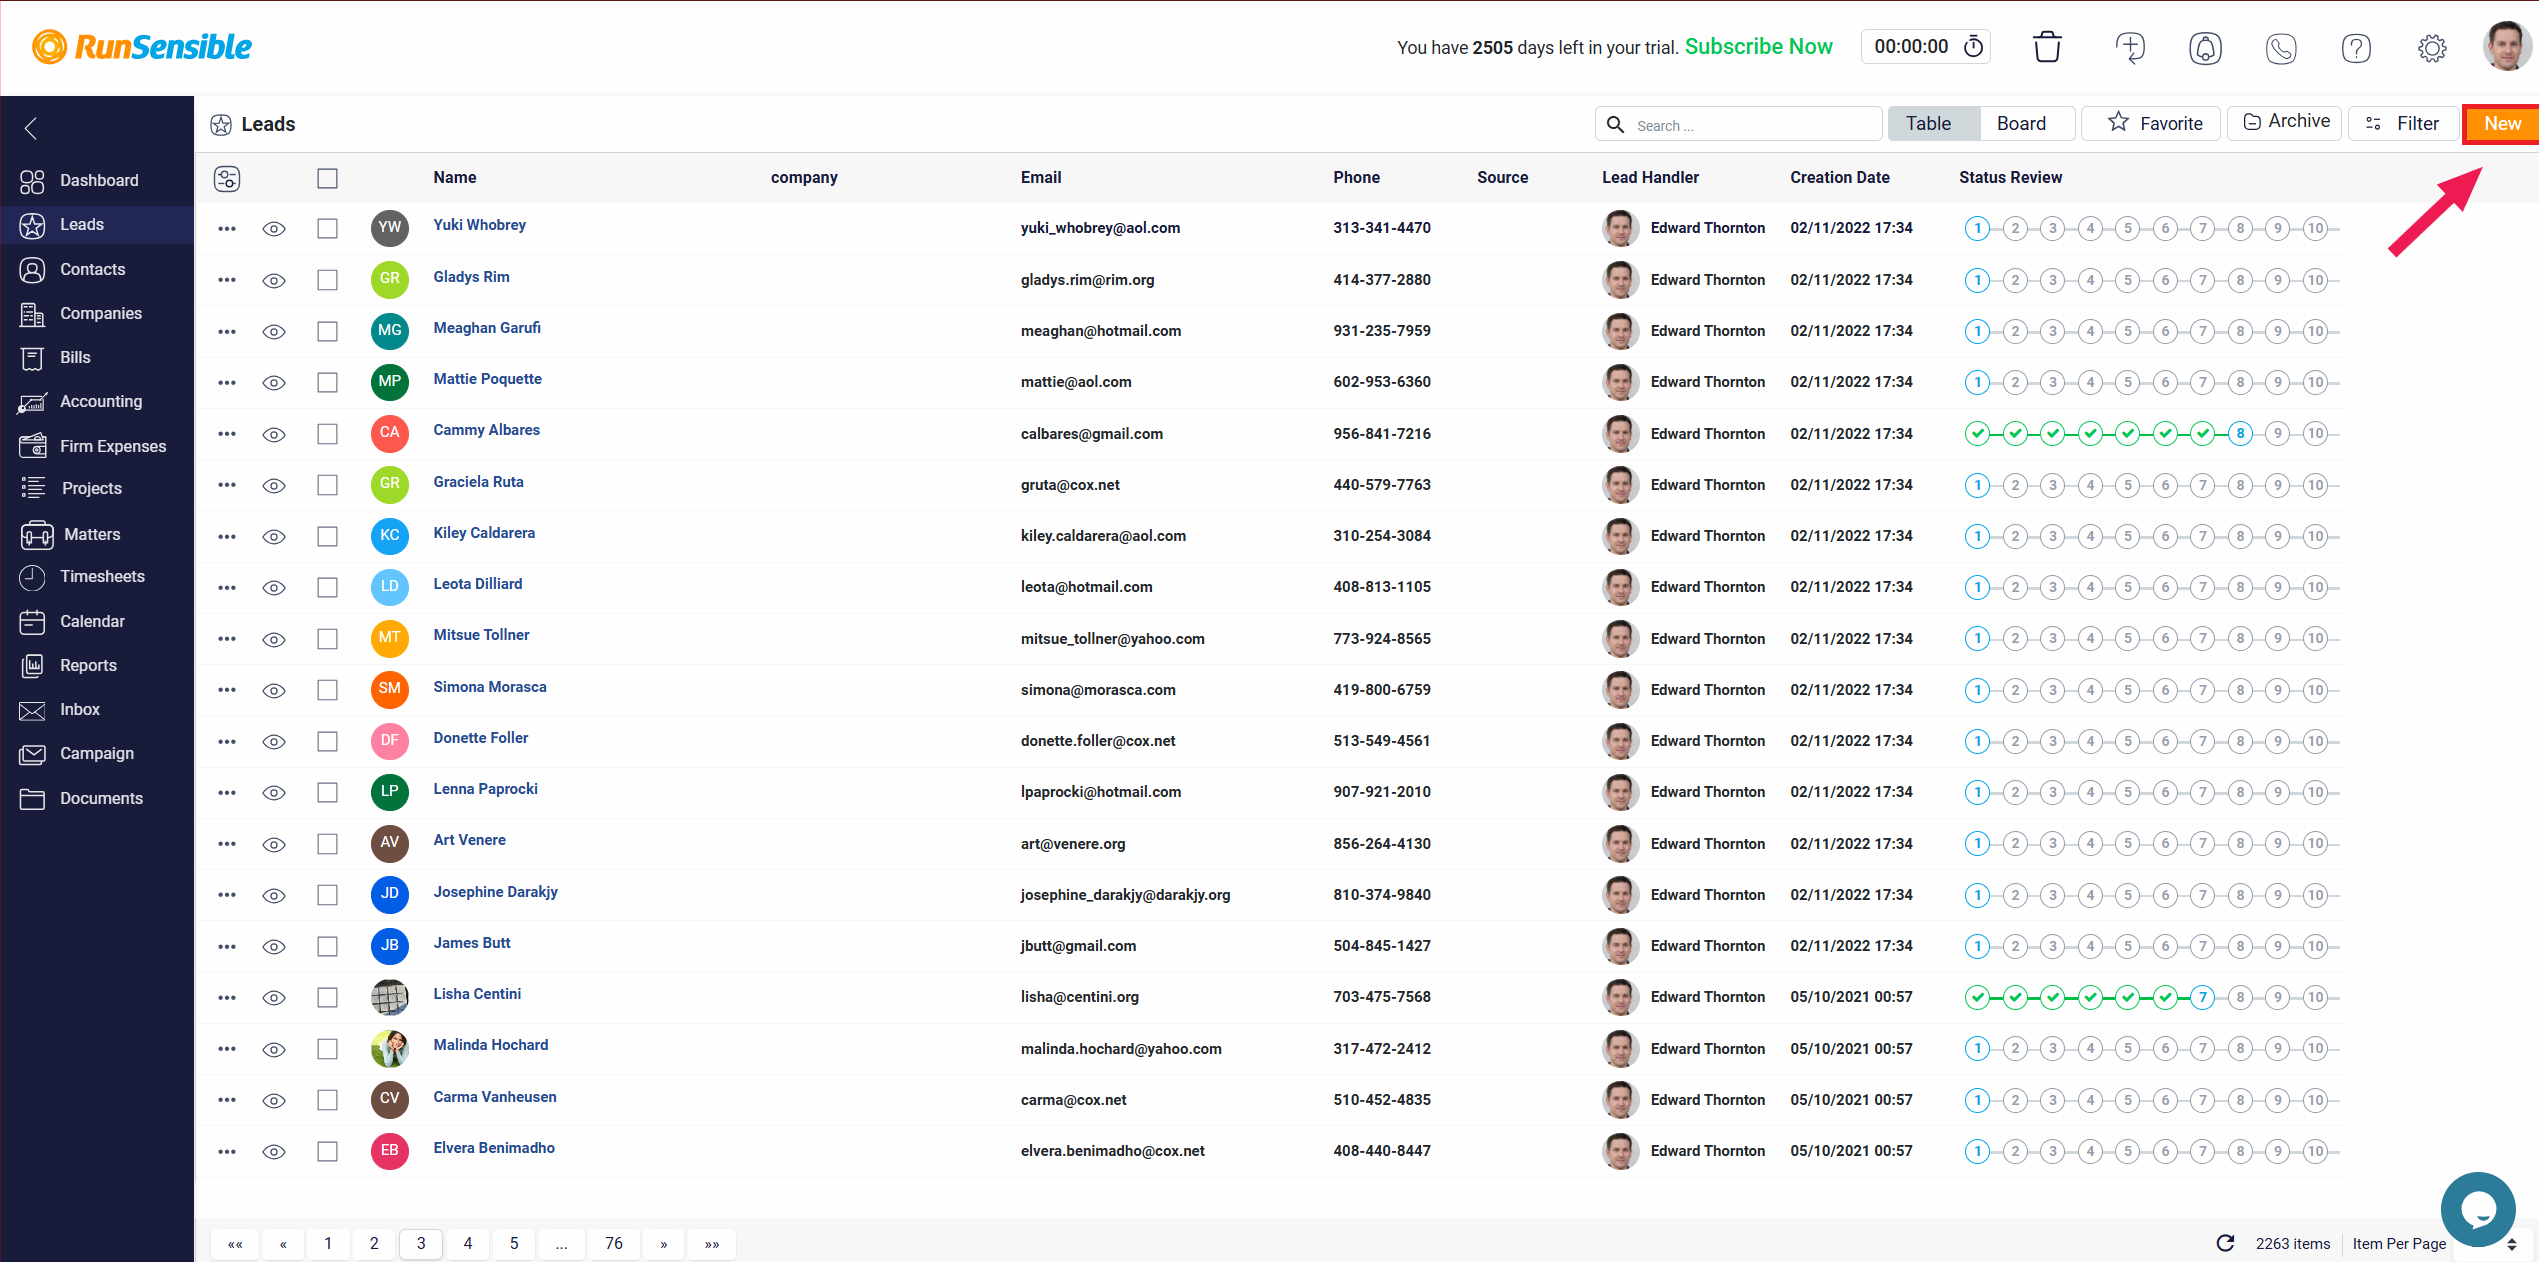
To create a new lead, click on the New button at the top right corner of your screen.

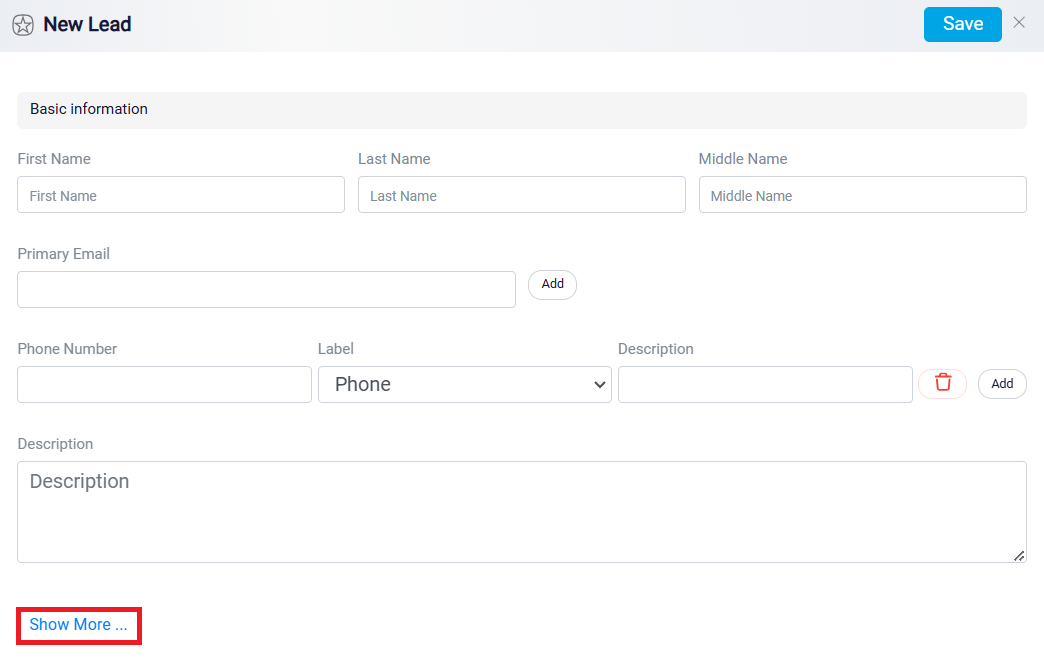
A form will appear where you can enter the necessary information about your new lead in the relevant fields.

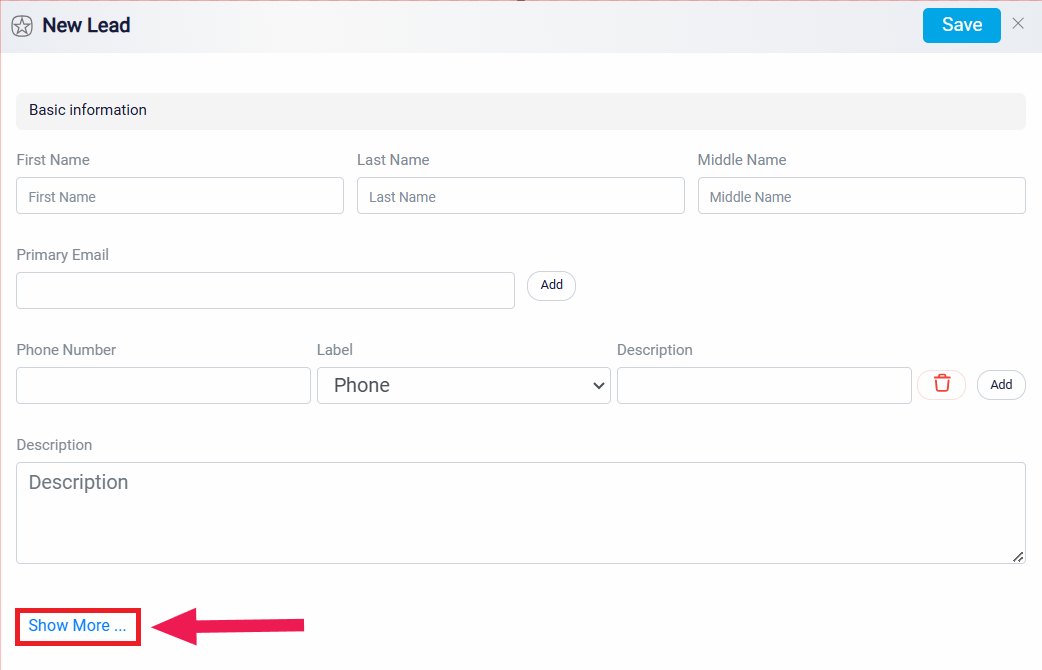
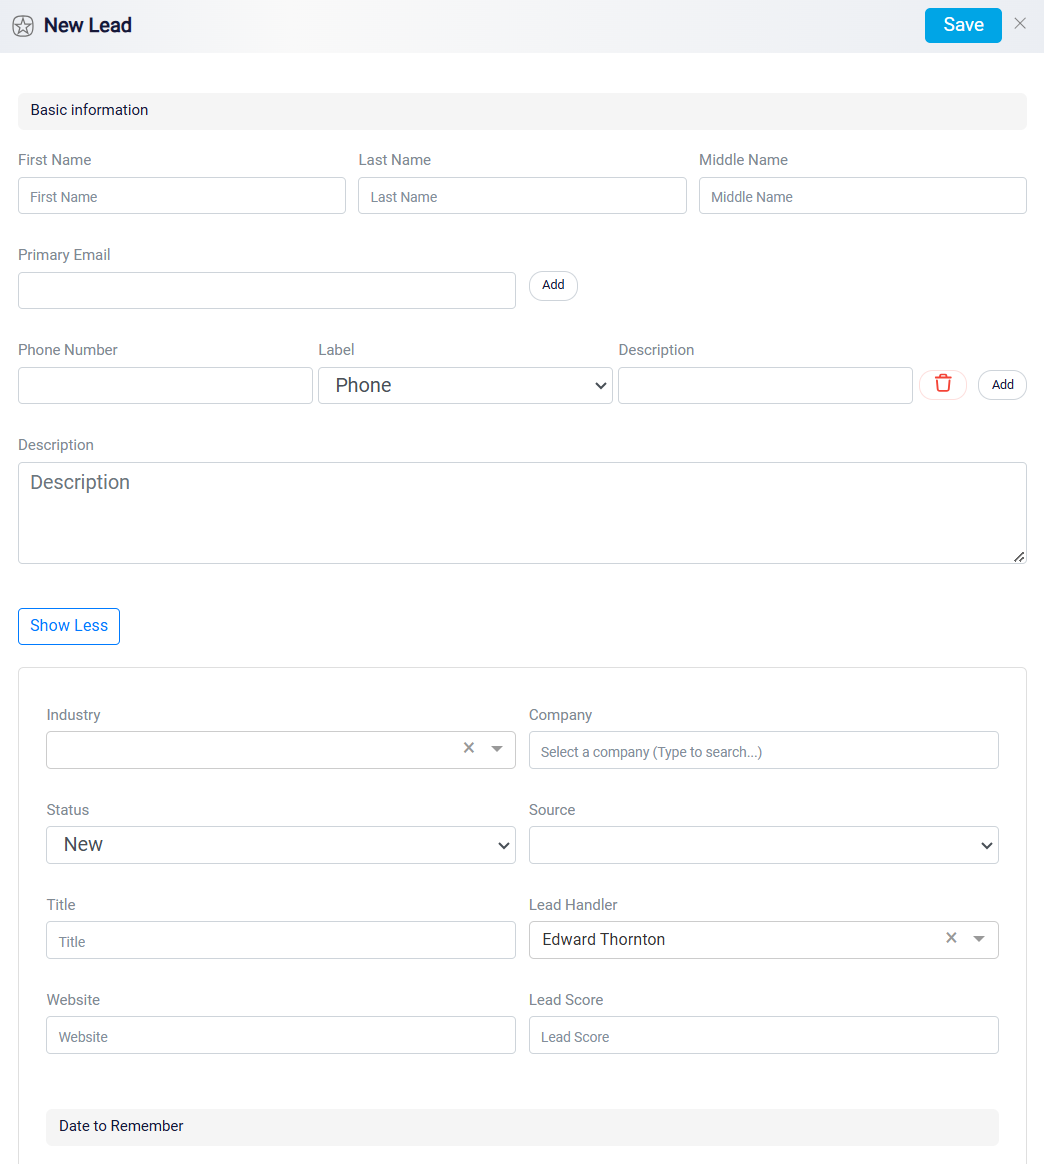
If you need to add more information beyond the basic details, click on the Show More button at the bottom of the form, which will reveal additional fields for you to complete, allowing for a more comprehensive profile of your lead.

After clicking the Show More button, you will see two additional sections appear at the bottom of the screen.

There is a section called Assign Tag. This feature allows you to assign tags to your lead, making it easier to categorize and locate them later. To use this feature, type the name of the tag you want to assign in the Assign Tag box. Next, you can choose a color for your tag by clicking on the small circle button to the right of the box. Once you have selected the color, click the Add button to assign the tag to your lead. You can create and assign as many tags as you need, helping you to effectively organize your leads based on categories that make sense for your firm.

The next section is labeled Permission.

This is where you can control who has access to view and manage the lead within your software. By default, the permission setting is set to All, which means every user in your system can see this lead. However, if you want to restrict access, you have several options.
You can set the permission to Handler, which limits visibility to only the person assigned as the handler of the lead. By default, the handler is the user who initially created the lead, but you can change this assignment if needed. To do this, you would adjust the handler information in the boxes that appear after clicking Show More.
Another option is to set the permission to Team, which restricts access to a specific team within your organization. When you choose this option, a drop-down menu will appear, showing all the teams you have created in your system. Select the appropriate team from the list to ensure that only members of that team can view and manage the lead.
Alternatively, you can set the permission to User, which restricts visibility to a specific individual within your organization. When you choose this option, a drop-down menu will appear, displaying a list of all users in your system. From this list, you can select the specific user who should have exclusive access to view and manage the lead.
Once you have completed all the steps, click the Save button located at the top right corner of the screen.
You can learn more about the team in the Team Management help file.