Lead Detail Tabs
The Lead Detail Tabs in RunSensible provide a centralized view of all information related to a prospective client. Each tab is designed to organize key details—such as contact information, communications, documents, tasks, intake forms and timelines—making it easy to track interactions, manage follow-ups, and move leads efficiently through your intake process.
On the right side of the lead’s full-screen detail view, there are several tabs. Each tab focuses on a different part of the lead’s information, such as communication history, saved details, tasks, events, intake forms, documents, and other related records. These tabs help keep the lead’s information organized so the user can review each type of information in the correct place.
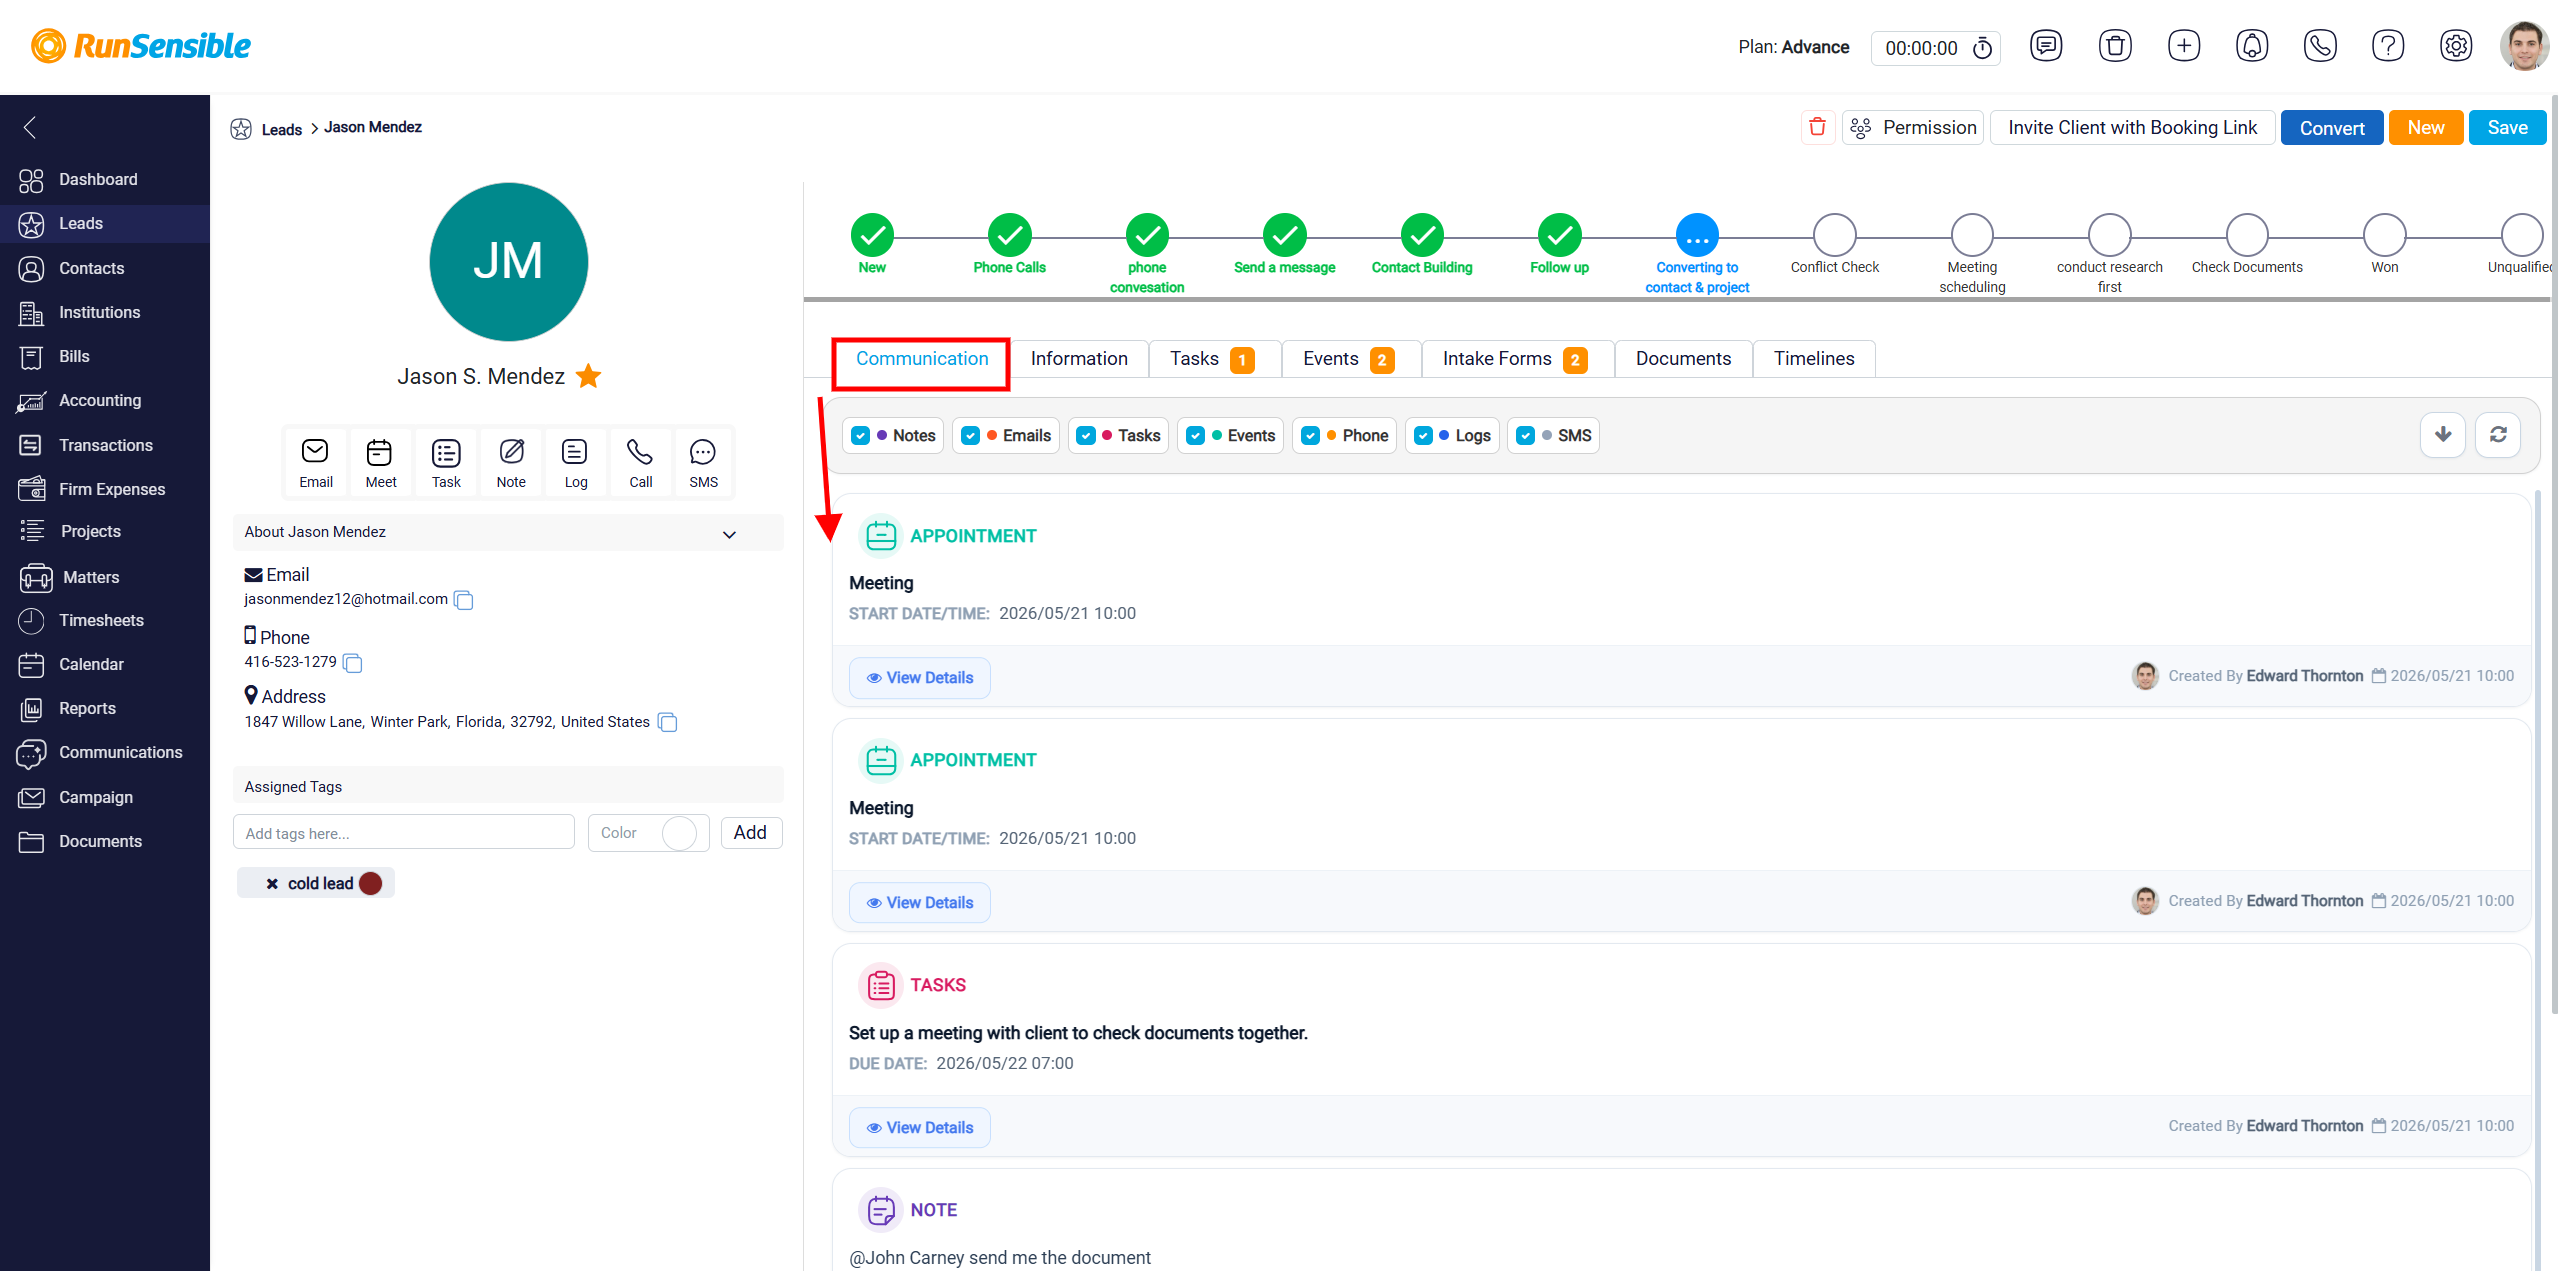
Communication Tab
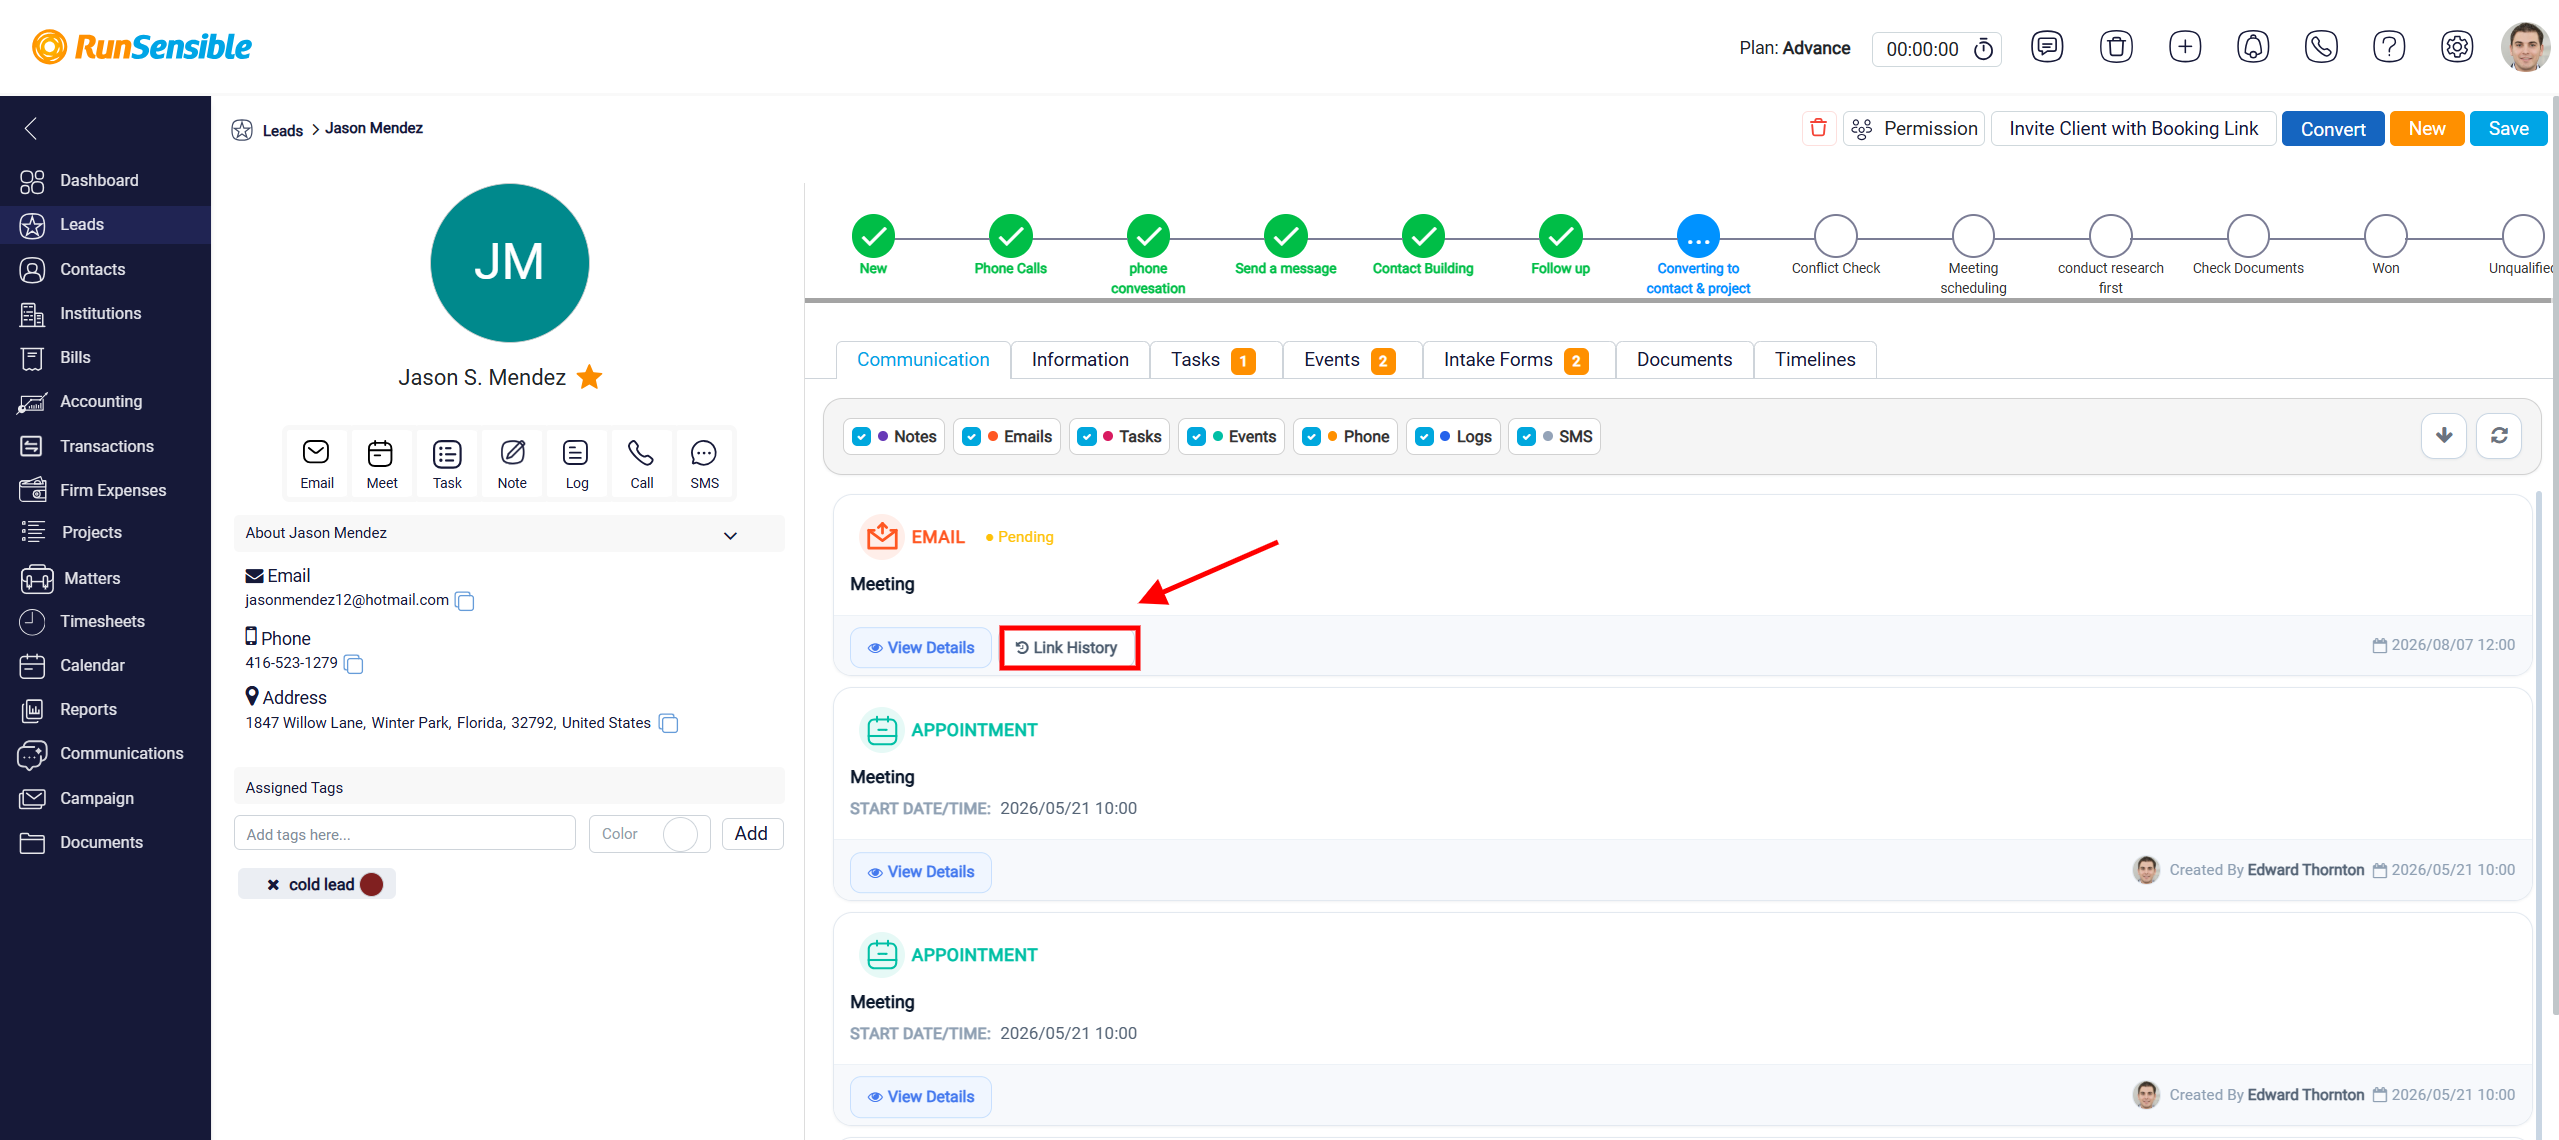
The Communication tab shows the activity history connected to the selected lead. It brings different types of interactions into one place, including notes, emails, tasks, events, phone calls, logs, and SMS messages. This allows the user to review what has happened with the lead without checking each section separately. The Communication tab works like a timeline of lead activity. Each entry represents one interaction or action related to the lead. This can include a note that was added, an email that was sent, a task that was created, a meeting that was scheduled, a phone call that was made, a log that was recorded, or an SMS message that was sent. This makes it easier to understand the full history of communication with the lead.
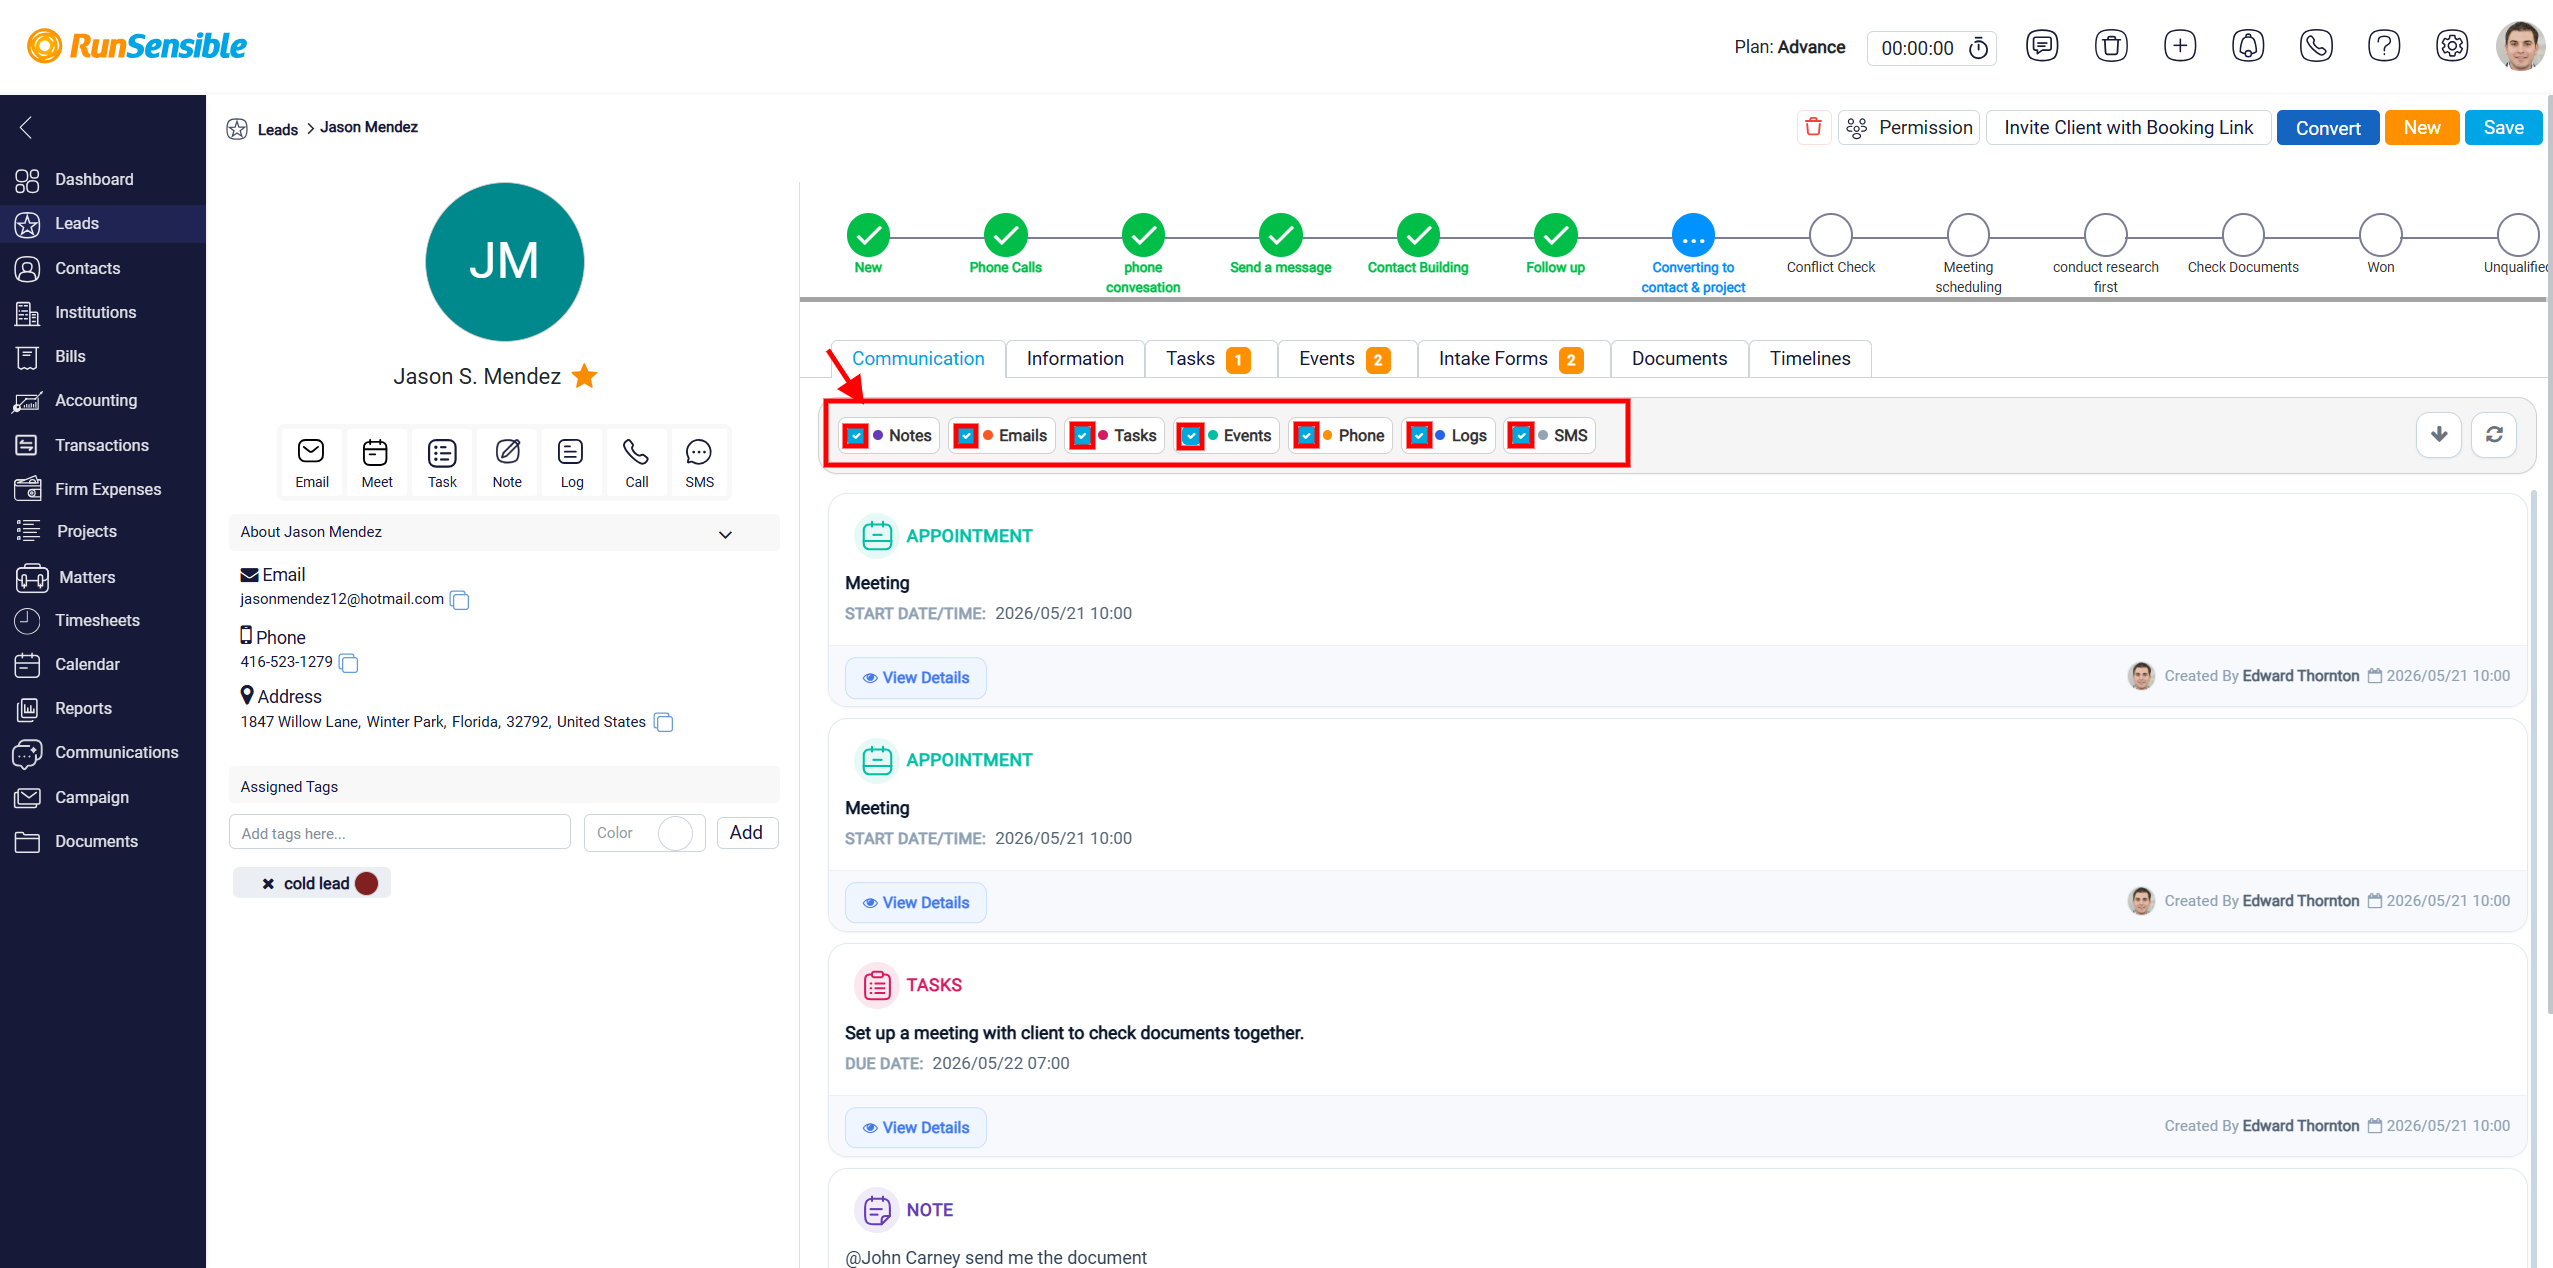
At the top of the Communication tab, there is a row of interaction types. Each type has a checkbox beside it. When the checkbox is selected, records of that type are shown in the Communication tab. By default, the interaction types are usually selected, which means the user can see the full activity history. If the user does not want to see a certain type of interaction, they can uncheck that option. For example, the user can hide emails, tasks, events, phone calls, notes, logs, or SMS messages if they only want to focus on specific activity types. This makes the Communication tab easier to review when there are many records.
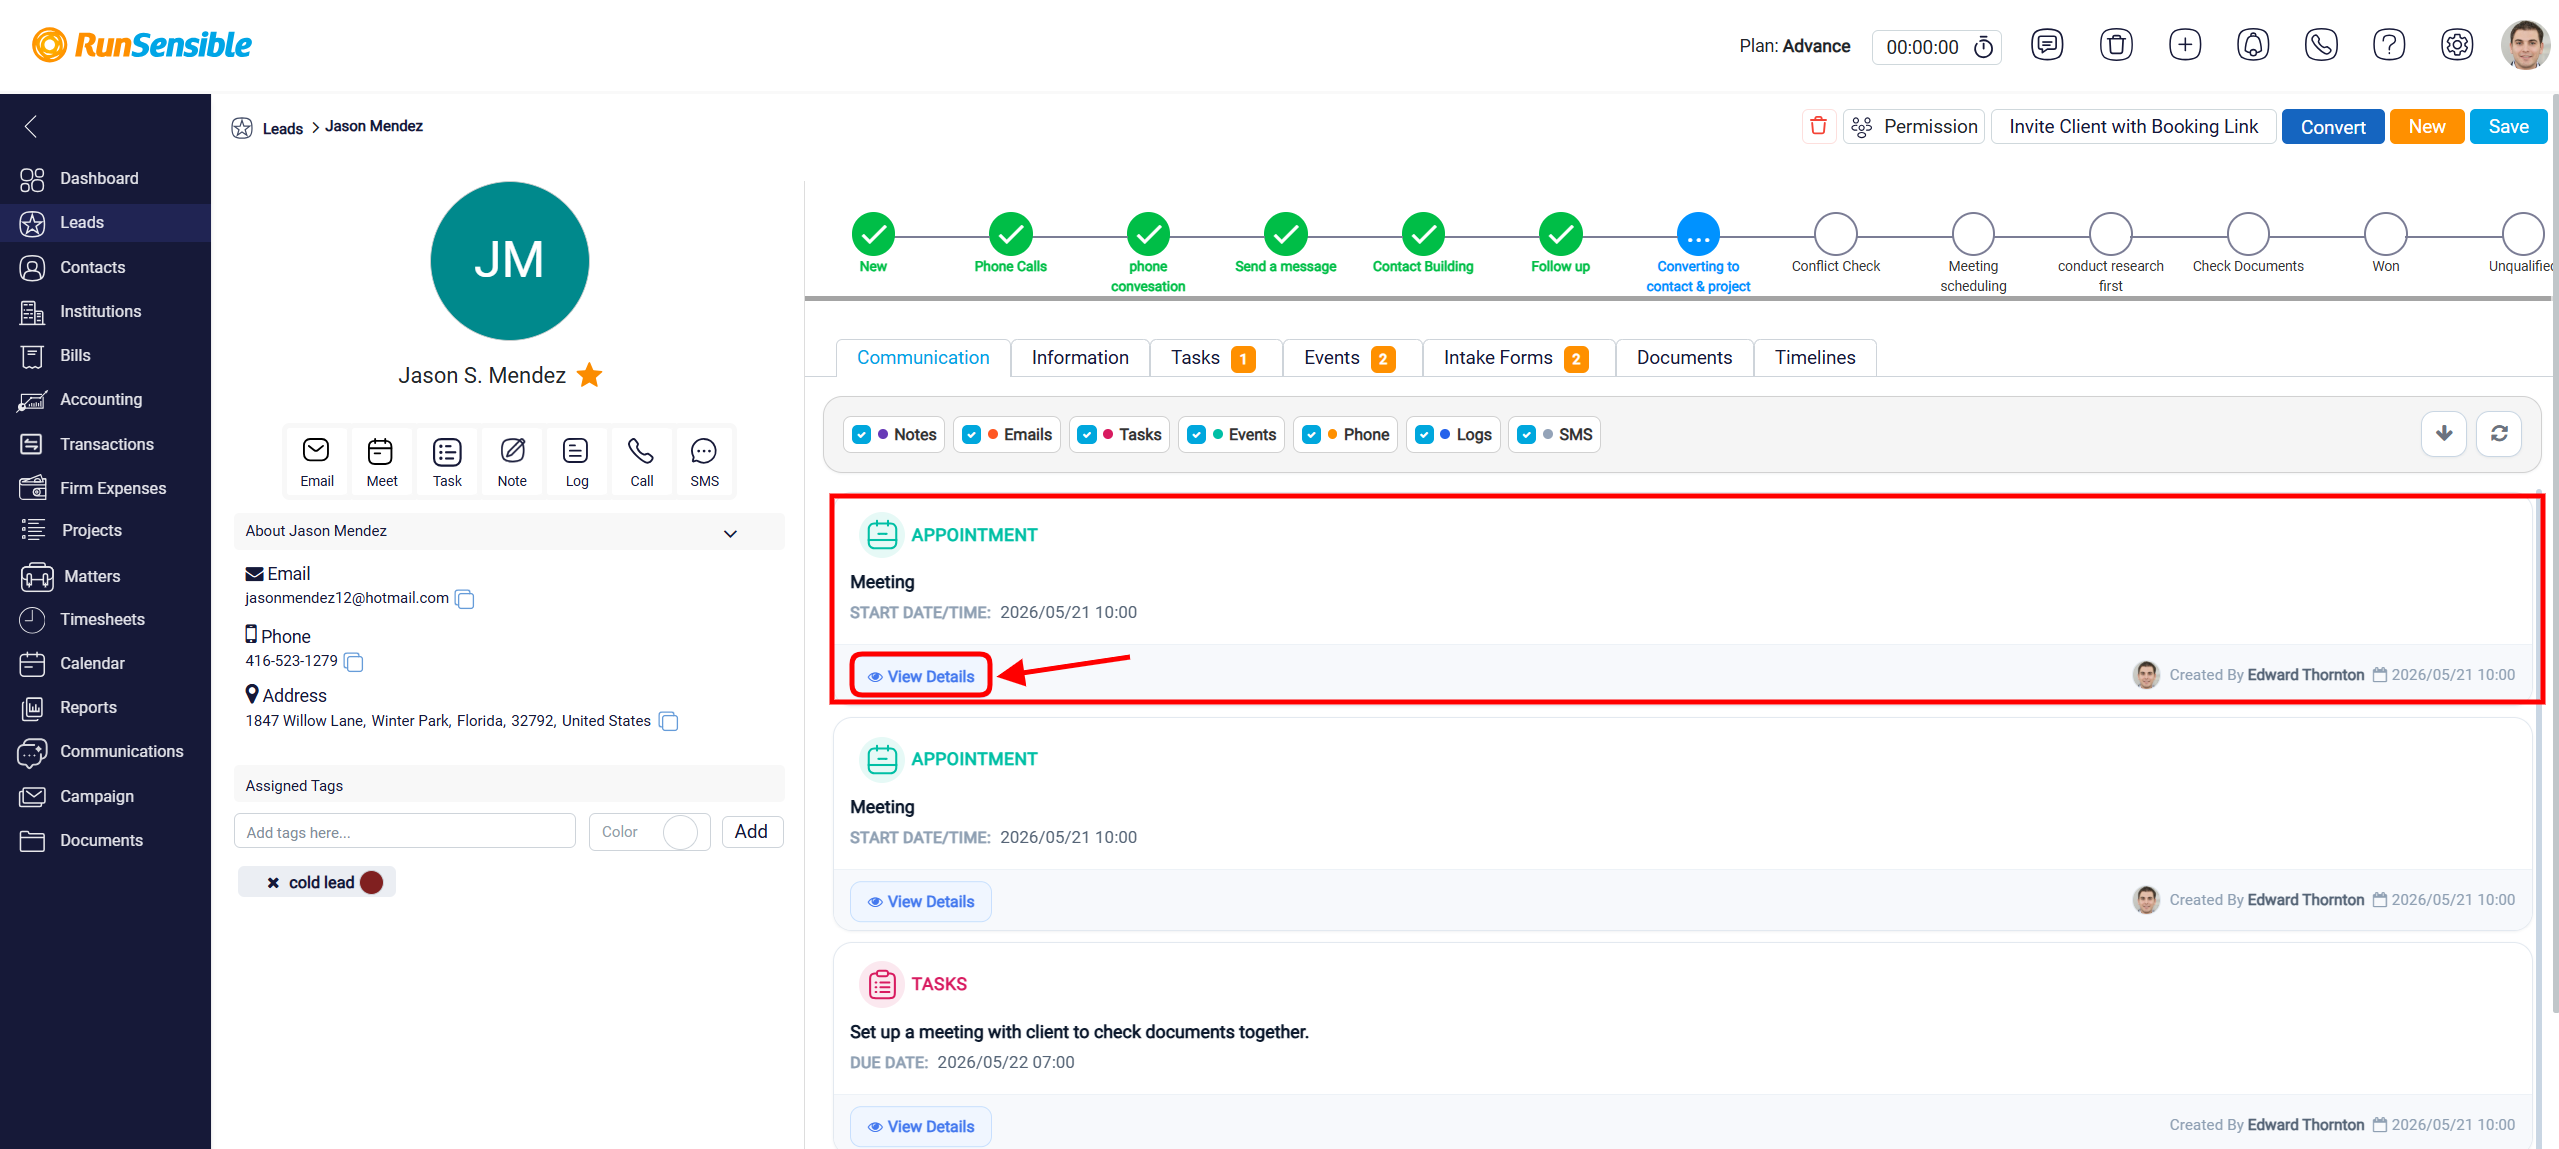
The main area of the Communication tab shows each activity as a separate card. Each card gives a short summary of the activity, such as the type of activity, title, date, time, due date, or description, depending on the record type. This helps the user quickly understand what happened without opening the full record. Each card also shows who created or completed the activity and when it was added to the system. This helps users see which team member was involved and when the interaction was recorded.
Each card includes a View Details button. Clicking this button opens the full activity record, where the user can review more information. Depending on the activity type, the user may also be able to edit or update the record, such as reviewing a full note, opening task details, or checking event information.
Note: When an email includes a link, a Link History button will appear next to Review Details.
Information Tab
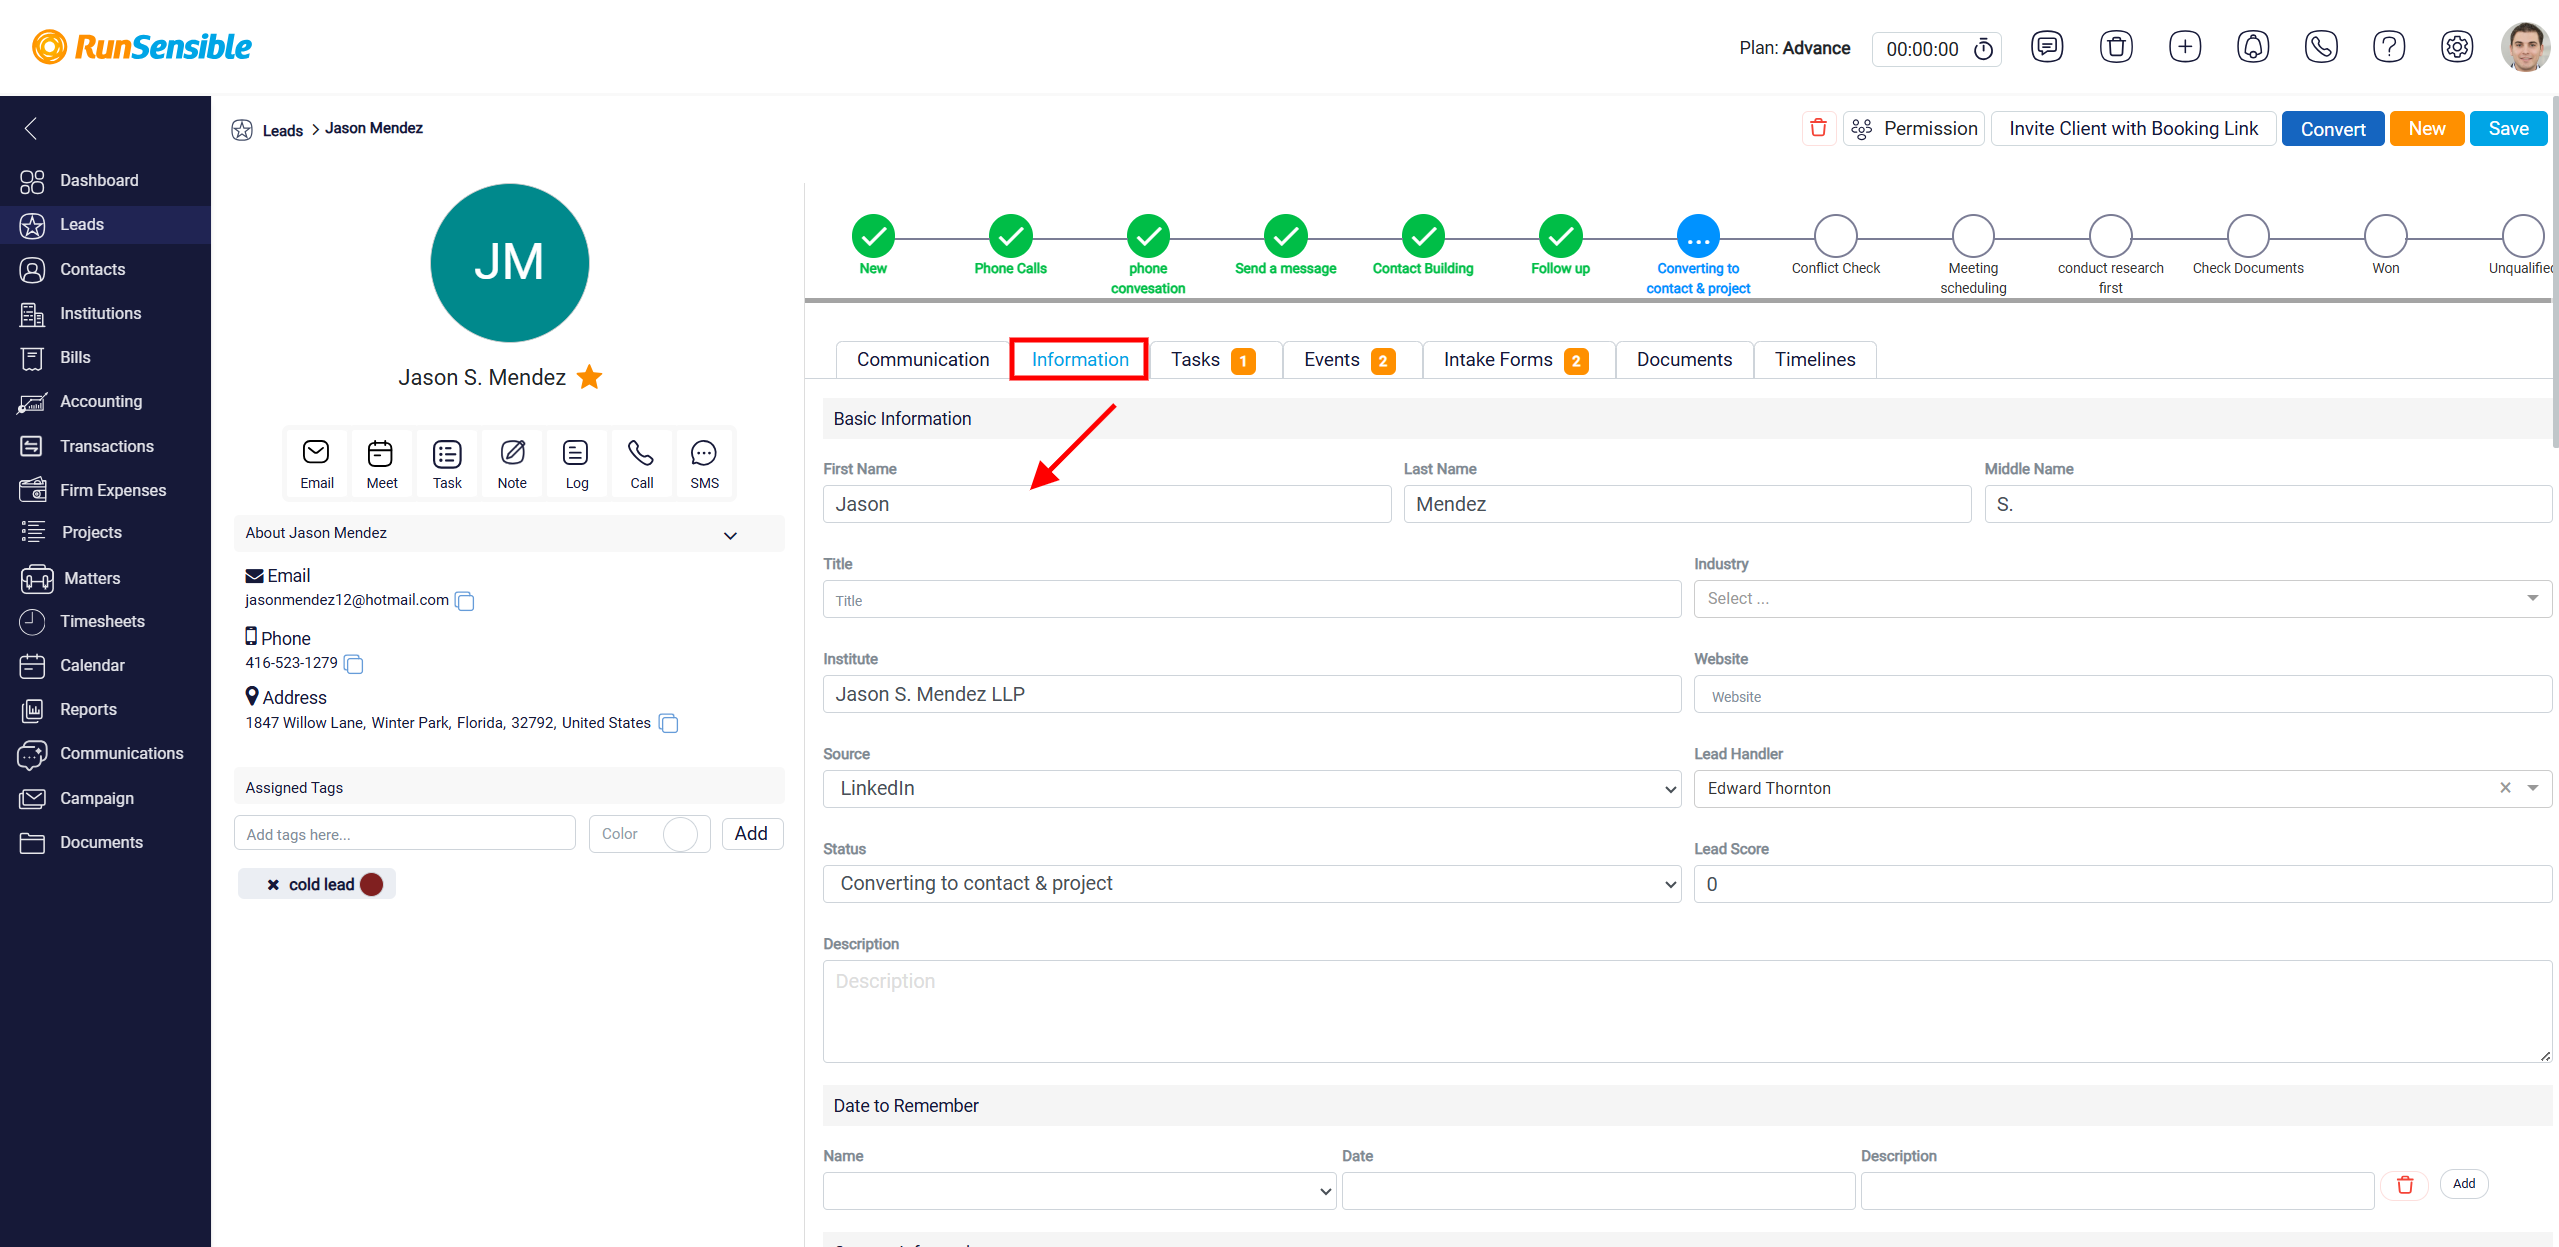
The Information tab is the main place to view and update the saved details for a lead. It contains the lead’s profile information, contact details, pipeline status, assigned handler, important dates, address information, and any custom fields added by the firm. This tab allows users to keep the lead record accurate as new information becomes available.
The information in this tab is organized into sections so related fields stay grouped together. These sections may include Basic Information, Date to Remember, Contact Information, and Address Information. Each section focuses on a different type of lead information, making the profile easier to review and update.
The Basic Information section contains the main details used to identify and manage the lead. This may include the lead’s name, title, industry, institute, website, source, lead handler, status, lead score, and description. The Lead Handler field shows the user responsible for managing the lead. The Status field shows where the lead currently stands in the lead pipeline. The Lead Score field can be used to rate the lead based on the firm’s own method, such as how likely the lead is to become a client or how important the lead is to follow up with. The Institute field is used to connect the lead to an institute in the system. This field works like a search box. The user can type the institute name and select it if it already exists. This helps keep the lead connected to the correct organization.
The Date to Remember section is used to save important dates related to the lead. These may include birthdays, anniversaries, or other dates the firm wants to remember.
The Contact Information section stores the lead’s communication details, such as email addresses, phone numbers, and social media links. Users can add more than one email address or phone number if needed. Phone numbers can also have labels, which help identify the type of number, such as work, home, or other. This section also includes the OPT Out of Email Marketing and OPT Out of SMS options. These toggles are used when a lead has asked not to receive marketing emails or SMS messages. Turning on these options helps make sure the lead’s communication preferences are respected.
The Address Information section is used to store the lead’s location details. This can include the street address, city, state or province, postal code, country, and any additional address notes. This section is useful when the firm needs to keep a complete address record for the lead.
To learn how to manage custom fields in a lead, please visit Leads Custom Fields.
Tasks Tab
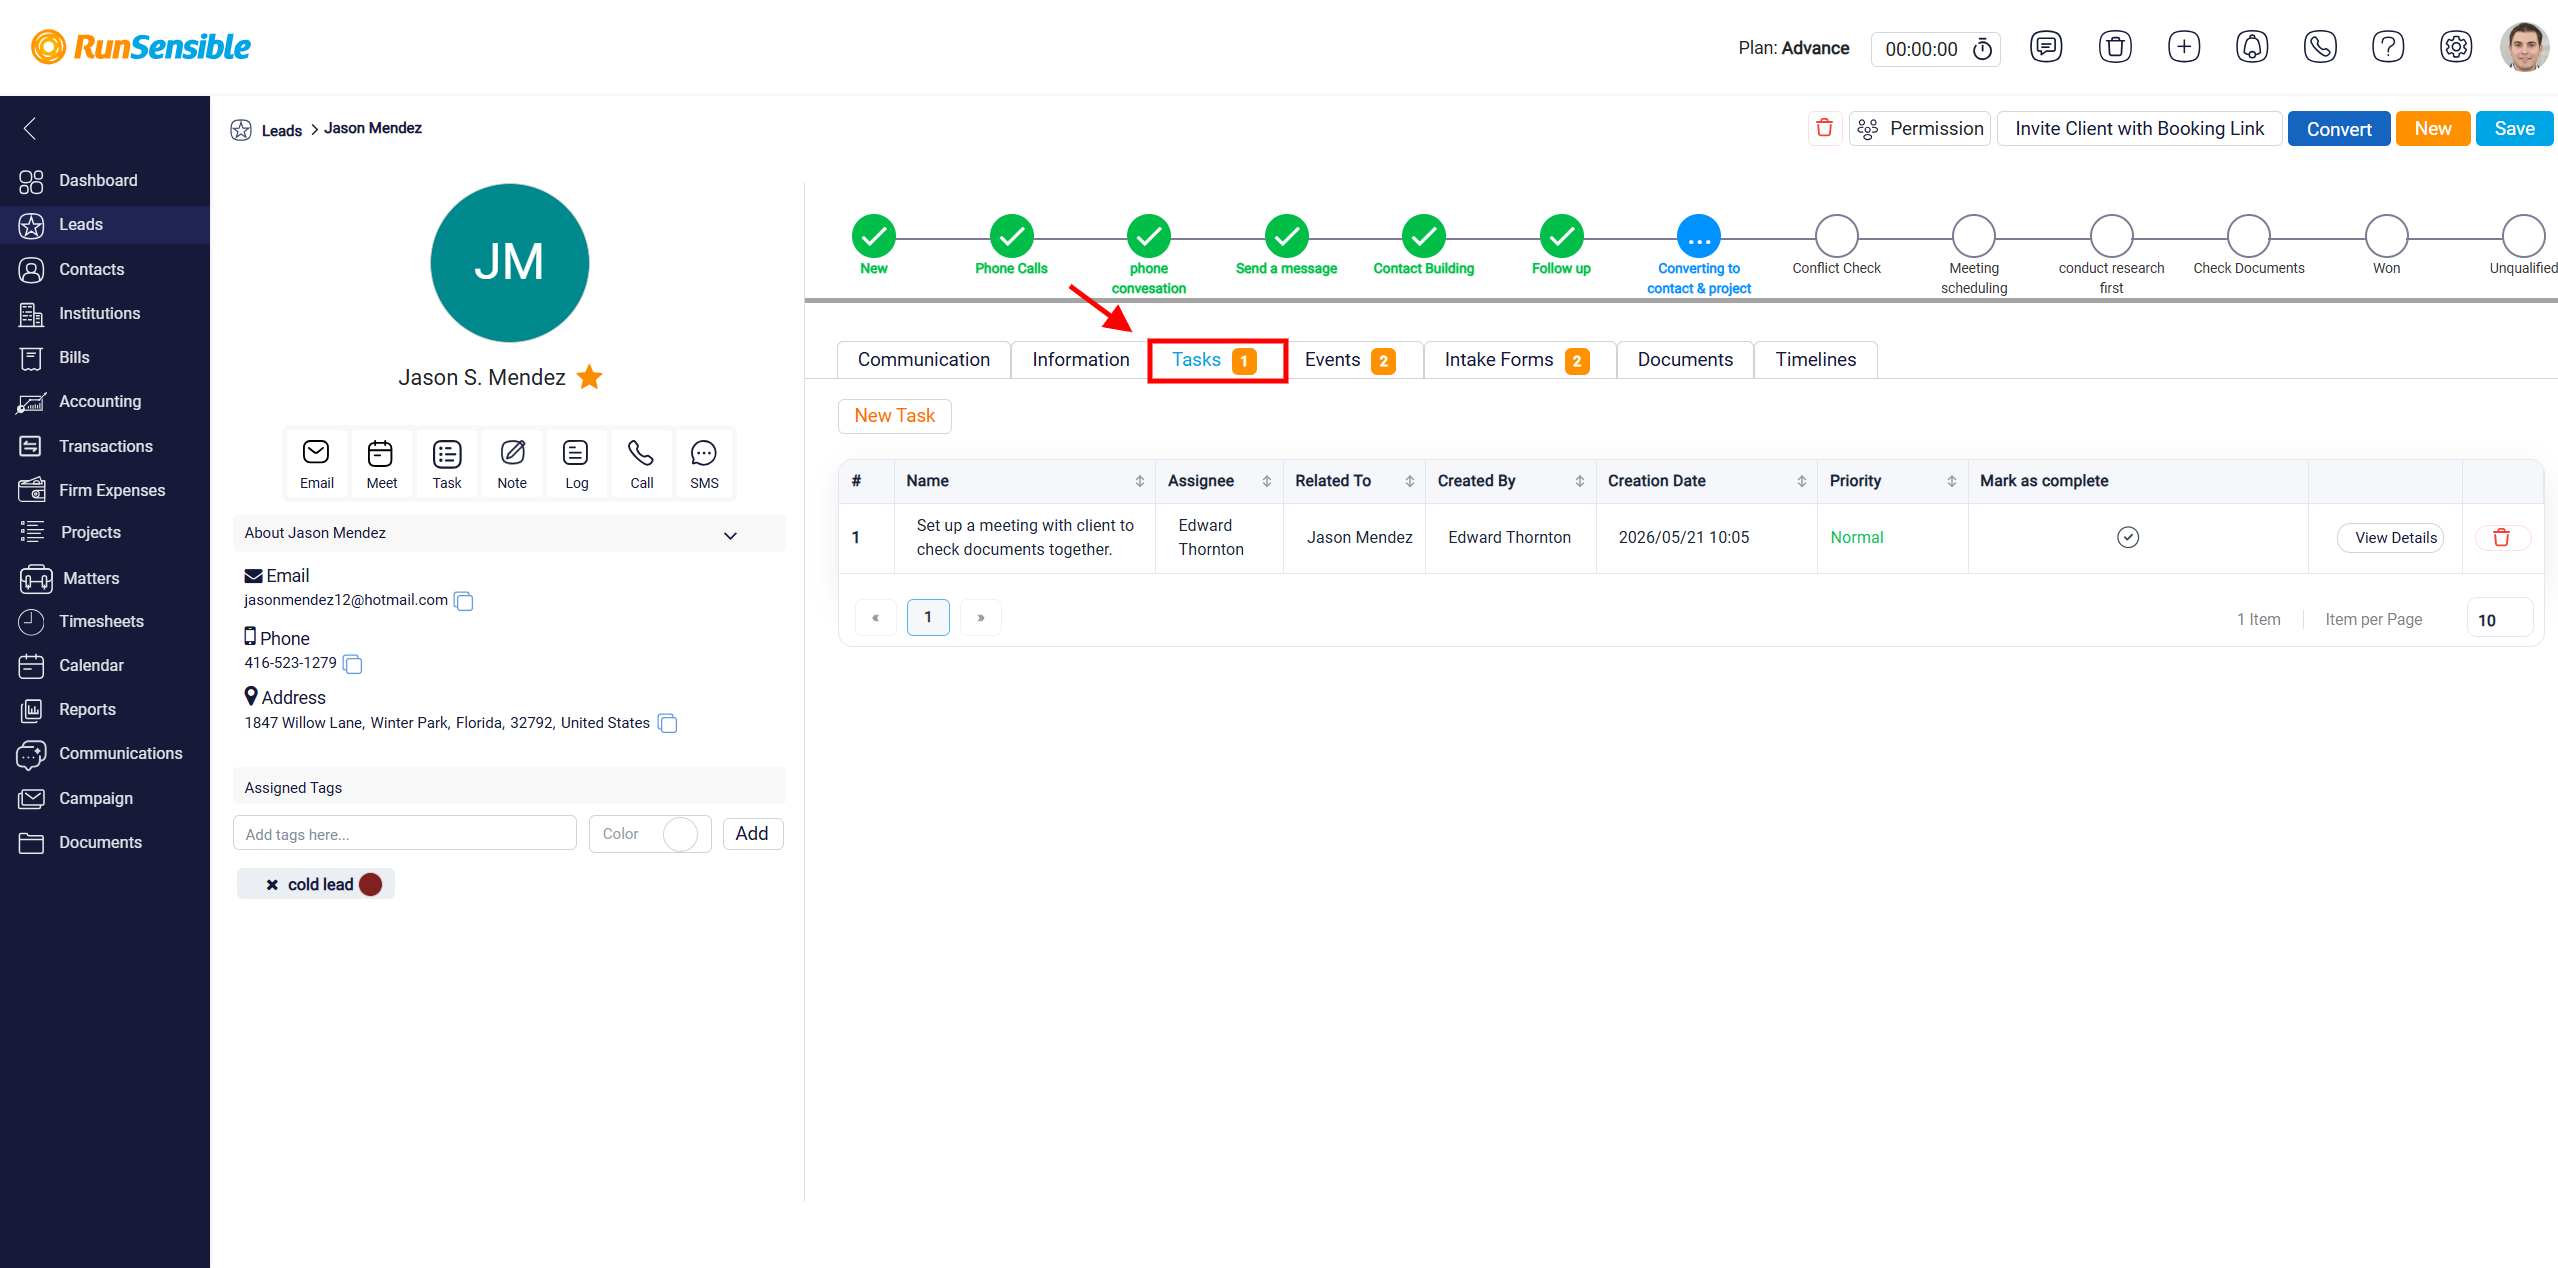
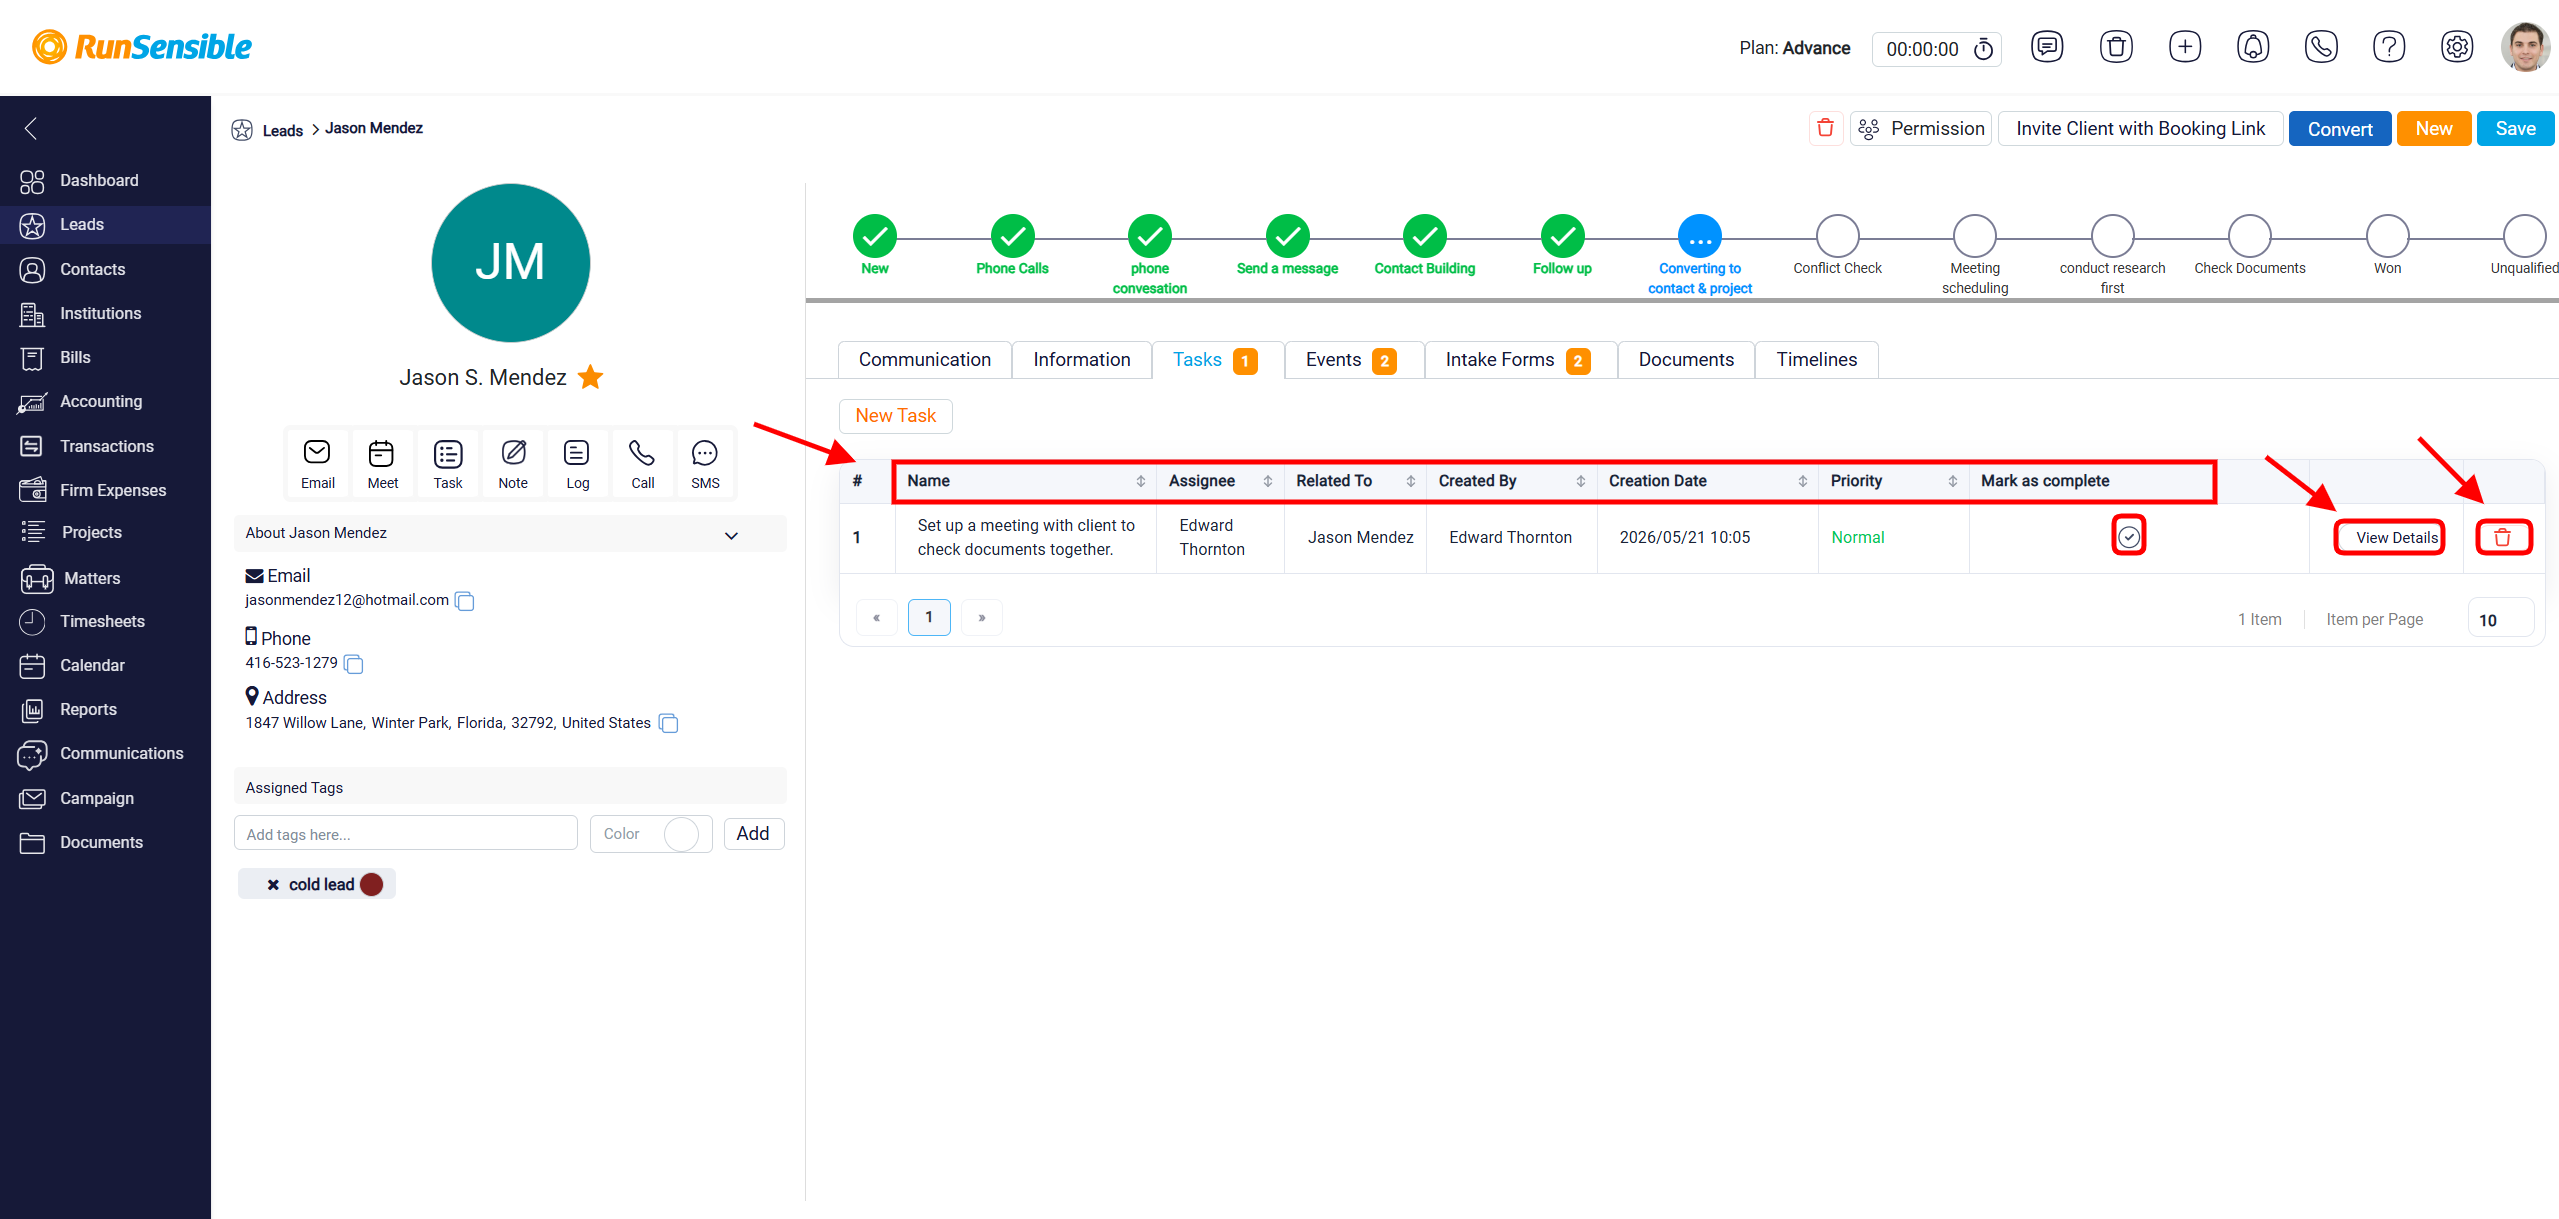
The Tasks tab shows all tasks connected to the selected lead. The number beside the tab name shows how many tasks are currently related to that lead. This tab allows users to review, create, complete, open, or delete lead-related tasks from one place.
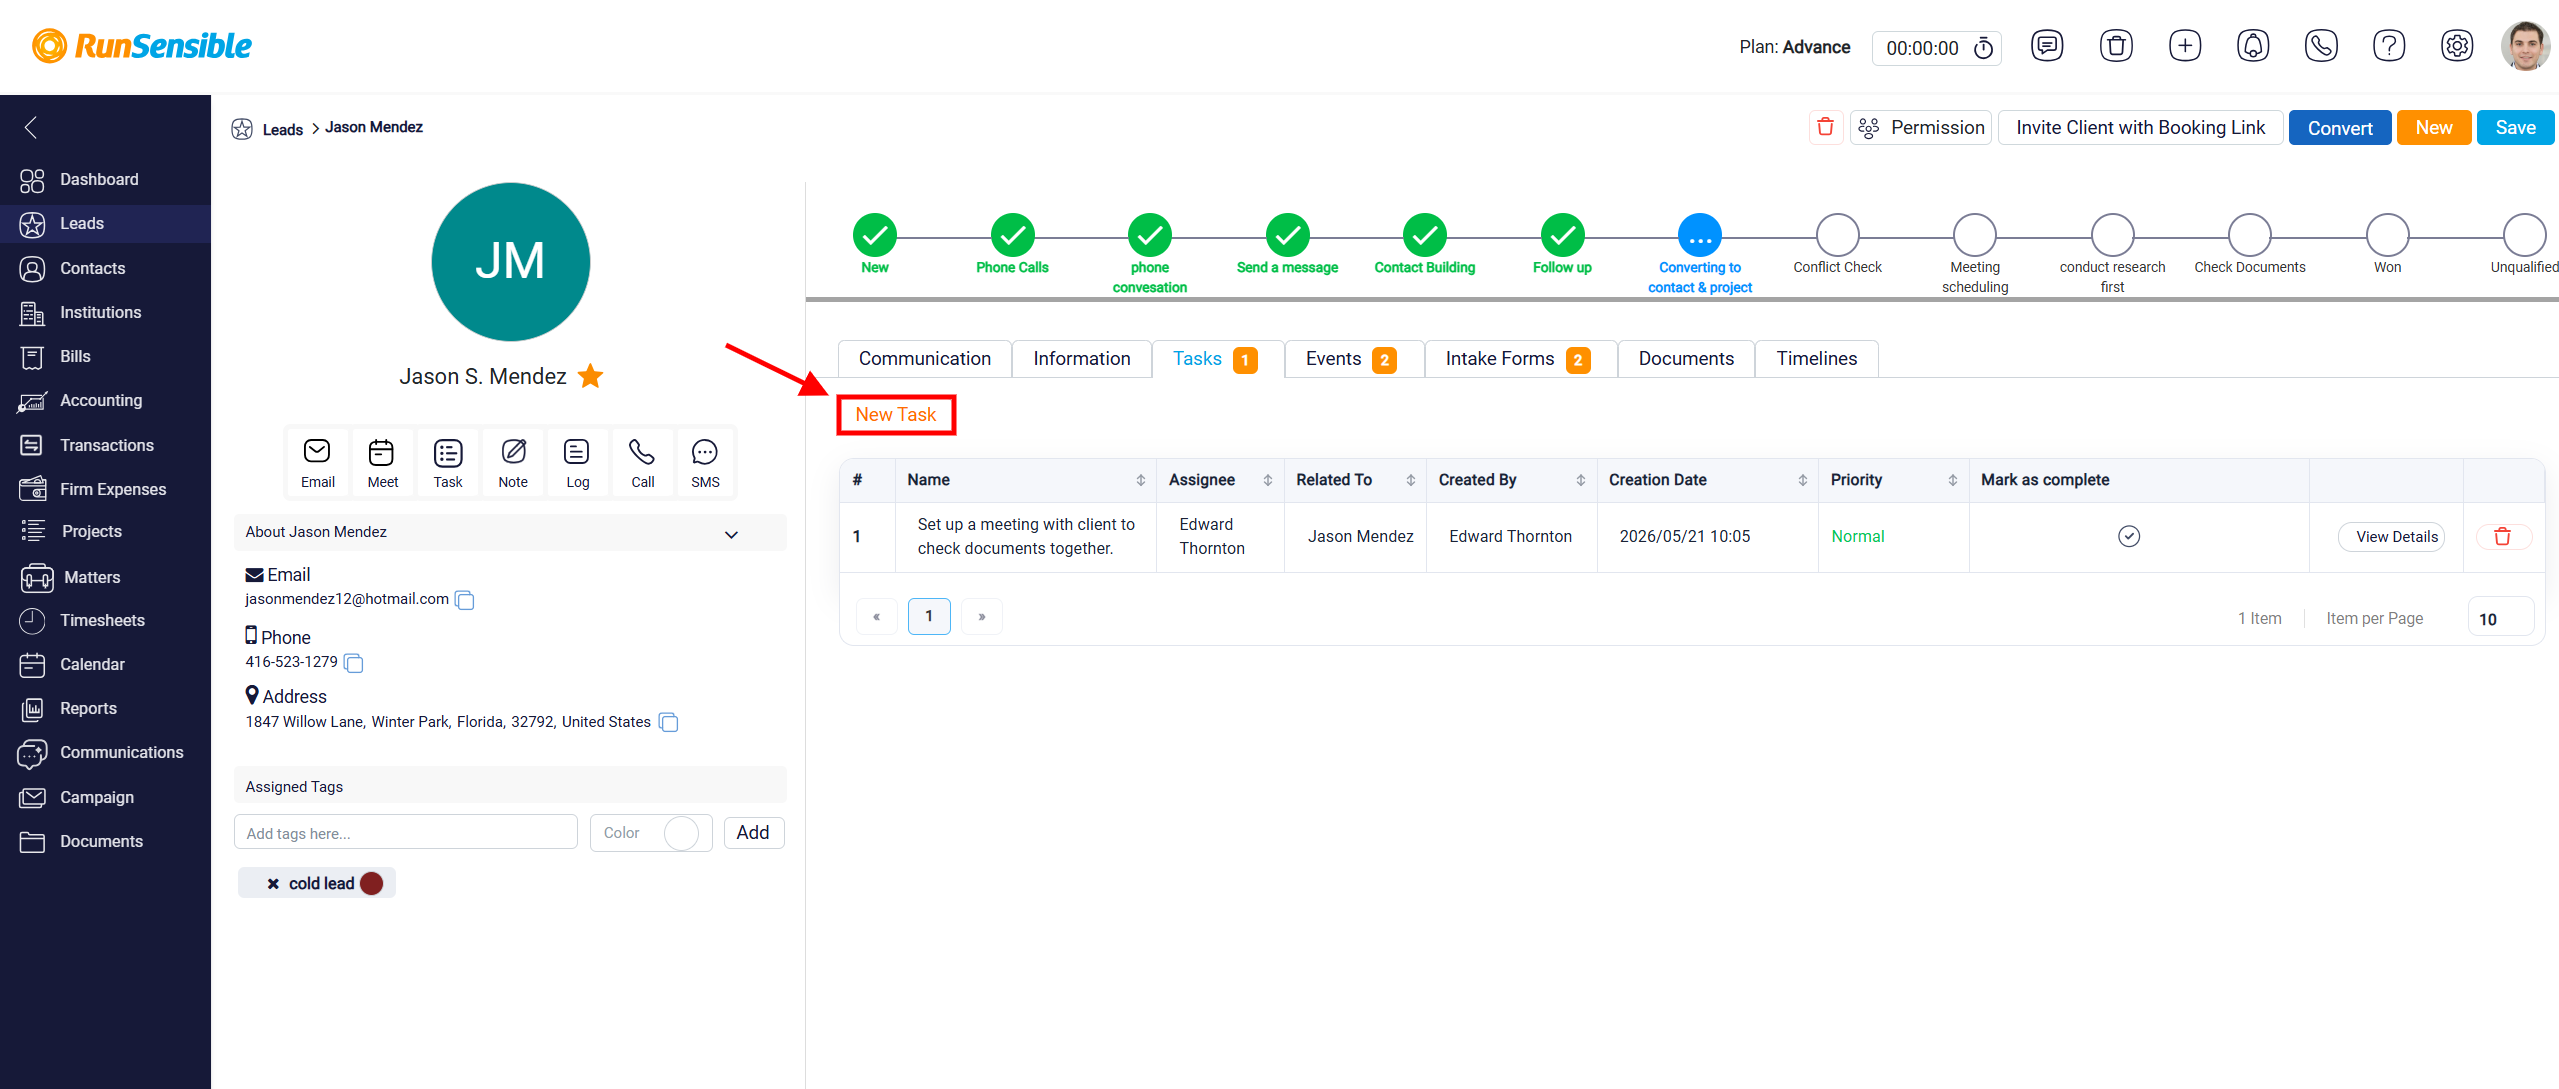
To add a new task, click the New Task button at the top left of the tab. The task creation panel will open, and the new task will automatically be connected to the current lead.
The tasks are displayed in a table. Each row represents one task. The table shows important information such as the task name, the assignee responsible for completing it, the related record, the user who created the task, the creation date, and the priority level. This helps users quickly understand what the task is, who is responsible for it, and how urgent or important it is. Each task includes action options on the right side of the row. The Mark as Complete option allows the user to complete the task directly from the table without opening the full task details. The View Details button opens the full task record, where the user can review or edit more information. The Delete icon can be used to remove the task if it is no longer needed.
Events Tab
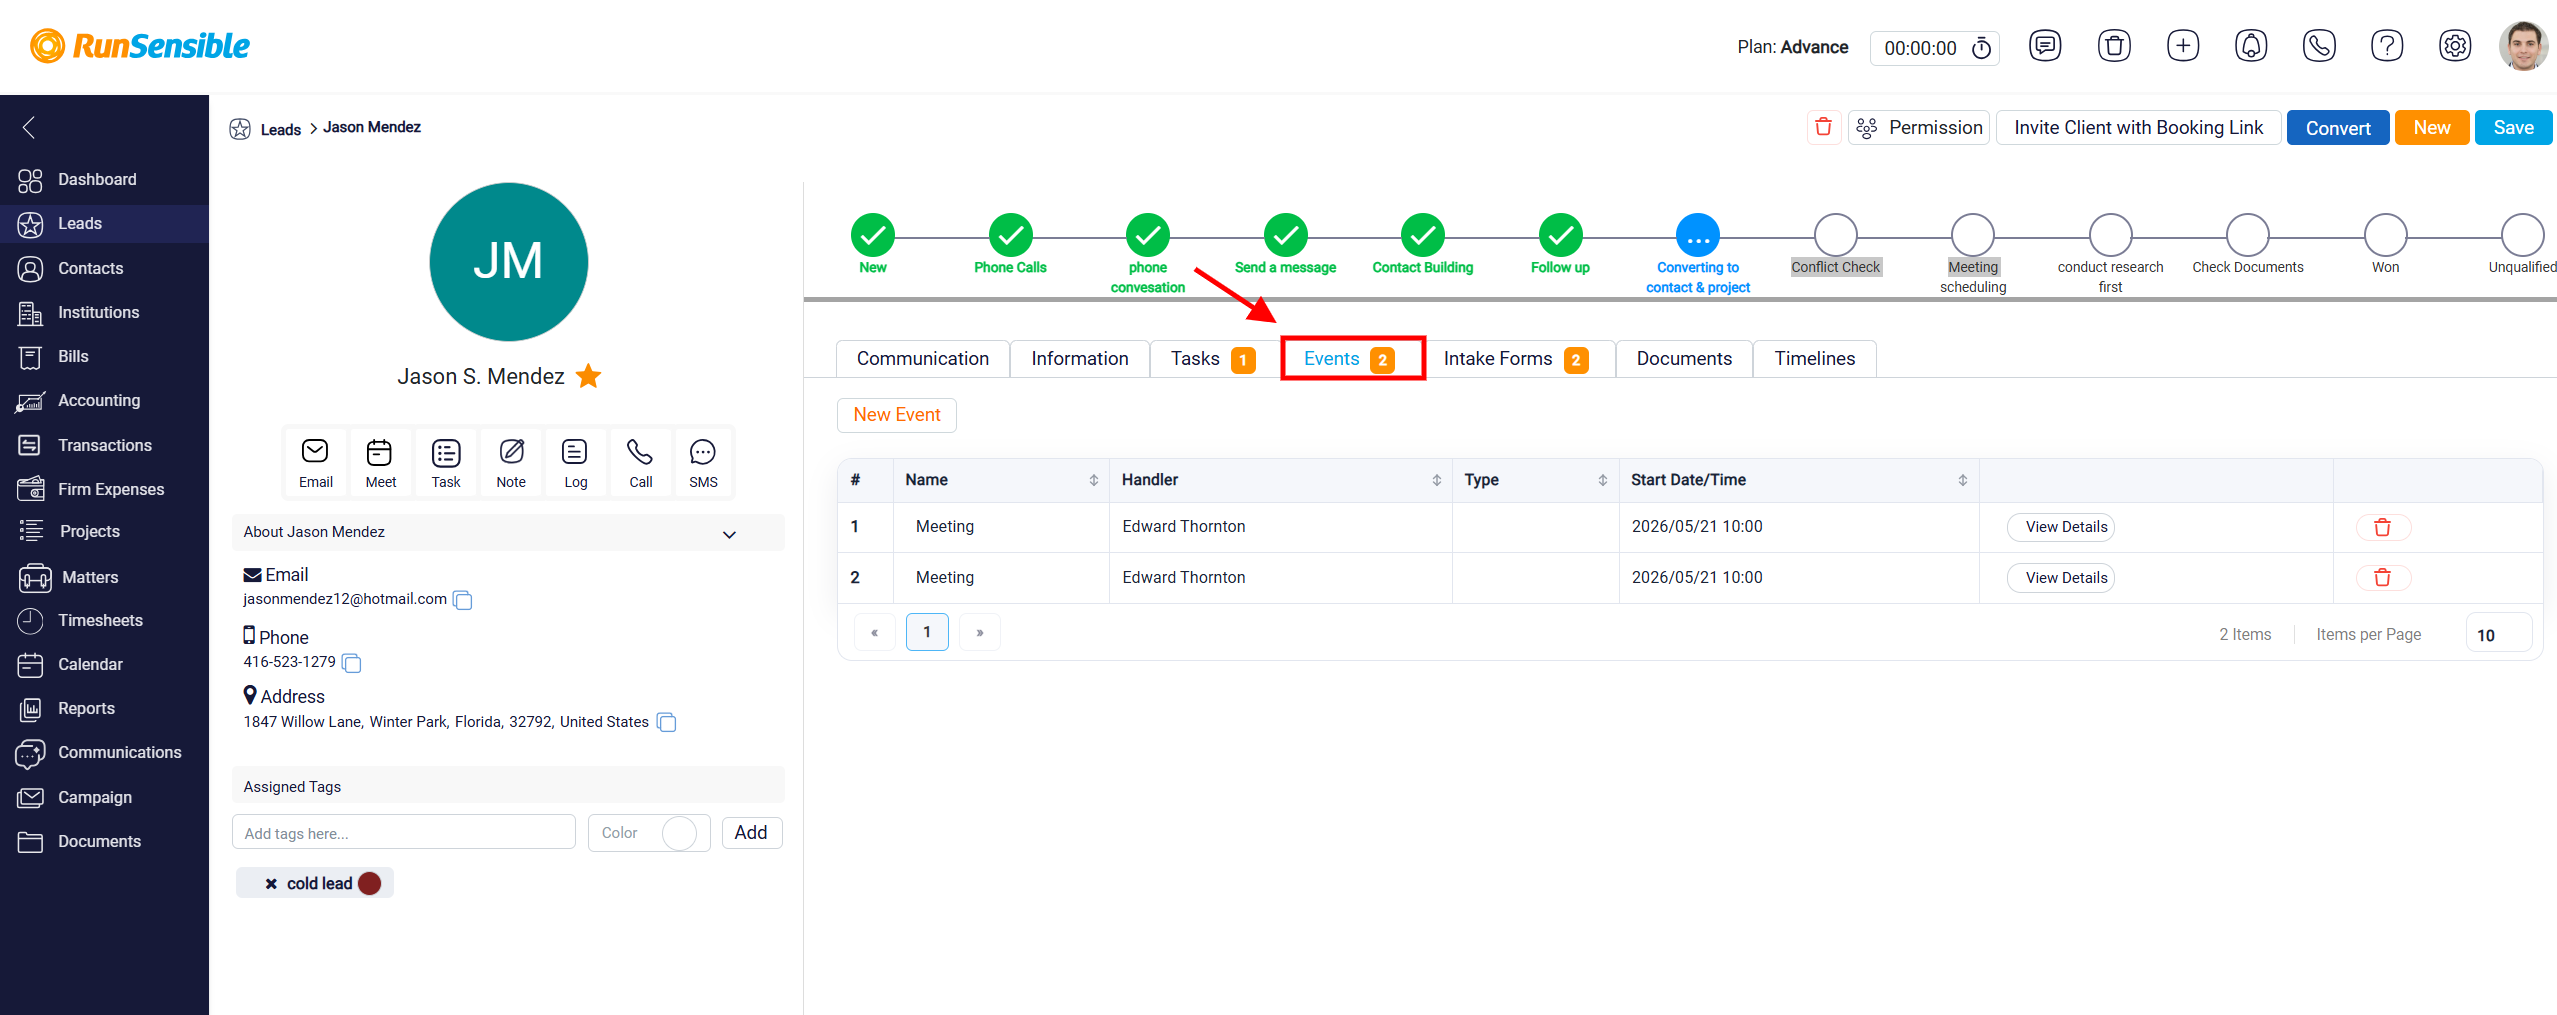
The Events tab shows all events connected to the selected lead. The number beside the tab name shows how many events are currently related to that lead. This tab is used to manage meetings, appointments, and other scheduled activities connected to the lead.
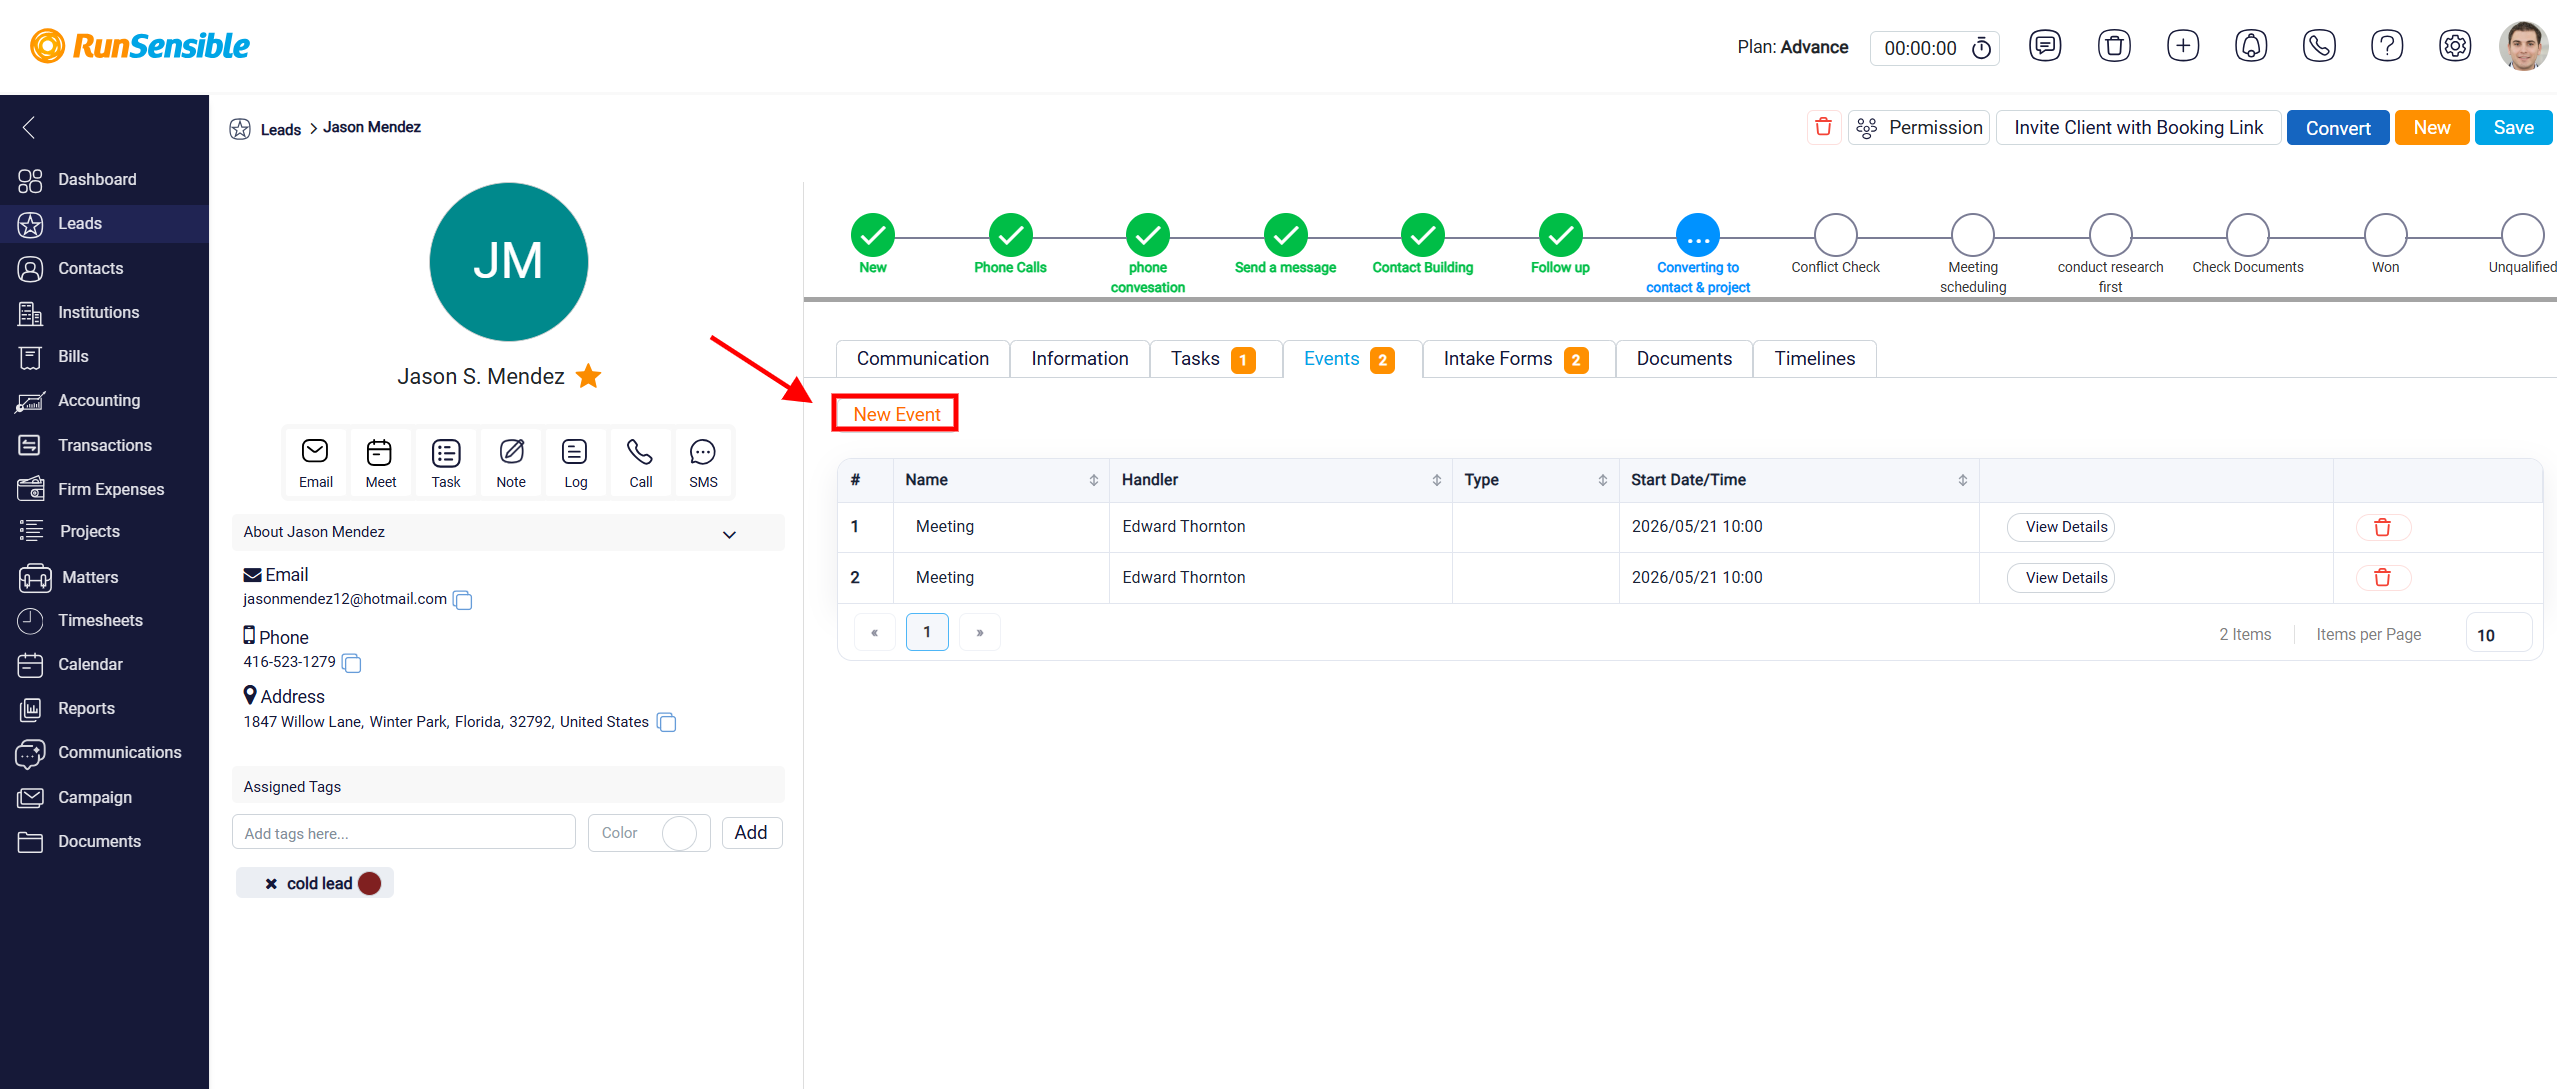
To create a new event, click the New Event button at the top left of the tab. The event creation panel will open, and the new event will be connected to the current lead.
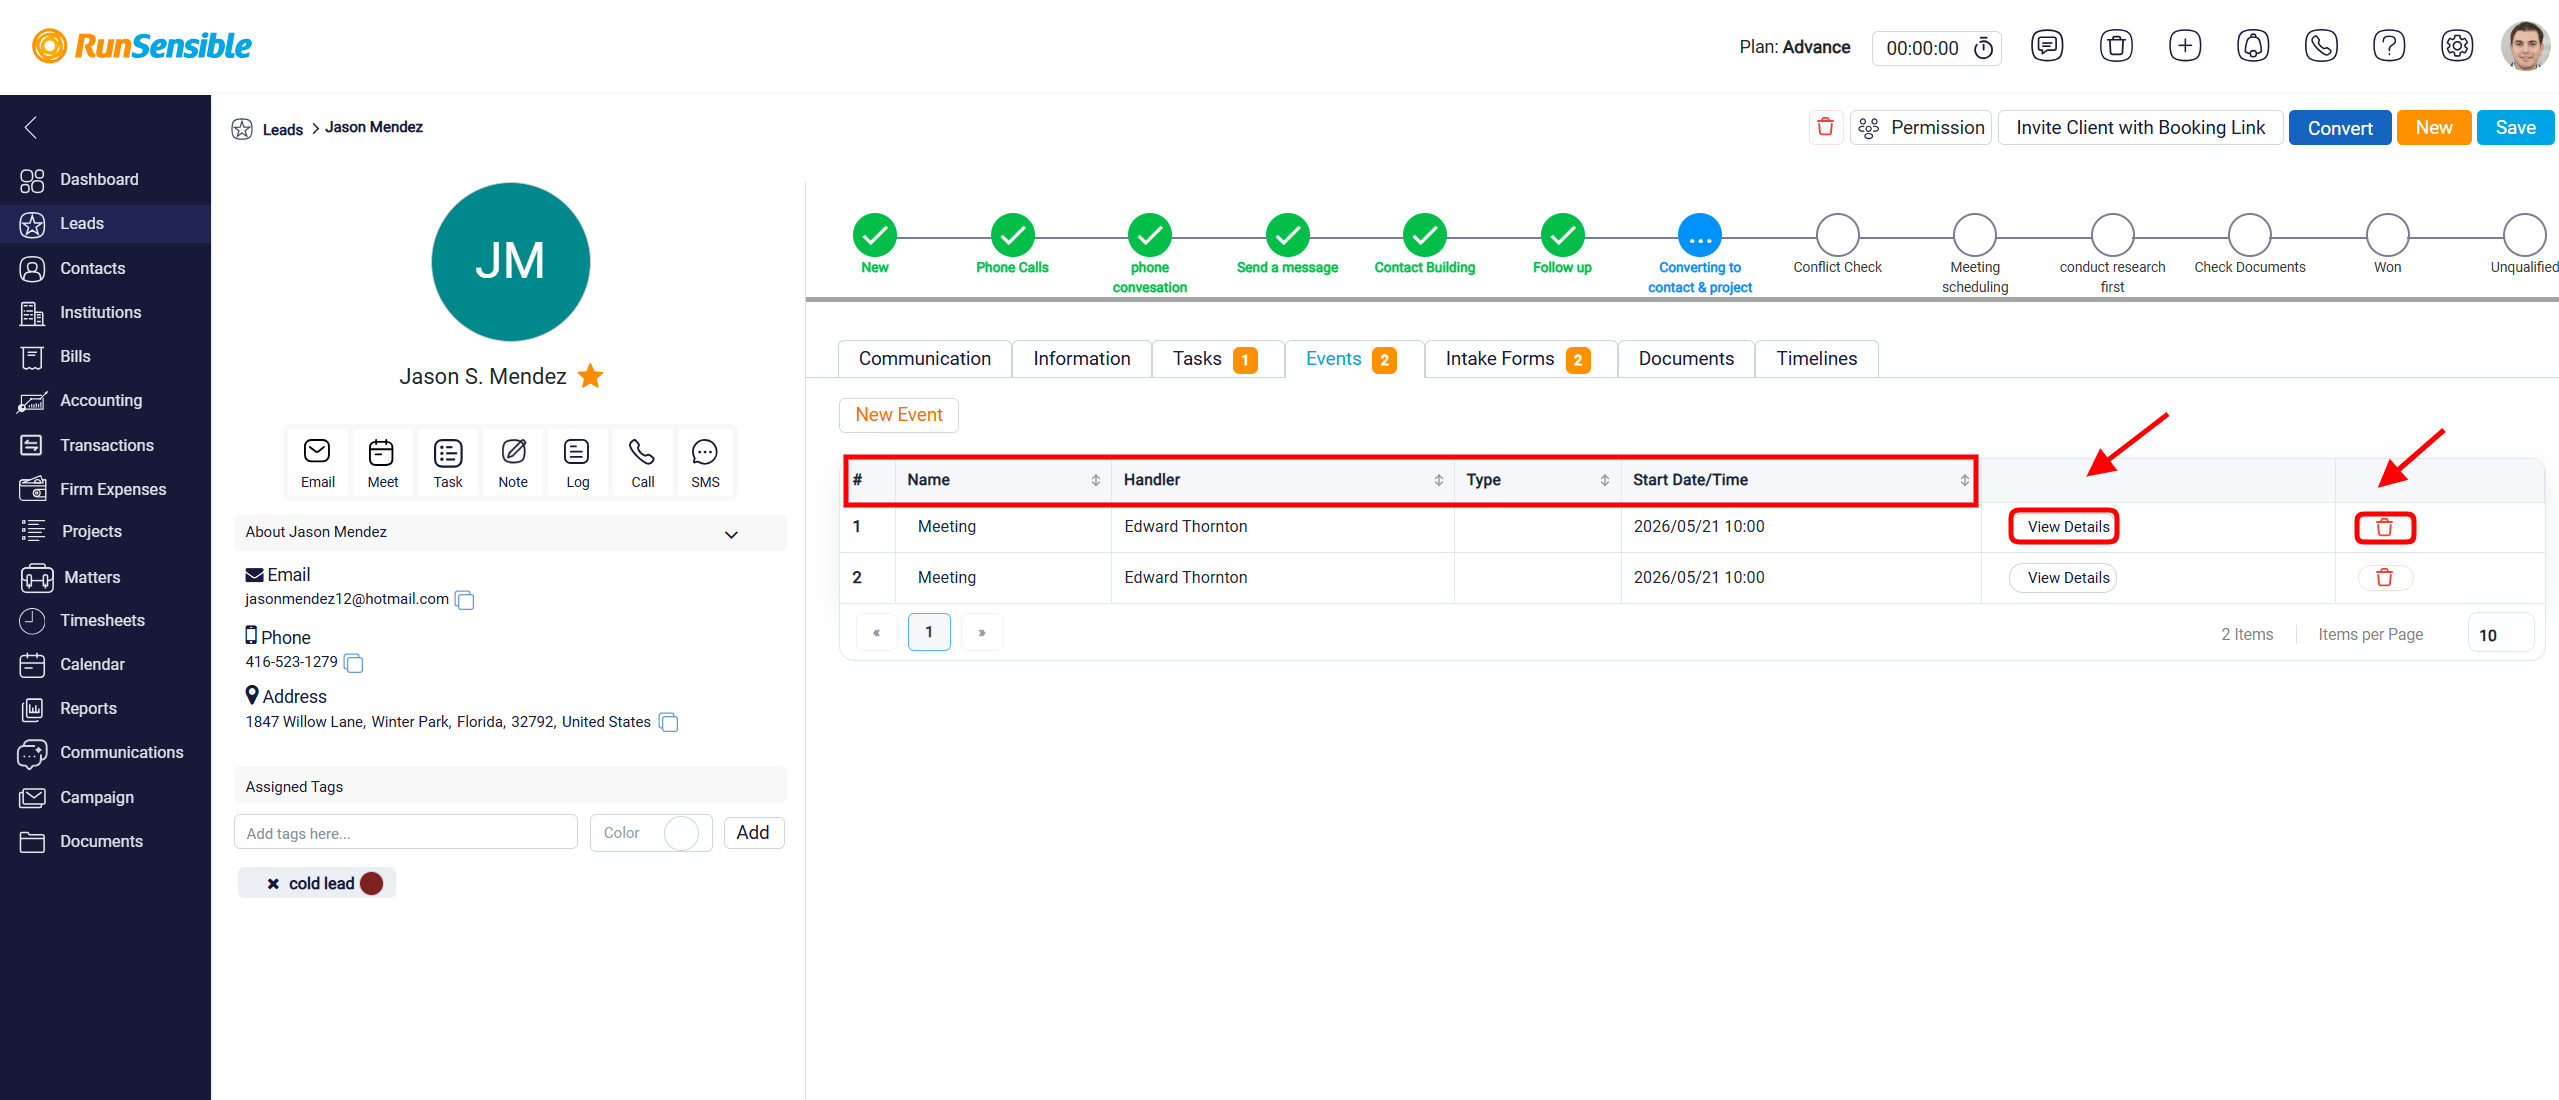
This allows users to schedule meetings or appointments directly from the lead’s detail page. The events are displayed in a table. Each row represents one event. The table shows key details such as the event name, the handler responsible for the event, the event type if one has been selected, and the start date and time. Each event also includes action options on the right side of the row. The View Details button opens the full event record so the user can review or edit the event information. The Delete icon can be used to remove the event if it is no longer needed.
Intake Forms Tab
The Intake Forms tab shows all intake forms connected to the selected lead. This tab is used to add forms to the lead, send forms to the lead, and review submitted responses after the lead completes them. When an intake form is added to a lead, the system creates a unique form link for that specific lead. Any information submitted through that link is saved back to the same lead’s Intake Forms tab, which keeps the form response connected to the correct record.
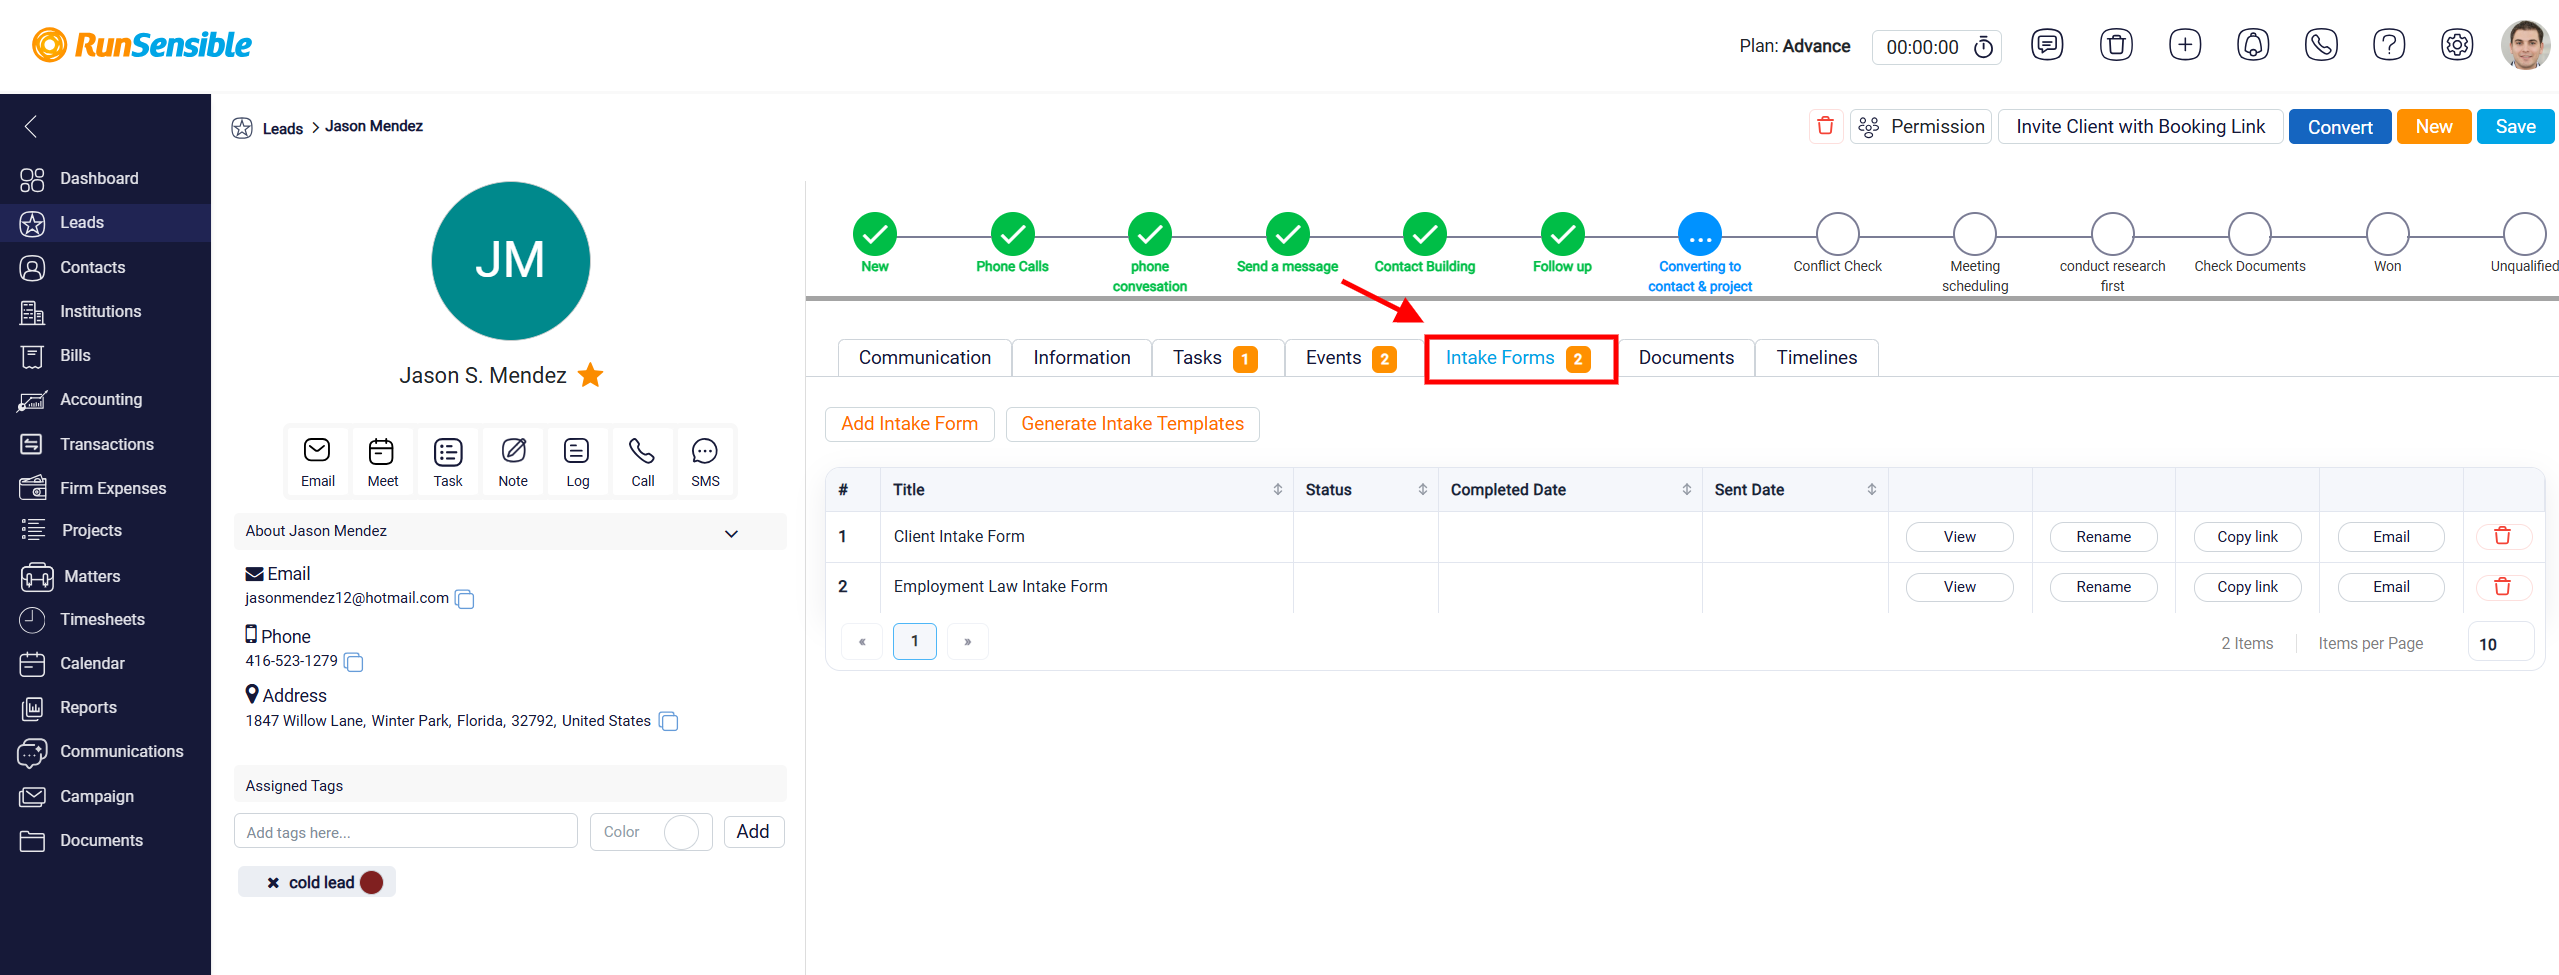
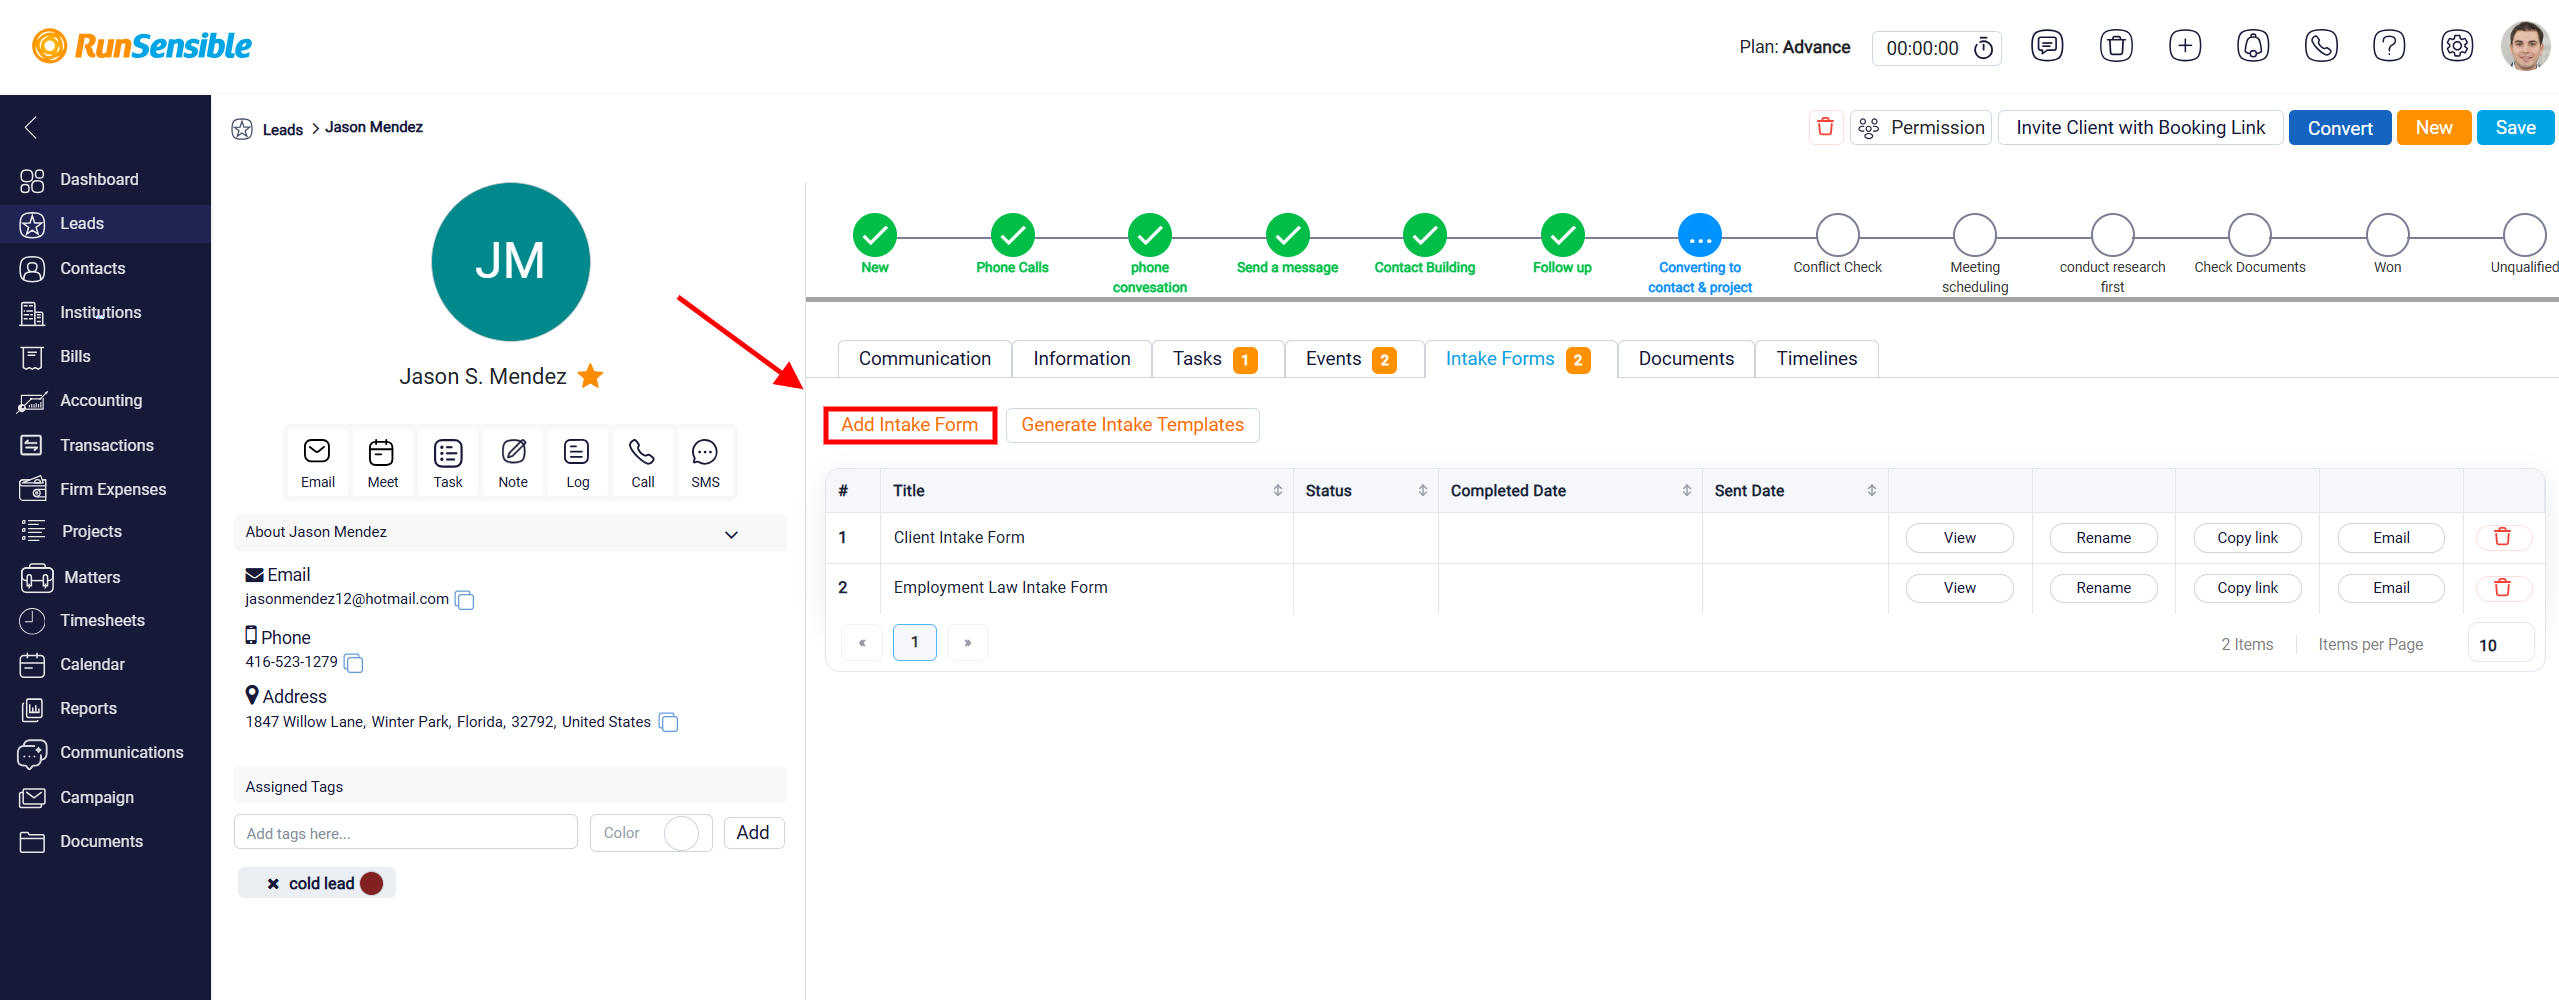
To add an existing intake form to the lead, click Add Intake Form at the top left of the tab.
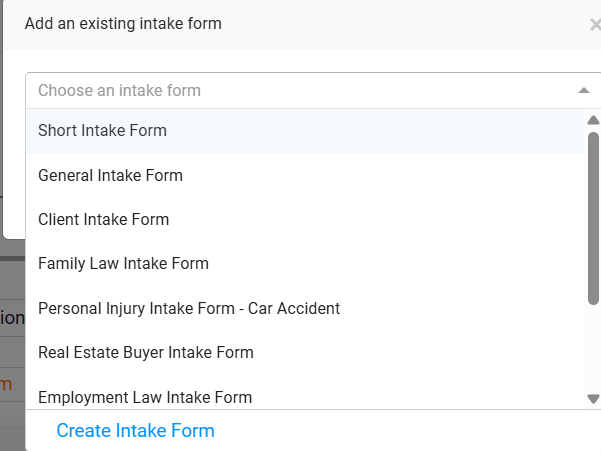
A dropdown list will show the intake form templates already created in the system.
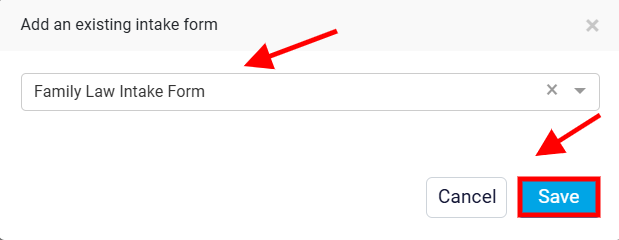
Select the template you want to use, then click Save to add it to the lead.
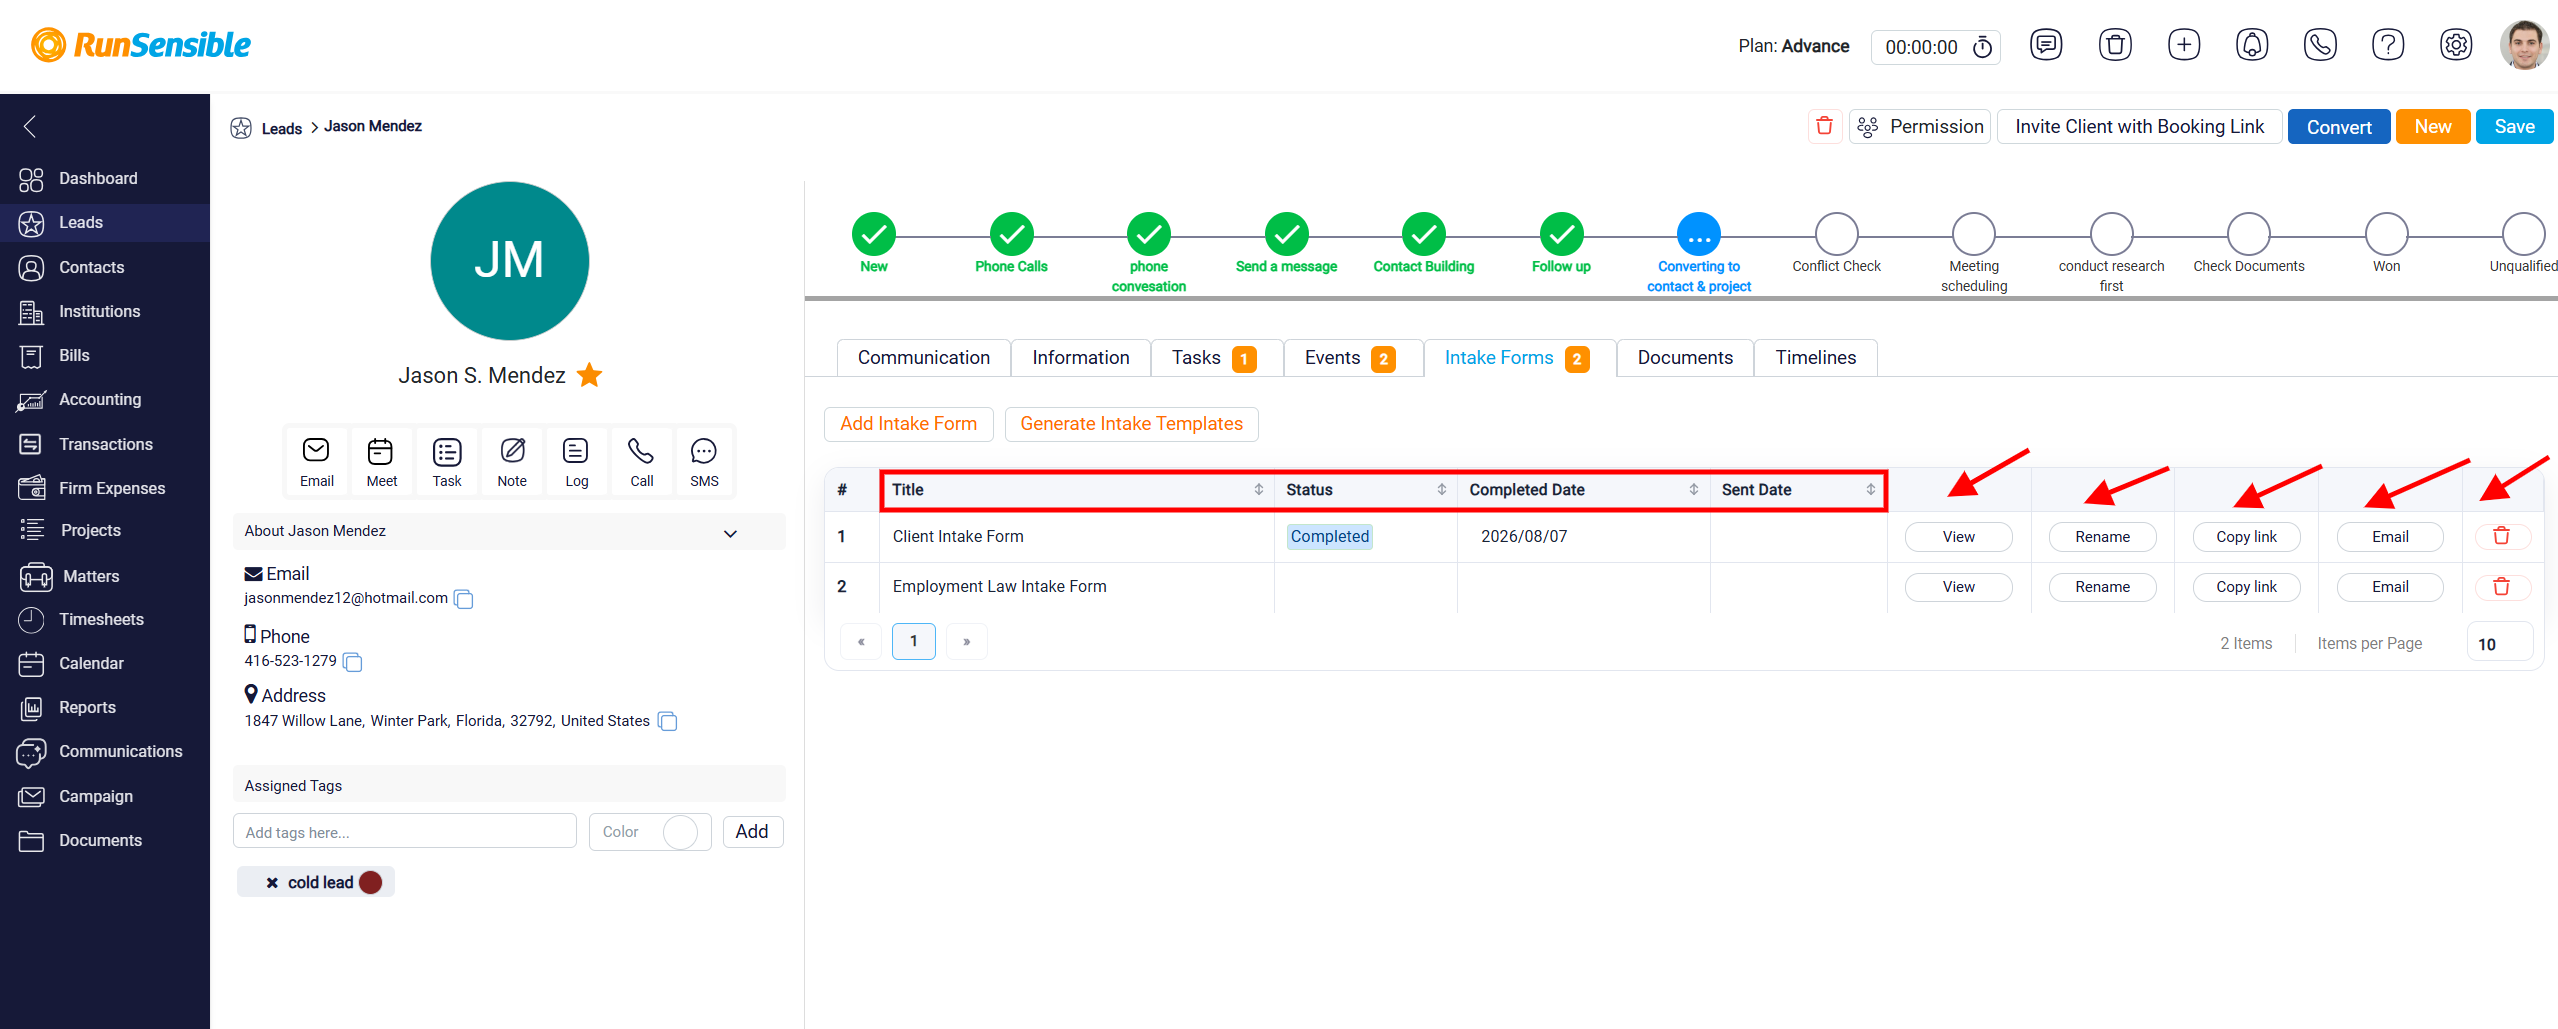
The intake form table shows the forms connected to the lead. Each row represents one intake form. The table may show the form title, status, completed date, and sent date. These details help the user understand which form was added, whether it has been completed, and when it was sent or submitted.
Each intake form includes several action buttons for managing the form. The View button opens the form so the user can review it. If the form has already been completed, the submitted answers will appear inside the form fields. If the form has not been completed yet, the form may appear empty because the lead has not submitted any responses. From the view screen, the user can also download the form as a PDF or print it. The download button saves a PDF copy of the form to the user’s device, while the print button allows the user to print the form directly.
The Rename button allows the user to change the form name. This is useful when multiple intake forms are connected to the same lead and the user wants to make them easier to identify. The Copy Link button copies the intake form’s unique link so it can be shared manually through email, SMS, or another communication method.
The Email button opens an email panel that already includes the lead’s email address and the intake form link. The user can review the email, add extra text if they want to explain the intake form, and then click Send to send it to the lead. The Delete icon removes the intake form from the lead if the form is no longer needed.
To learn how to generate a new intake form, please visit Create Intake Form.
Documents Tab
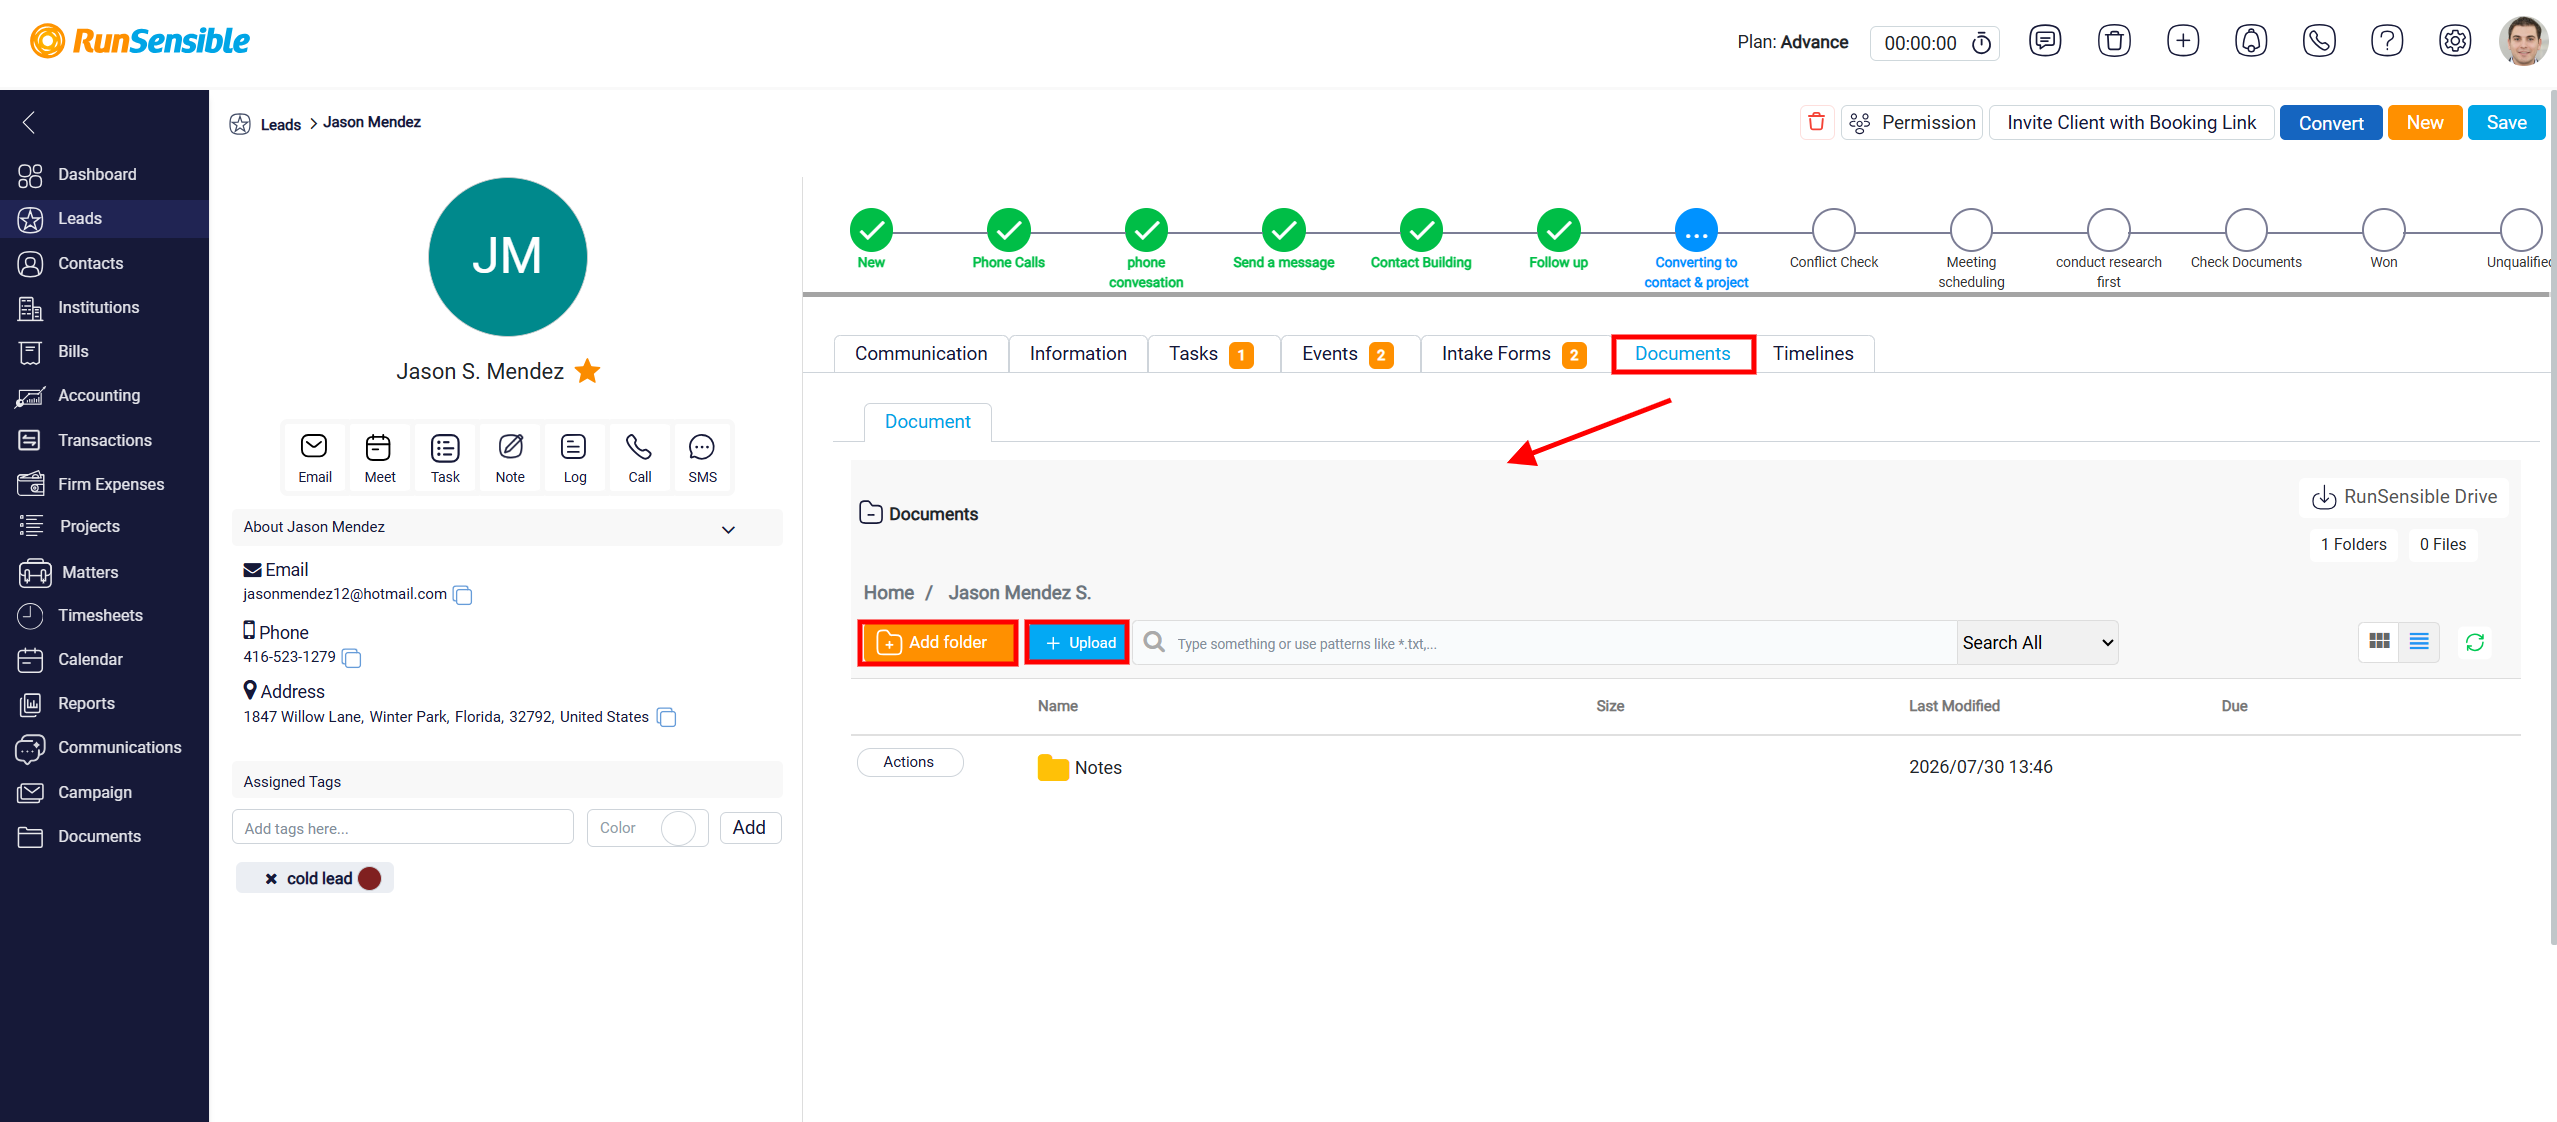
The Documents tab is used to upload, organize, and manage files related to the selected lead. This tab keeps lead documents in one place so users can find and review the files connected to that lead.
The Upload button allows the user to add files to the lead record. These files may include contracts, proposals, forms, supporting documents, or any other files that need to be stored with the lead. After a file is uploaded, it becomes available in the Documents tab for future access. The New Folder button allows the user to create folders inside the Documents tab. Folders help organize documents into separate categories, which is useful when a lead has multiple files. For example, users can create folders for different document types or stages of the lead process.
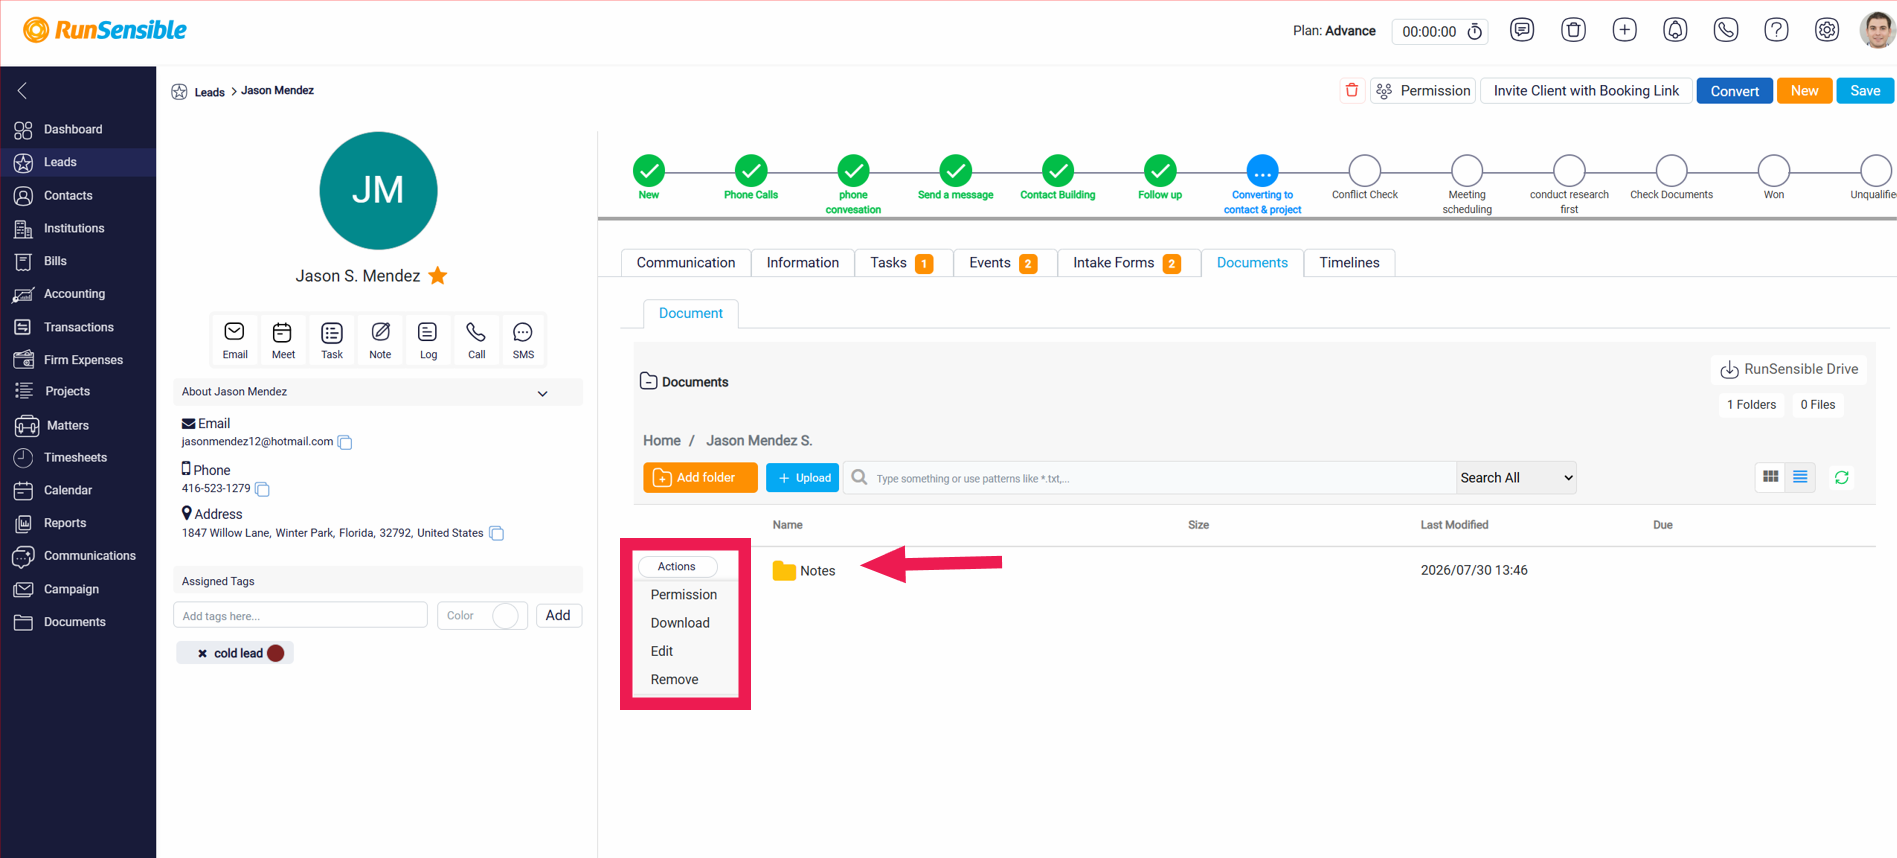
Next to each file or folder, click the Actions button to manage it. From the menu, you can configure permissions, download, edit, or remove the selected item.
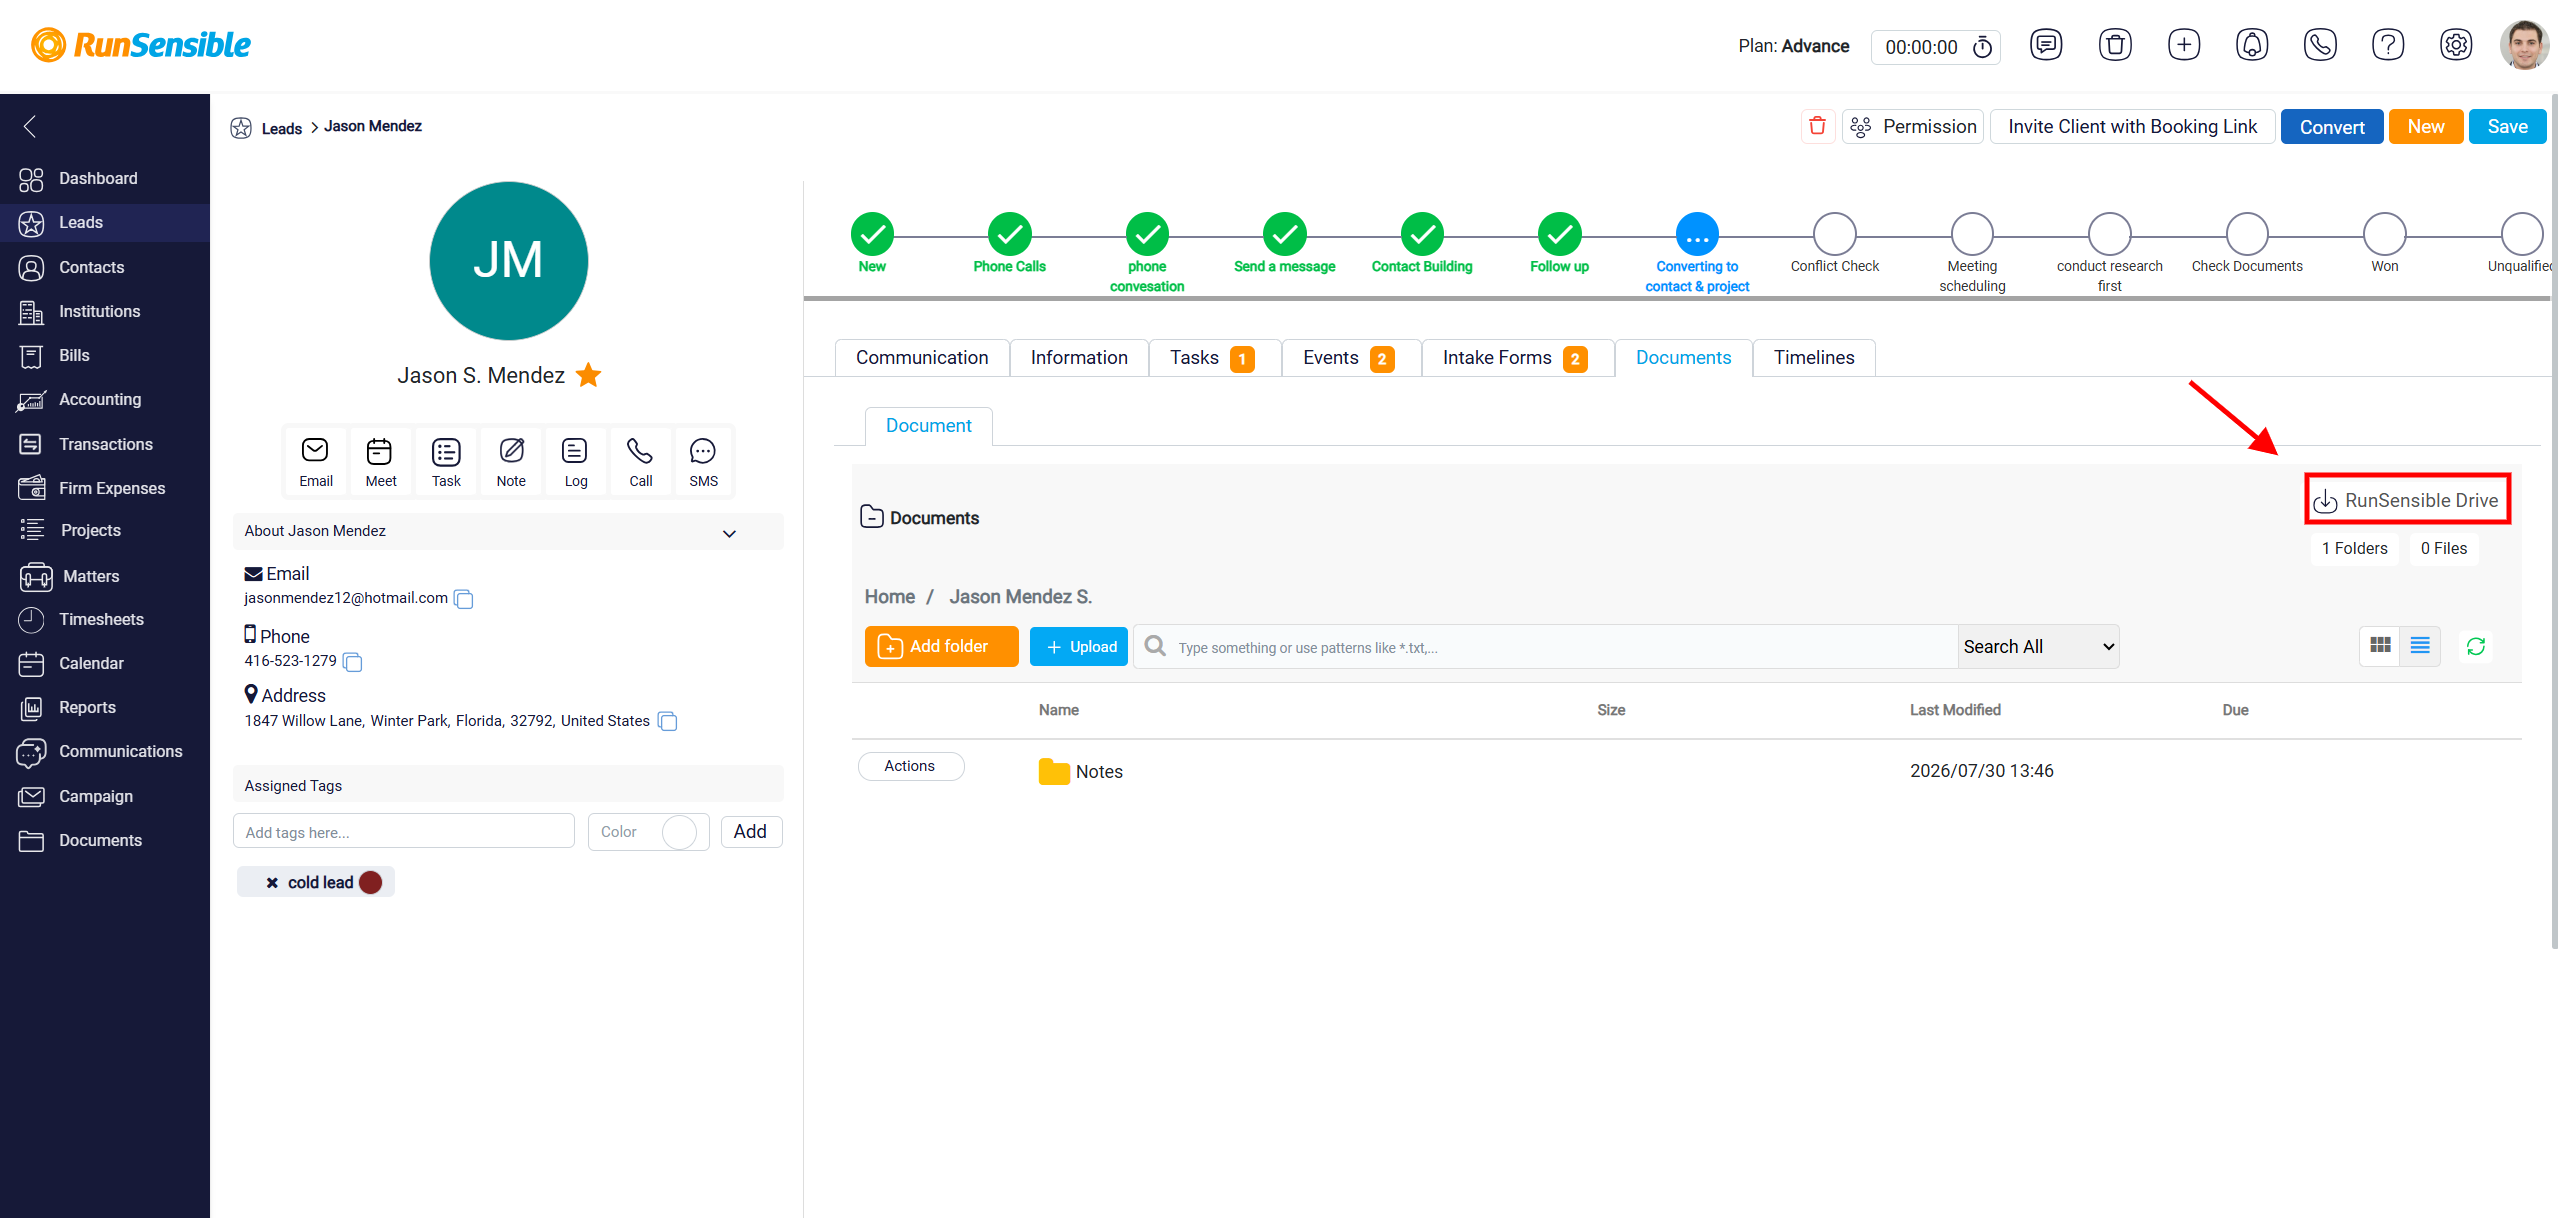
RunSensible Drive
The RunSensible Drive button is used to download and install the RunSensible Desktop App. After the app is installed, it creates a dedicated drive on the user’s computer where they can access and manage RunSensible files and folders from their own local device. When the user clicks RunSensible Drive, the installation panel opens. This panel explains what the desktop app does and shows the system requirements. The app allows users to find, open, organize, and manage RunSensible documents and templates directly from their Windows computer. Any changes made from the desktop are synced back to RunSensible automatically.
Timelines Tab
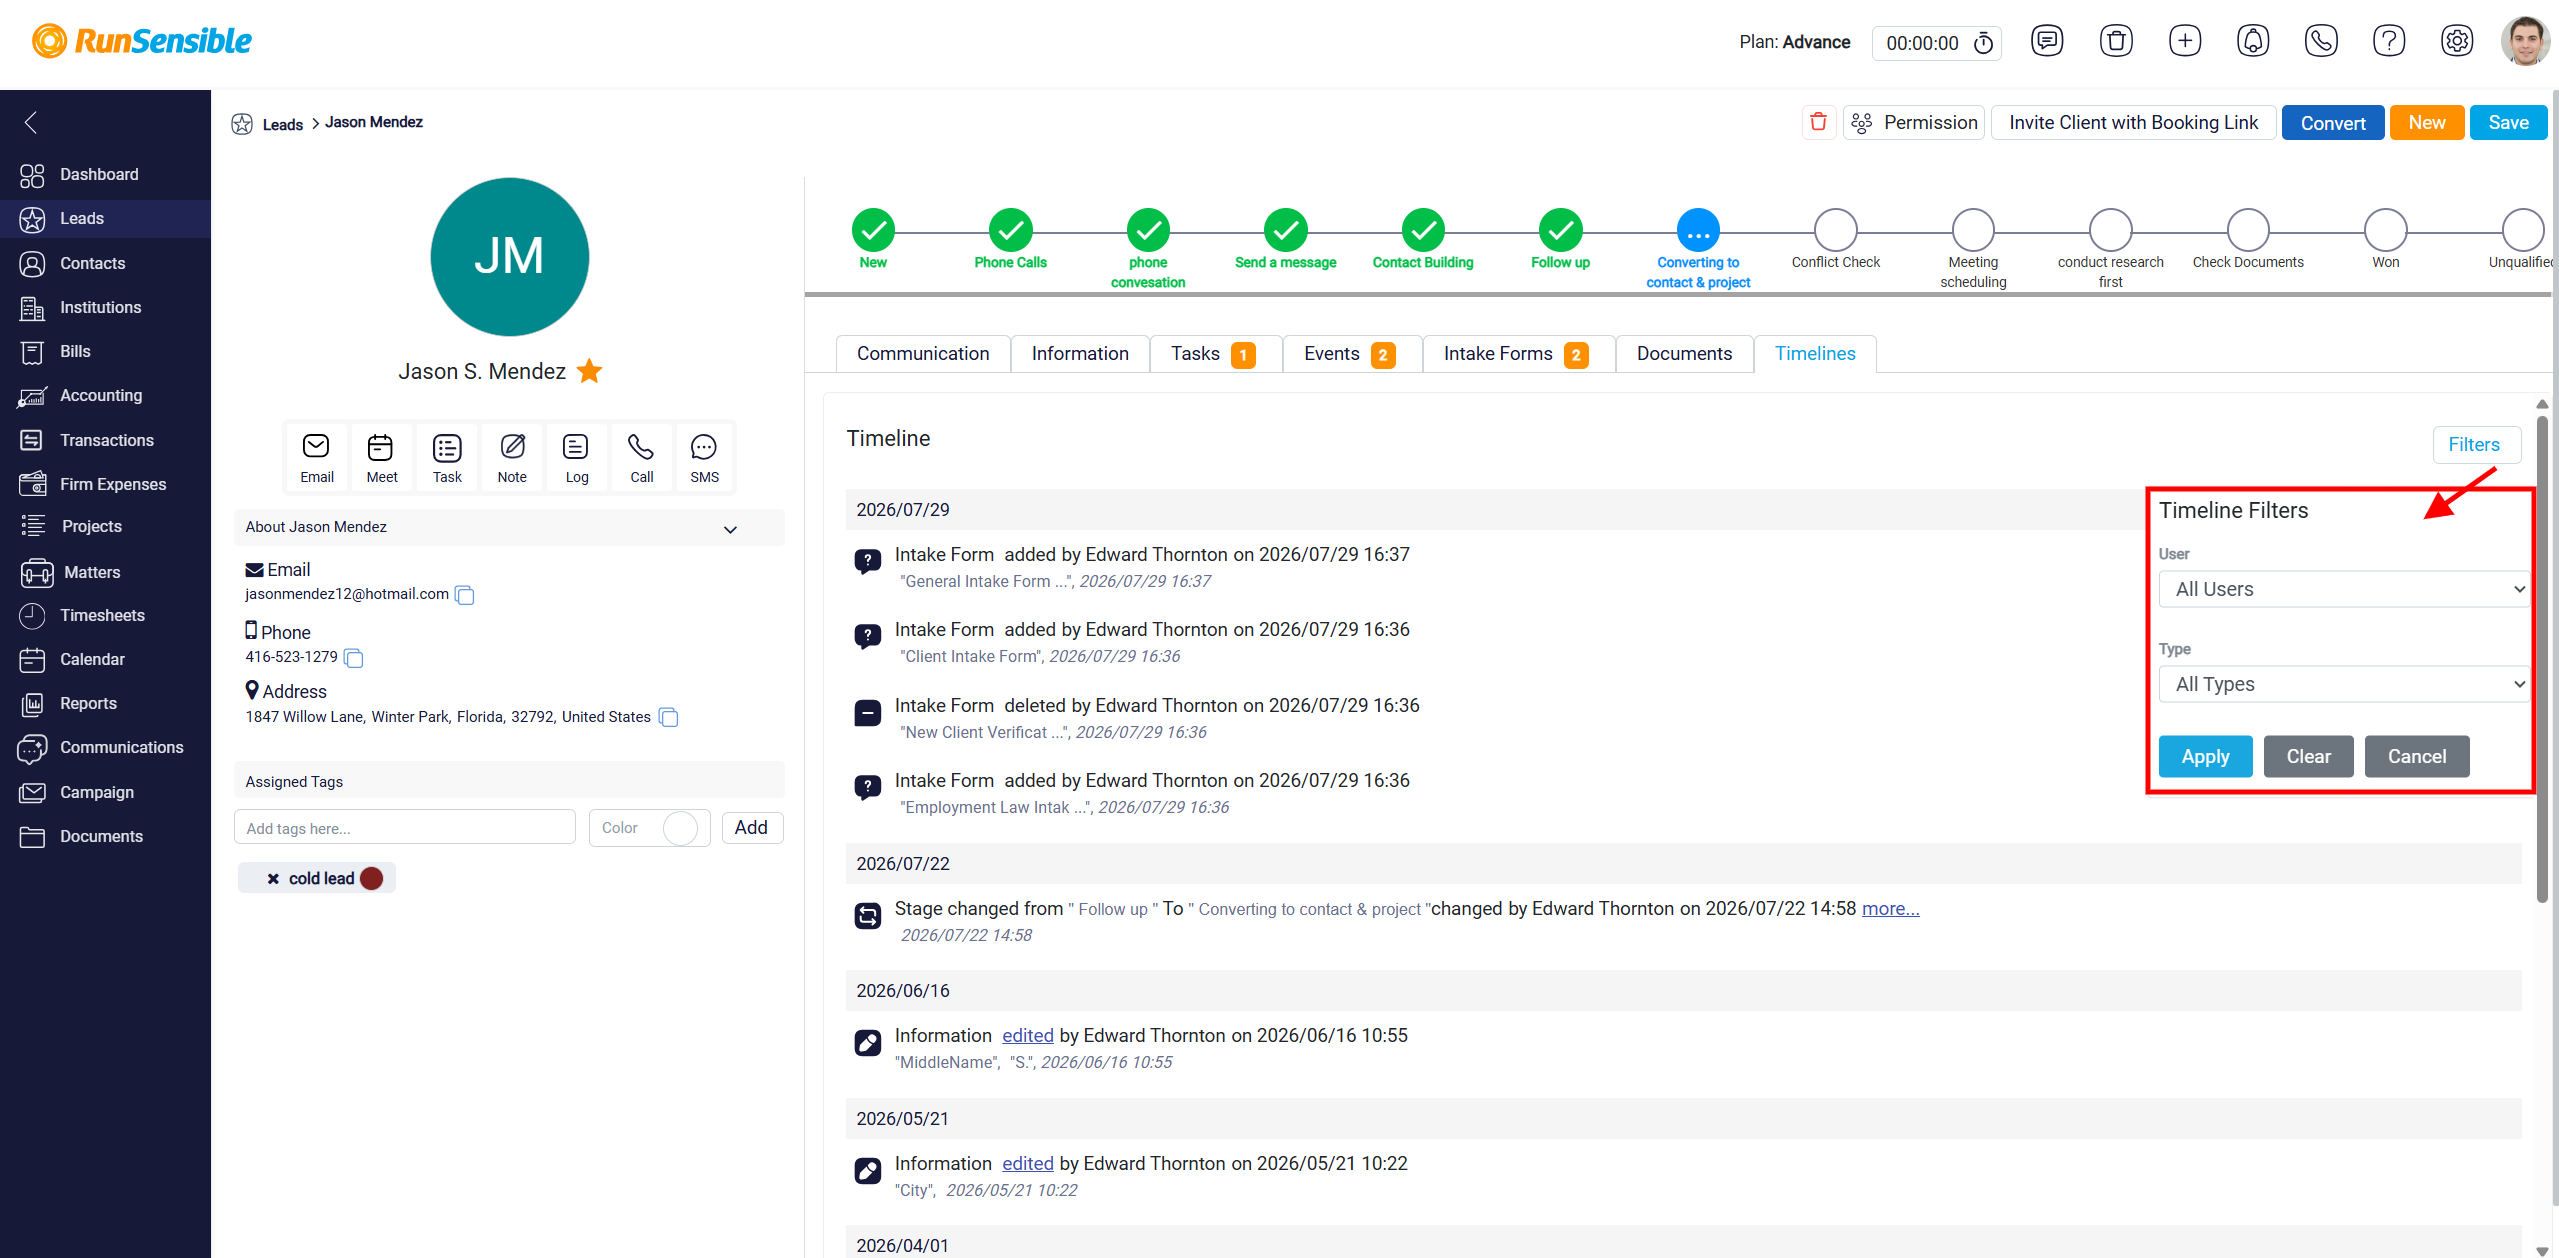
The Timelines tab shows the history of changes and actions related to the lead. It records updates made in the lead detail panel and shows when each change happened and which user made it. This tab helps users understand how the lead record has changed over time. For example, the timeline may show when a lead was created, when information was updated, when an intake form was added, or when another important action took place. The timeline is useful for reviewing the lead’s history and tracking activity in chronological order.
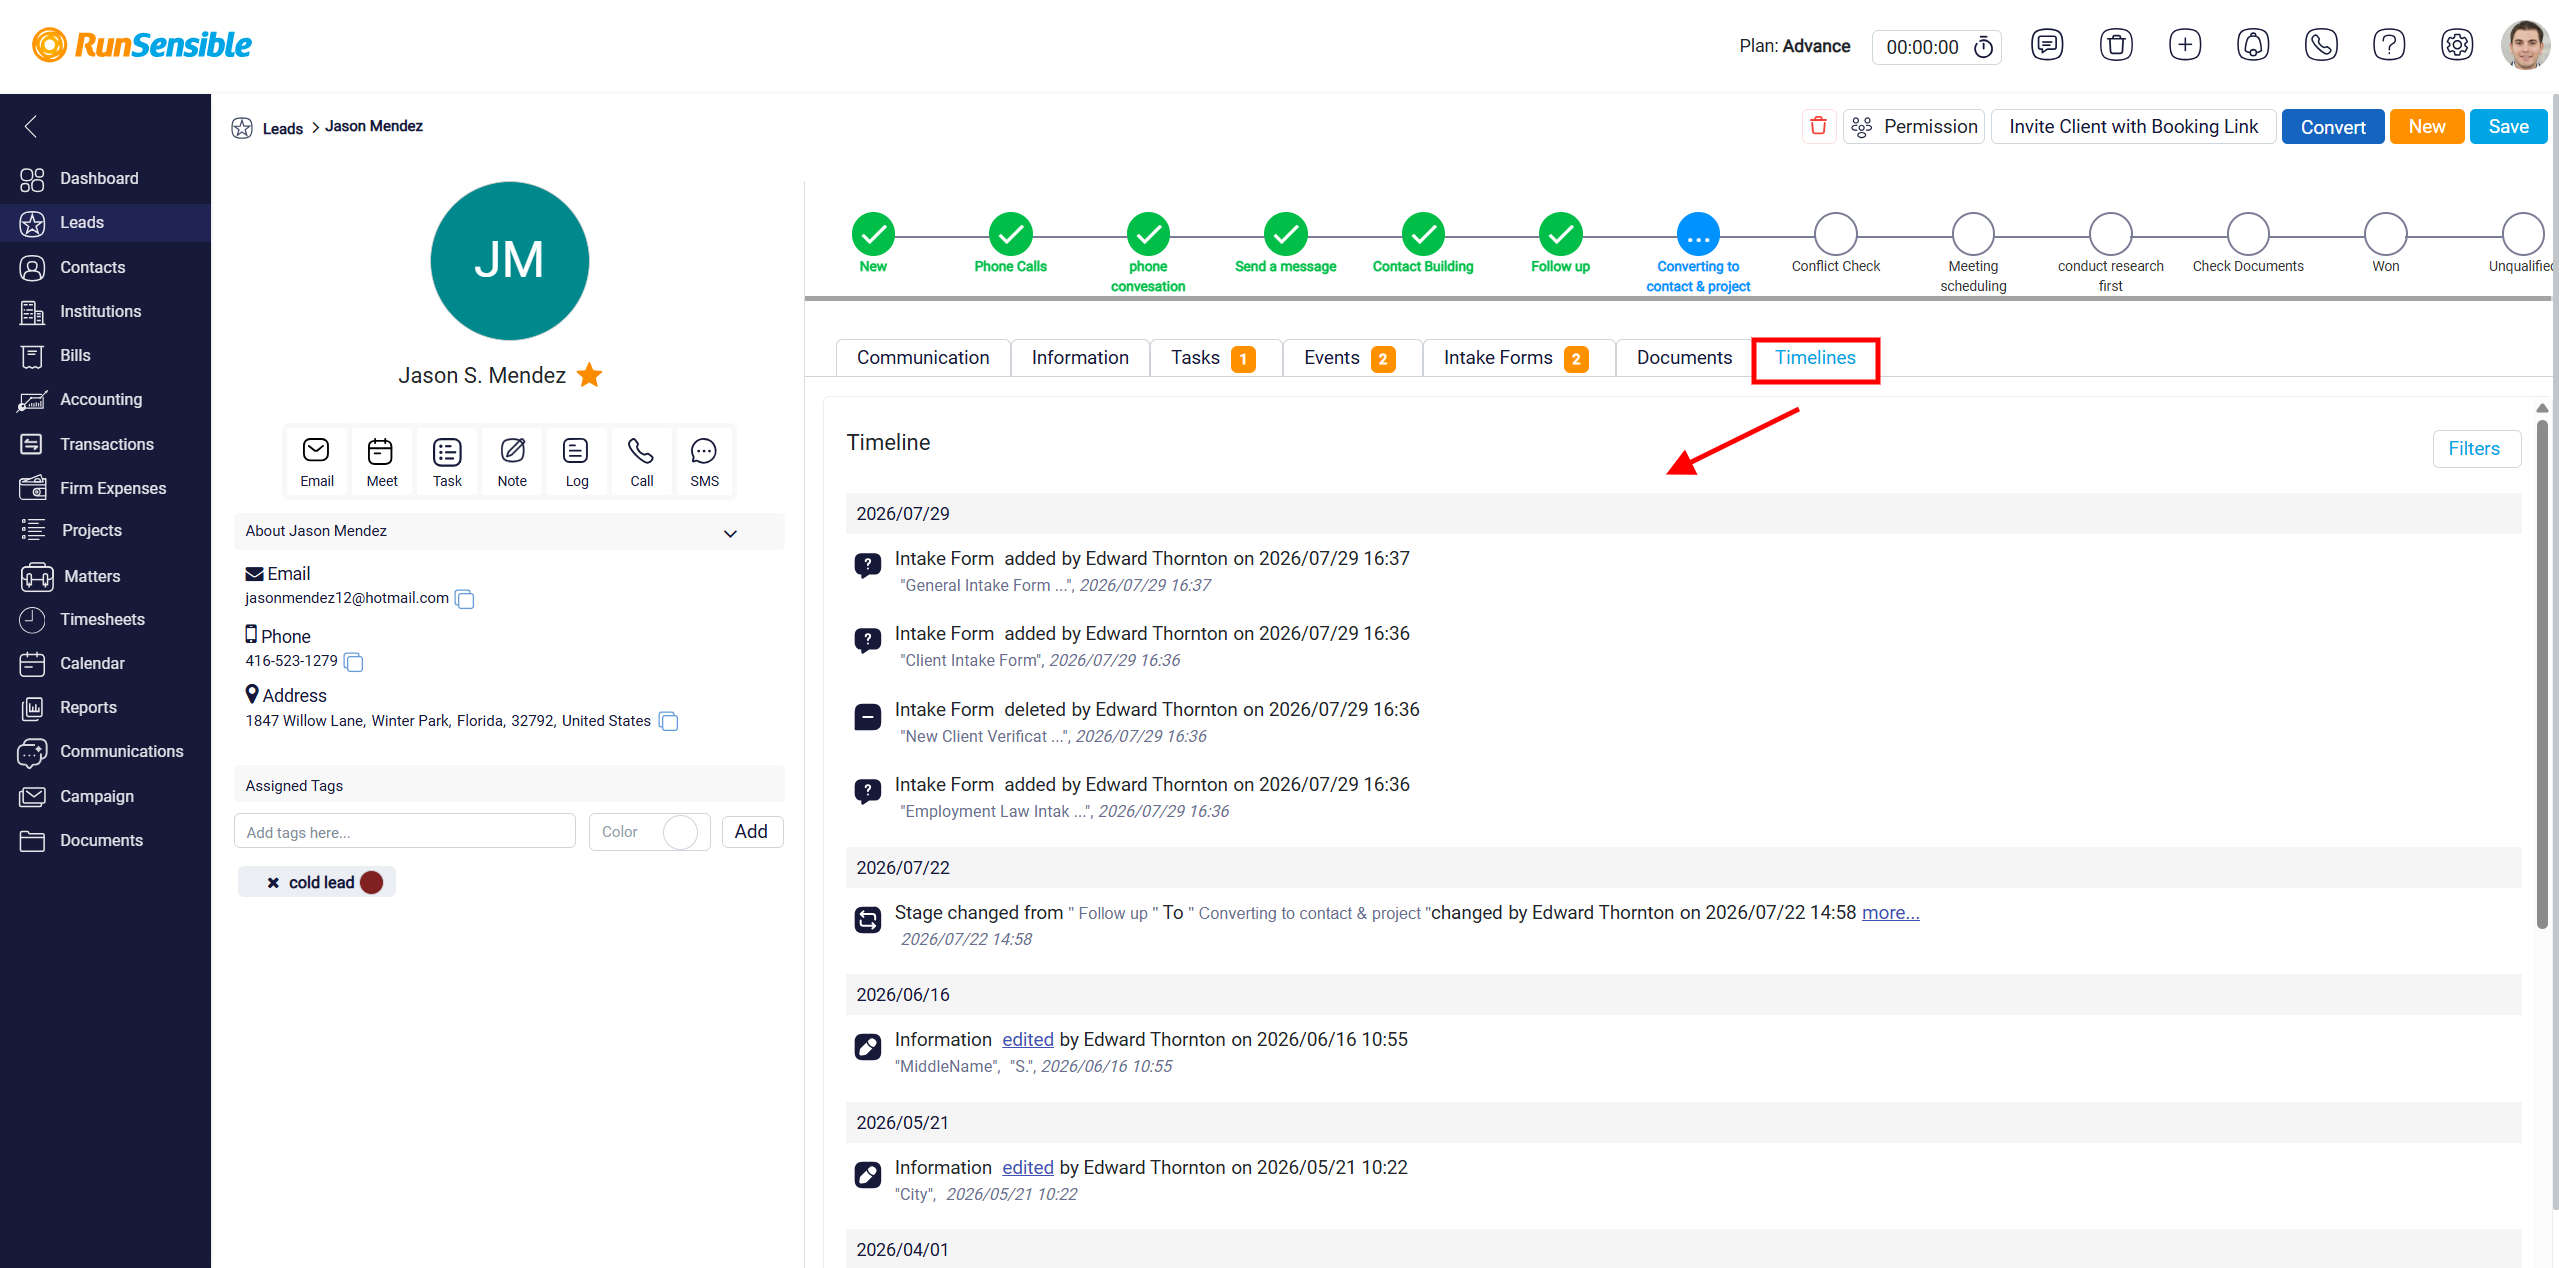
The Filters button is located at the top right side of the Timelines tab. This button is used to narrow down the timelines records so the user can focus on specific activity.
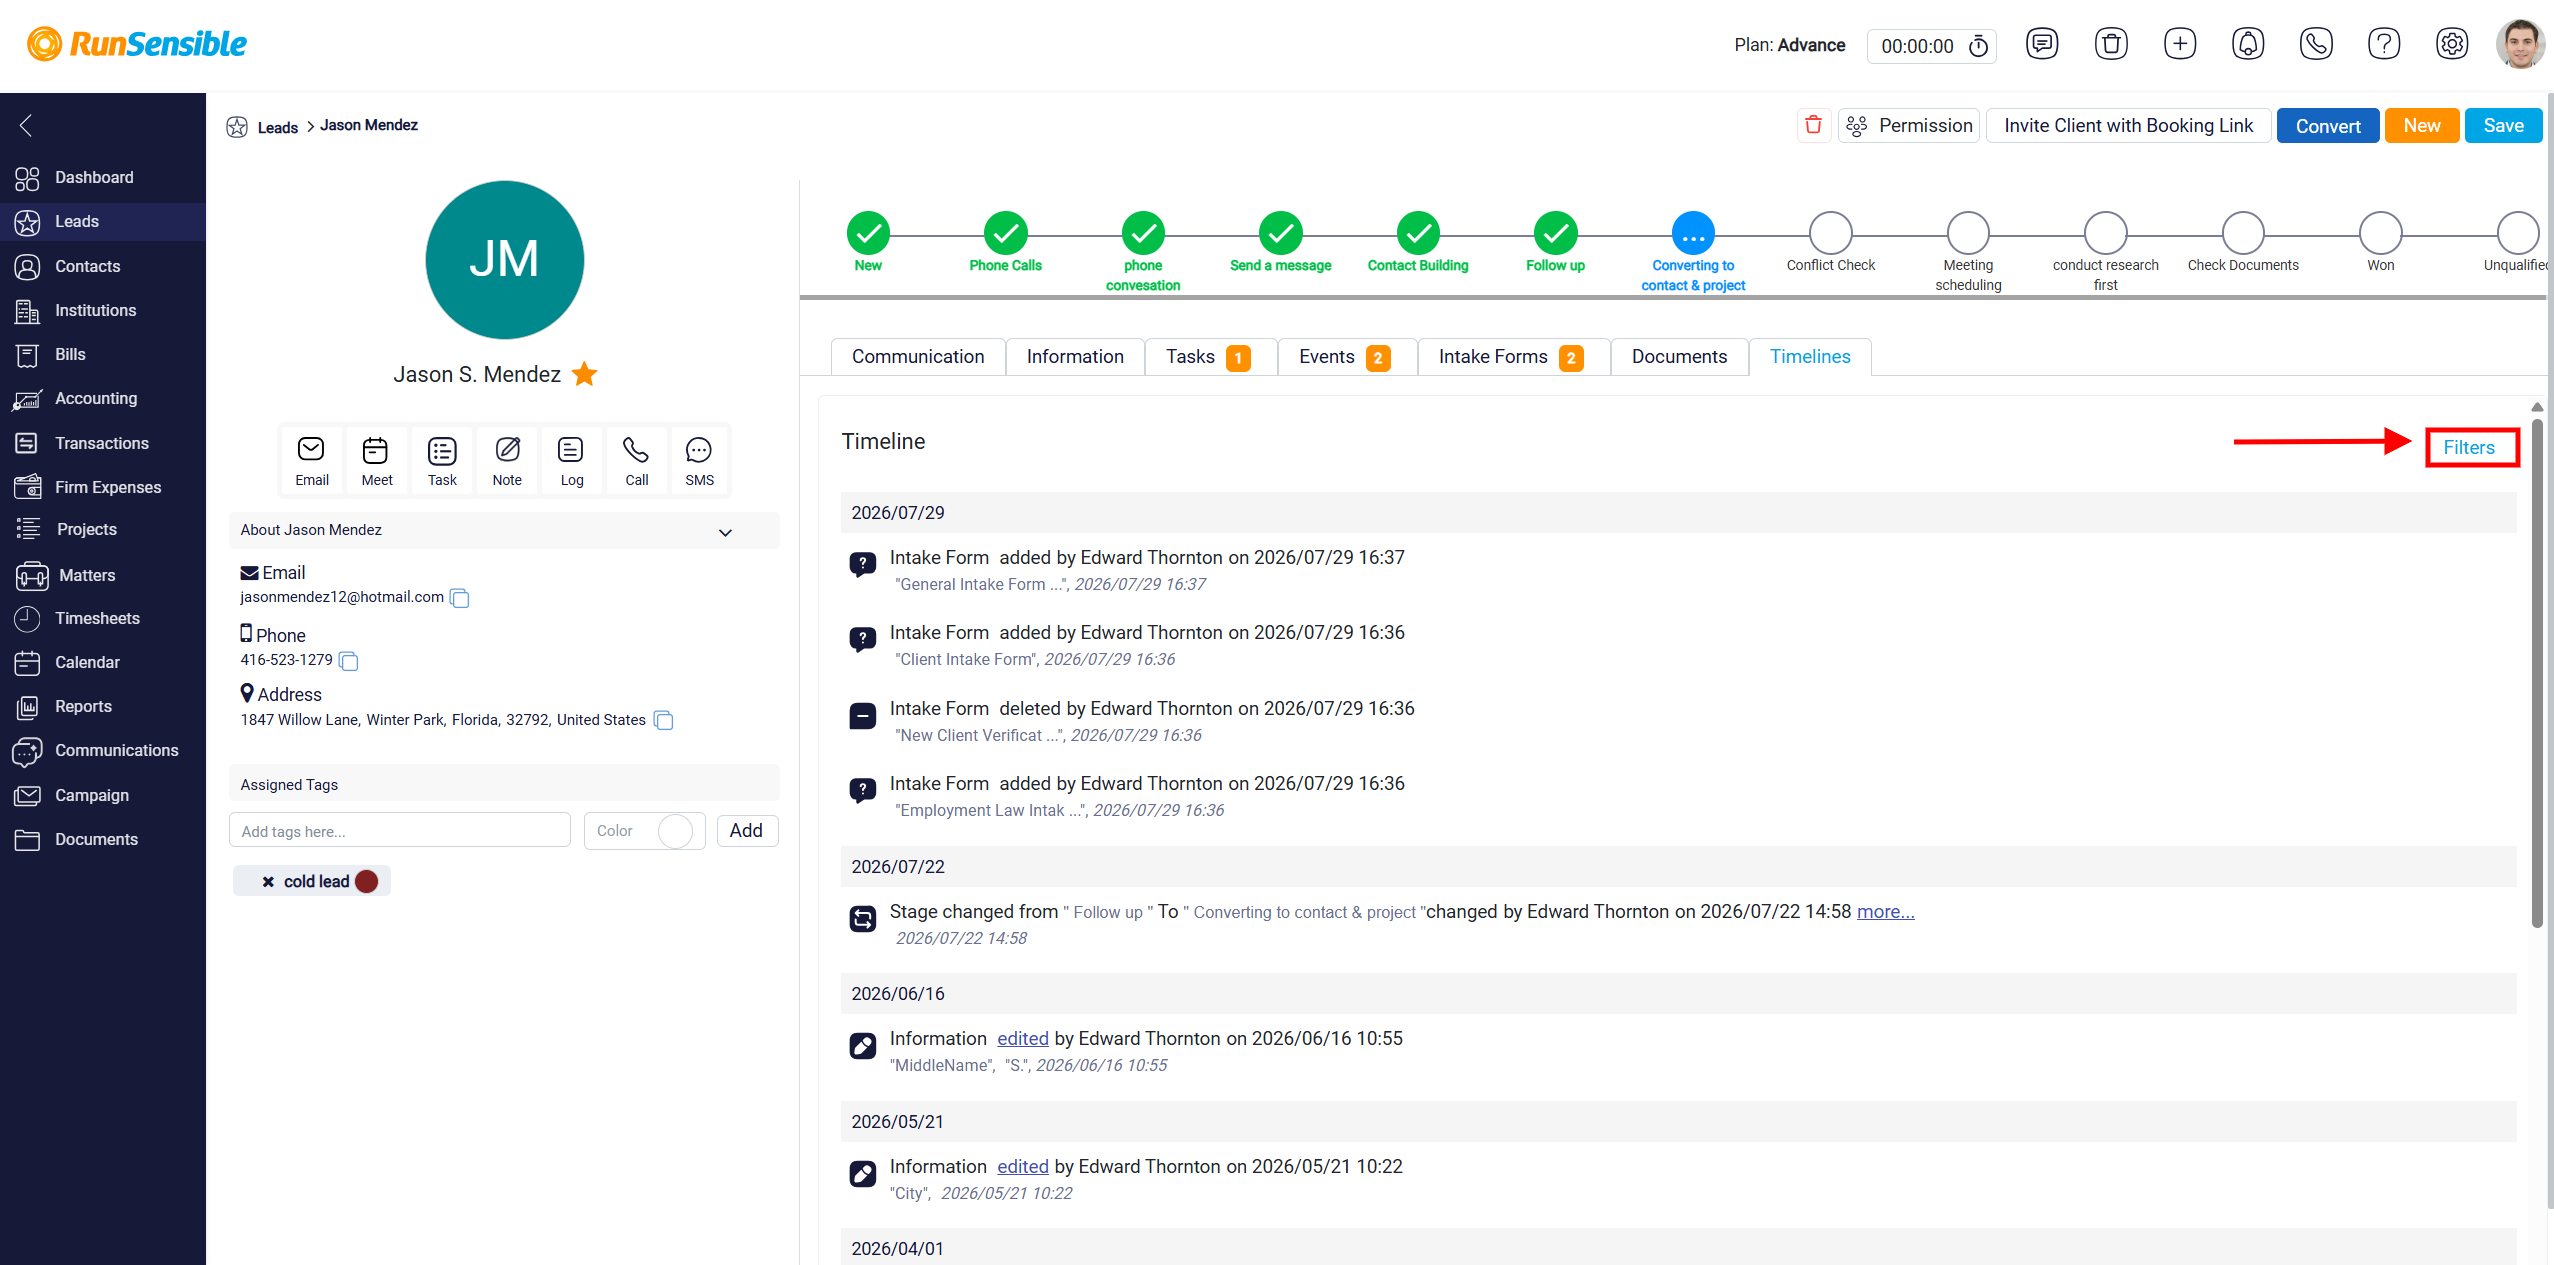
When the user clicks Filters, the Timelines Filters panel opens. The User dropdown allows the user to filter the timeline by the person who performed the action. If All Users is selected, the timeline shows actions from every user. If a specific user is selected, the timeline only shows actions performed by that user. The Type dropdown allows the user to filter the timeline by activity type. If All Types is selected, all timeline records are shown. The user can also choose a specific type of activity, such as a lead being created or an intake form being added, to see only that kind of record. After choosing the needed filters, the user clicks Apply to update the timeline results. The Clear button removes the selected filters and shows the full timeline again. The Cancel button closes the filter panel without applying changes.