Creating a Matter Pipeline
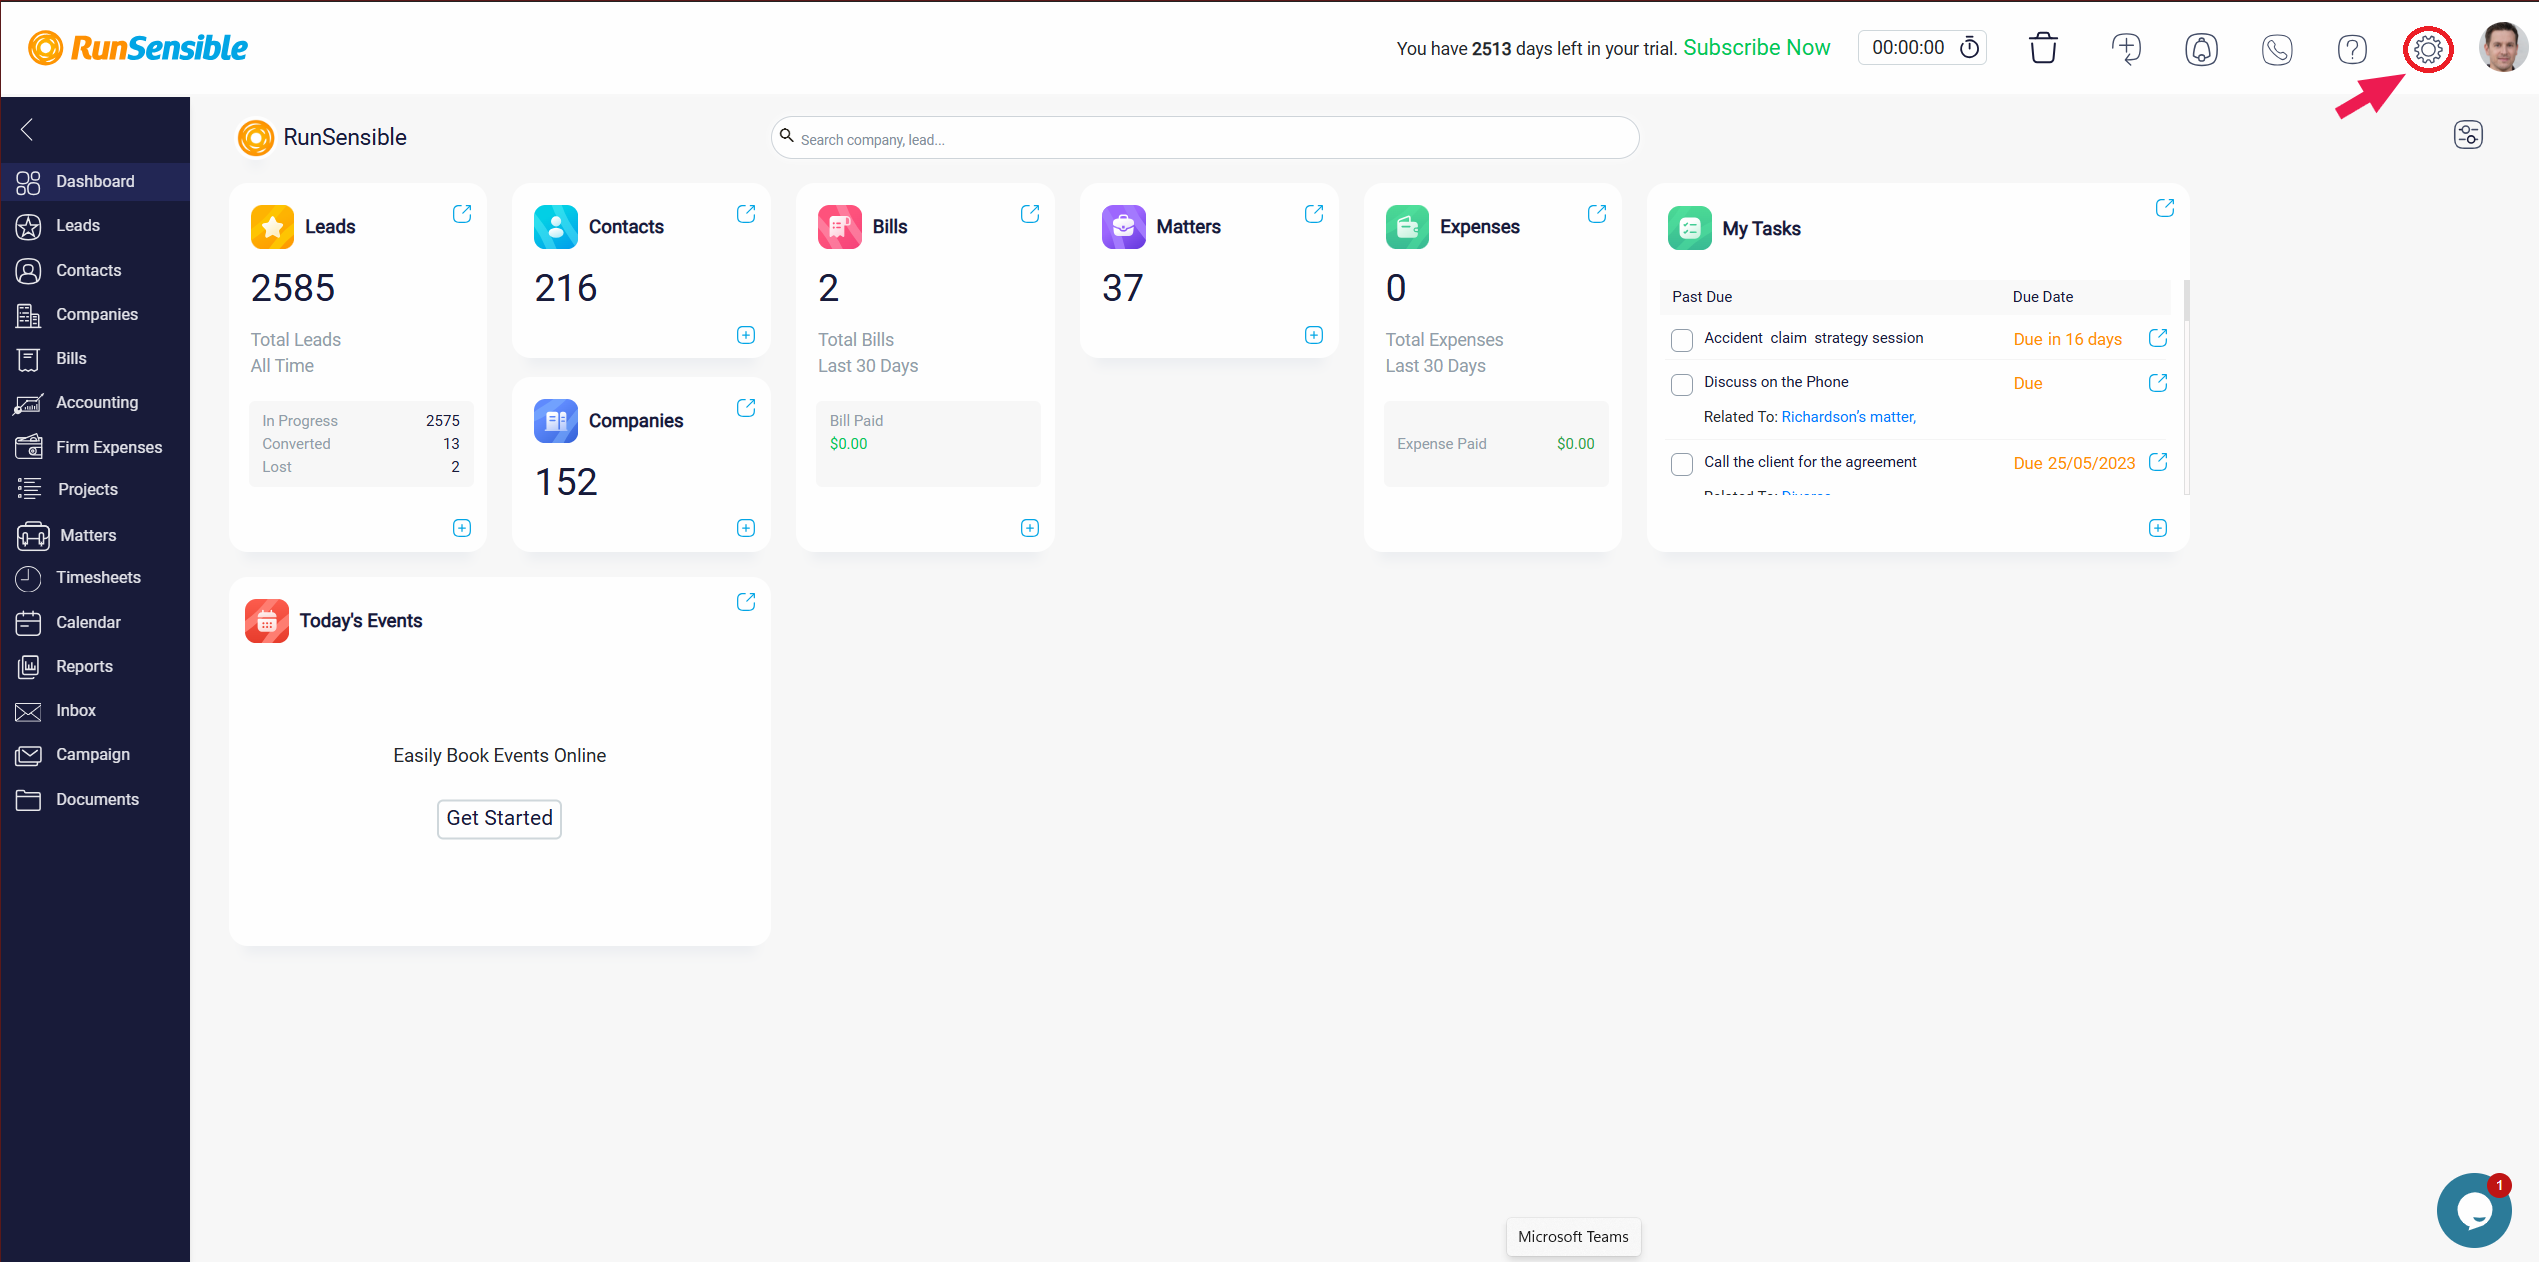
In RunSensible, we offer a fully customizable pipeline feature, allowing you to tailor distinct pipelines for various case types with ease. To set this up, simply go to Settings and make the modifications you need.
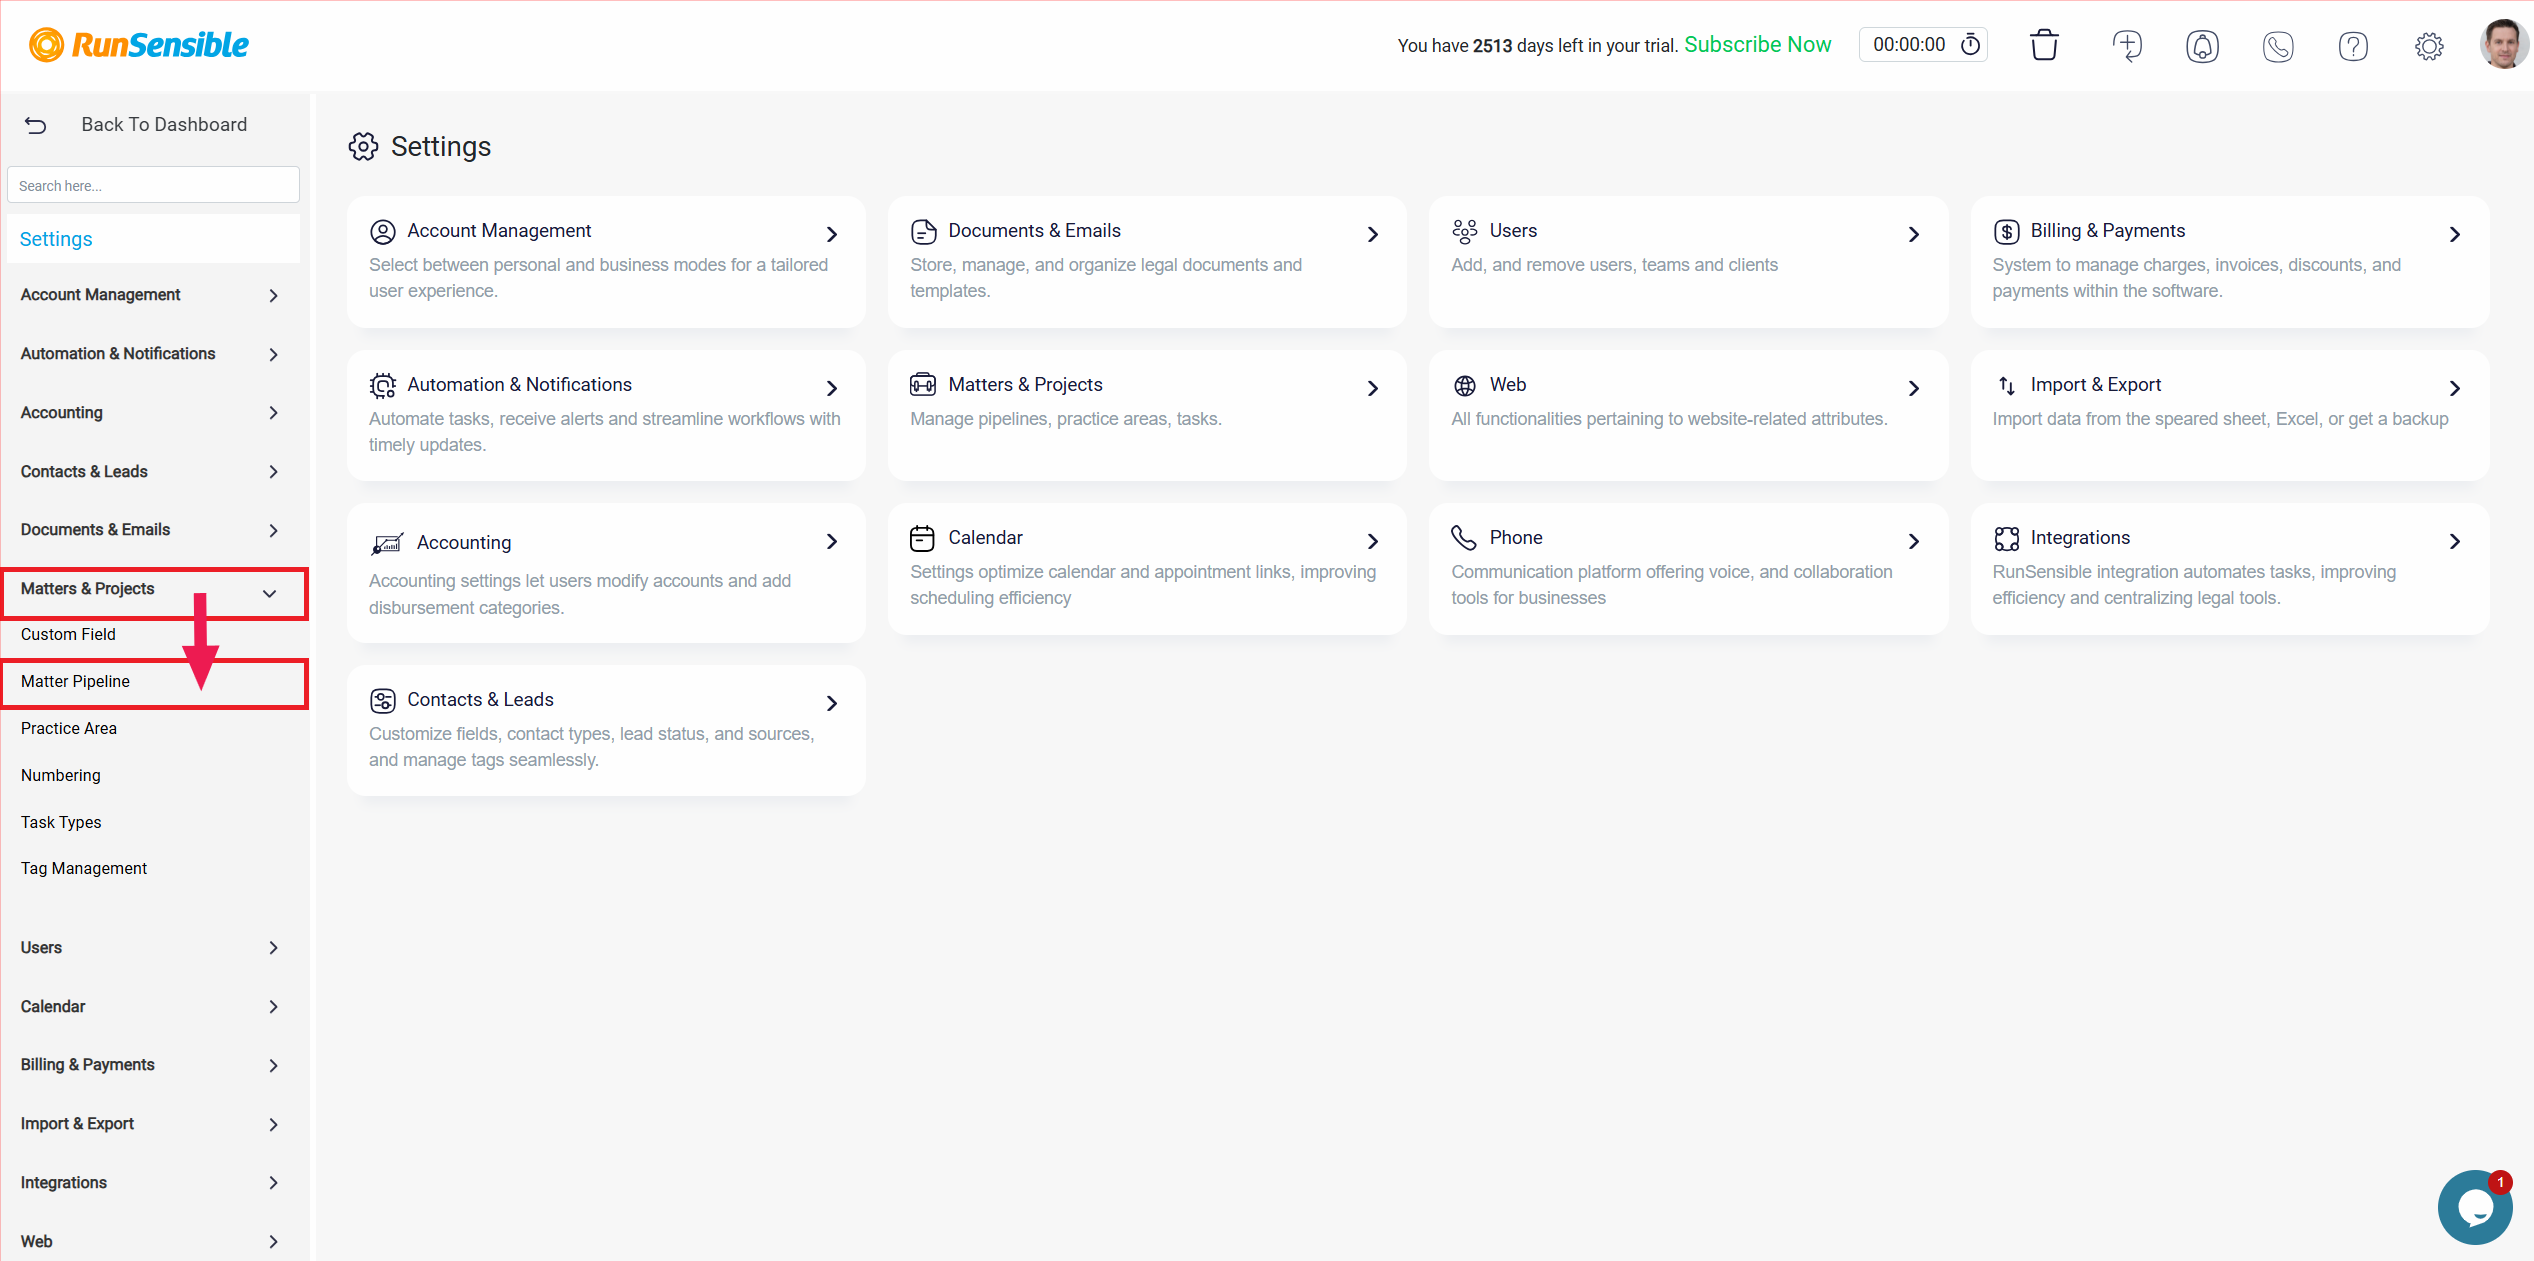
Click Matters and Projects and select Matter Pipeline.
To start, give your pipeline a unique name by typing it into the “Enter New Name” box and clicking Add to save it. This structure helps keep your case management organized and easily trackable from start to finish.
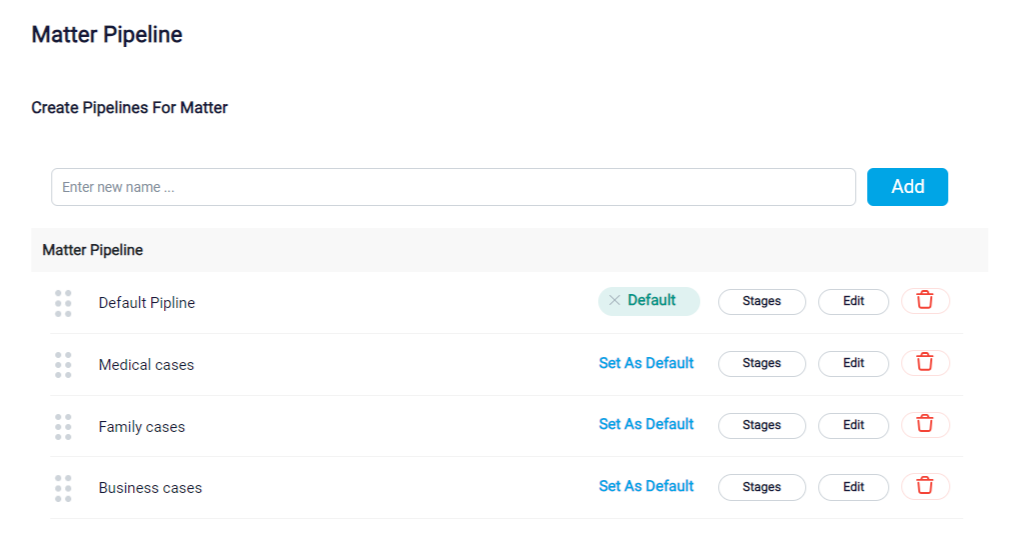
Once your pipeline is added, you can customize it further by clicking on the Stage button, where you can easily add or remove stages as needed. This flexibility allows you to adjust the workflow to match the specific requirements of each case.
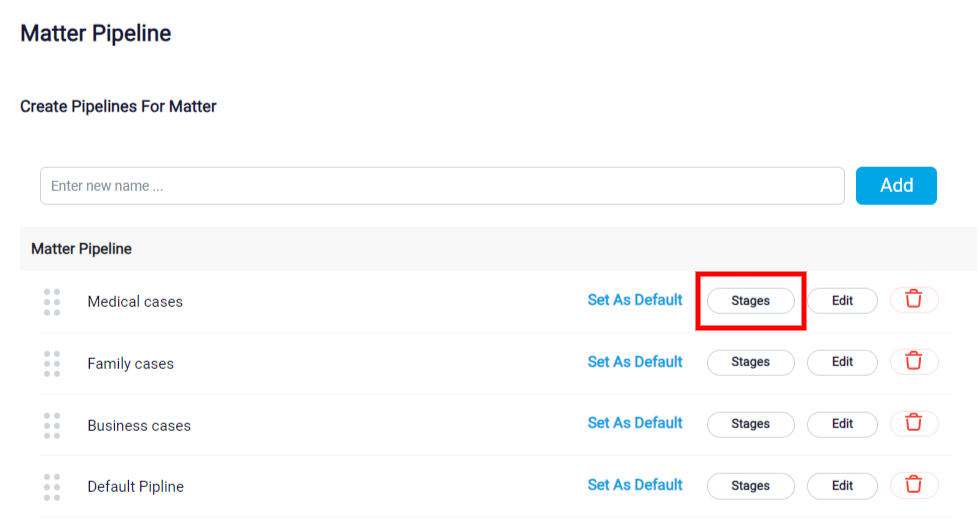
Initially, you’ll see some default stages to help you get started. However, if these stages don’t suit your needs, you can easily remove them by clicking the Remove or Edit button.
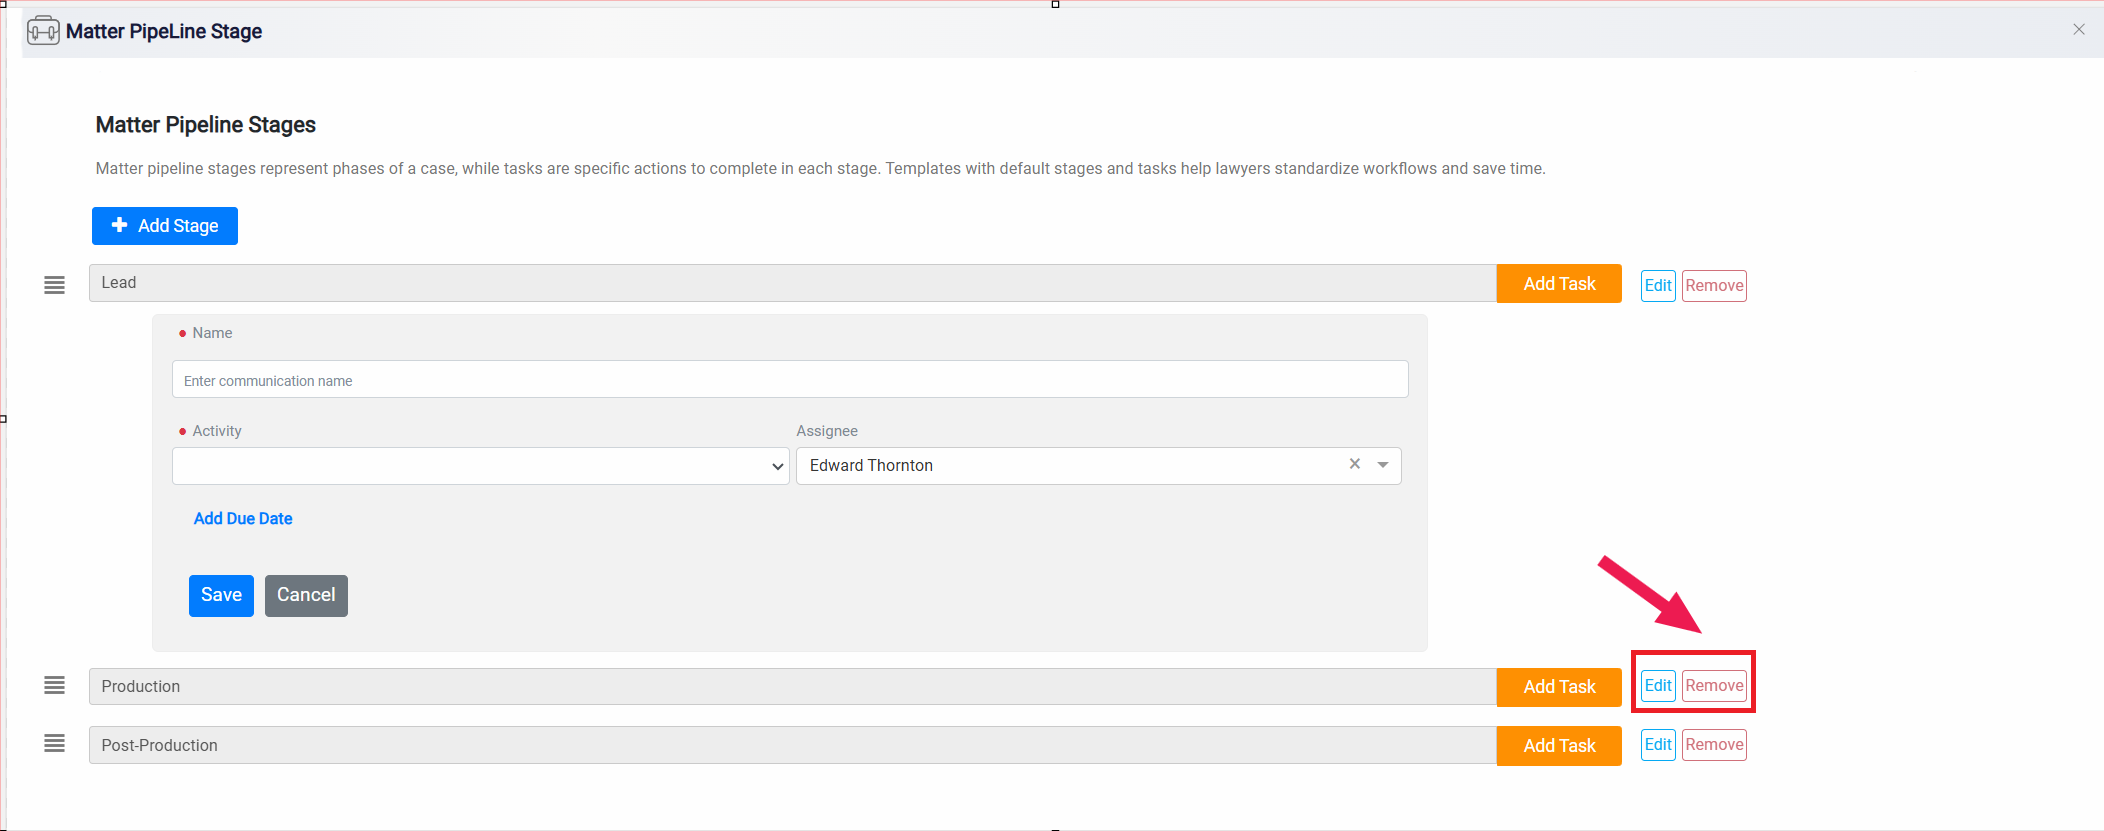
To add new stages, simply click on the Add Stage button, allowing you to customize your pipeline to perfectly align with each matter.
Each stage in your pipeline can also include tasks, enabling you to track the progress of each project with precision. With the option to add subtasks within each stage, you can further adapt your pipeline to different scenarios without needing to remove or modify the primary stages.
To create a subtask for a stage, click the Add Task button on the right side of the stage and fill in the required fields. This allows for enhanced organization and flexibility, tailored to the specific needs of each case.
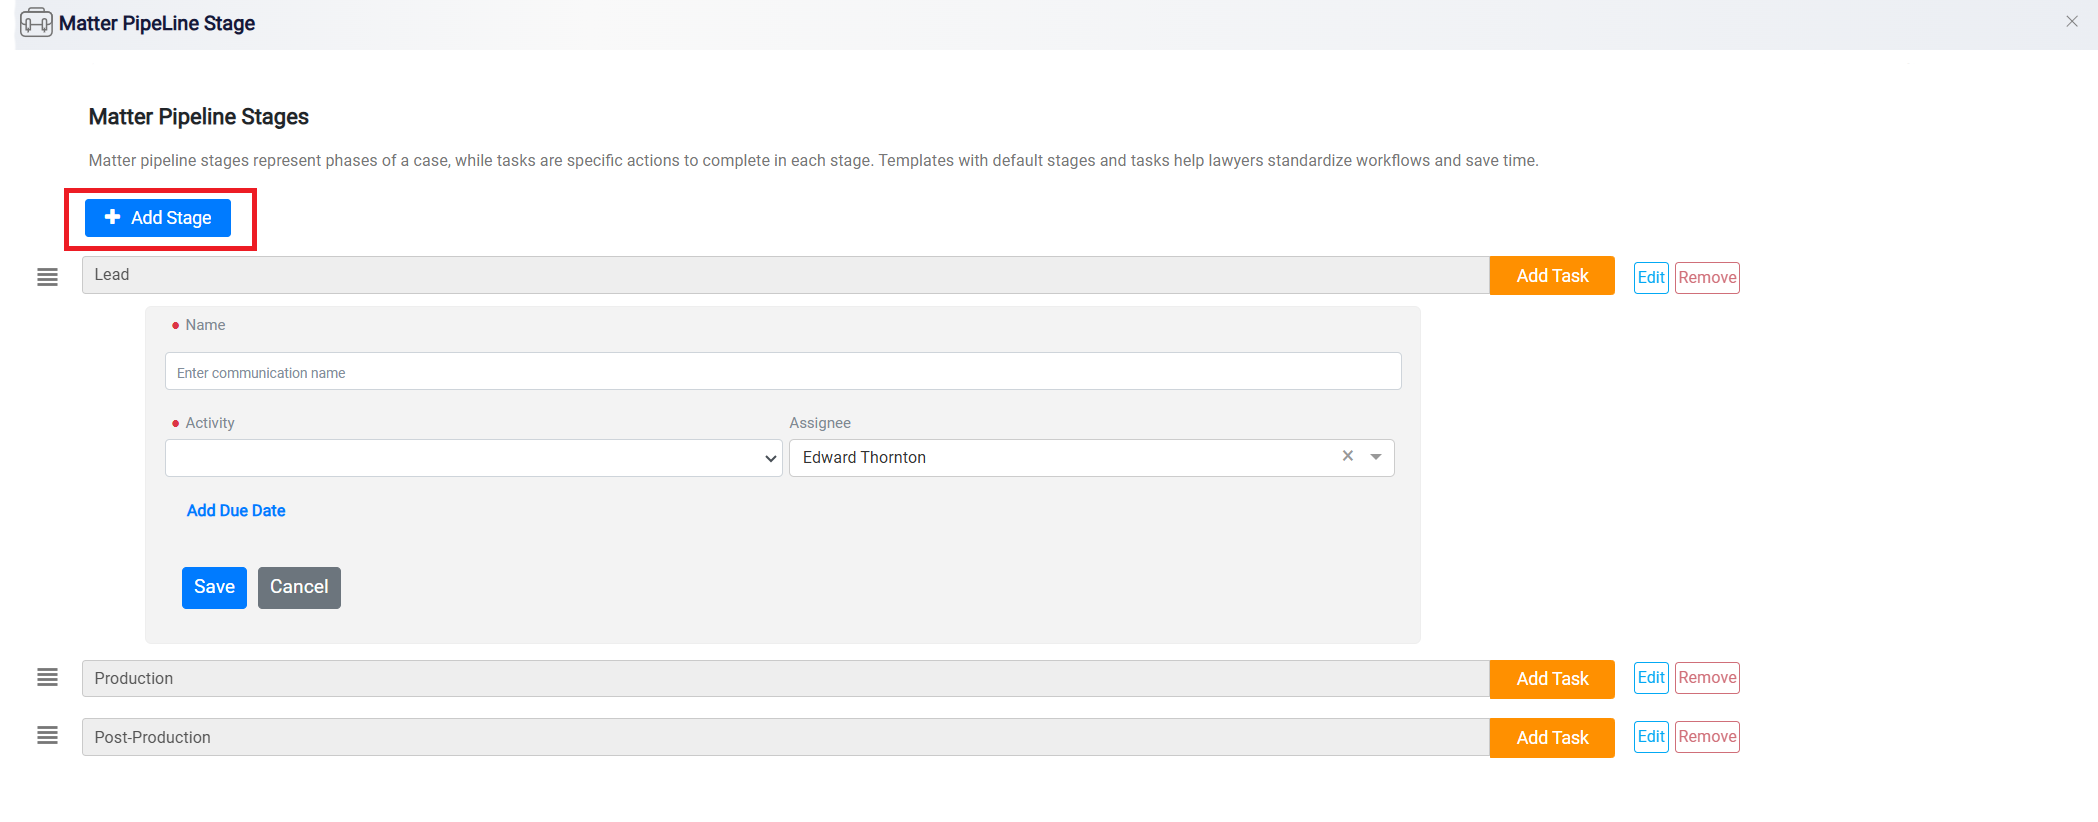
You can also set a due date for each subtask, specifying the number of days within which the task should be completed—either after the stage has begun or before it ends. This feature allows you to maintain clear timelines for each task in the pipeline.
Additionally, on the left side of each stage, there is a tool for rearranging the order. Simply click and hold the tool, then move your mouse up or down to adjust the stage’s placement as needed.
Once you’ve customized the pipeline stages, it’s ready to be applied seamlessly to any matter, ensuring an organized and efficient workflow.
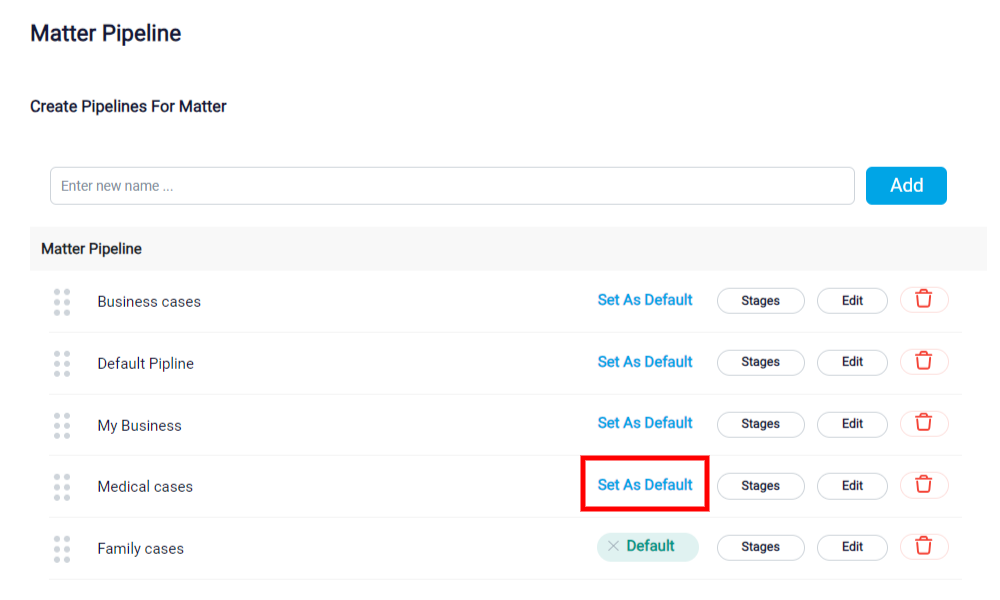
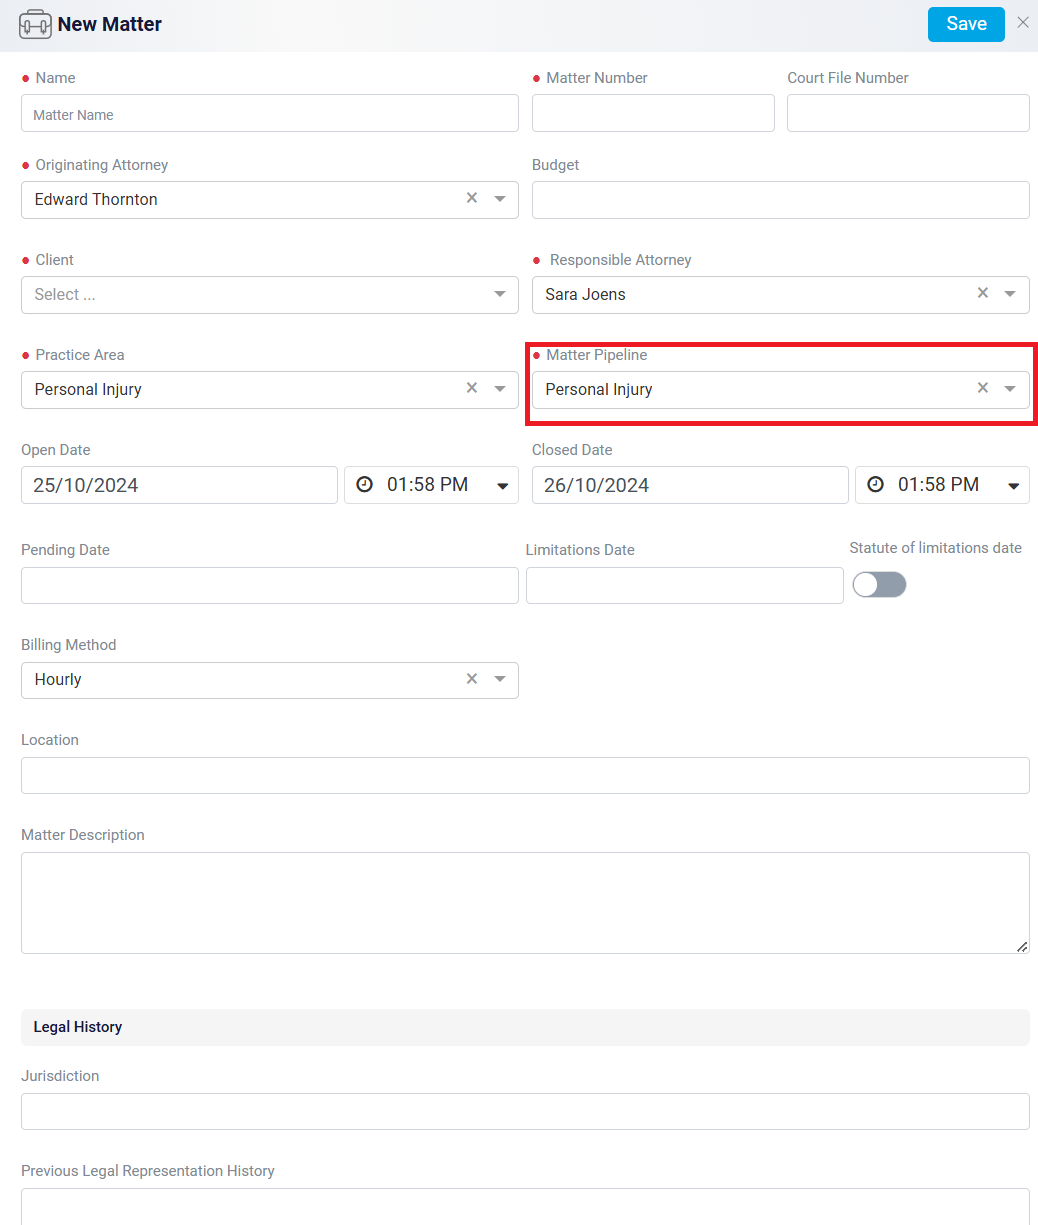
As you may already know, you can assign a new pipeline by selecting the Matter Pipeline option when you are creating a new matter.
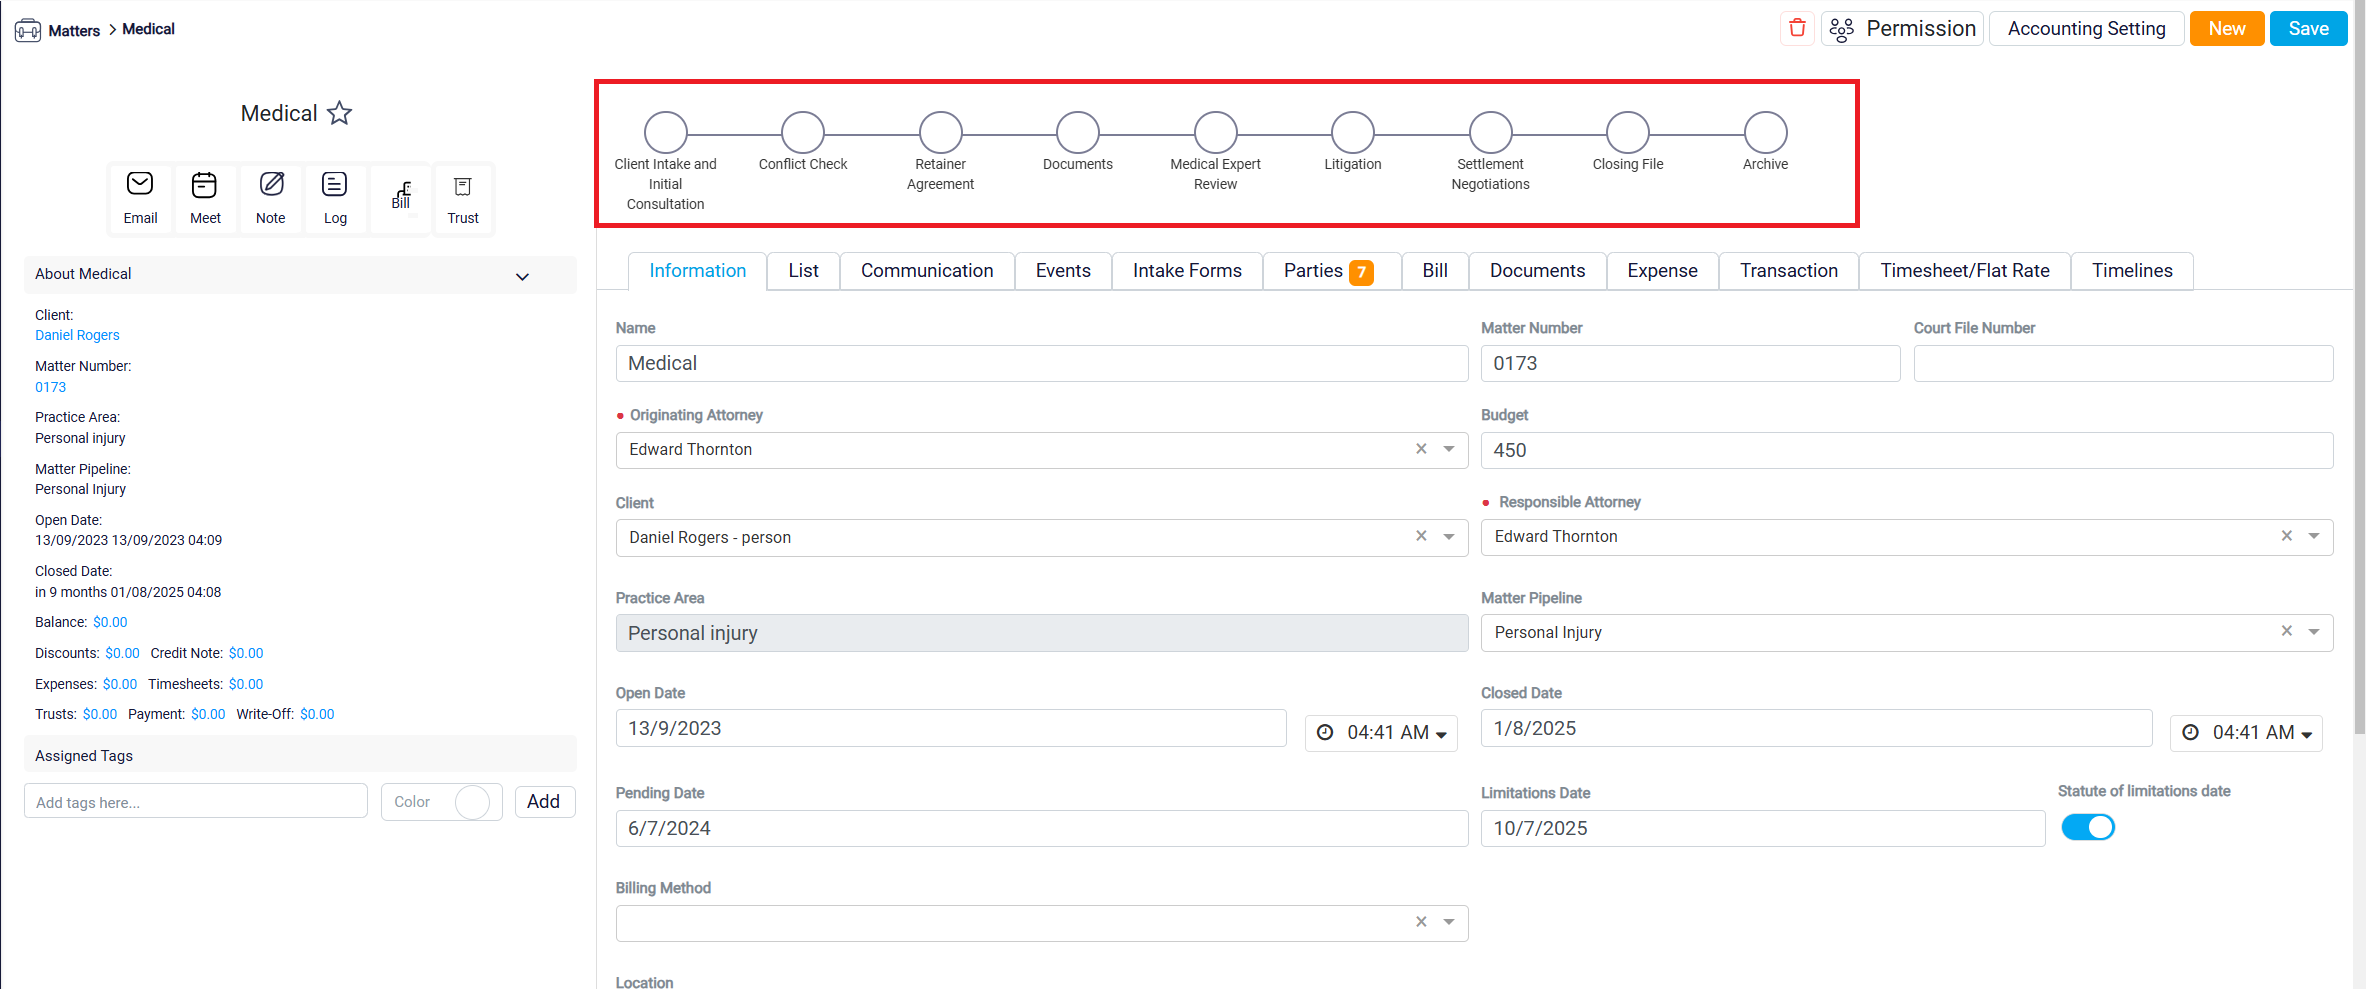
Once you’ve set up the pipeline for your matter, you’ll find it conveniently located at the top of your screen. To update the pipeline status, just click on the stage you’d like to modify. This feature makes it easy to track and adjust the progress of your matter as it moves through each stage.
