Handling Conflicts of Interest
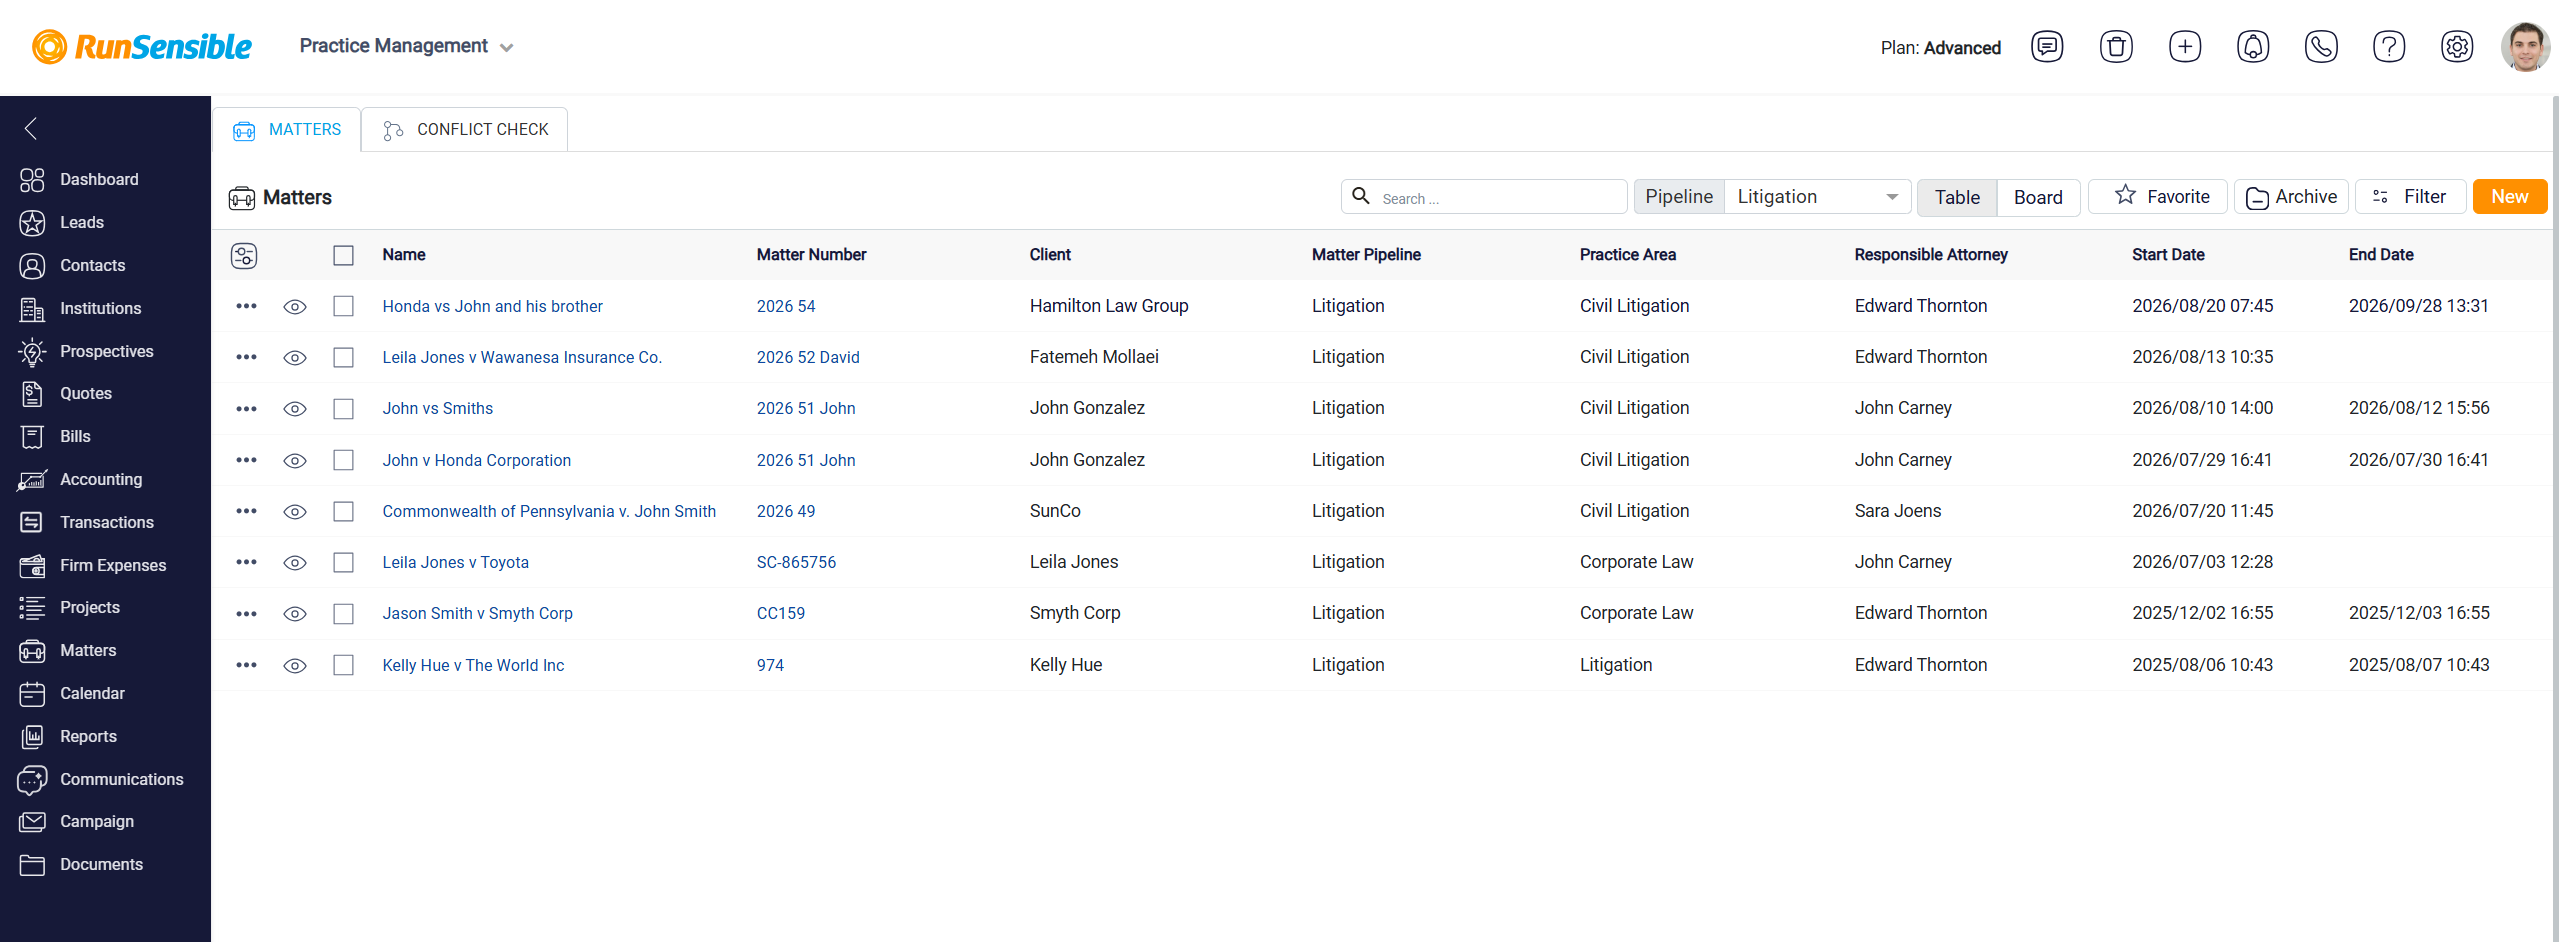
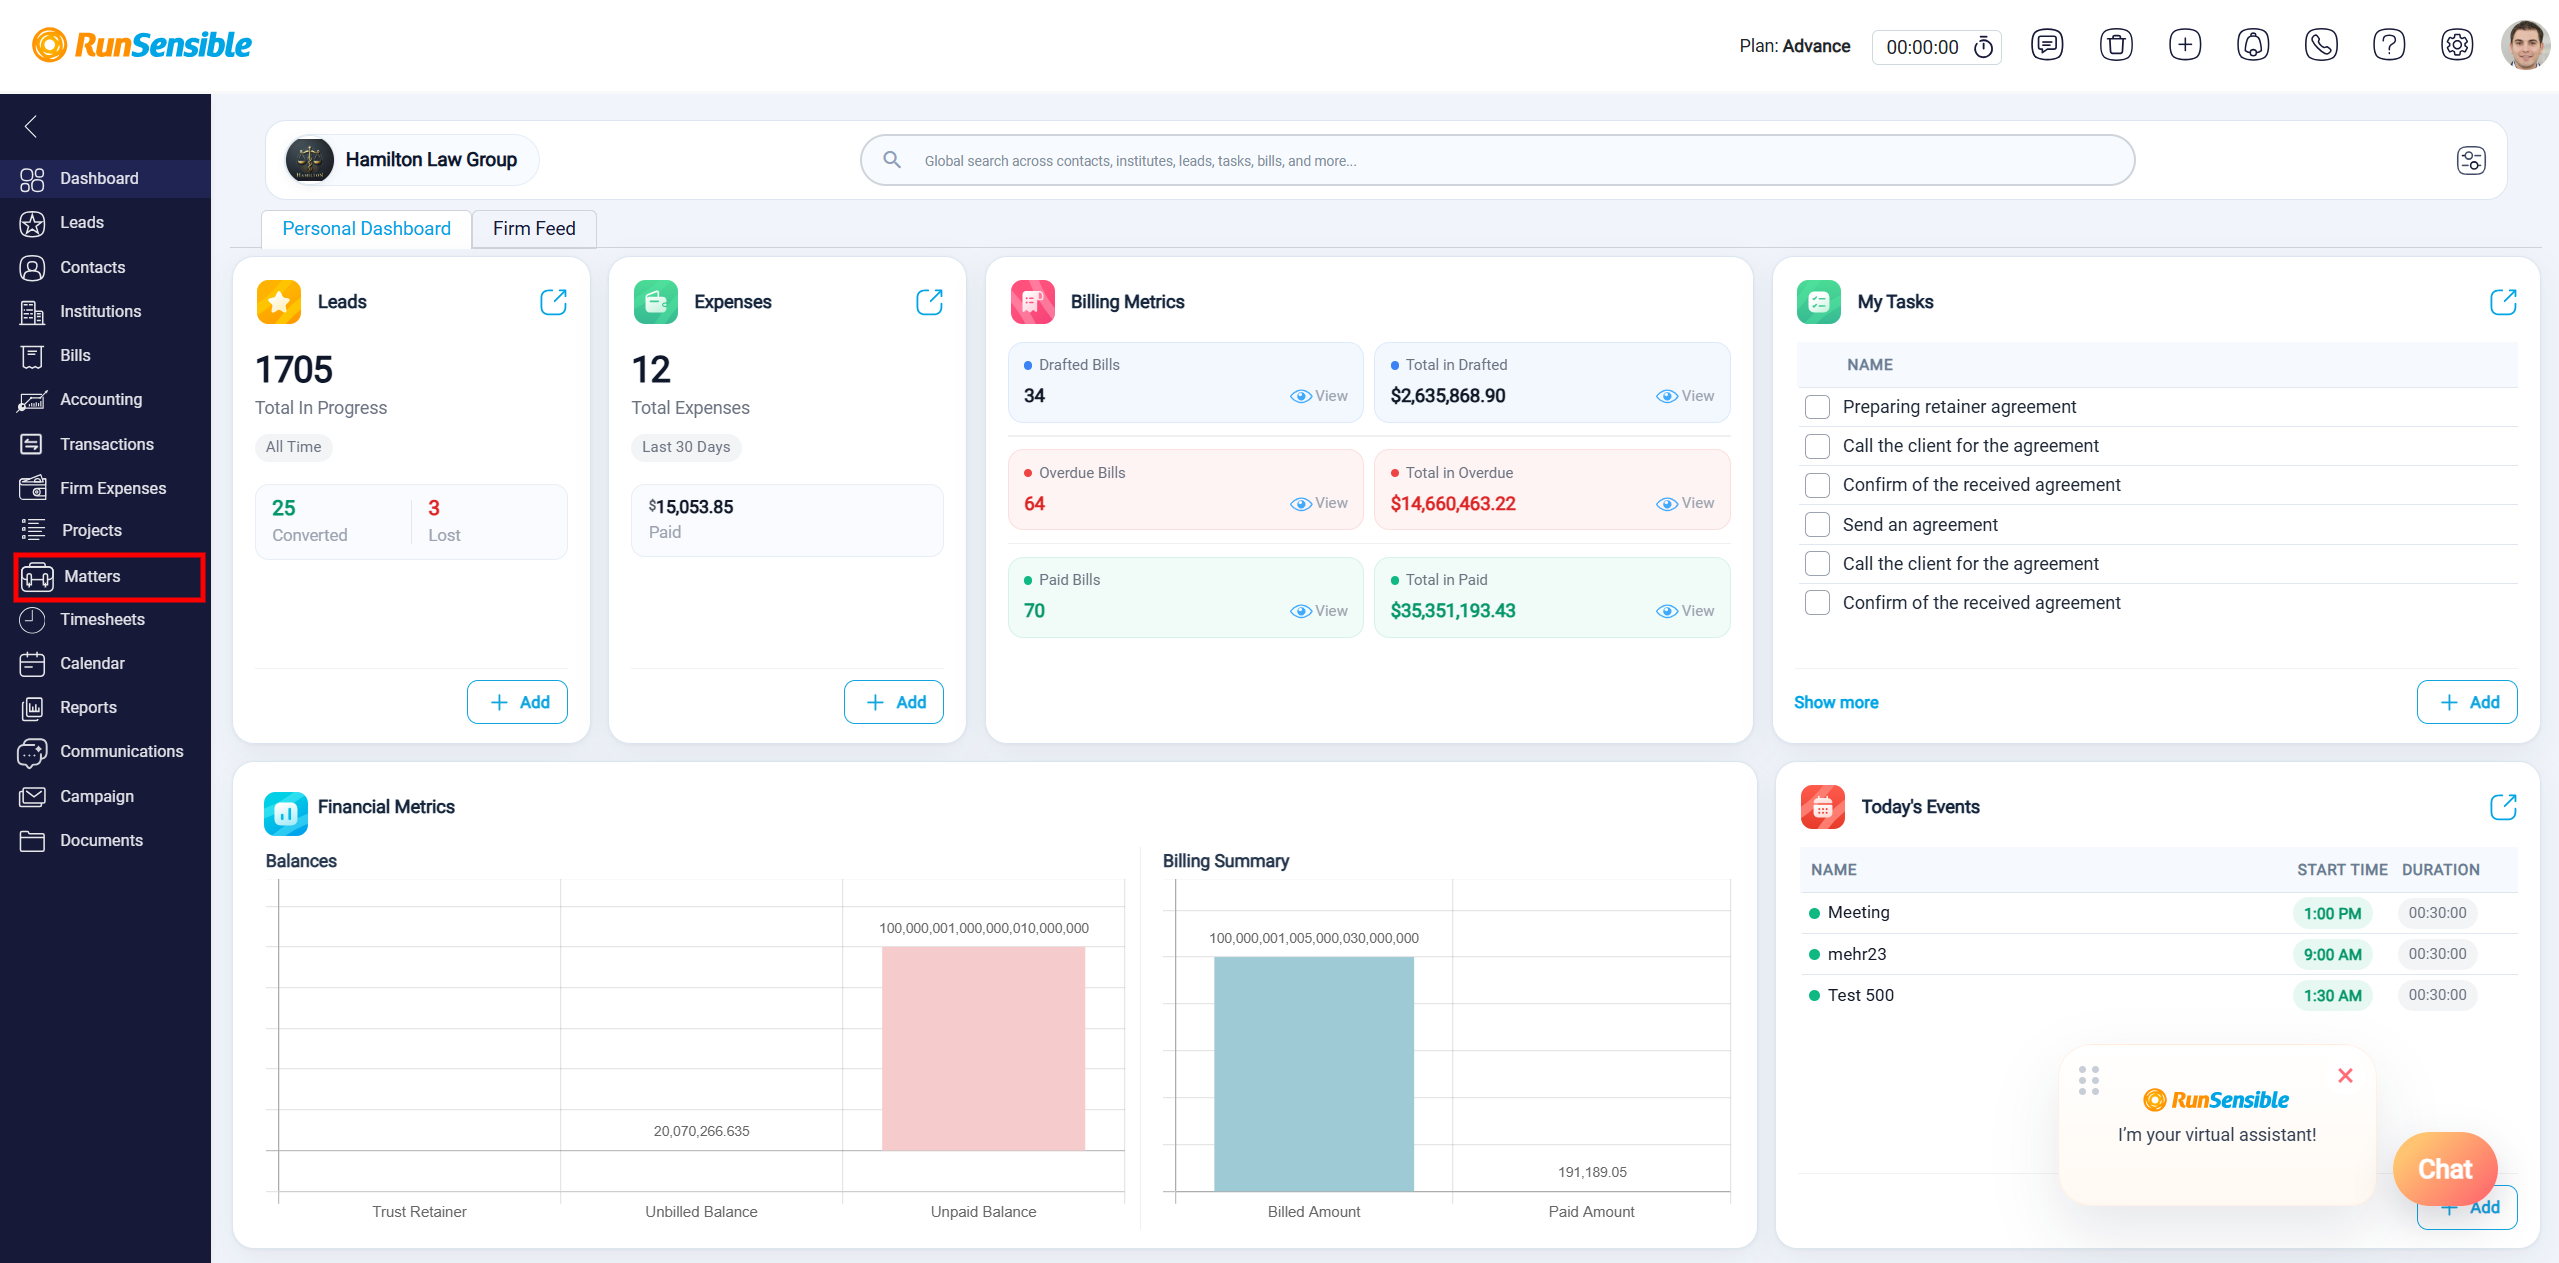
The Conflict Check feature in RunSensible helps you review potential conflicts before proceeding with a matter. To access this feature, go to Matters from the left-hand sidebar.
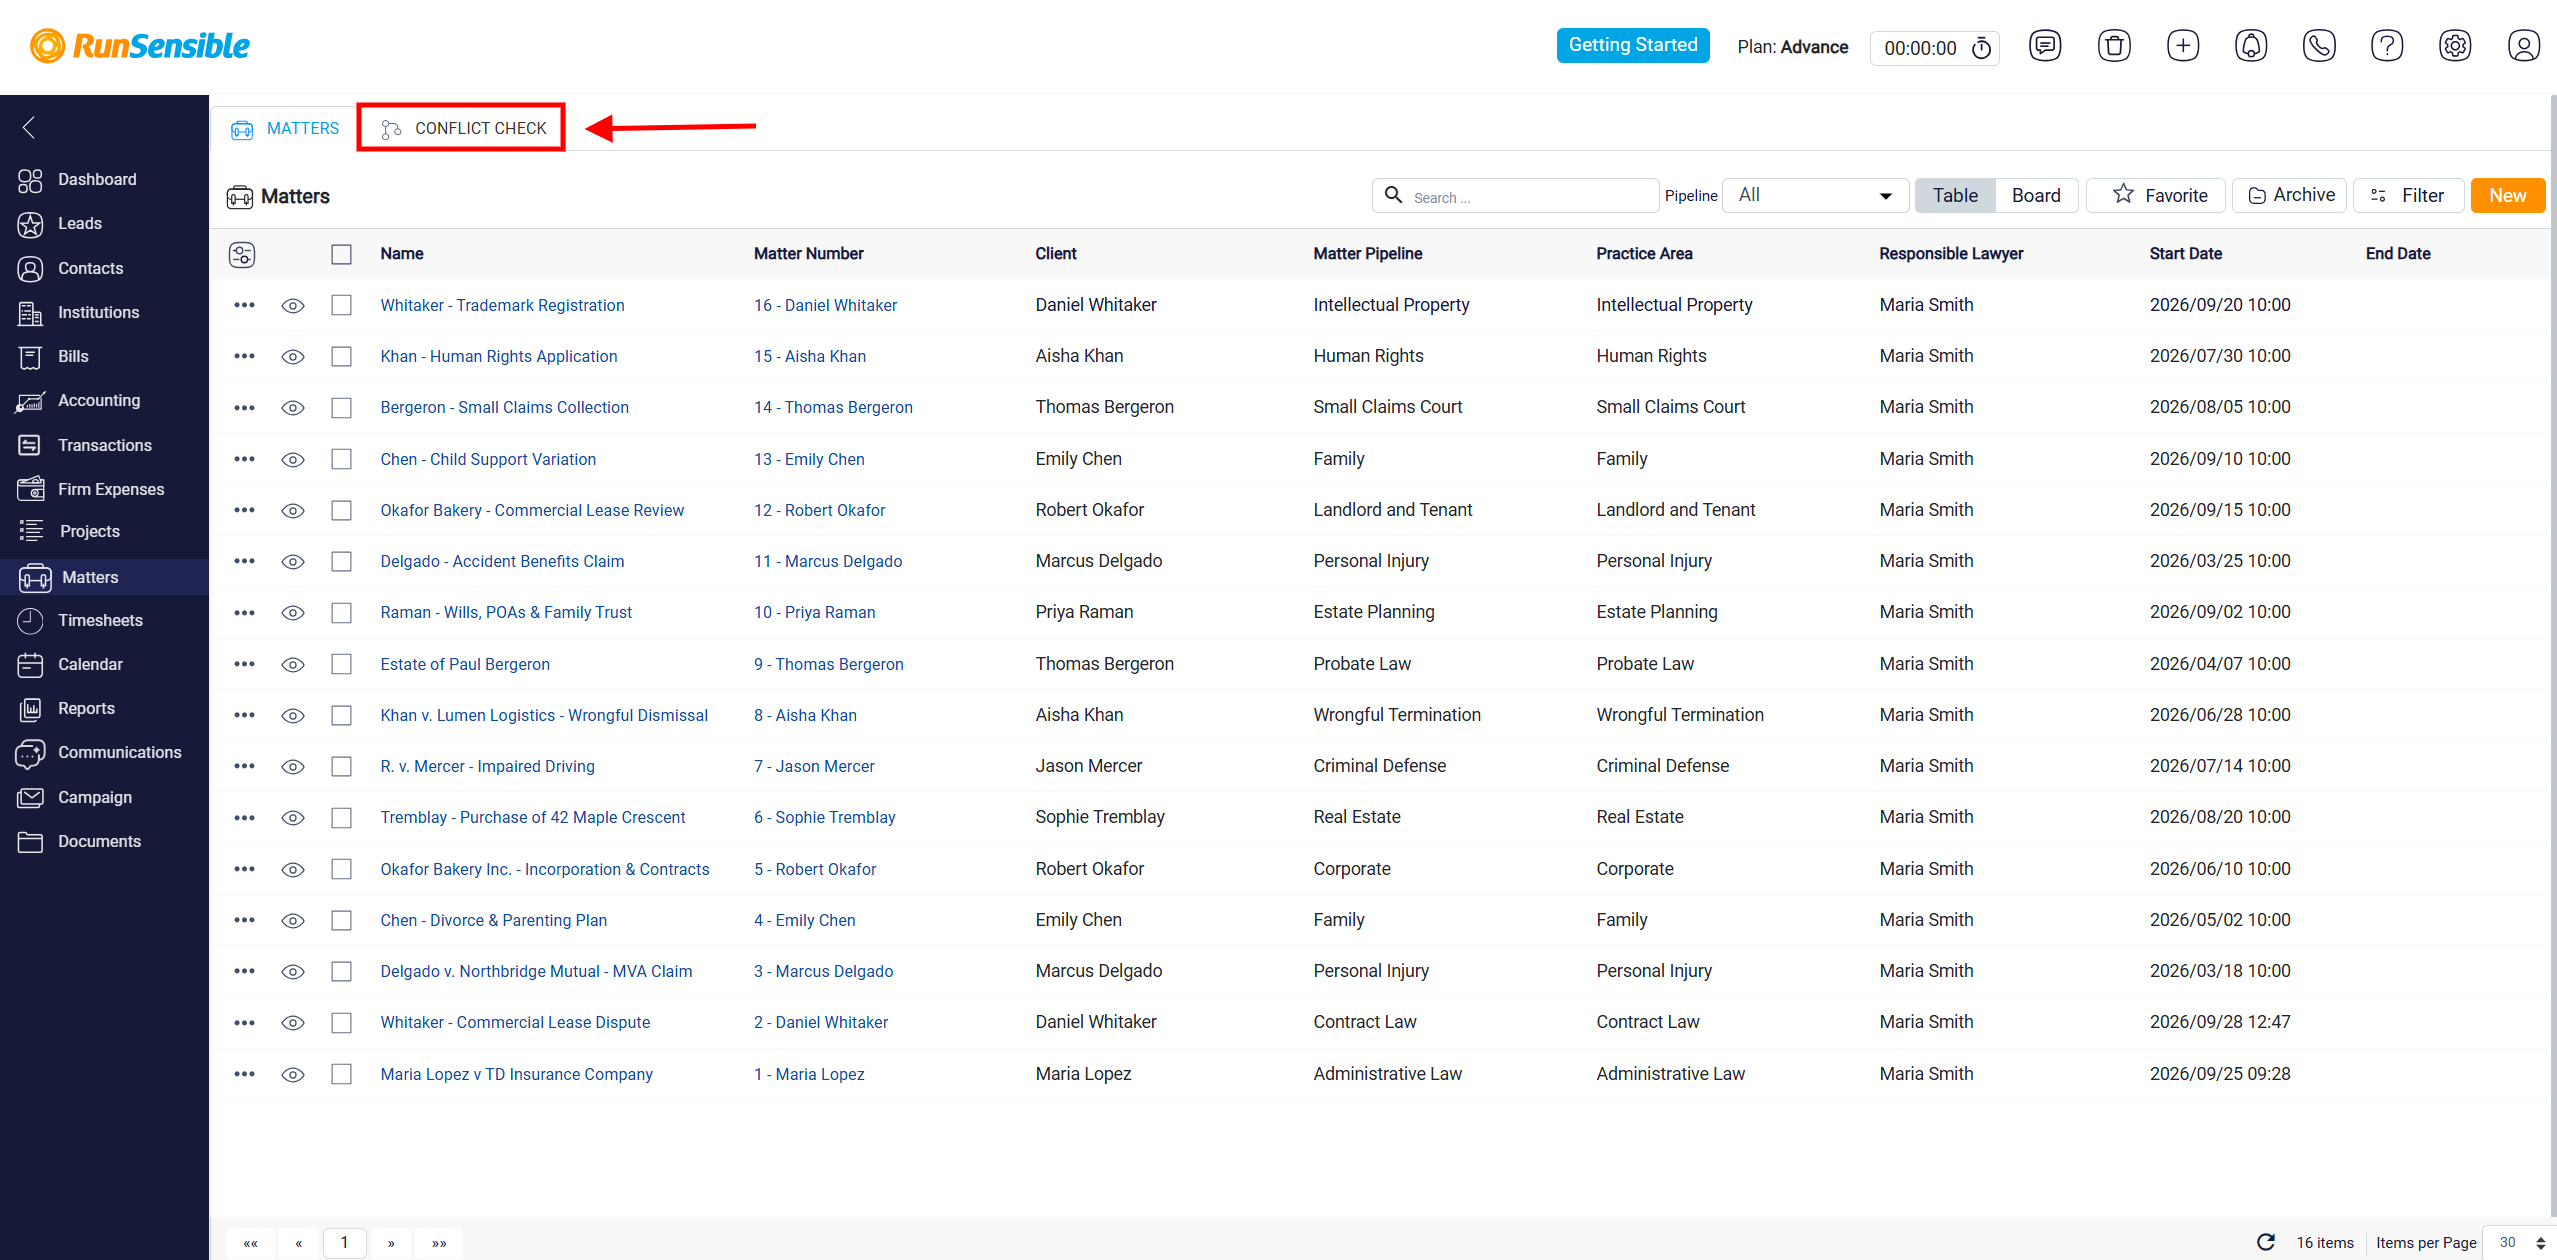
 At the top of the Matters page, click the Conflict Check tab.
Viewing Conflict Checks
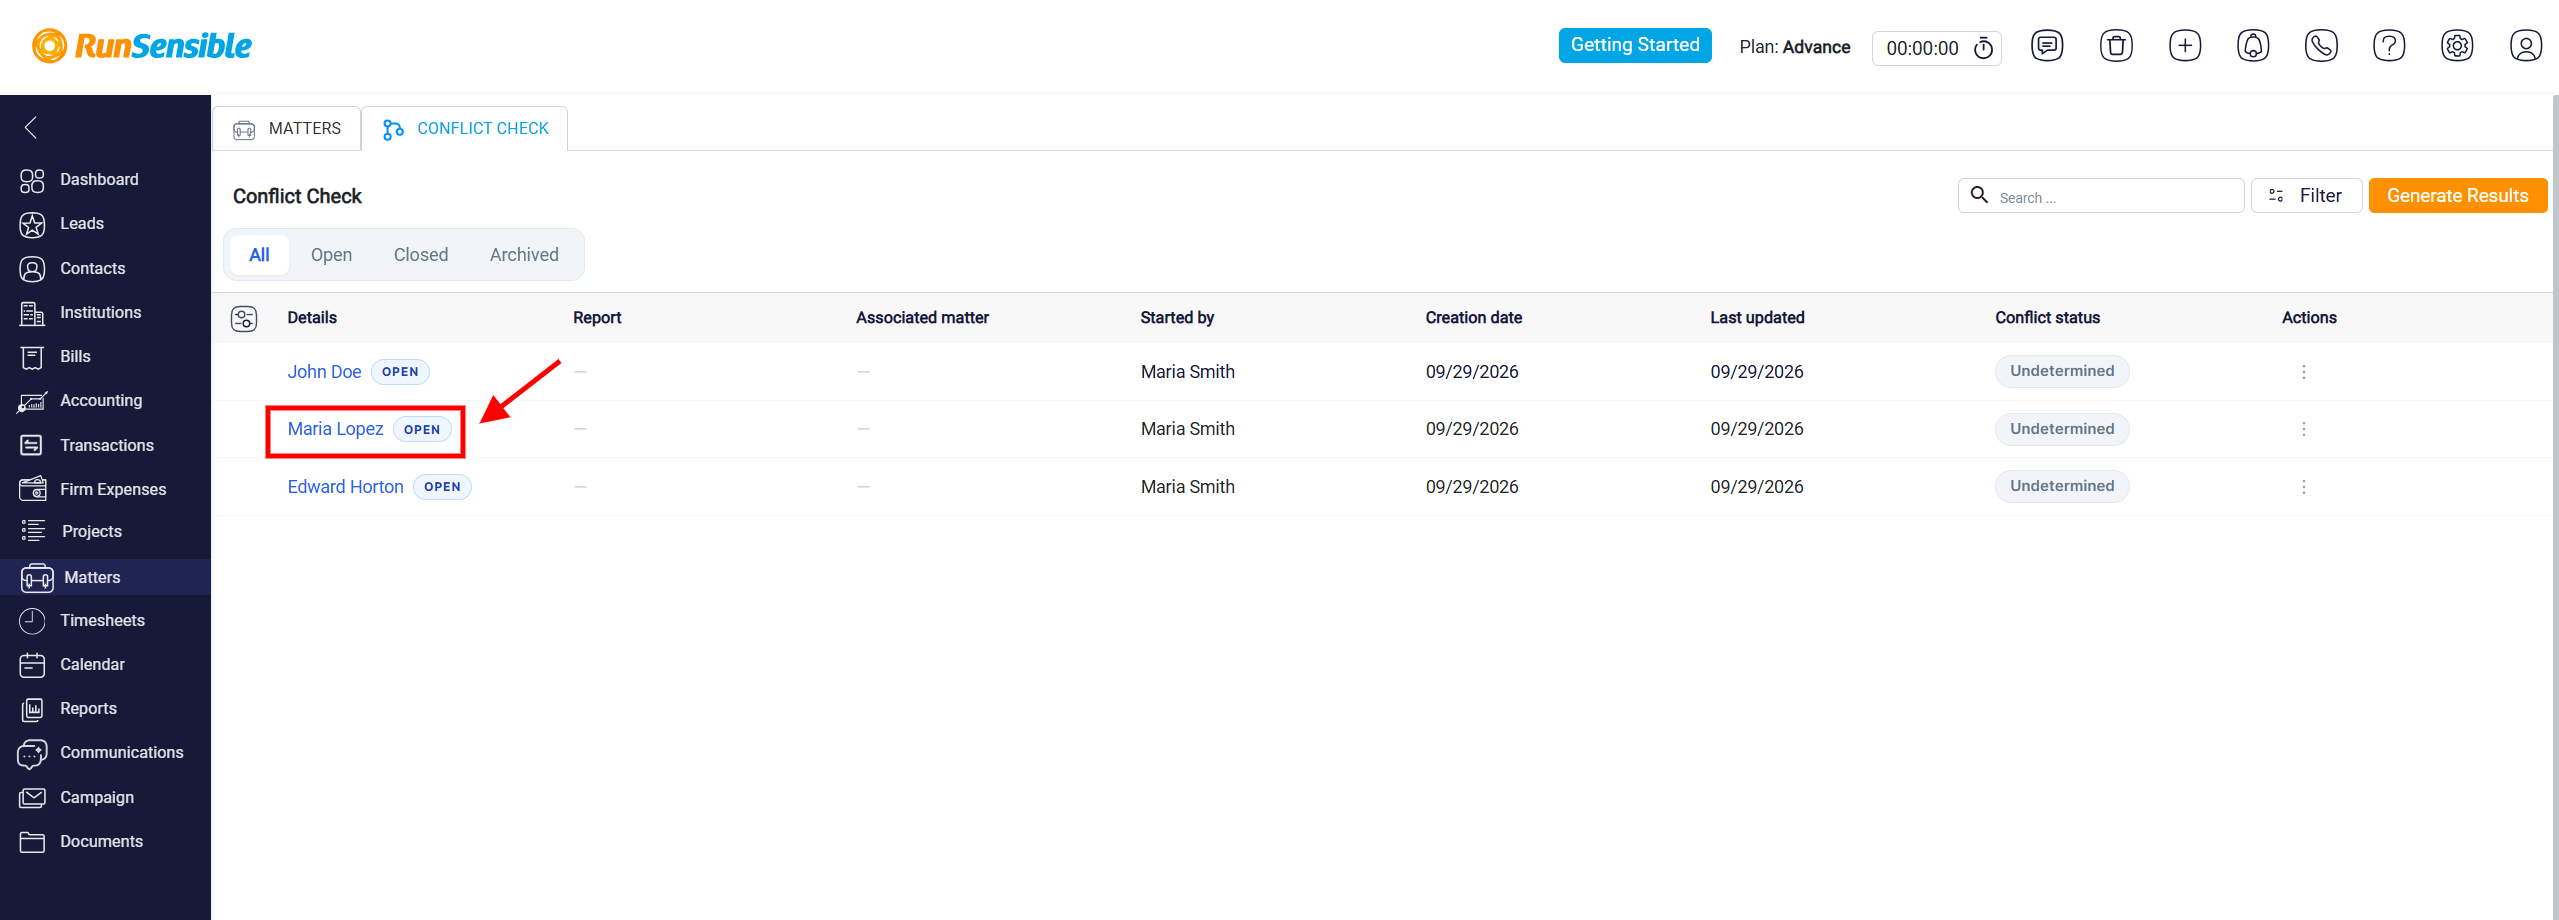
The Conflict Check page displays a list of previously generated conflict checks. You can use the tabs at the top of the page to view All, Open, Closed, or Archived conflict checks.
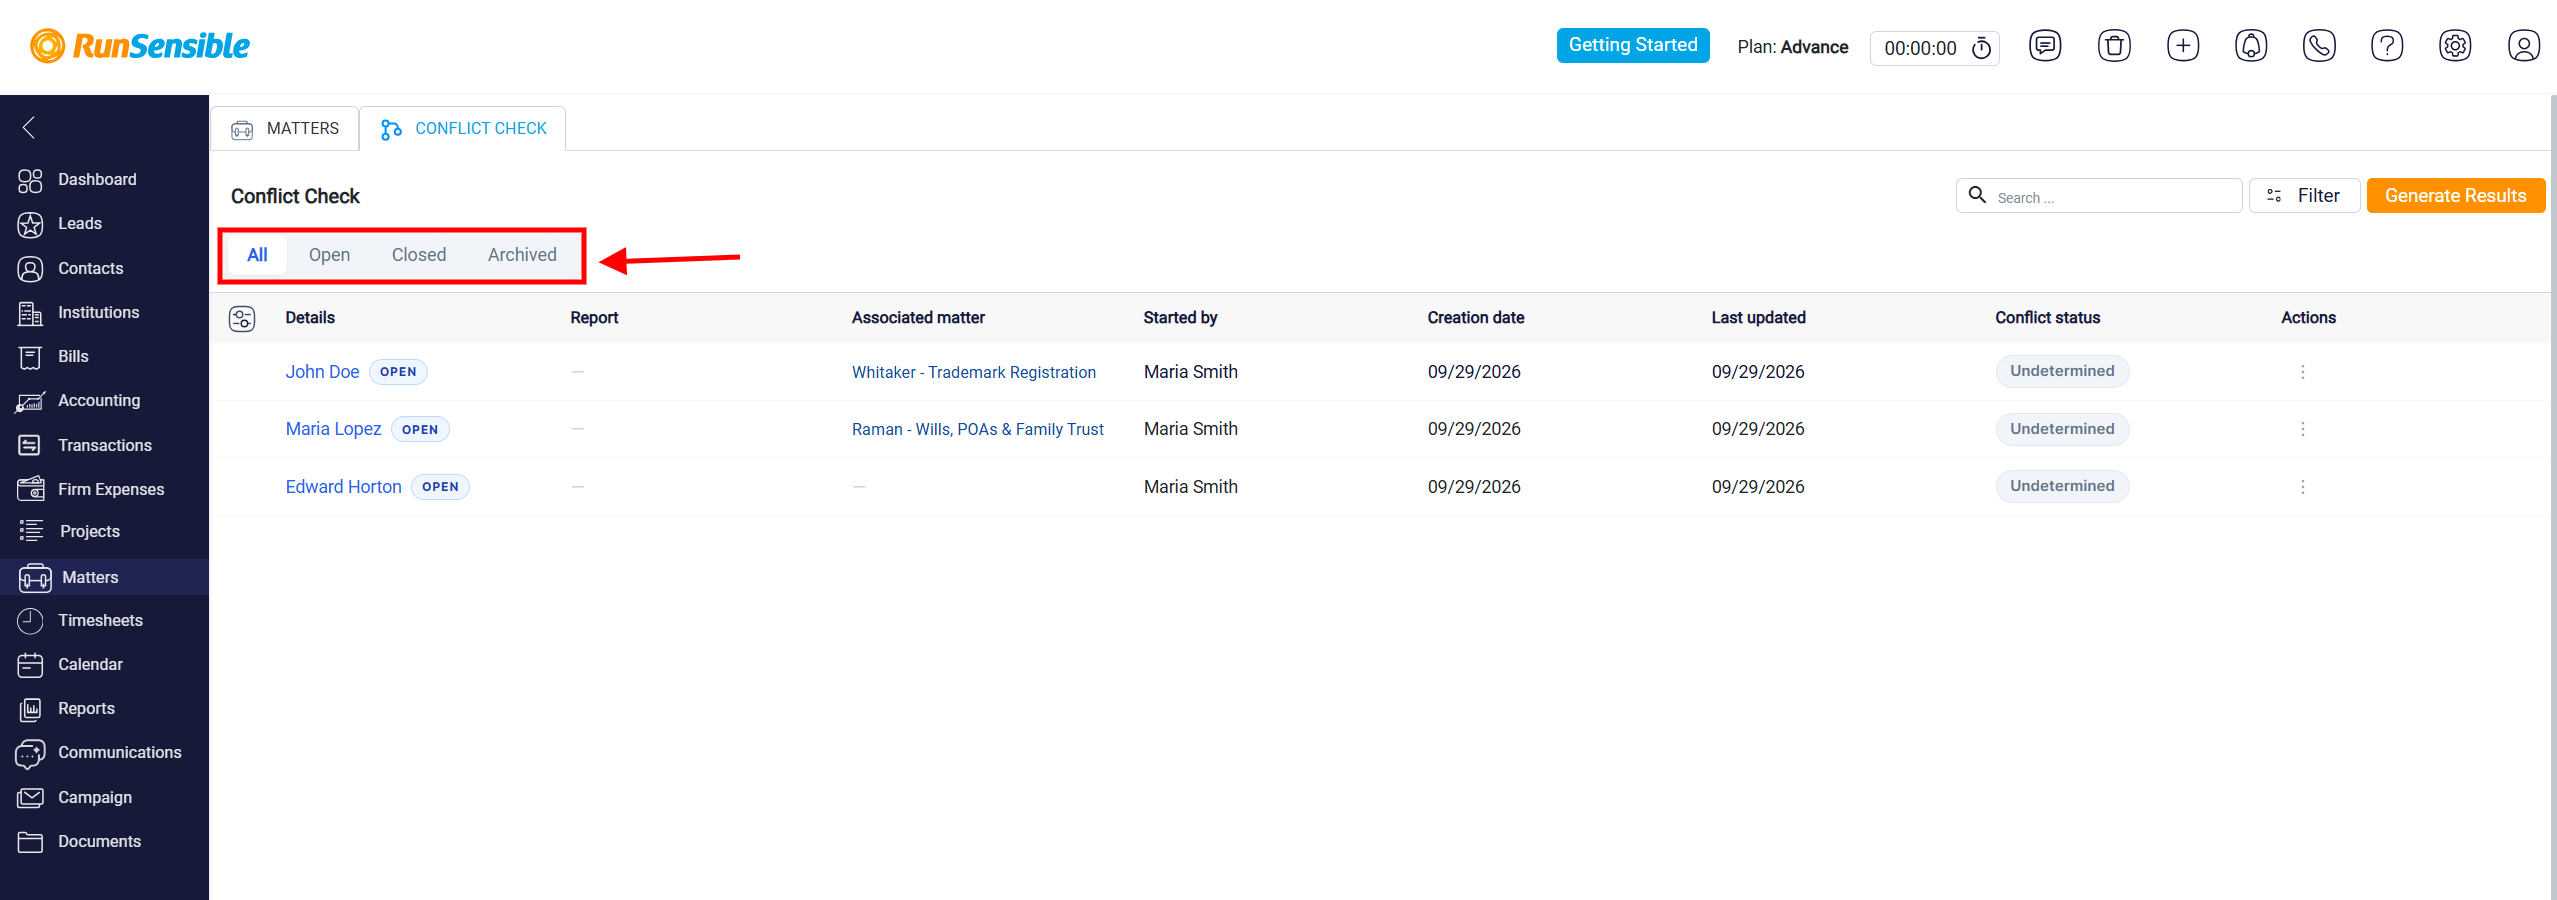
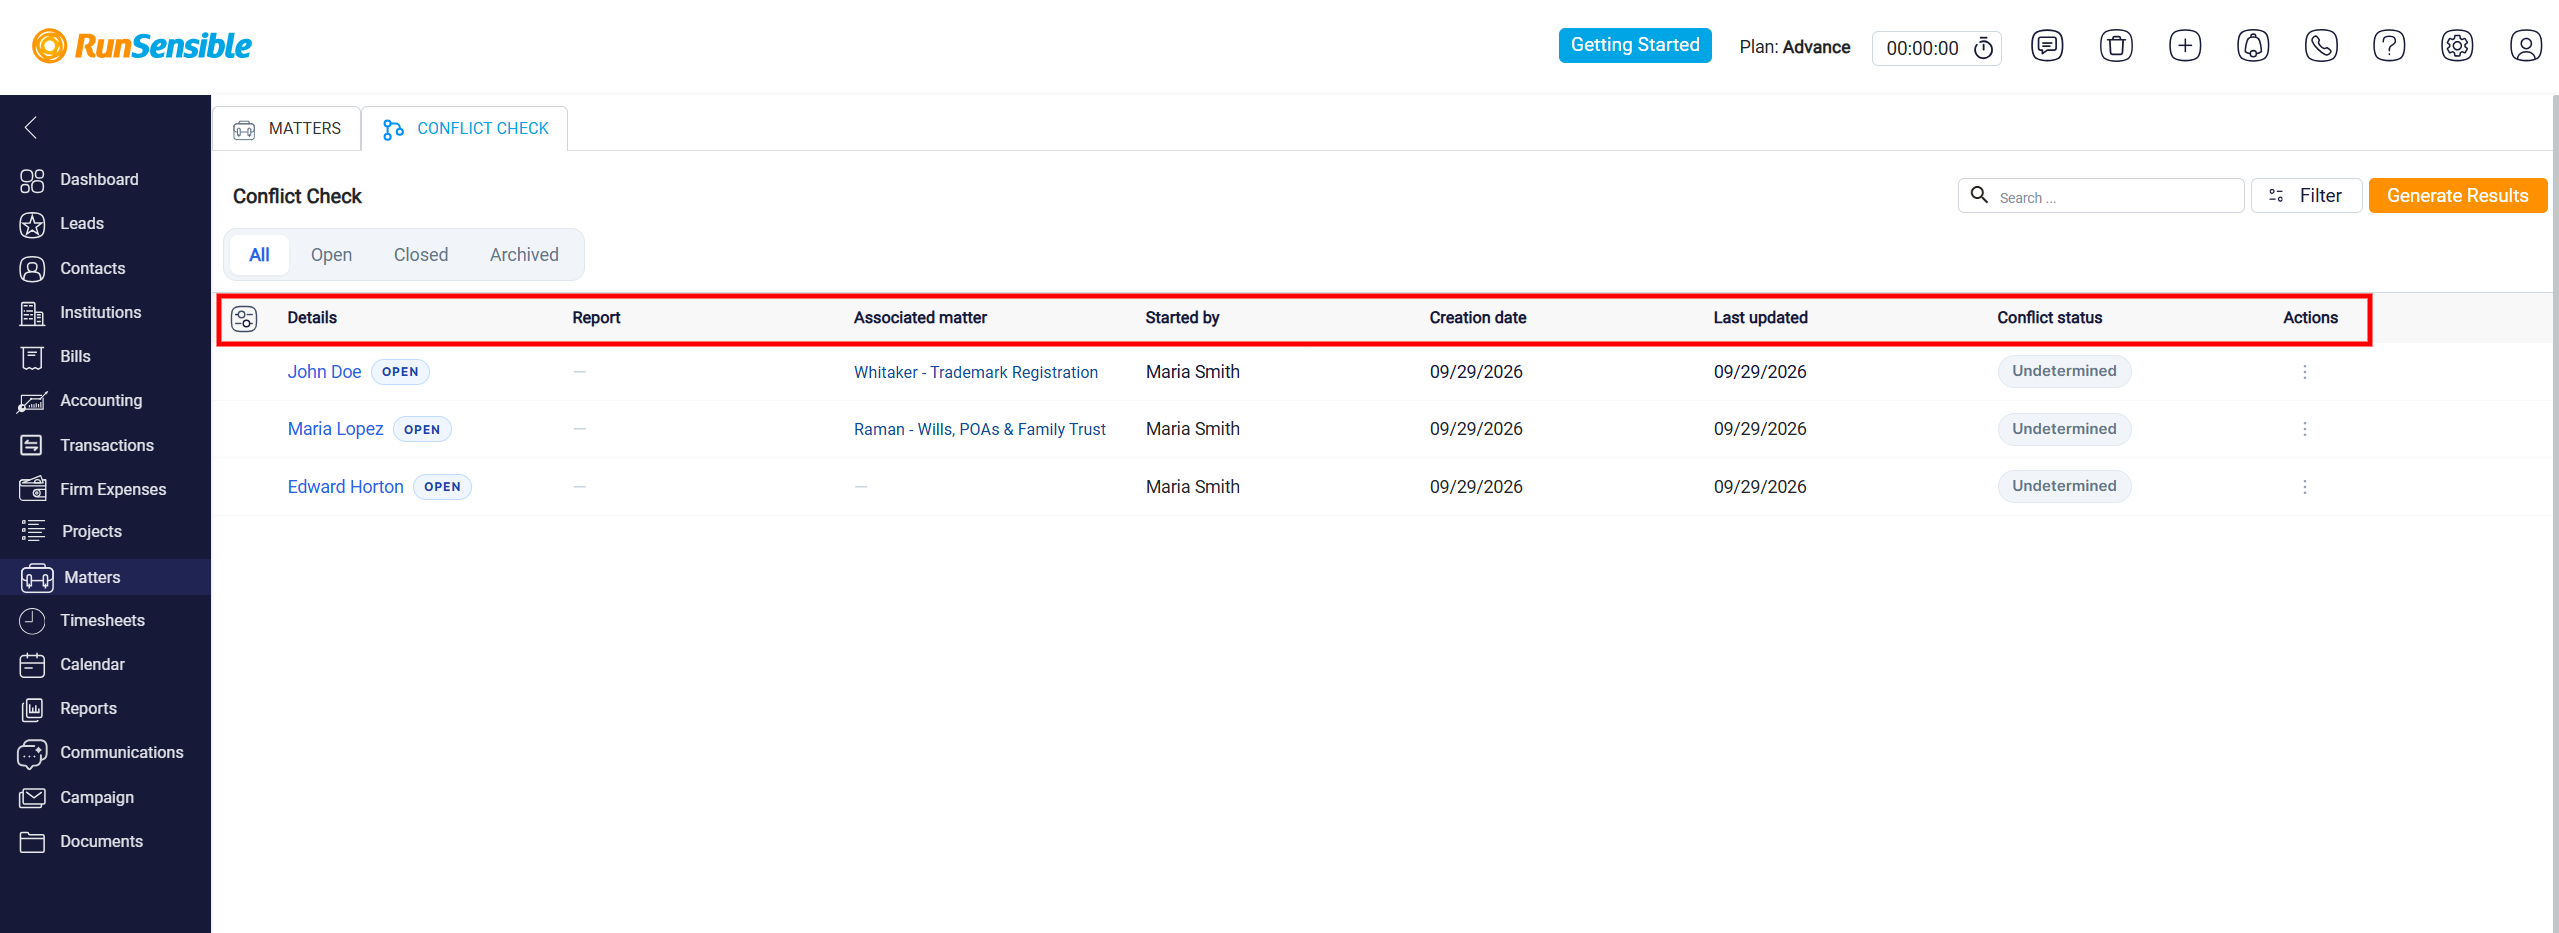
The table includes information such as Details, Report, Associated Matter, Started By, Creation Date, Last Updated, Conflict Status, and Actions. This makes it easier to see who created the check, when it was created or updated, whether it is connected to a matter, and its current status.
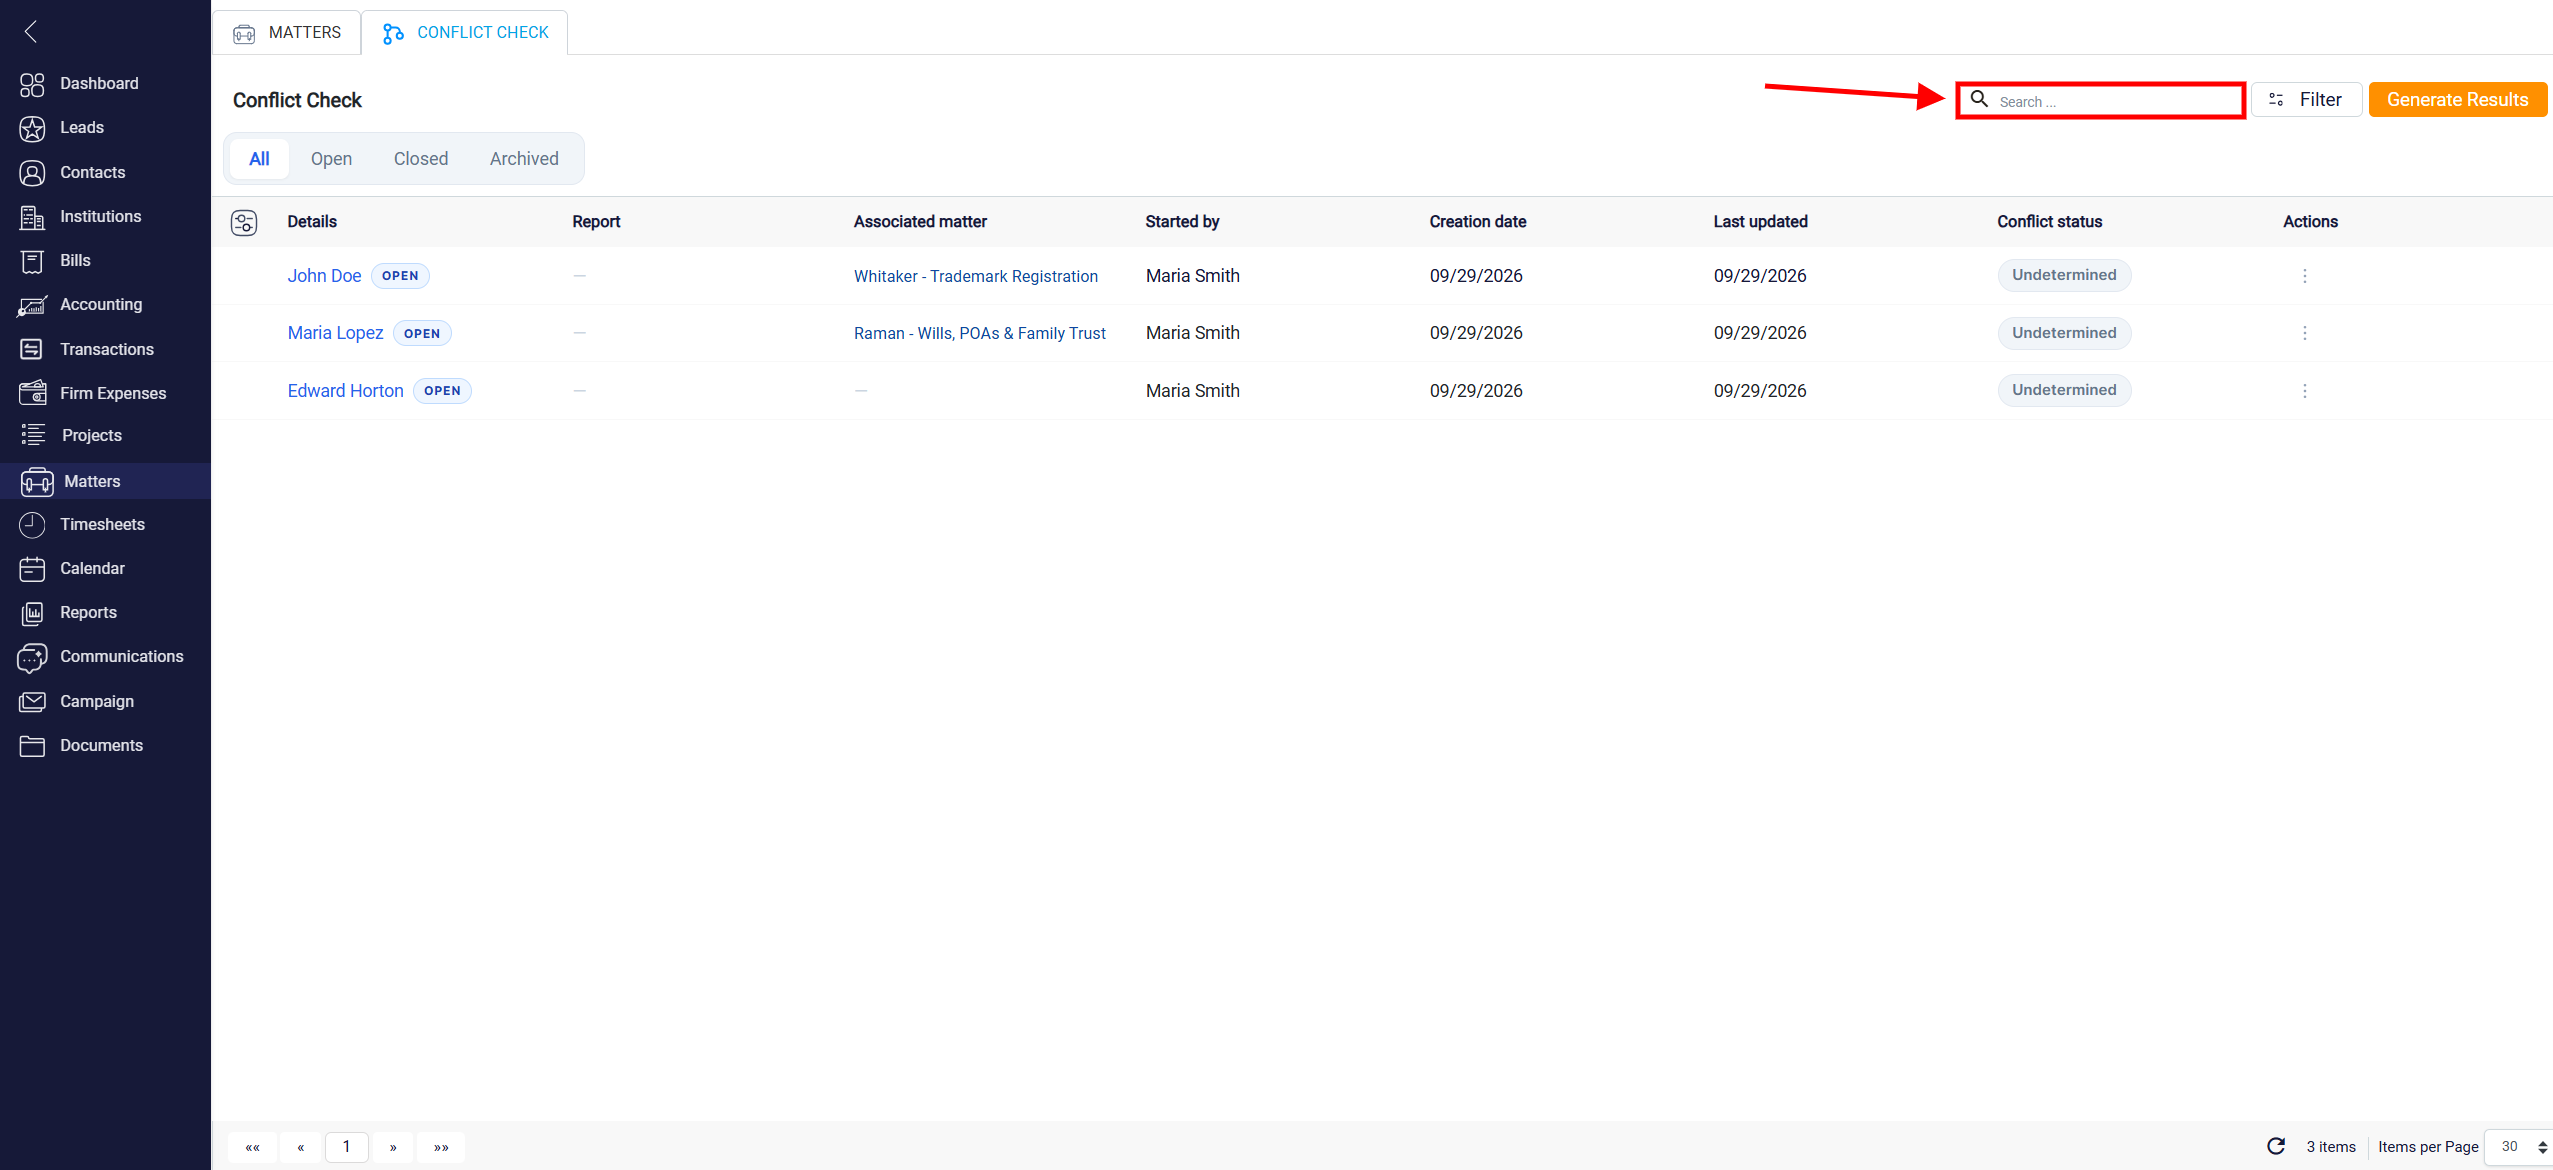
Use the Search box at the top of the page to quickly locate a specific conflict check. Enter a name or other relevant information to narrow down the displayed records.
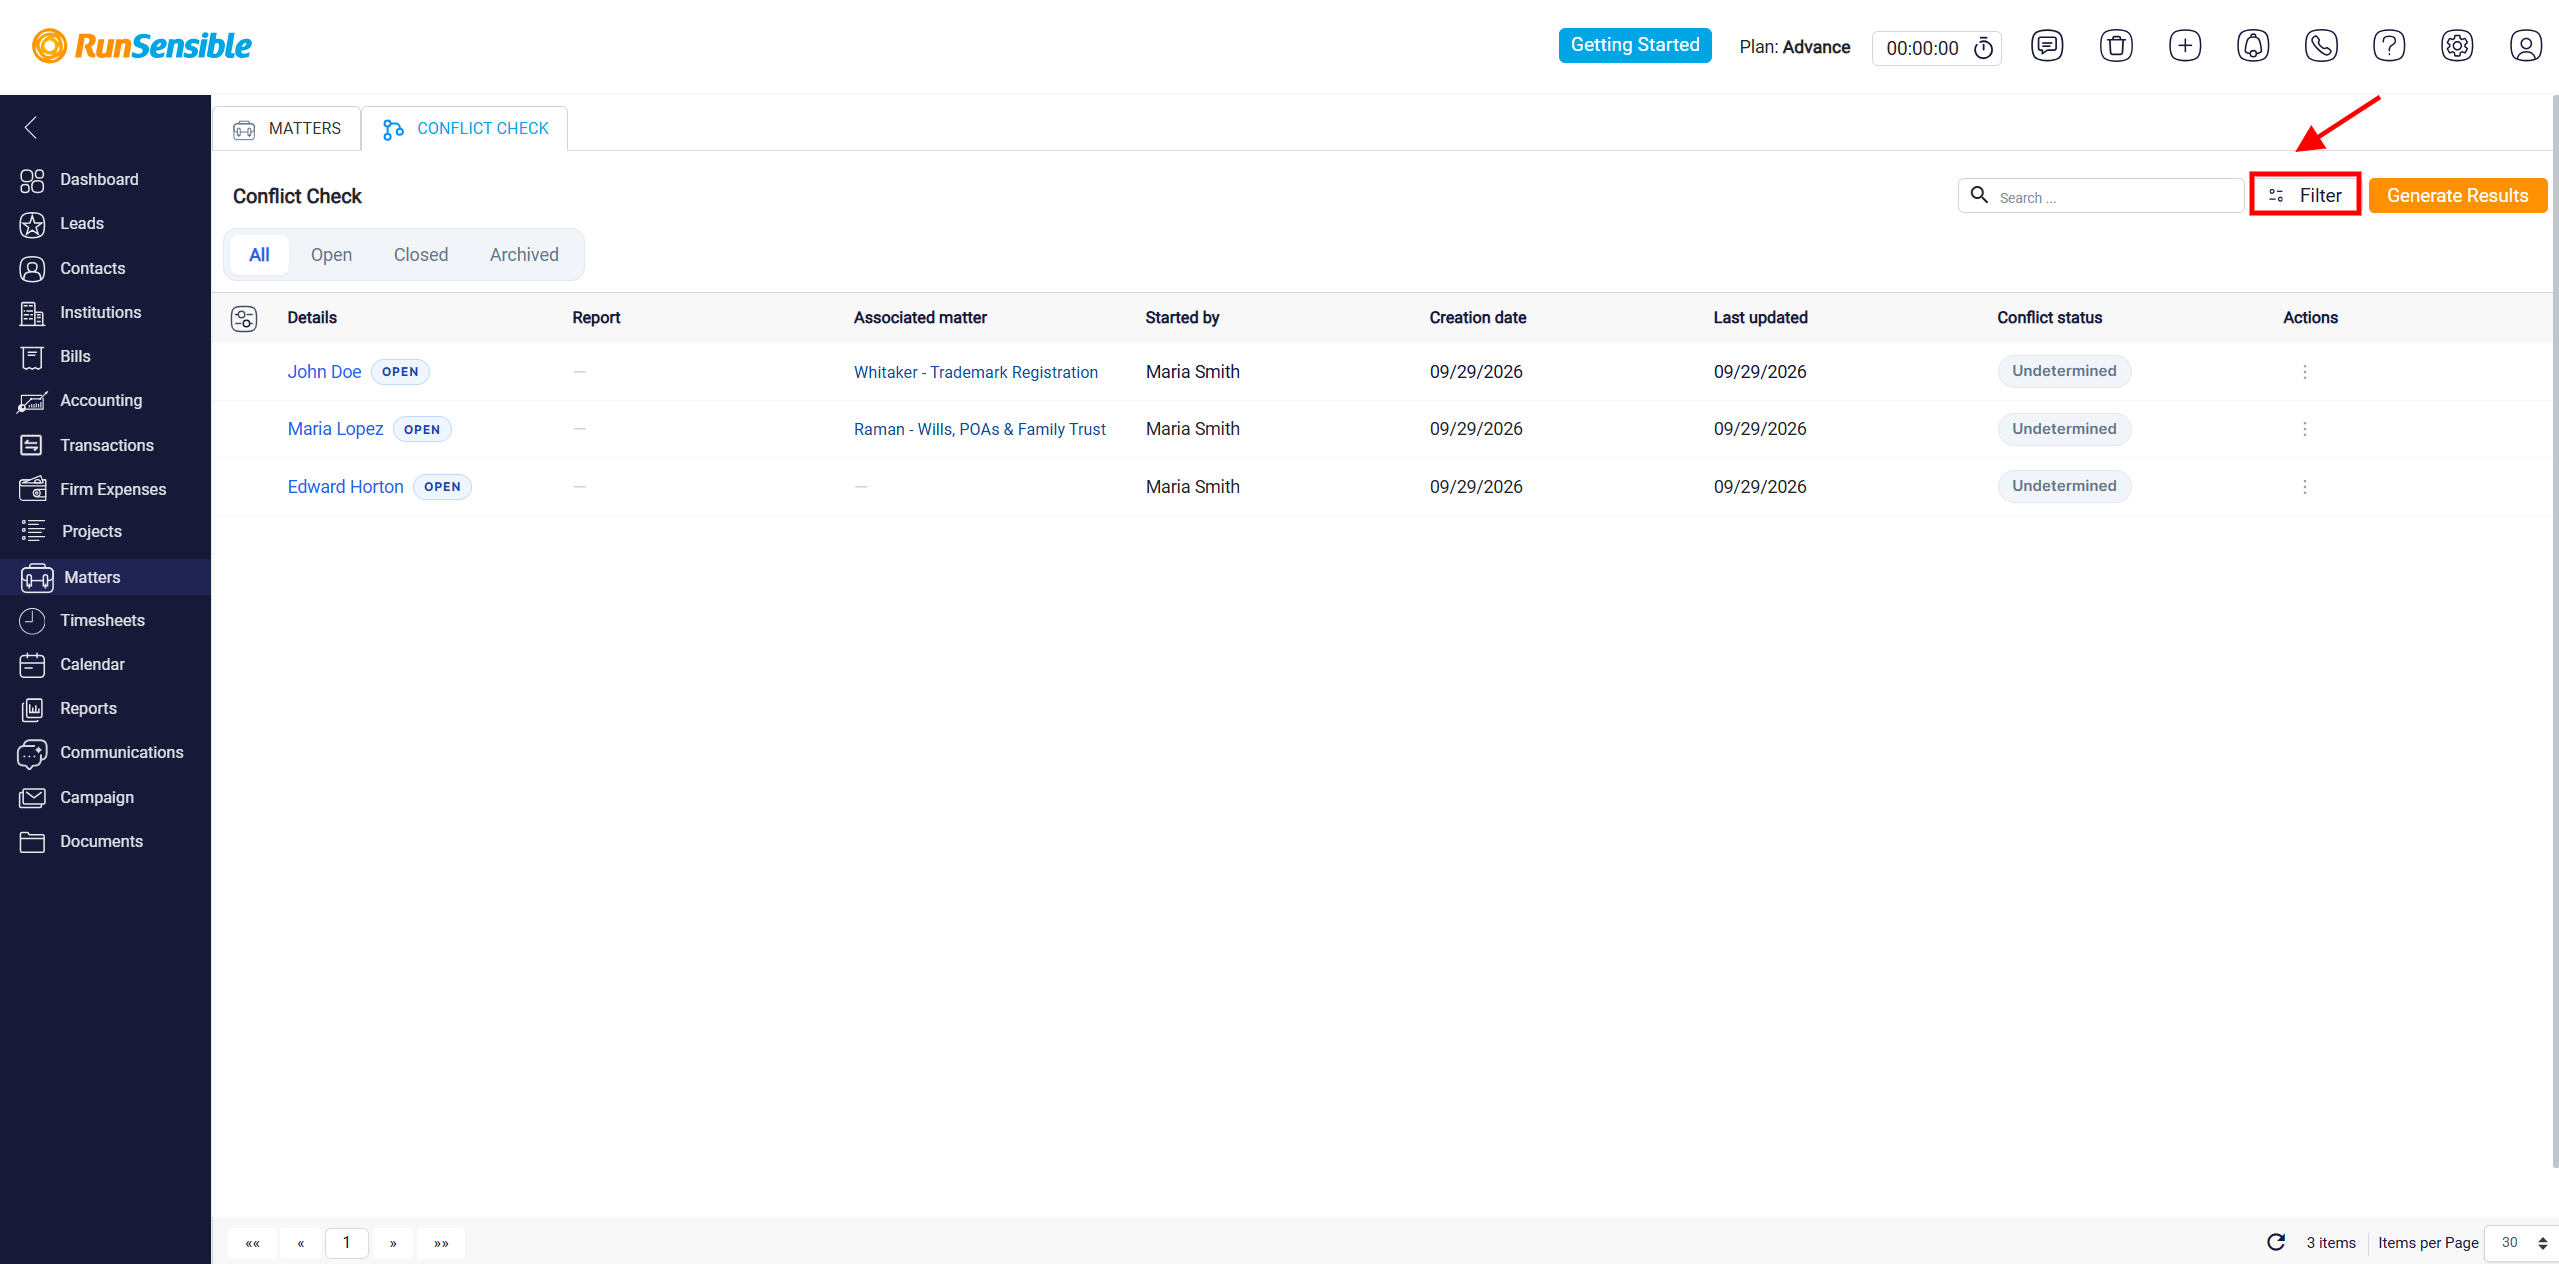
You can also click Filter to narrow the displayed results based on the available criteria.
Customizing the Grid Columns
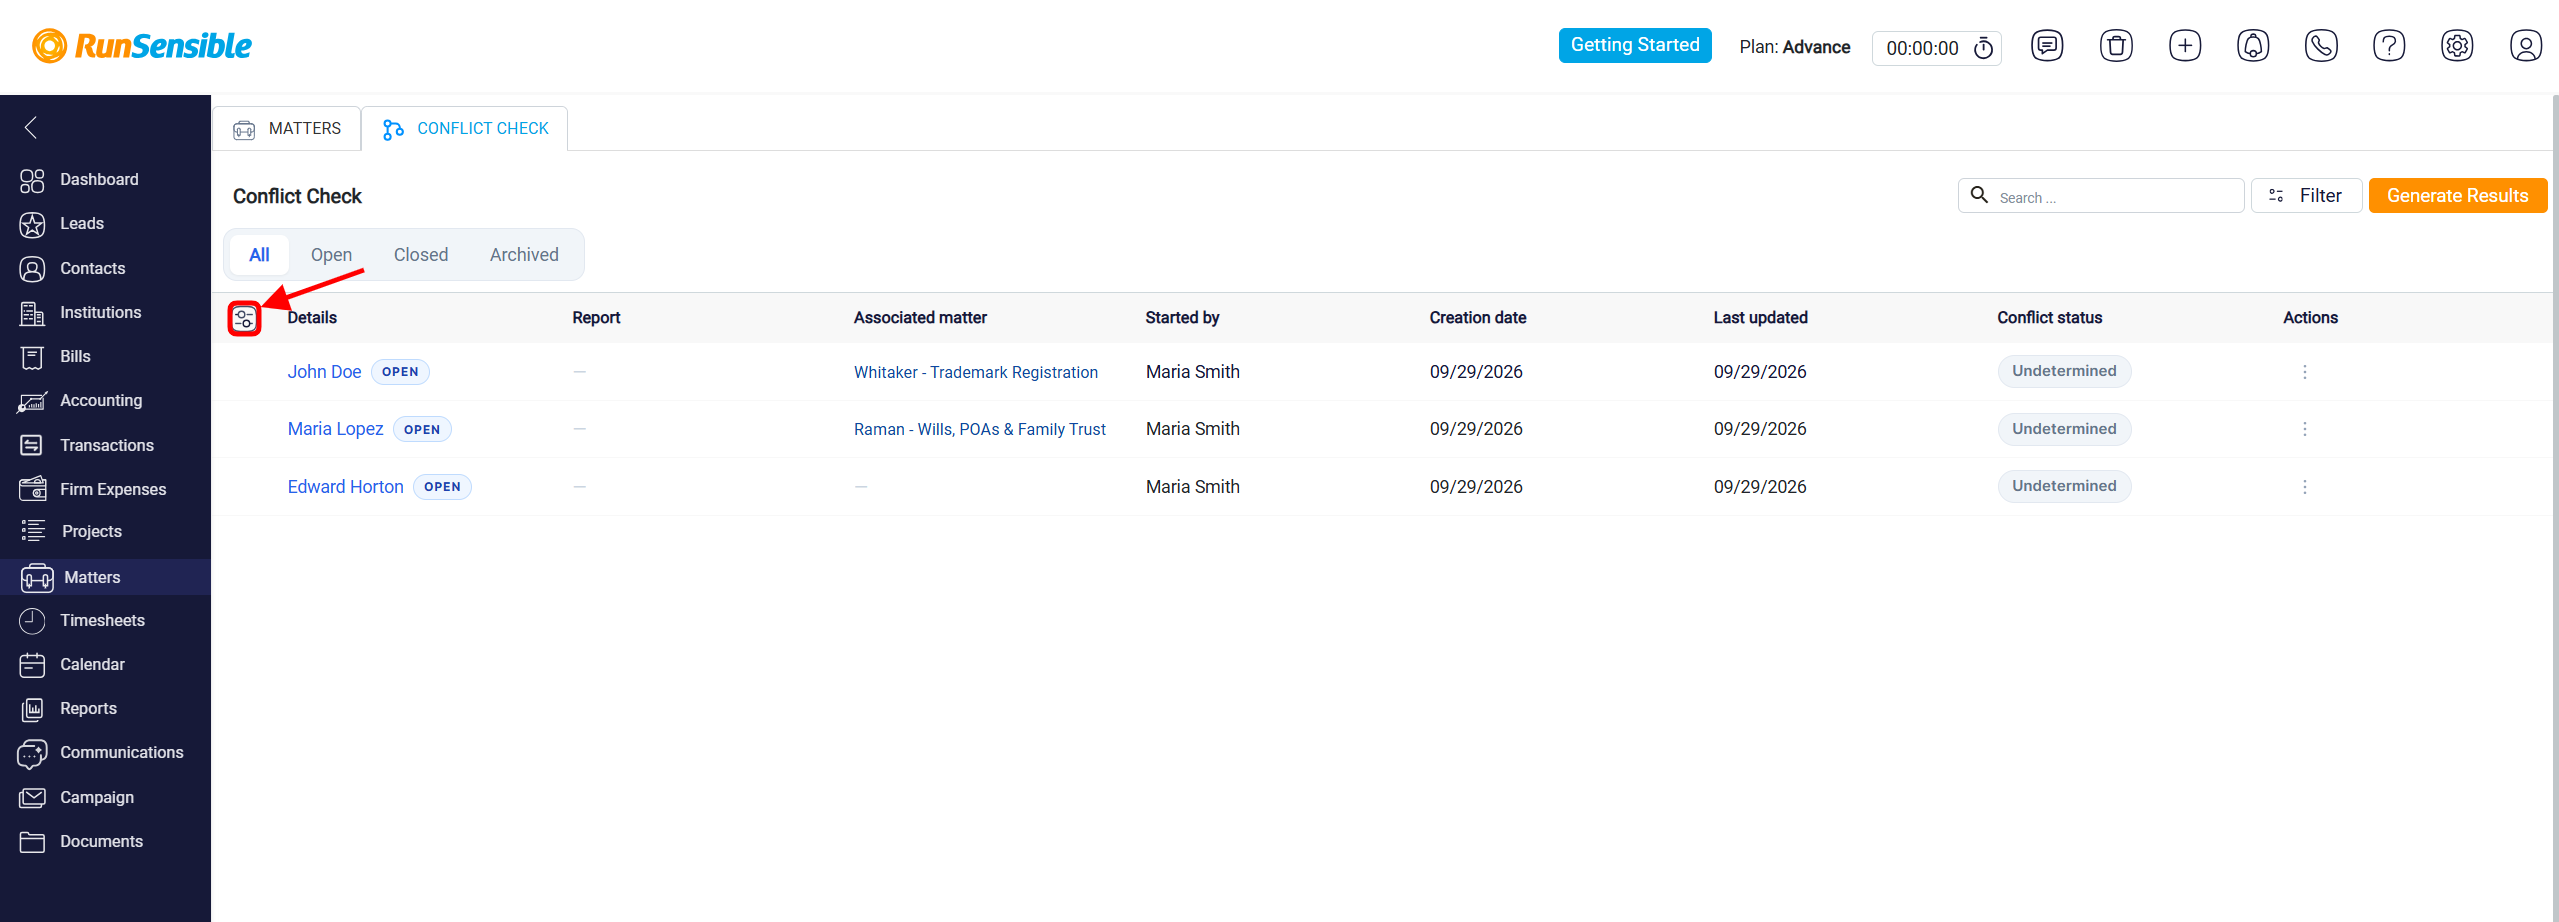
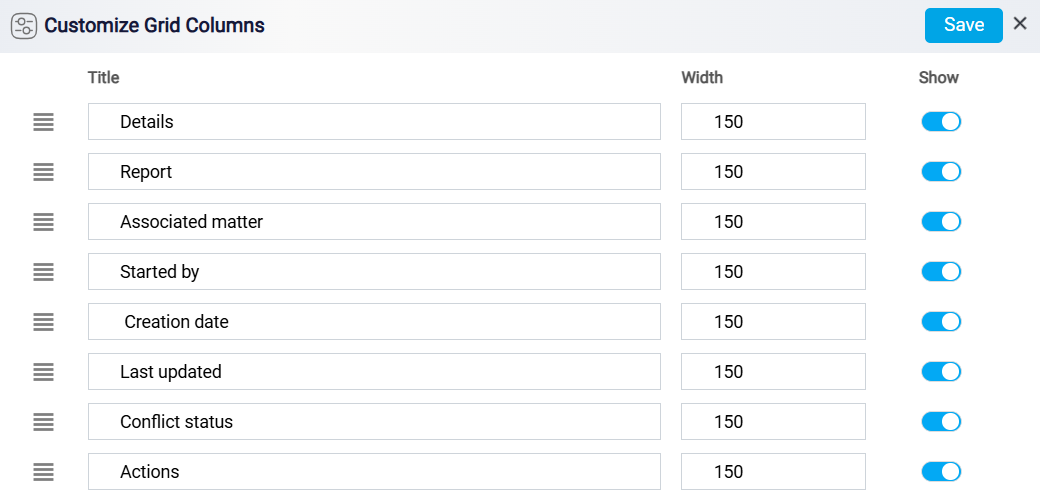
Click the Customize Grid Columns icon beside the table headings to change how the Conflict Check table is displayed.
In the Customize Grid Columns window, you can change a column’s title and width or use the Show toggle to display or hide a column. You can also drag the columns using the handle on the left to change their order. Click Save when you are finished.
Associating a Conflict Check with a Matter
To manage a conflict check, click the three-dot Actions menu beside the desired record. Select View Results to open and review the conflict check results.
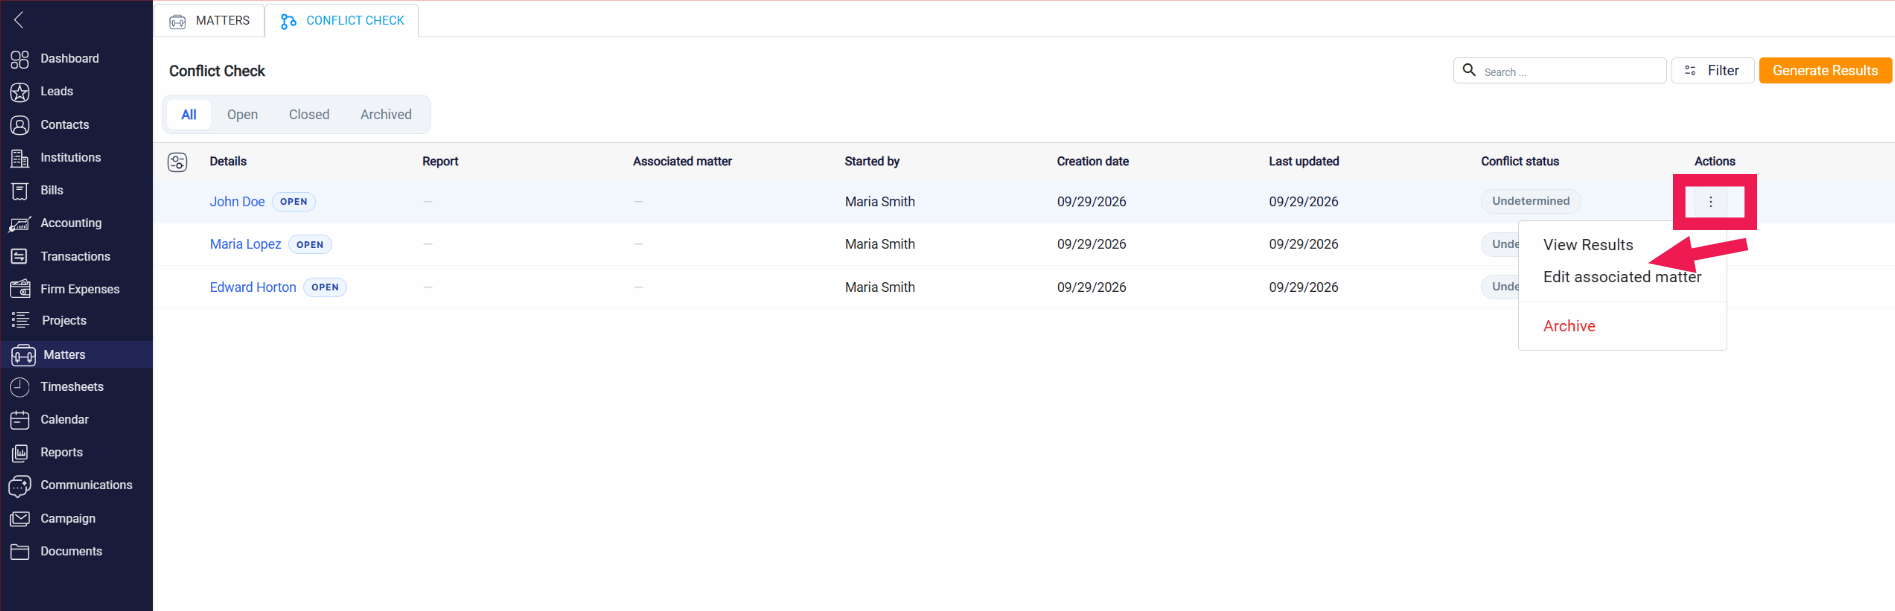
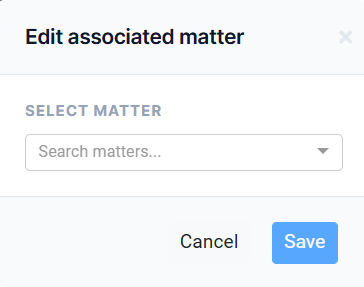
Select Edit associated matter to link the conflict check to a matter or change its associated matter.
You can also select Archive to remove the conflict check from your active list and move it to the Archived tab. This can help keep the Conflict Check page organized while preserving checks you may need to reference later.
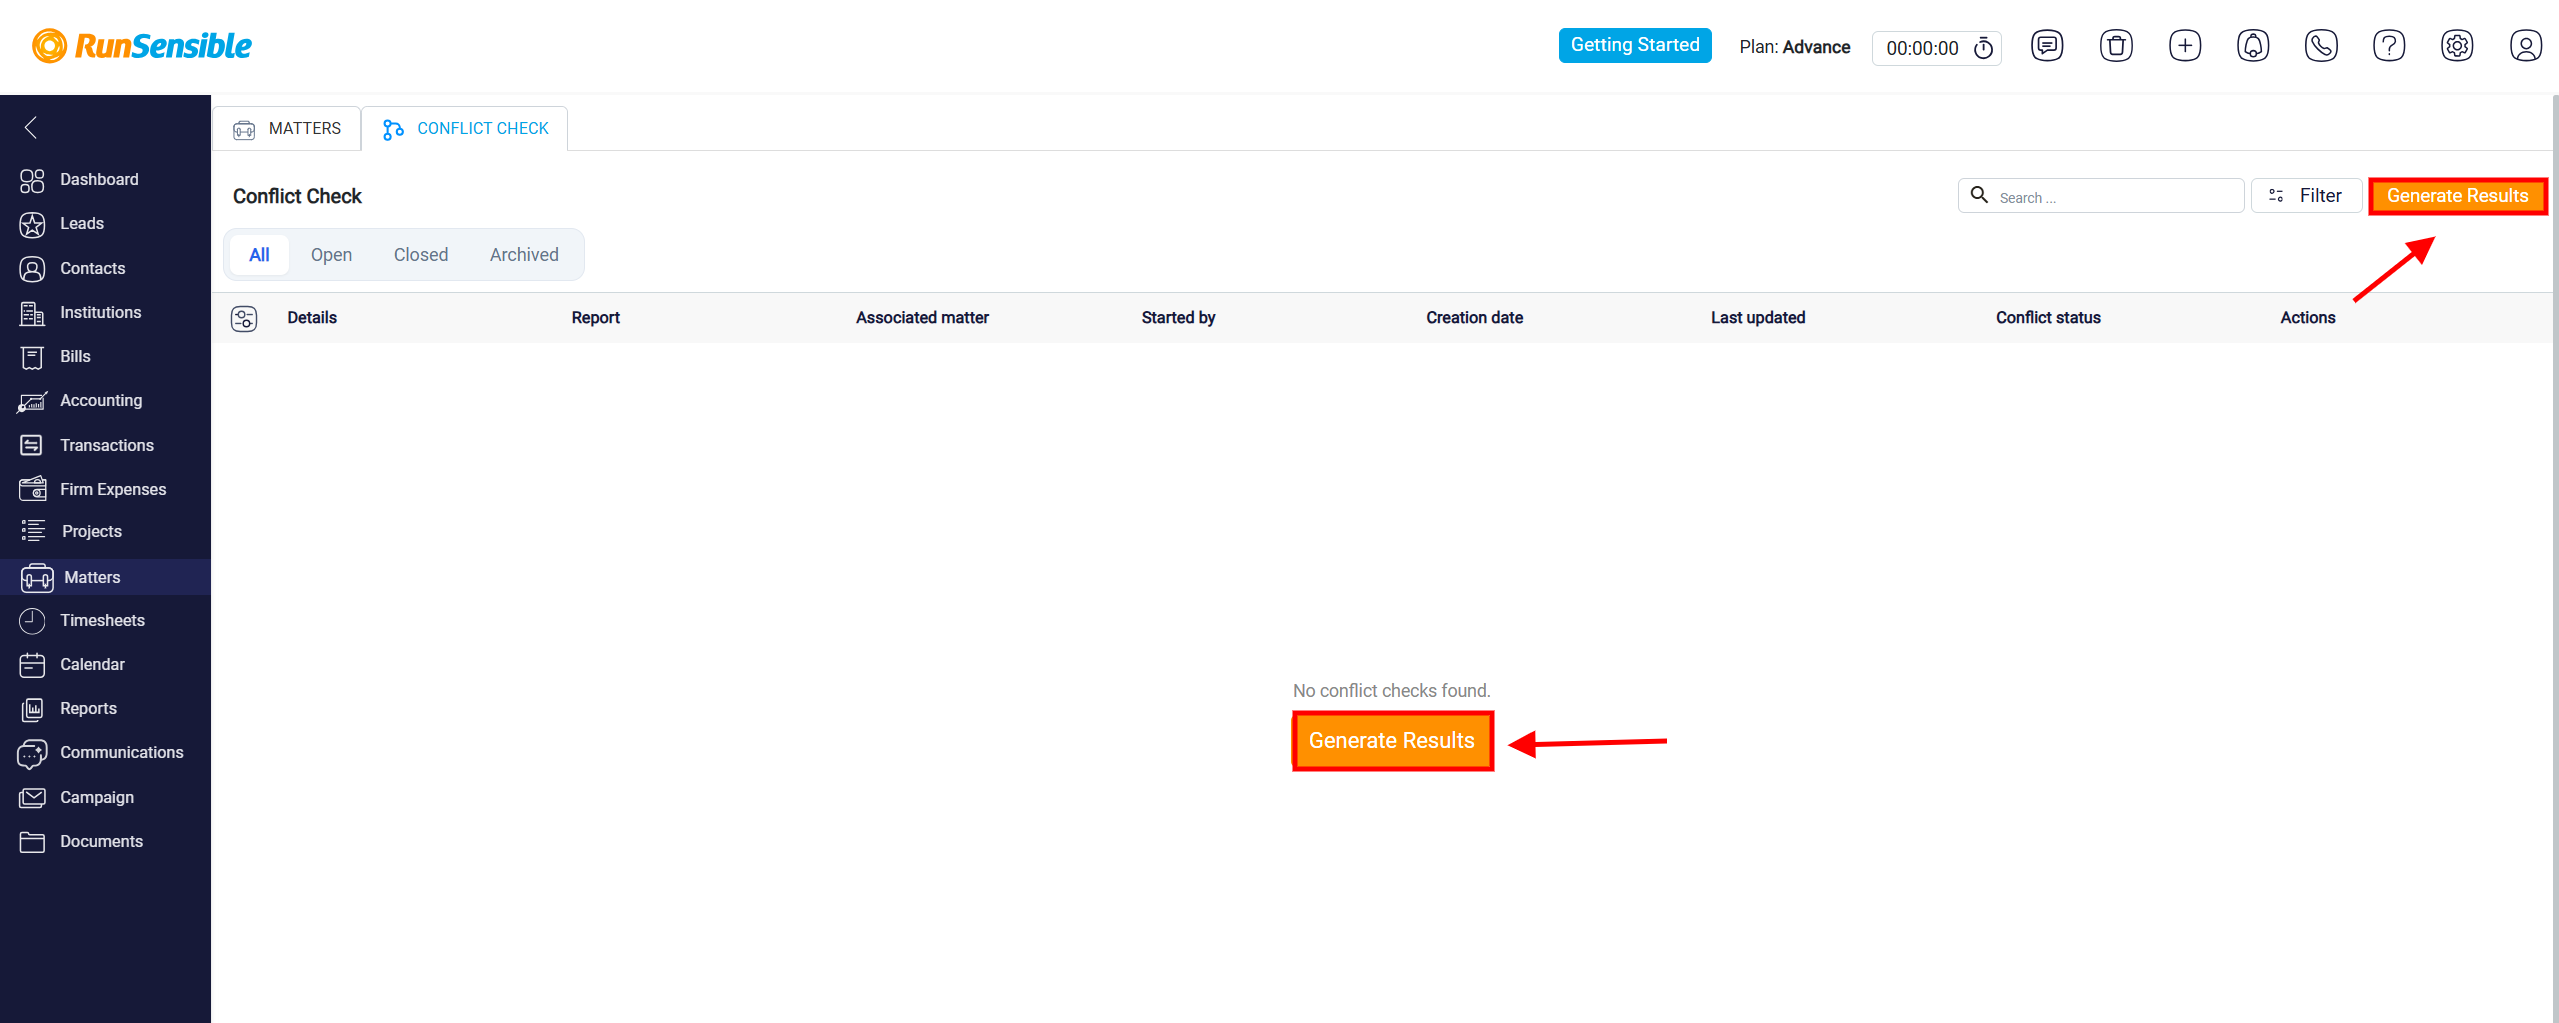
To start a new conflict check, click Generate Results. If no conflict checks have been created yet, you can also use the Generate Results button displayed in the center of the page. This will begin the process of generating a new conflict check.
After clicking Generate Results, the Conflict Check window will open. Under Input Details, enter the keywords you want RunSensible to search for when checking for potential conflicts. Keywords can include names of individuals, companies, organizations, or other relevant parties.
You can enter multiple keywords to broaden the conflict check. To include an additional keyword, click Add Another Search and enter the new search term. For example, you may search for both a person’s name and the name of a company involved in the matter. To remove a search term, click the X beside it.
Once you have entered all the relevant keywords, click Generate Results. RunSensible will search the available records using the keywords you provided and display the conflict check results for your review.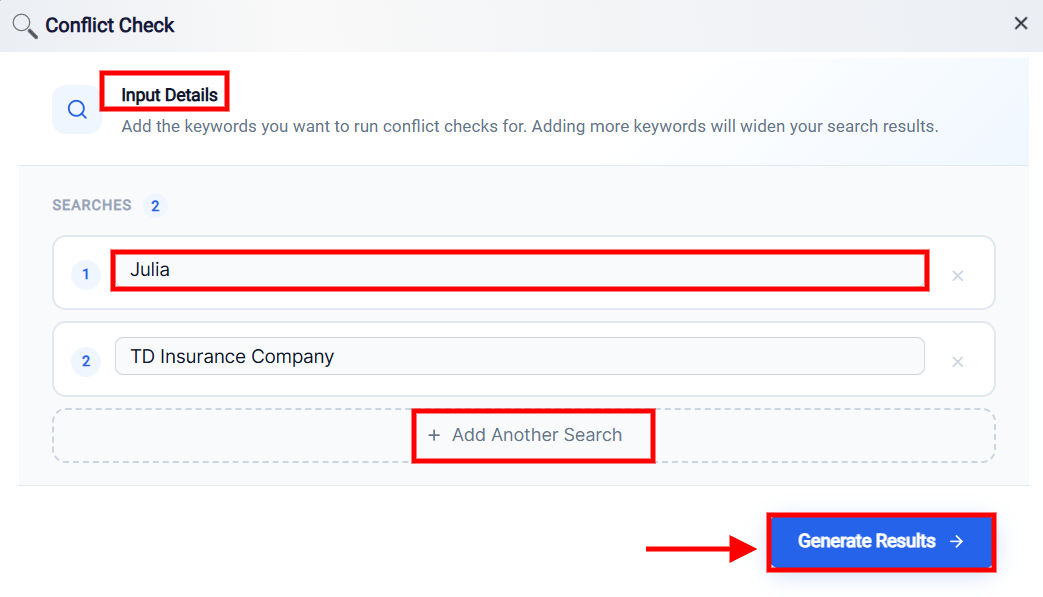
Opening a Conflict Check
Click the name under the Details column to open a conflict check and review its results.
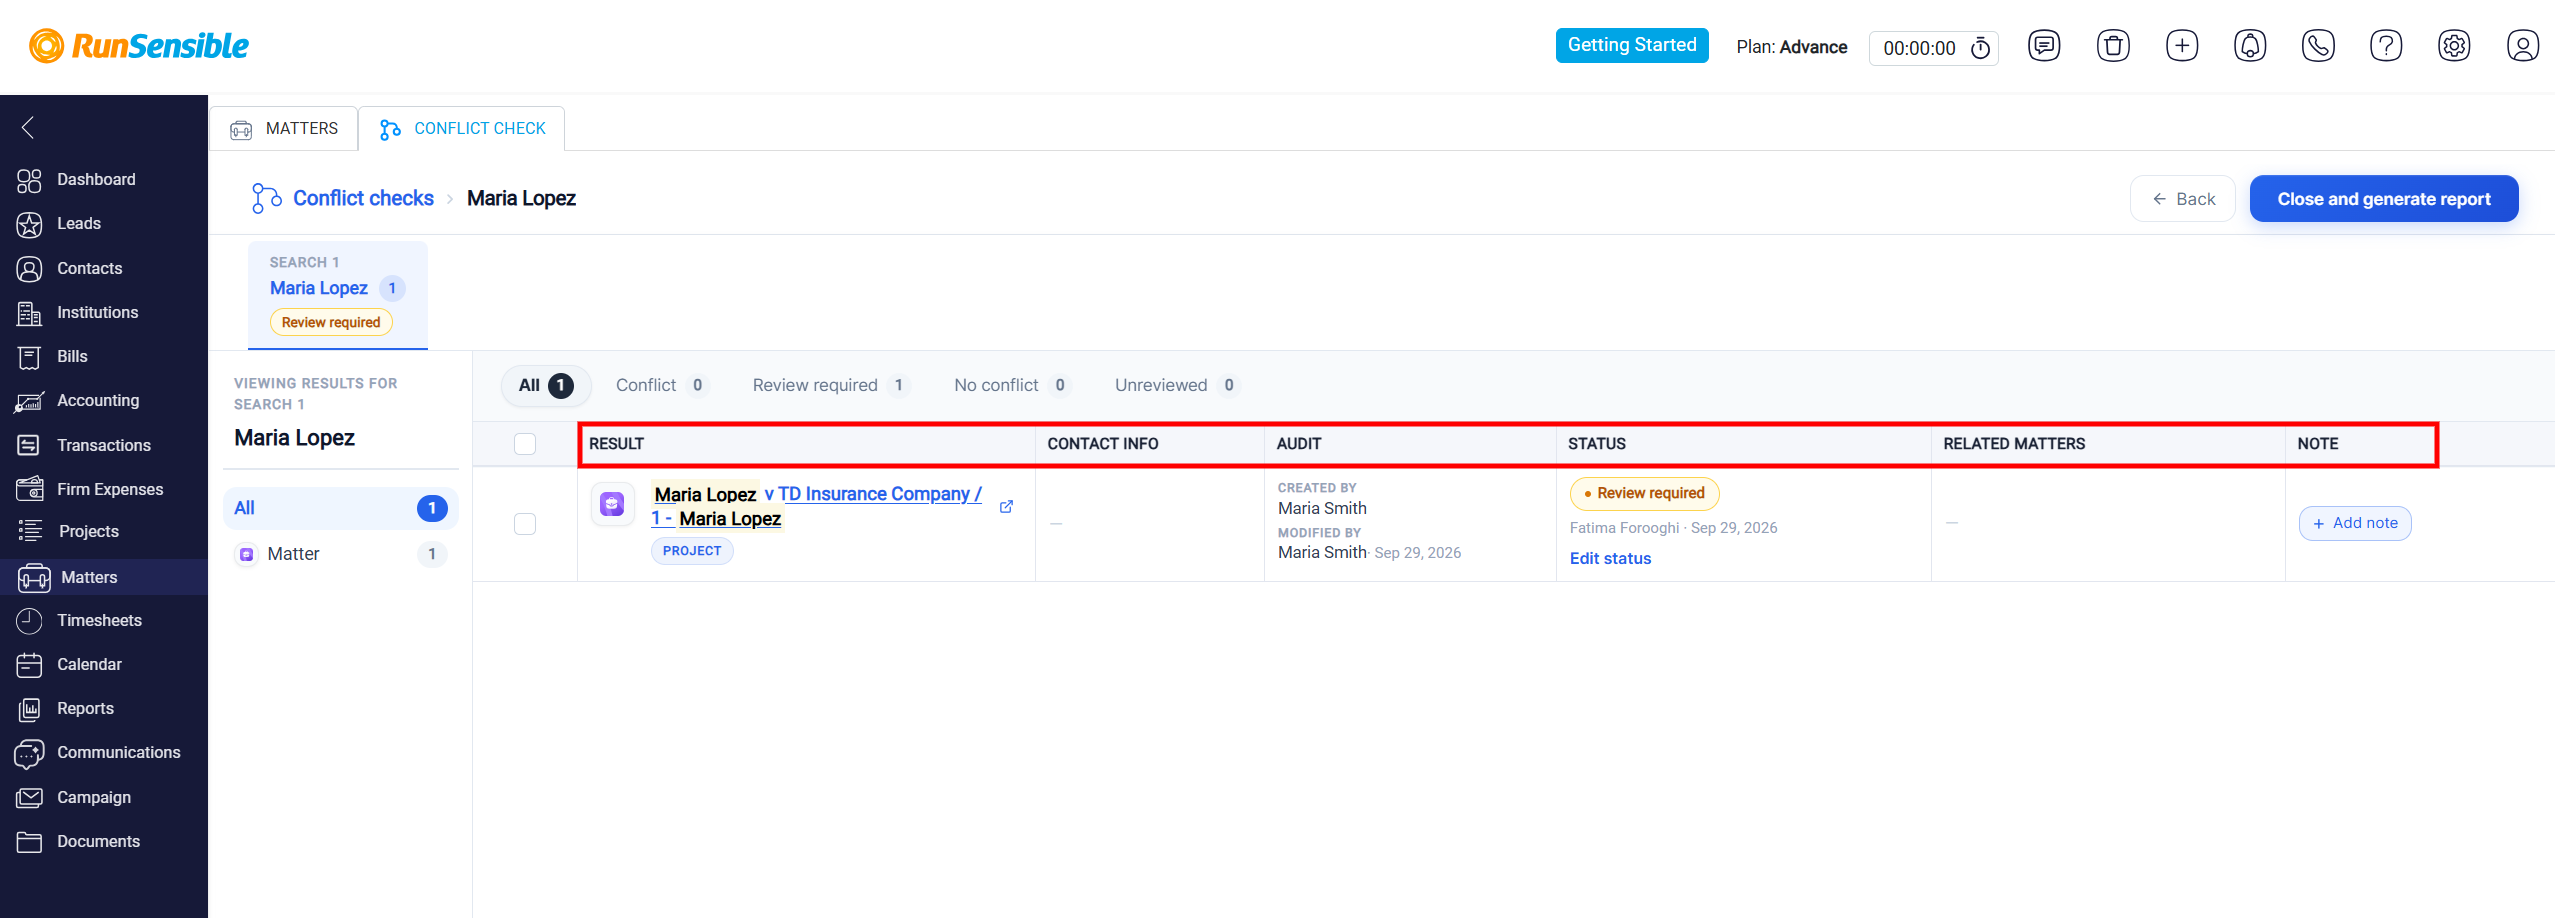
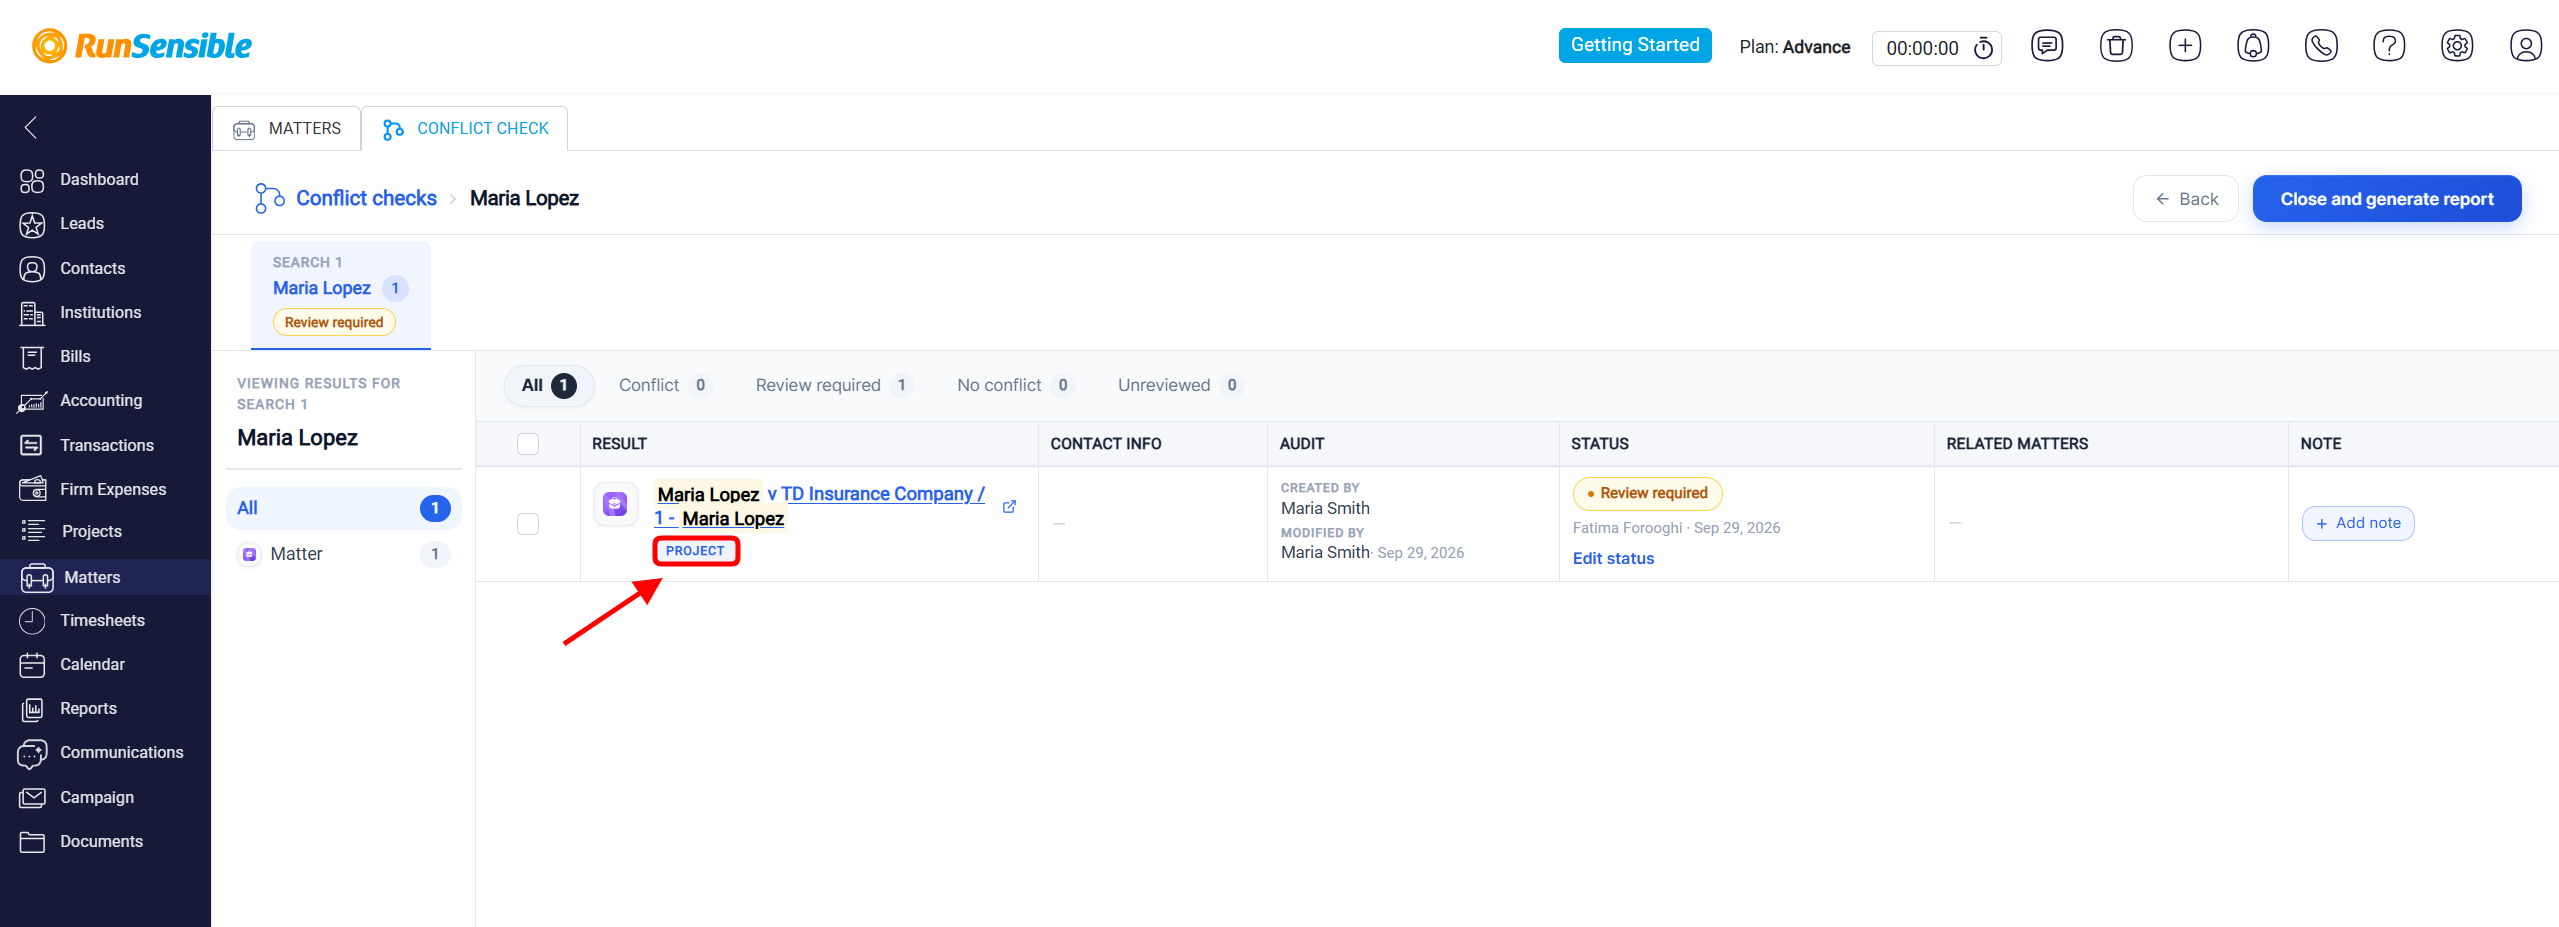
The results page displays matches found by the system. The result information is organized into columns such as Result, Contact Info, Audit, Status, Related Matters, and Note.
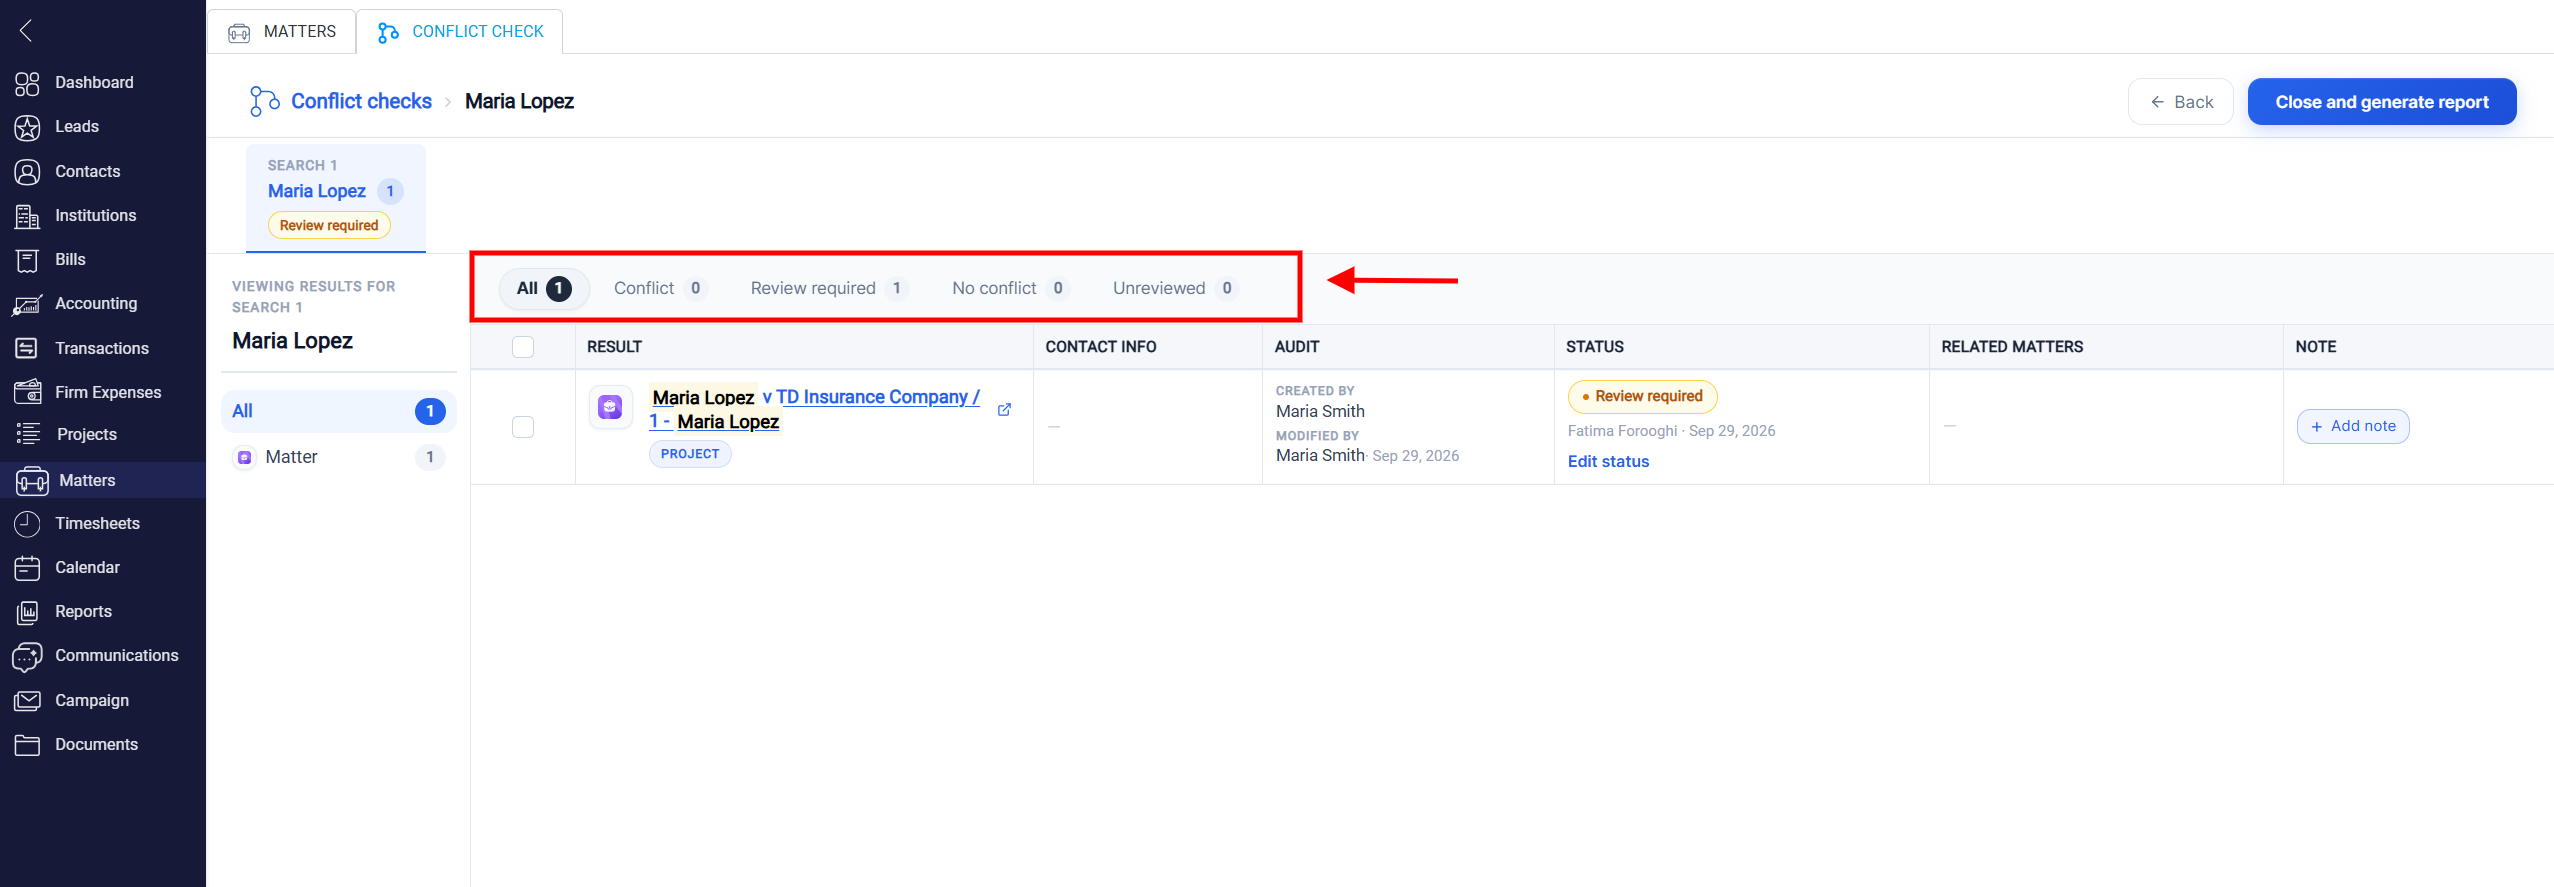
At the top of the results, use the All, Conflict, Review required, No conflict, and Unreviewed options to filter the matches according to their review status. The number beside each option shows how many results currently fall into that category.
Each matching record appears under the Result column. A label such as Project identifies the type of record that produced the match.
An open/external-link icon appears beside a matching result.
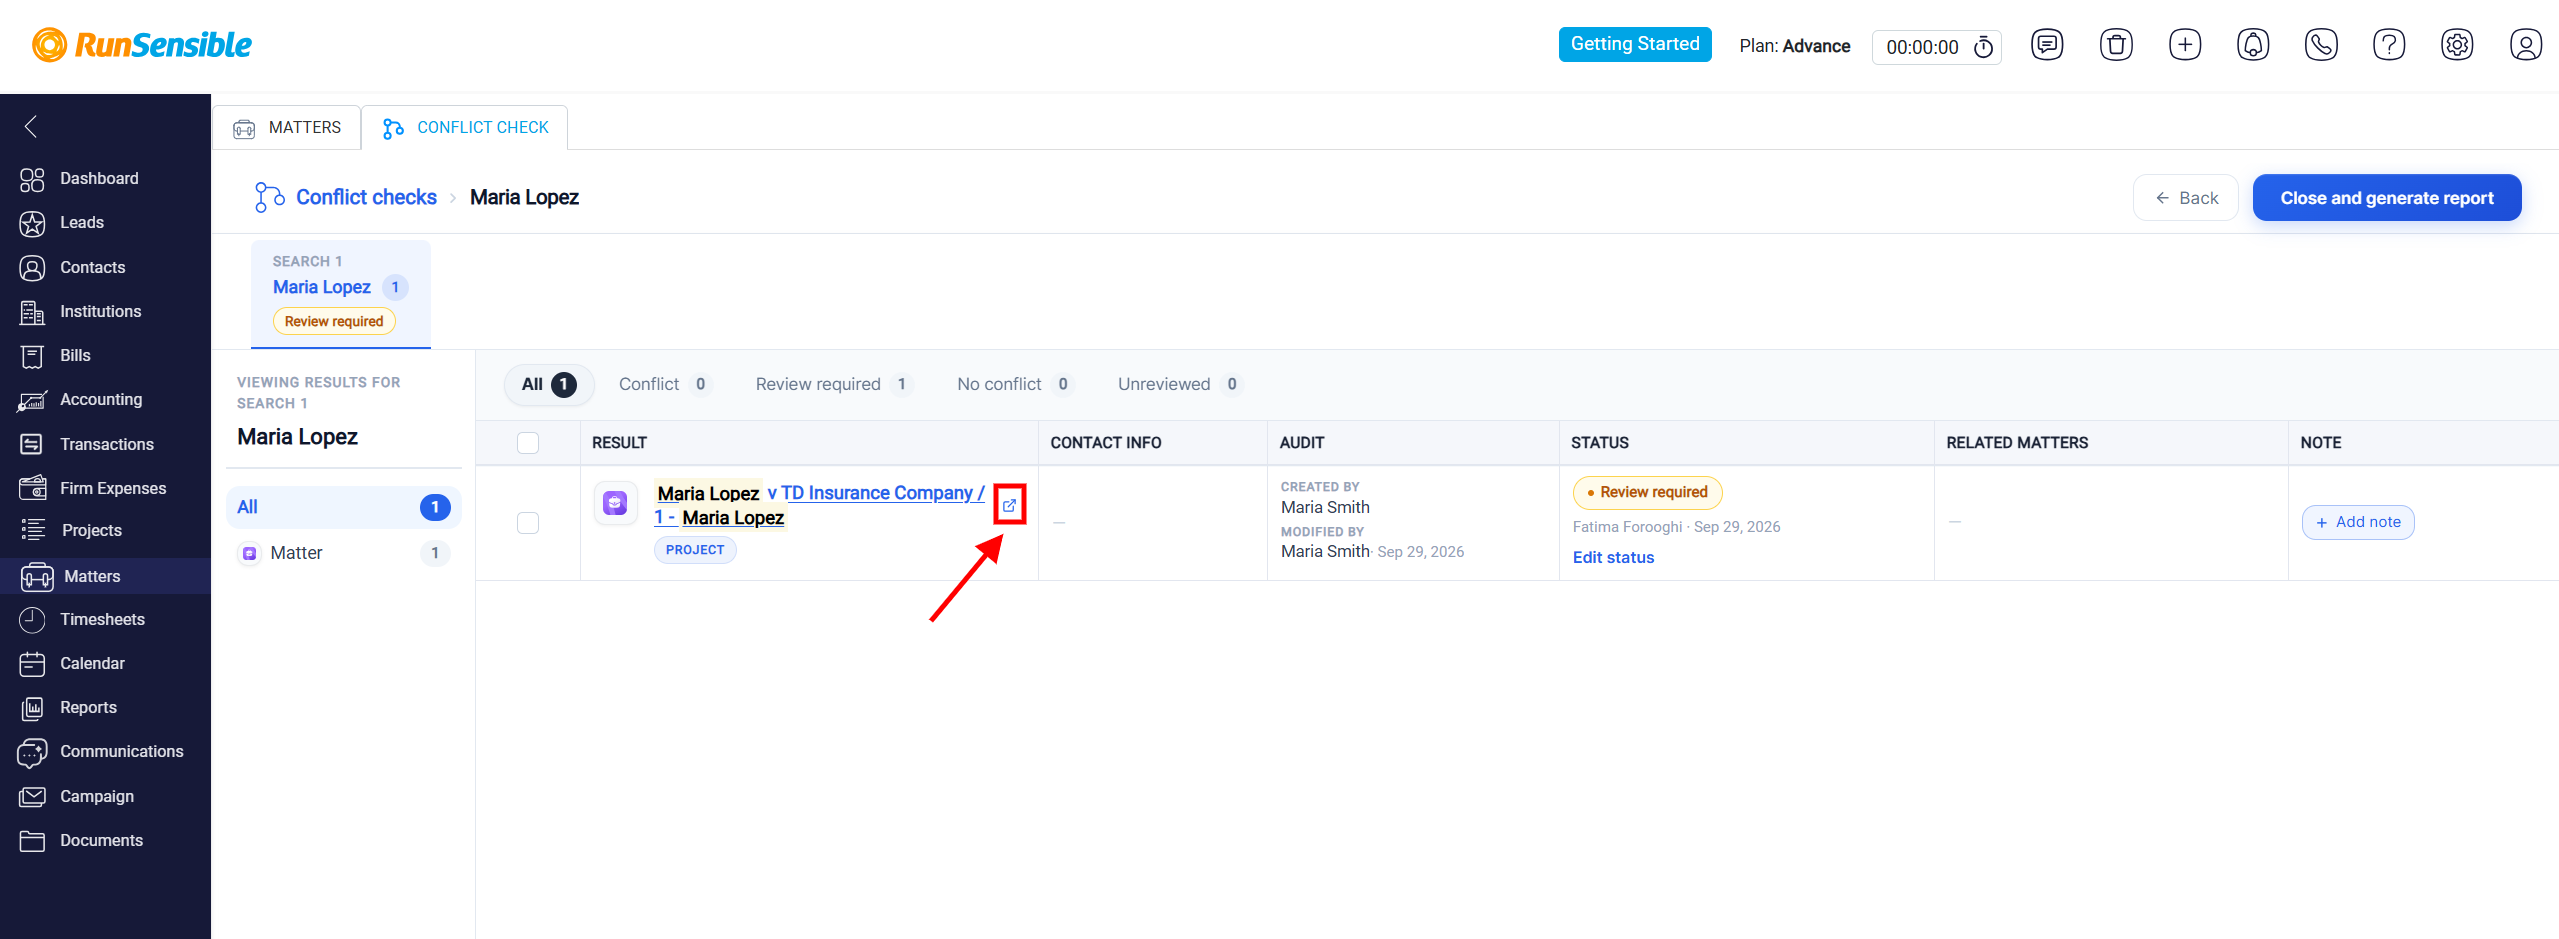
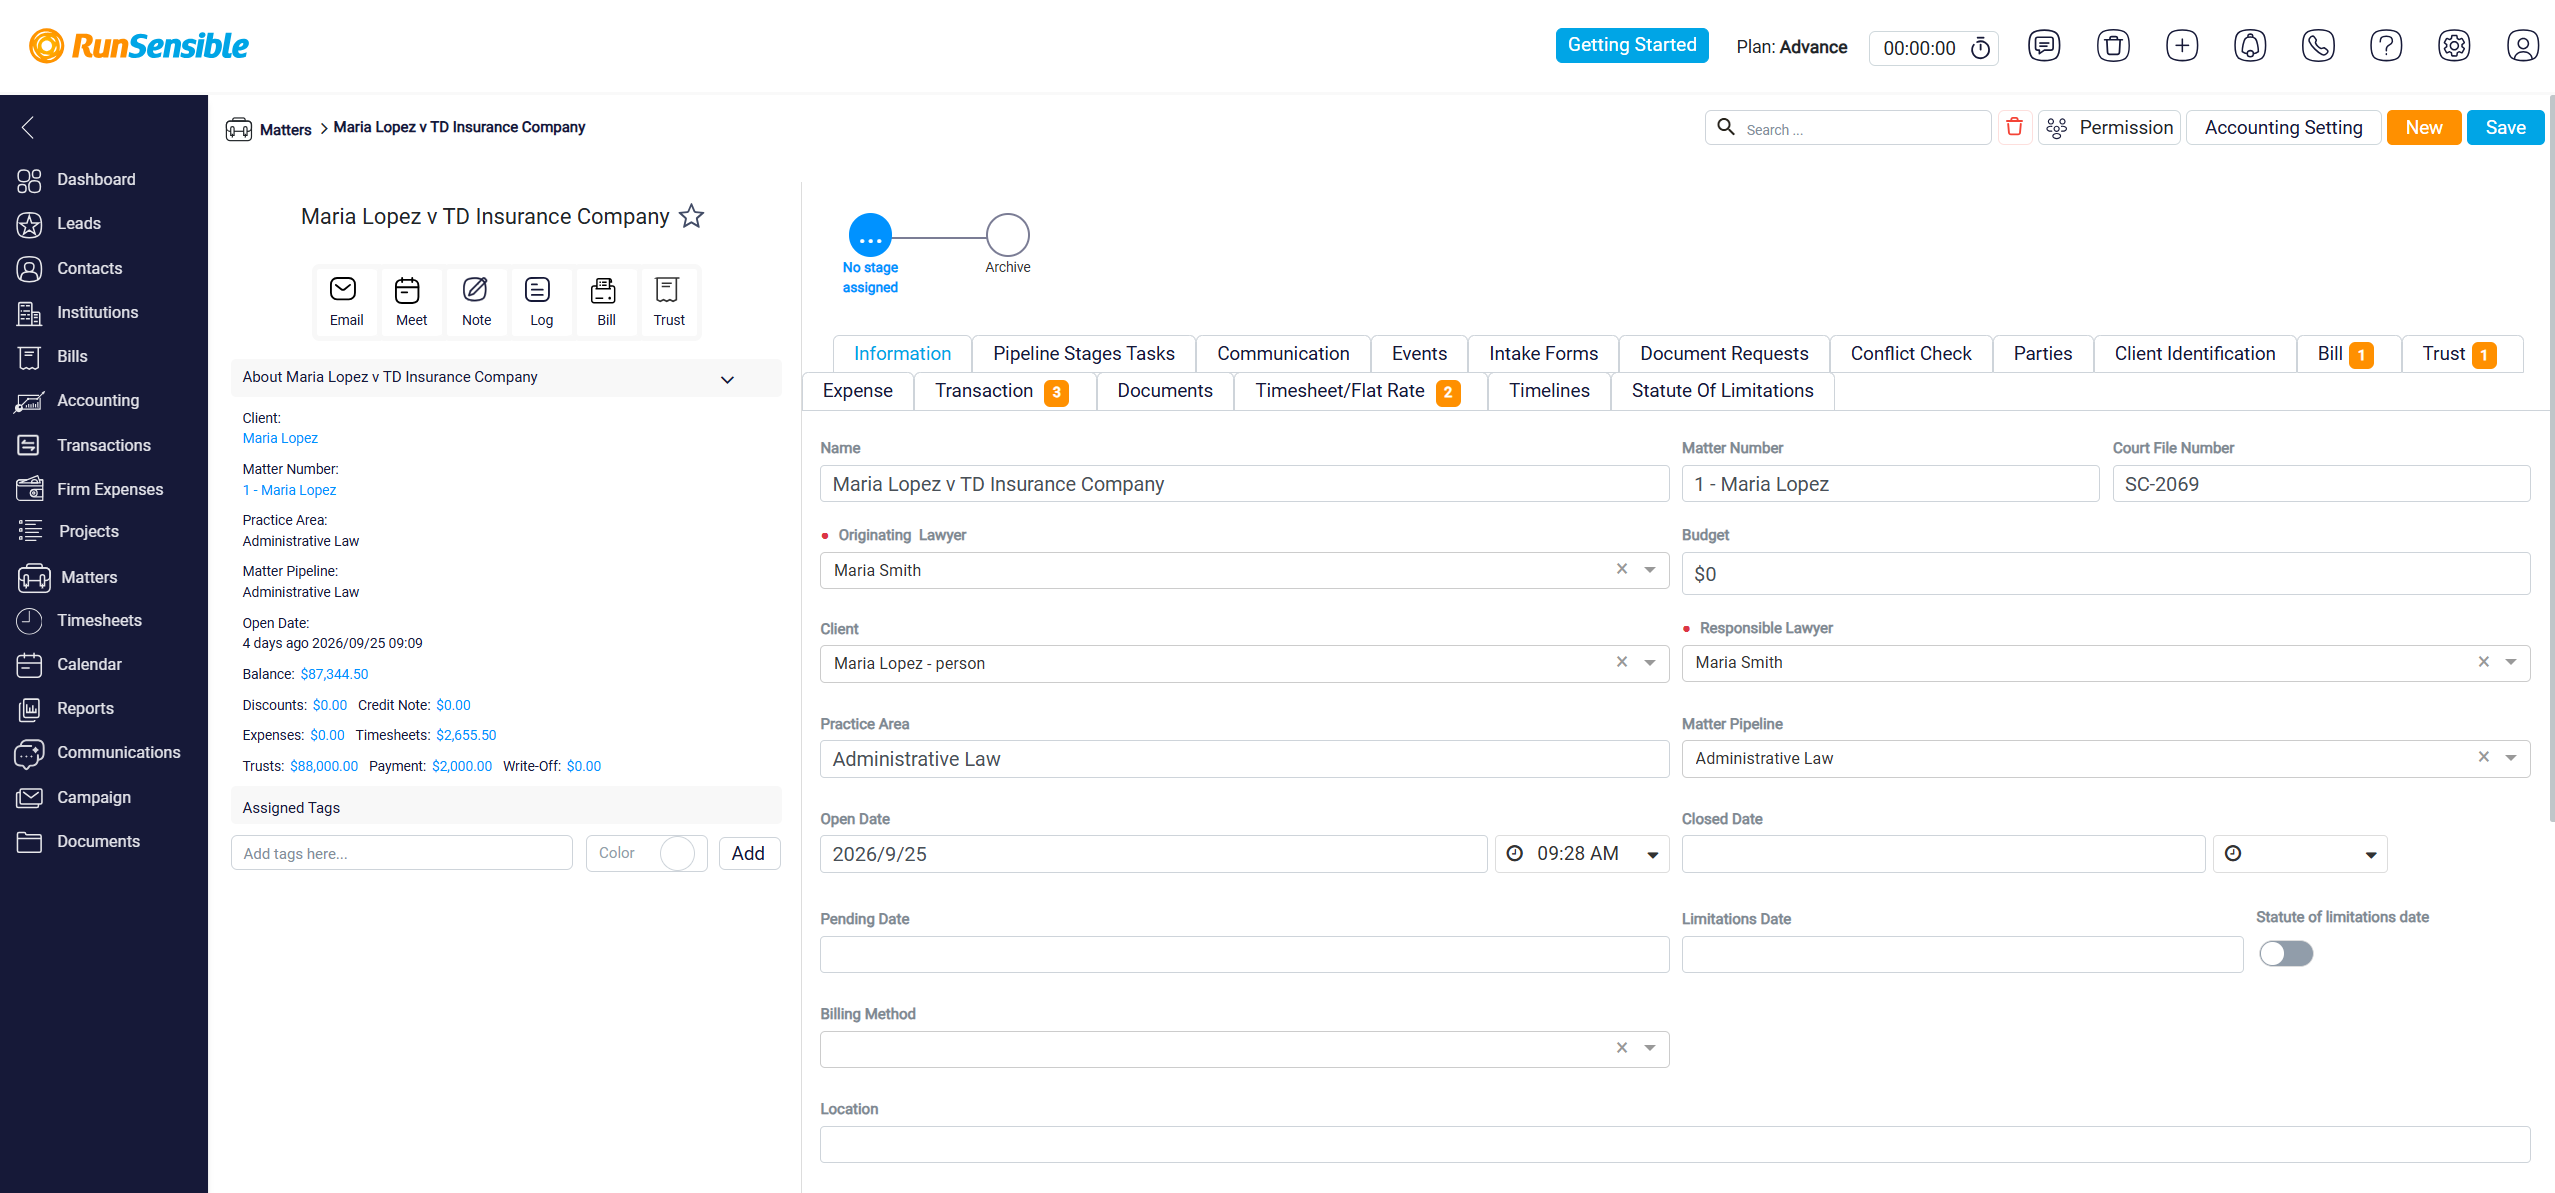
Click this icon to open the related record and review its information in more detail. This can help you investigate the potential match before determining its conflict status.
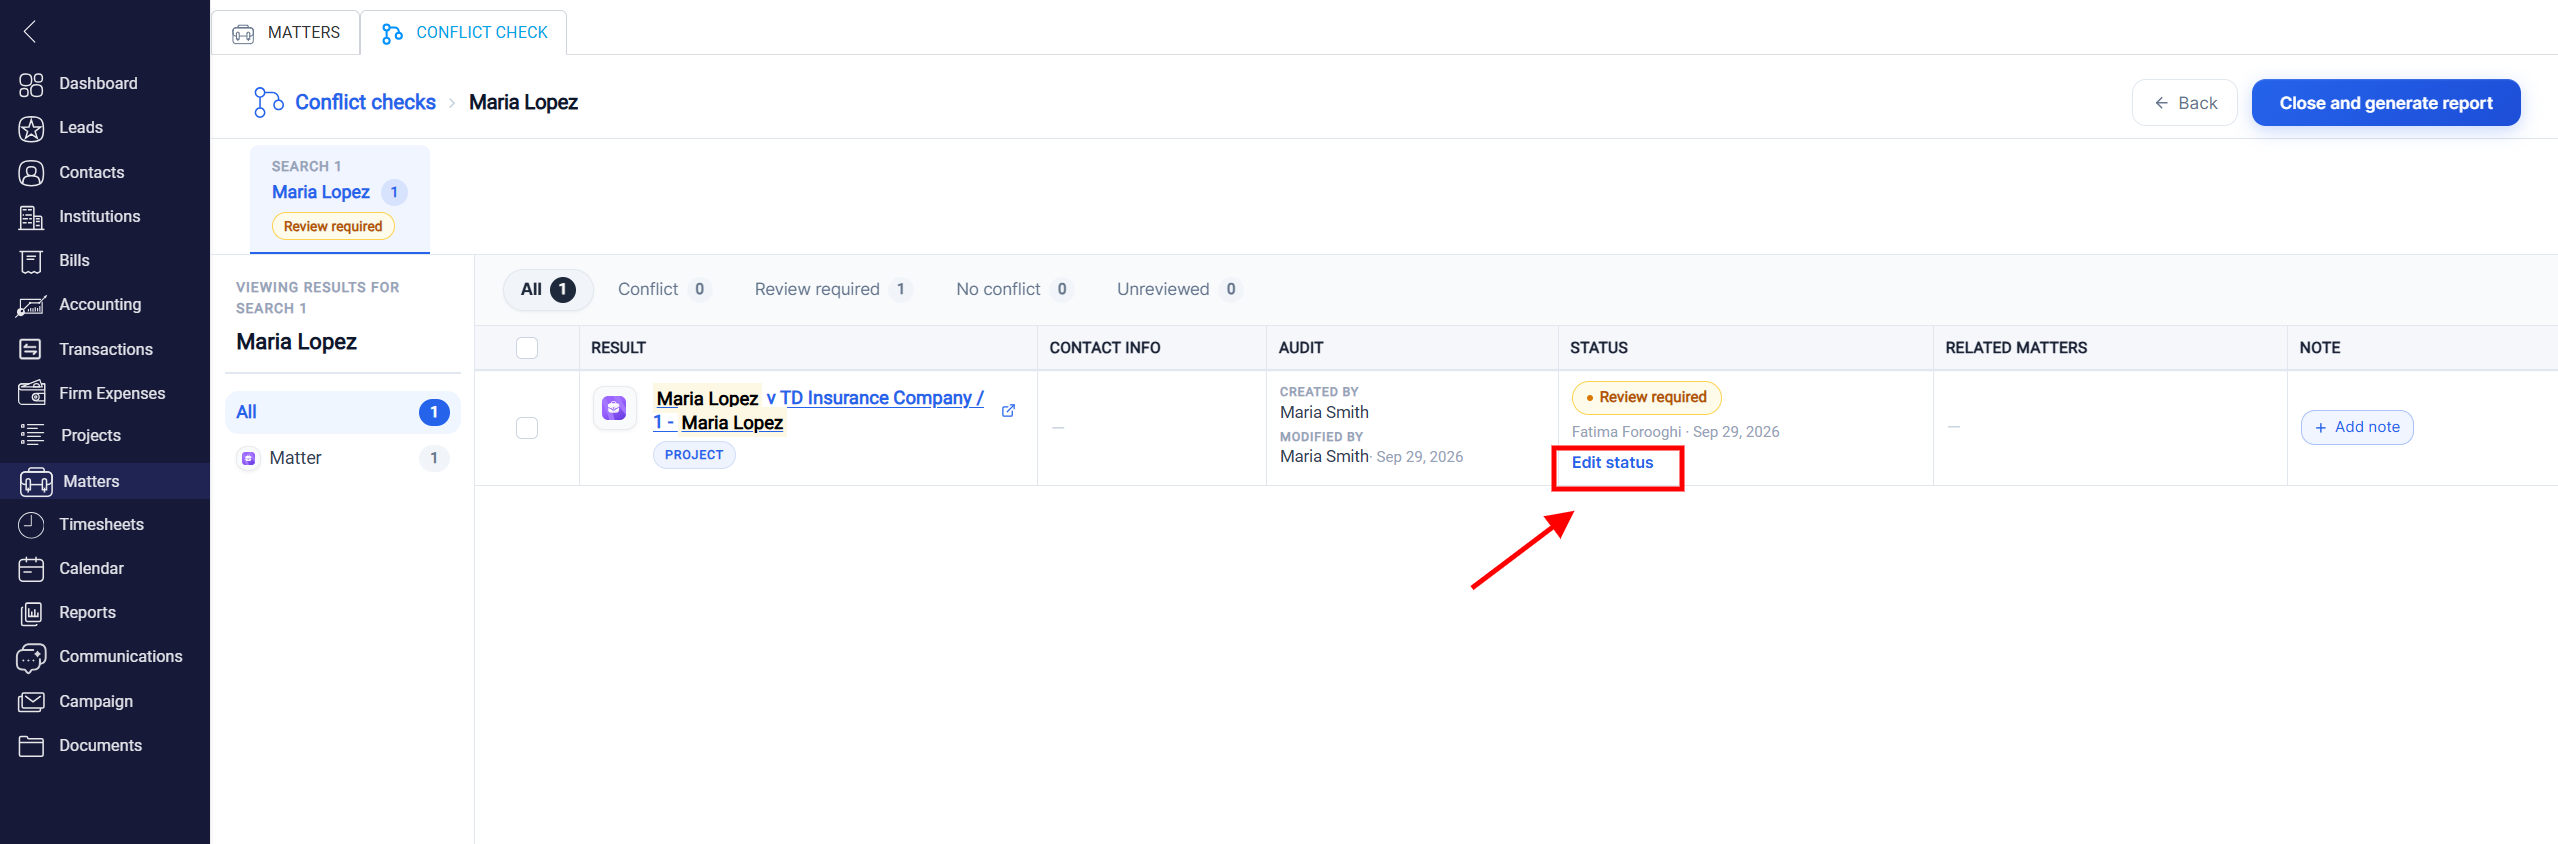
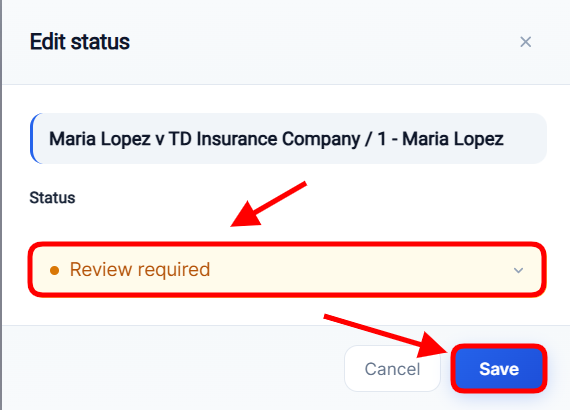
The Audit column shows information about who created or modified the result. The Status column shows the current review status. Click Edit status to review the match and change its status as appropriate, such as identifying whether further review is required or whether the result represents a conflict or no conflict.
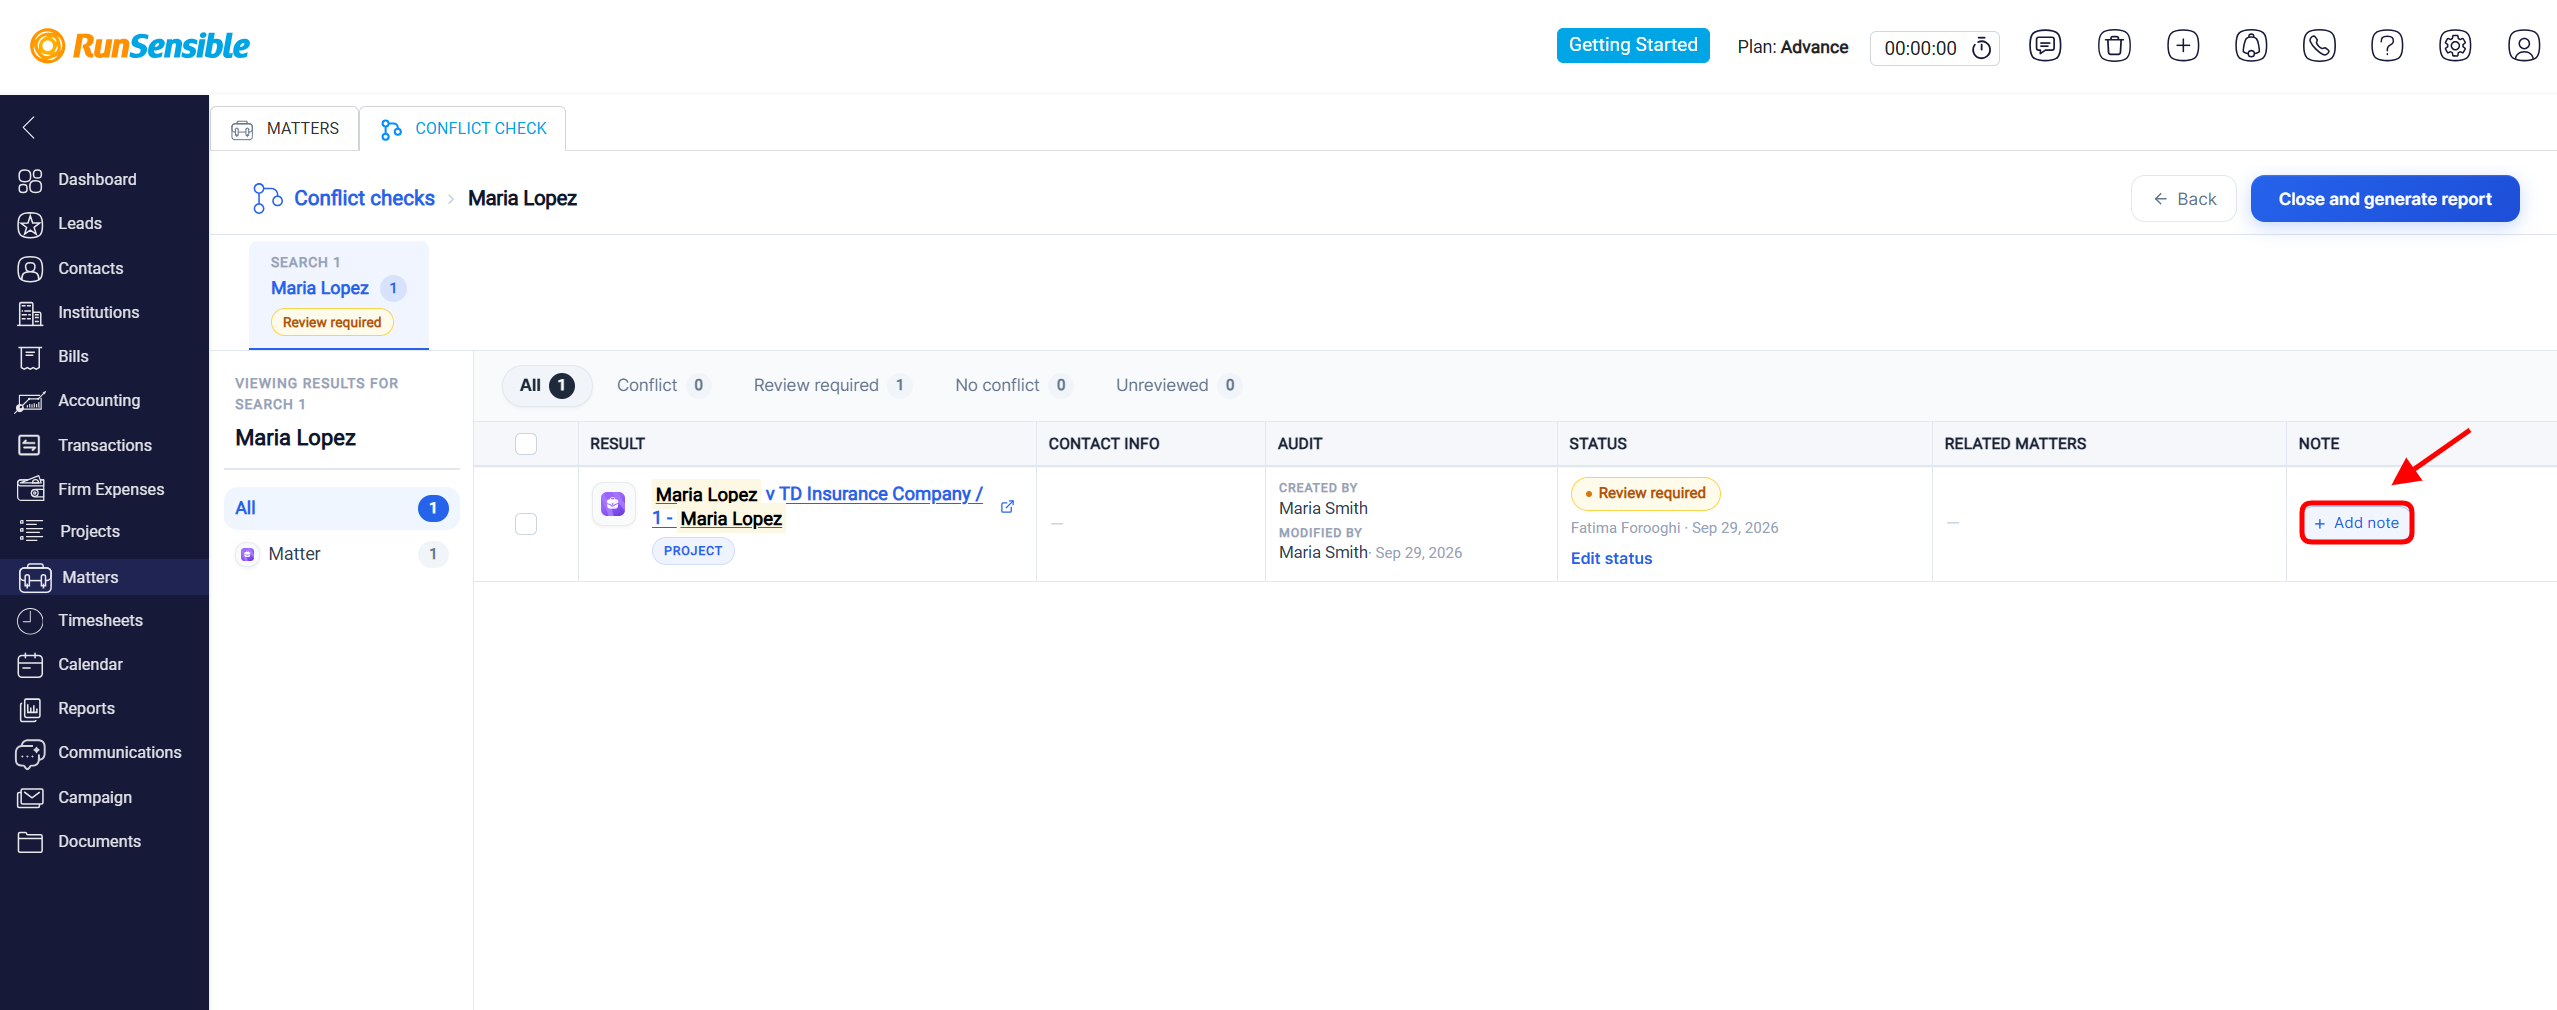
Click Add note in the Note column when you want to document information about a particular result.
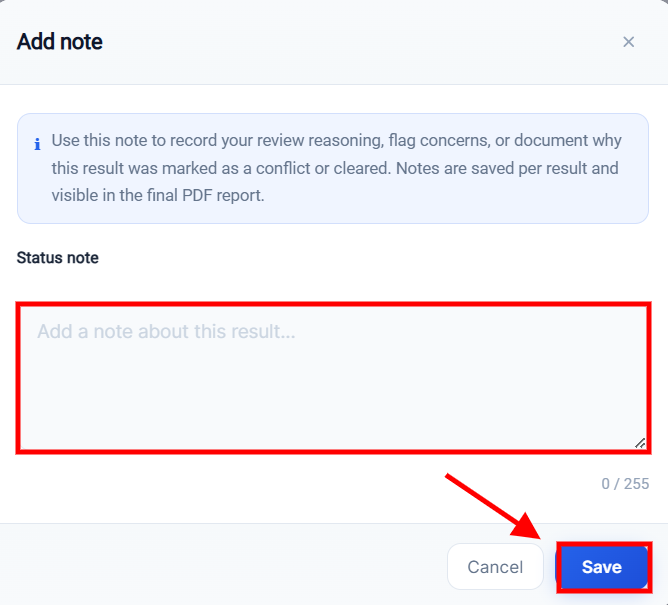
In the Add note window, enter your explanation in the Status note field. You can use the note to document your review reasoning, concerns, or why the result was marked as a conflict or cleared. Click Save to add the note. The note will be associated with that specific result and can appear in the final PDF report.
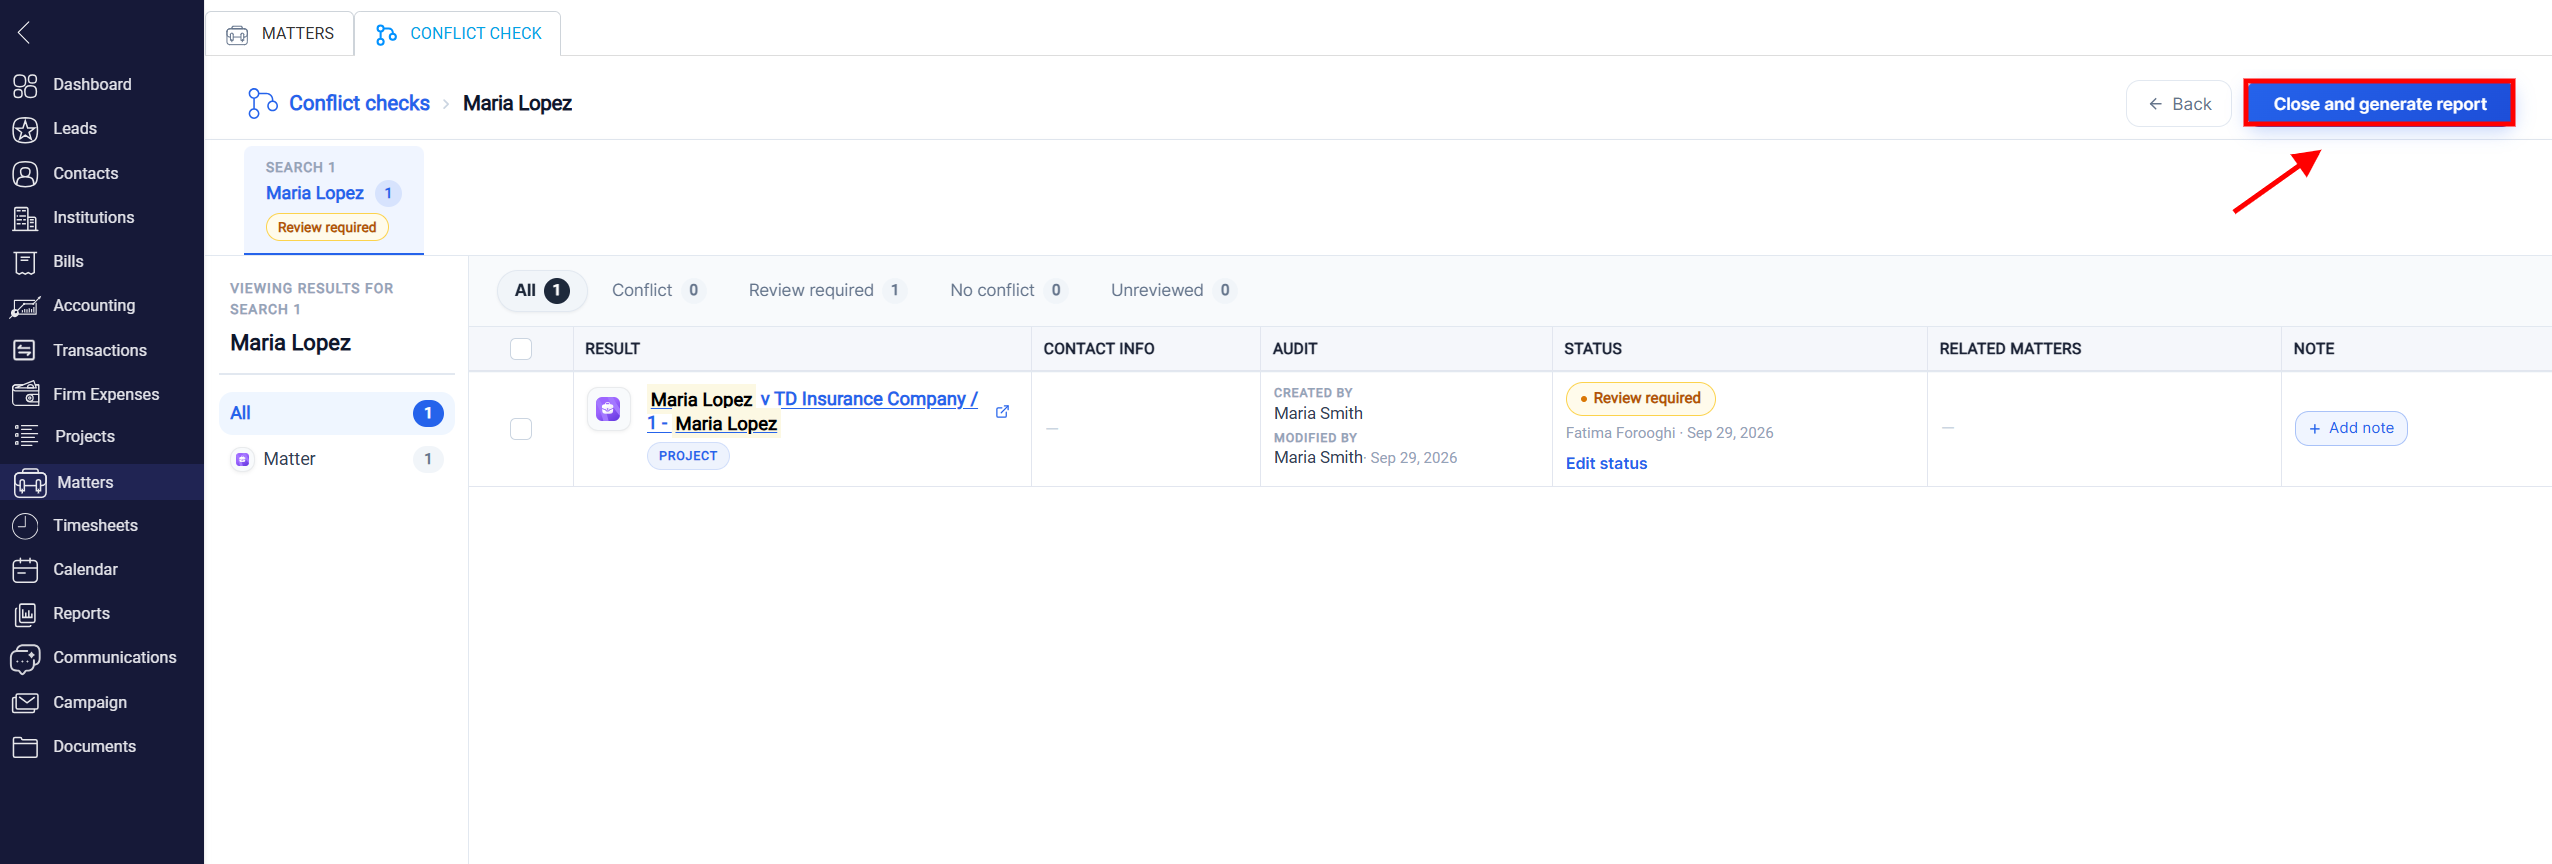
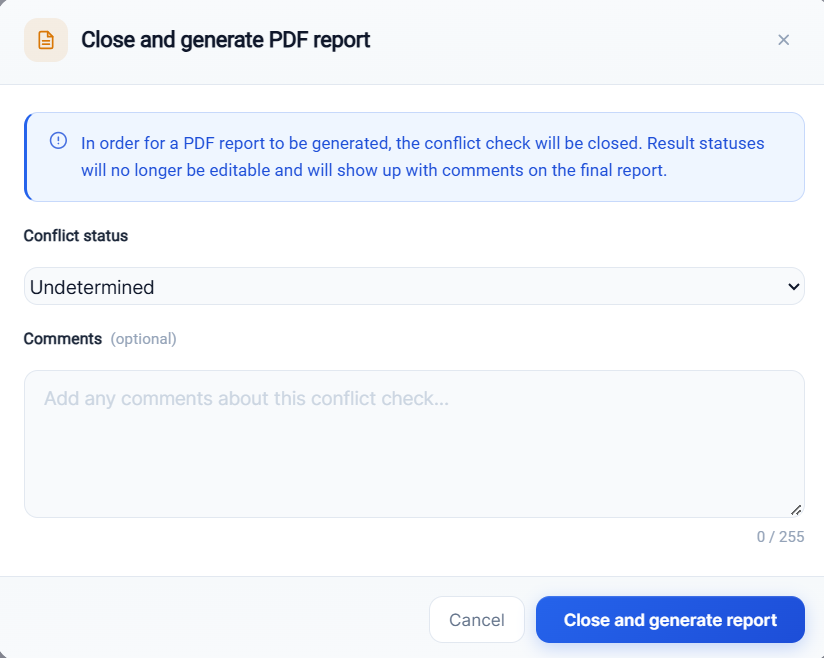
After reviewing the results, click Close and generate report.
In the Close and generate PDF report window, select the final Conflict status and, if necessary, enter additional information in the Comments field. Click Close and generate report to complete the process.
Closing the conflict check finalizes the results. The result statuses can no longer be edited, and the statuses and comments are included in the final report.
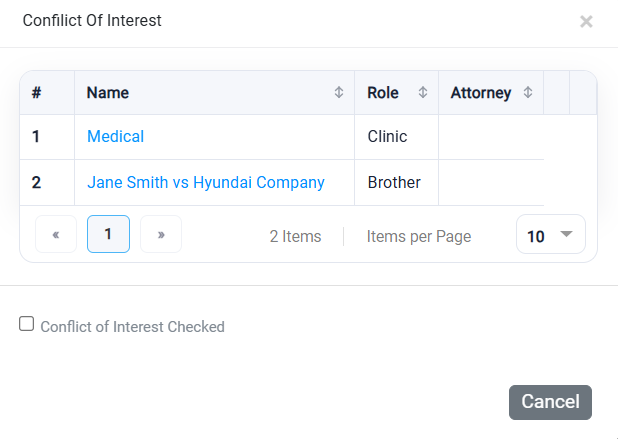
When you are adding a new matter to the system and a potential conflict of interest is identified, the system automatically opens the Conflict of Interest window. This window displays any matching records that may indicate a potential conflict.
Review the Name, Role, and Attorney information for each matching record to determine whether a conflict of interest exists before proceeding with the new matter.
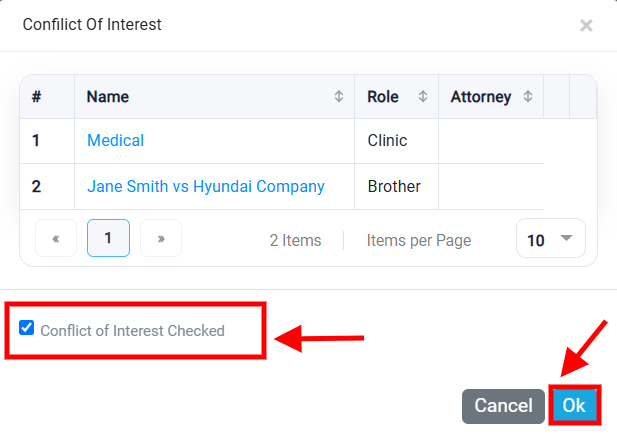
After reviewing all displayed results, select the Conflict of Interest Checked checkbox to confirm that you have completed the conflict review. Once the checkbox is selected, the OK button becomes available. Click OK to confirm and complete the conflict check.
If you do not select the Conflict of Interest Checked checkbox, you cannot confirm the review using the OK button. Click Cancel if you want to close the window without confirming that the conflict check has been completed.
After clicking OK, you will be redirected to the Matters main page for the selected practice area.