Creating a Matter Pipeline
In RunSensible, we offer a fully customizable pipeline feature, allowing you to tailor distinct pipelines for various case types with ease. A Pipeline is made up of stages that represent the progress of a case from beginning to end. It helps organize the matter into a clear sequence of work, so users can track where the matter stands and what needs to be completed next.
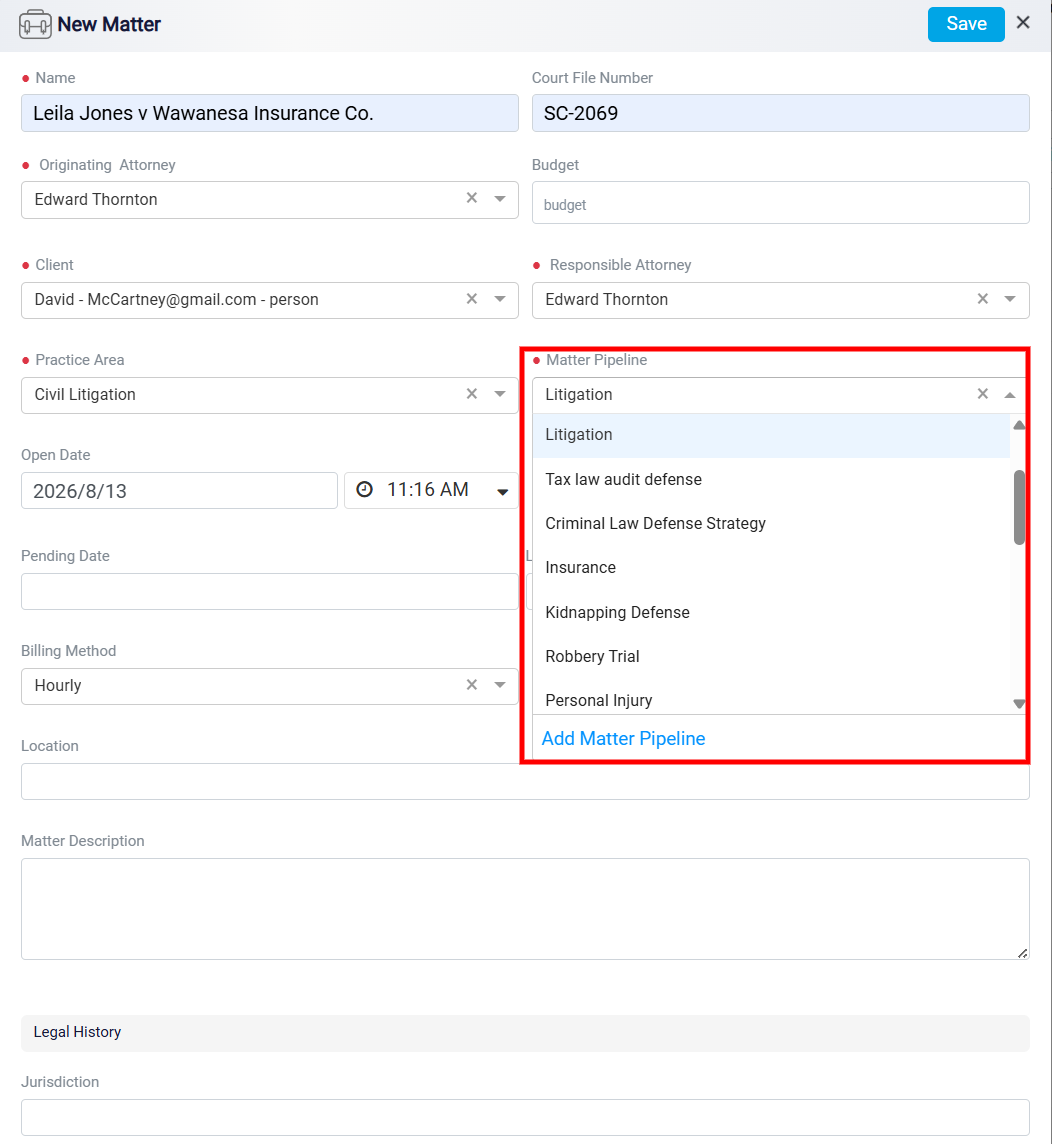
When you select a practice area, the Matter Pipeline field may be filled automatically with the default pipeline connected to that practice area. If you want to use a different workflow, click the Matter Pipeline dropdown and select another pipeline from the list.
Adding a Matter Pipeline
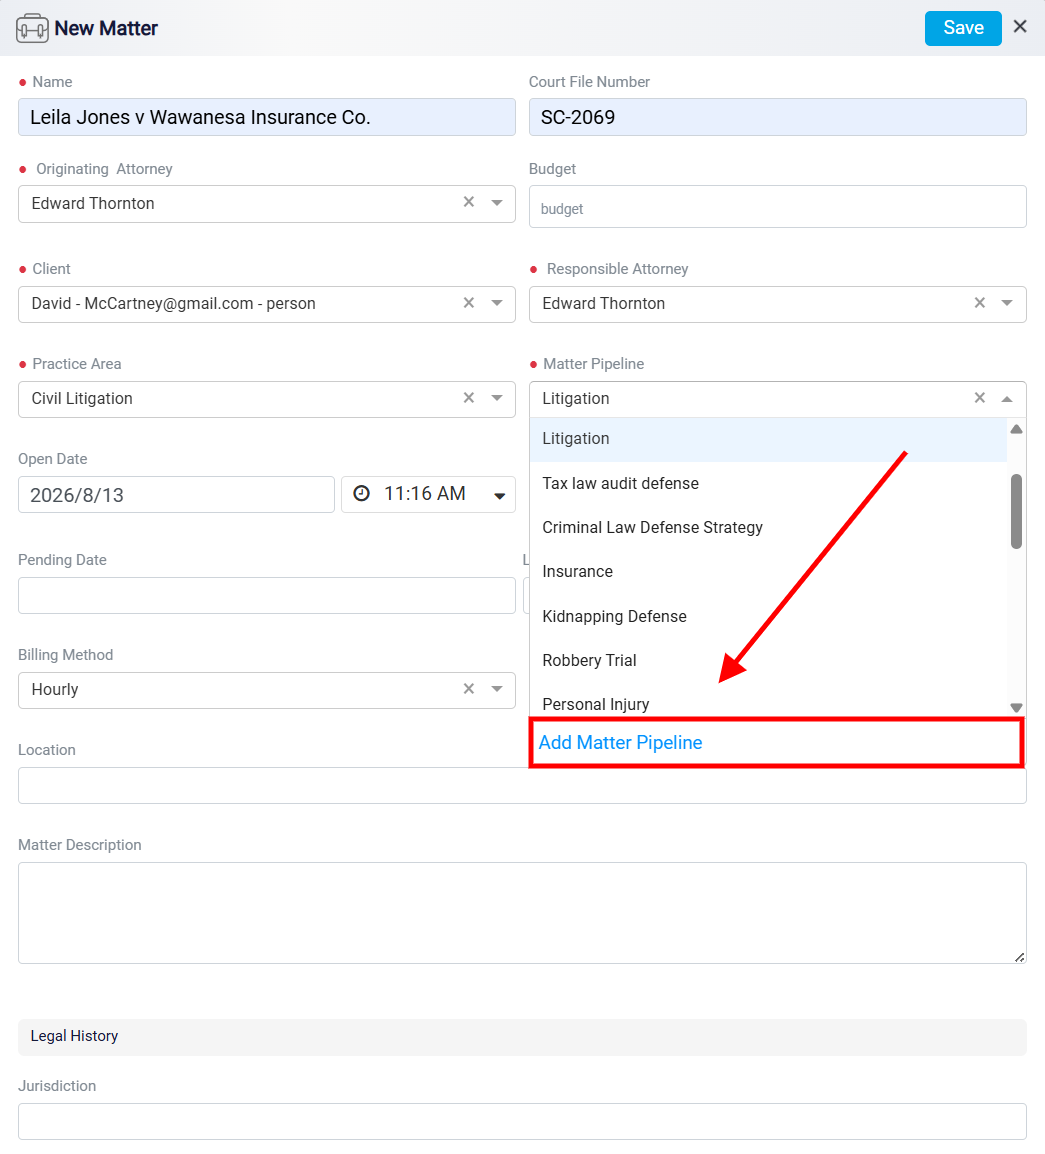
If the pipeline you need is not listed, click Add Matter Pipeline at the bottom of the pipeline dropdown.
This opens the Matter Pipeline Stage panel. In this panel, you can create a new pipeline, define its stages, and add tasks under each stage. The Project Name field is where you enter the name of the pipeline or workflow you are creating. The pipeline will be saved under this name, so it should clearly describe the type of workflow it represents. After entering the project name, you can begin adding the stages that will make up the pipeline.
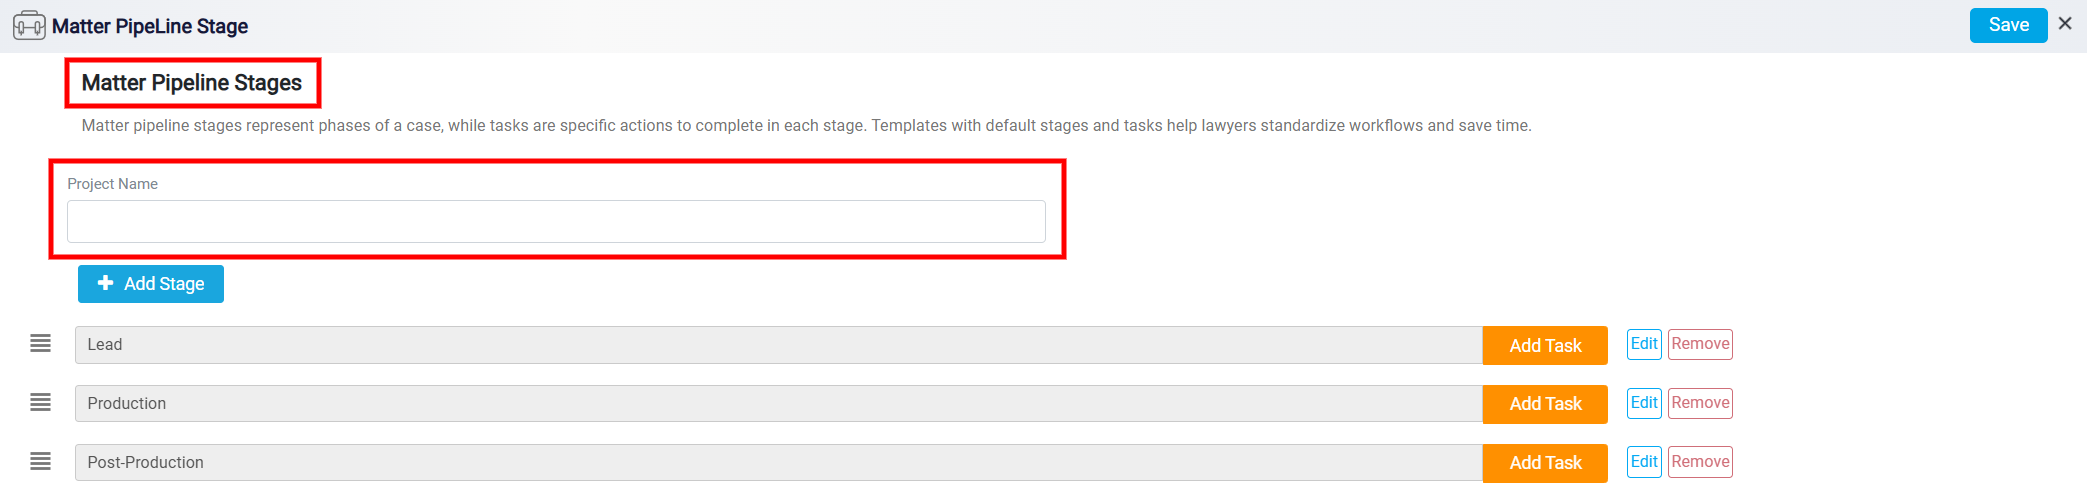
Matter pipeline stages represent the main phases of a matter. Each stage shows a step in the case workflow, such as intake, preparation, production, review, or closing. The purpose of stages is to divide the matter into organized phases so the work can be followed in a consistent order. To add a stage, click Add Stage button. A stage form will appear with a required Name field. Enter the name of the stage, then click Save to add it to the pipeline.
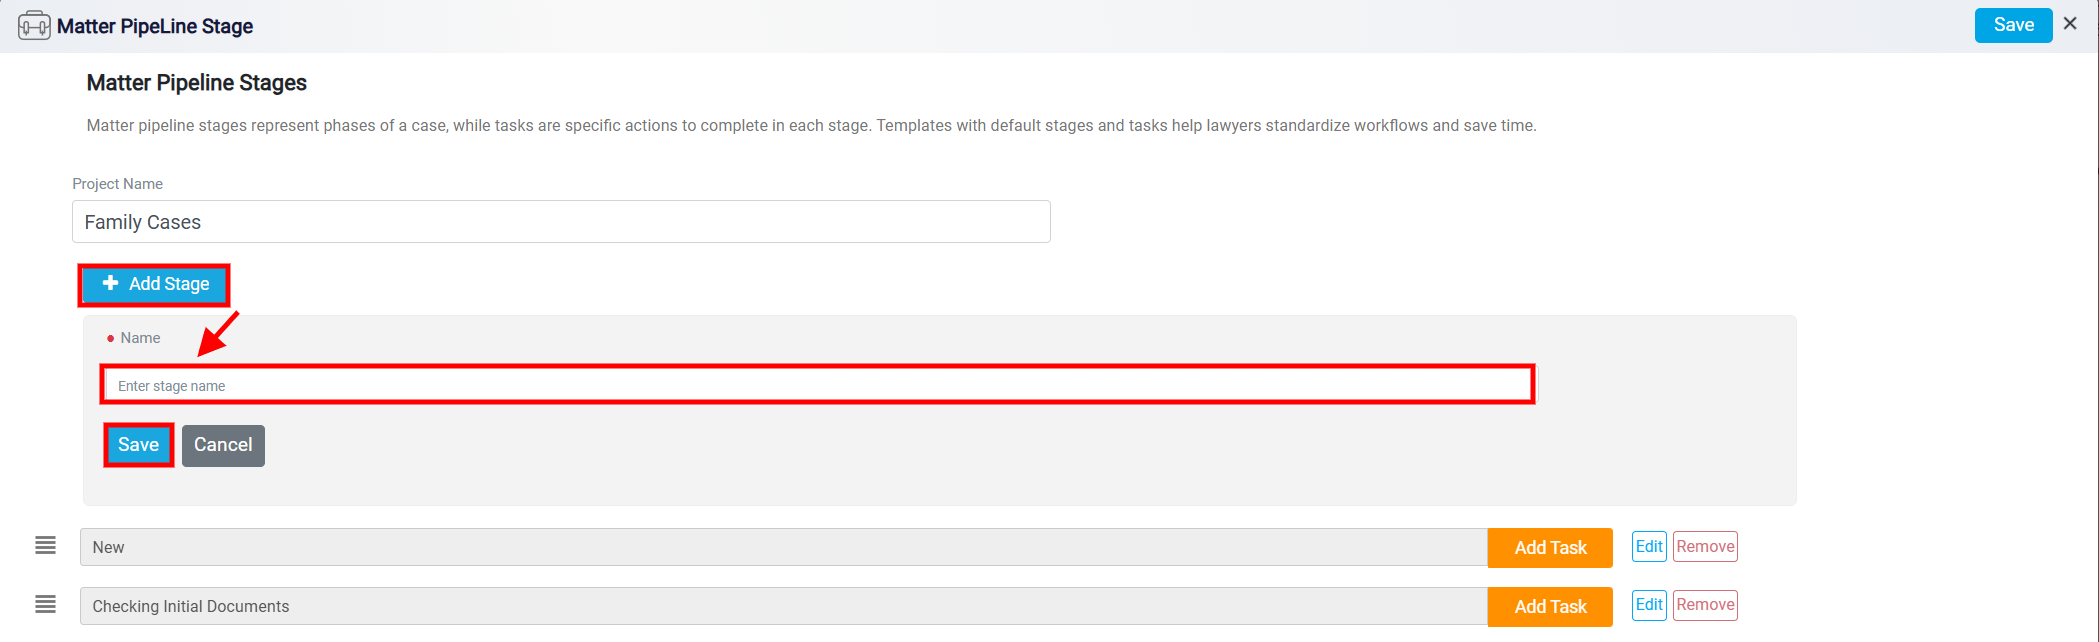
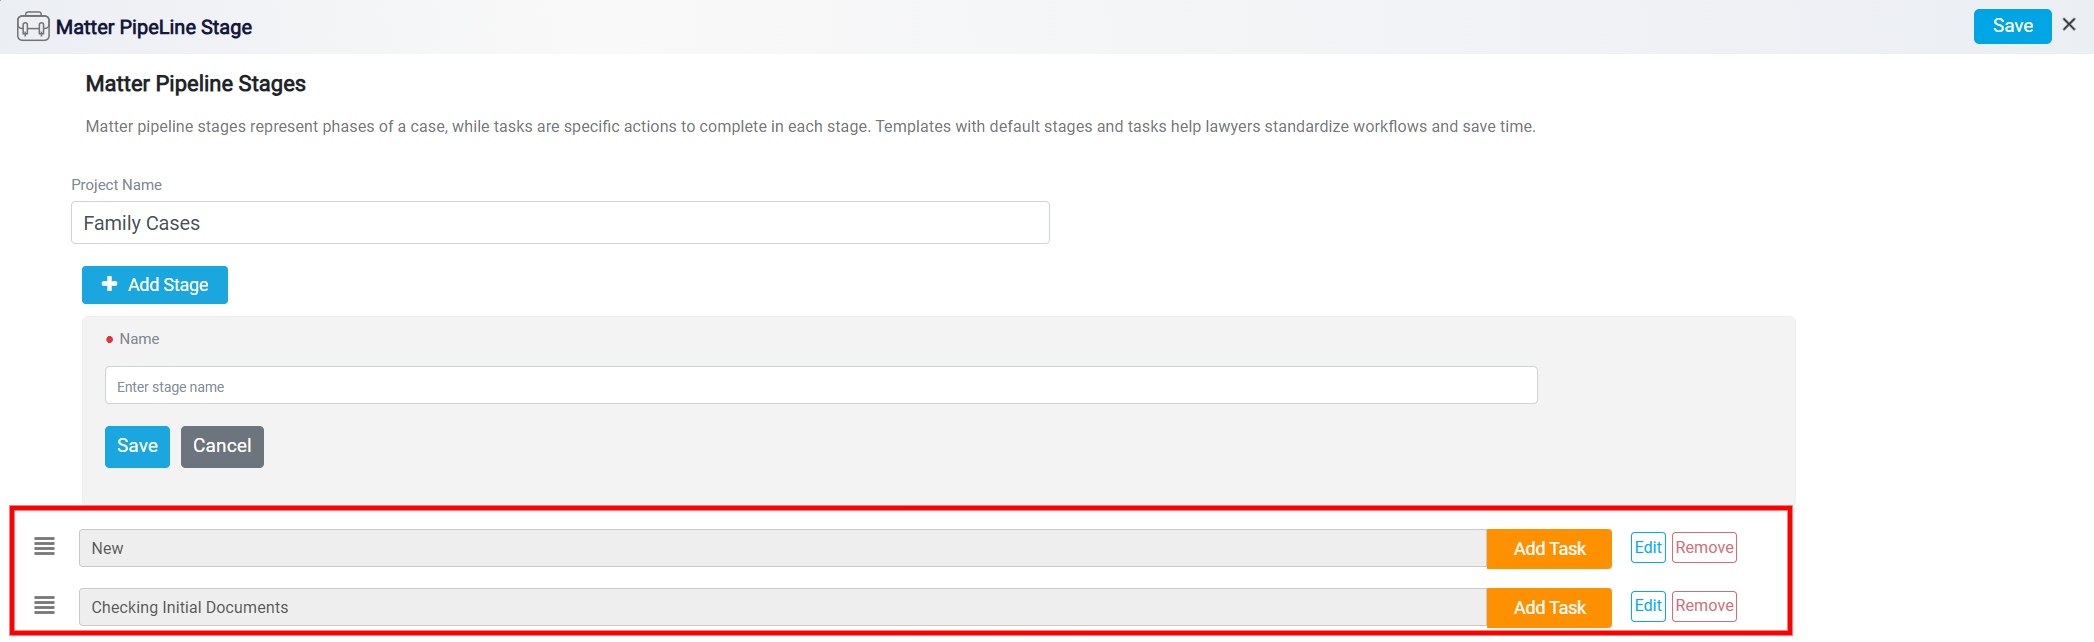
The existing stages appear as horizontal rows in the middle of the panel. Each row represents one stage in the pipeline.
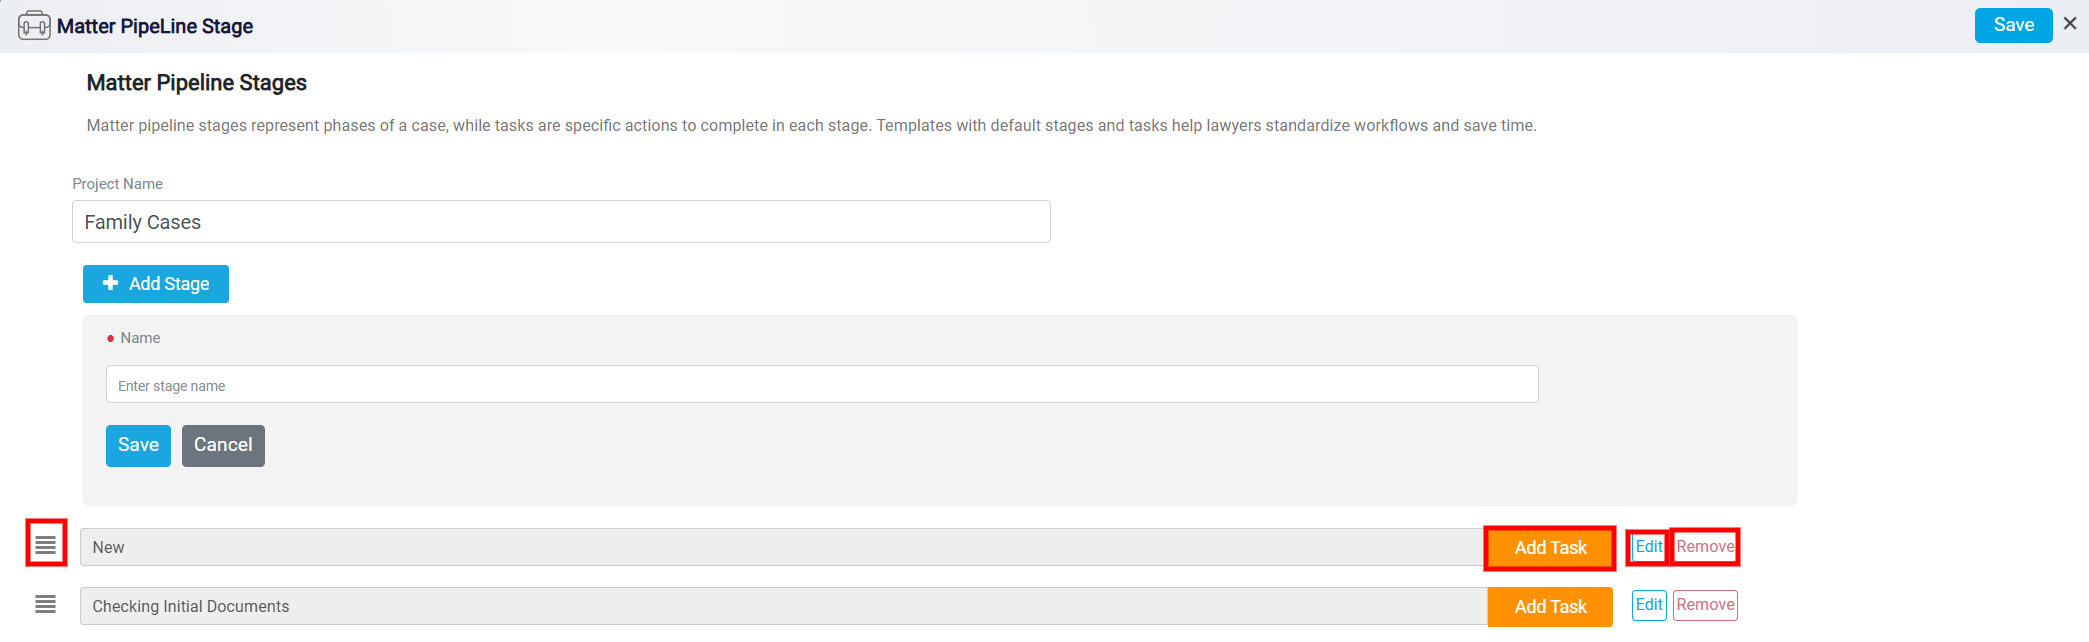
On the left side of each row, there is a handle icon that can be used to reorder the stages. On the right side, there are options to Add Task, Edit, or Remove the stage. These controls allow you to adjust the structure of the pipeline as needed.
Matter Pipeline Tasks
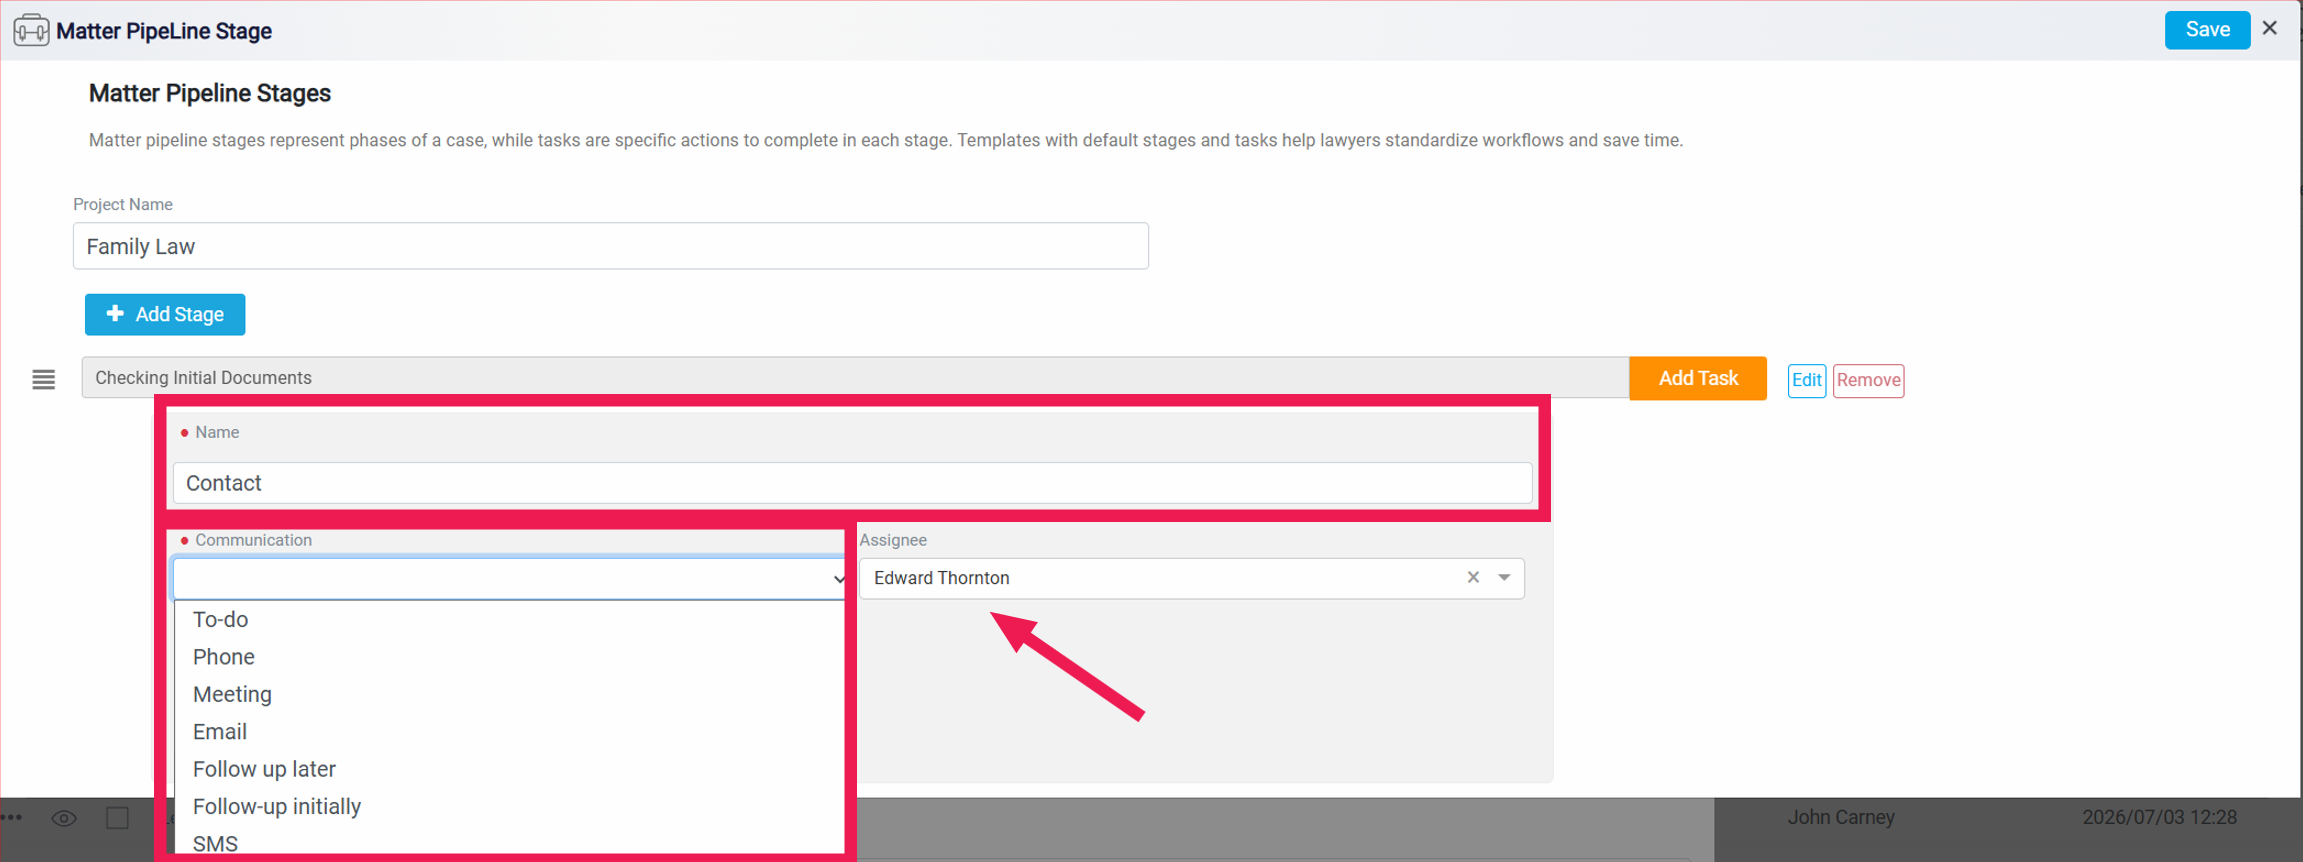
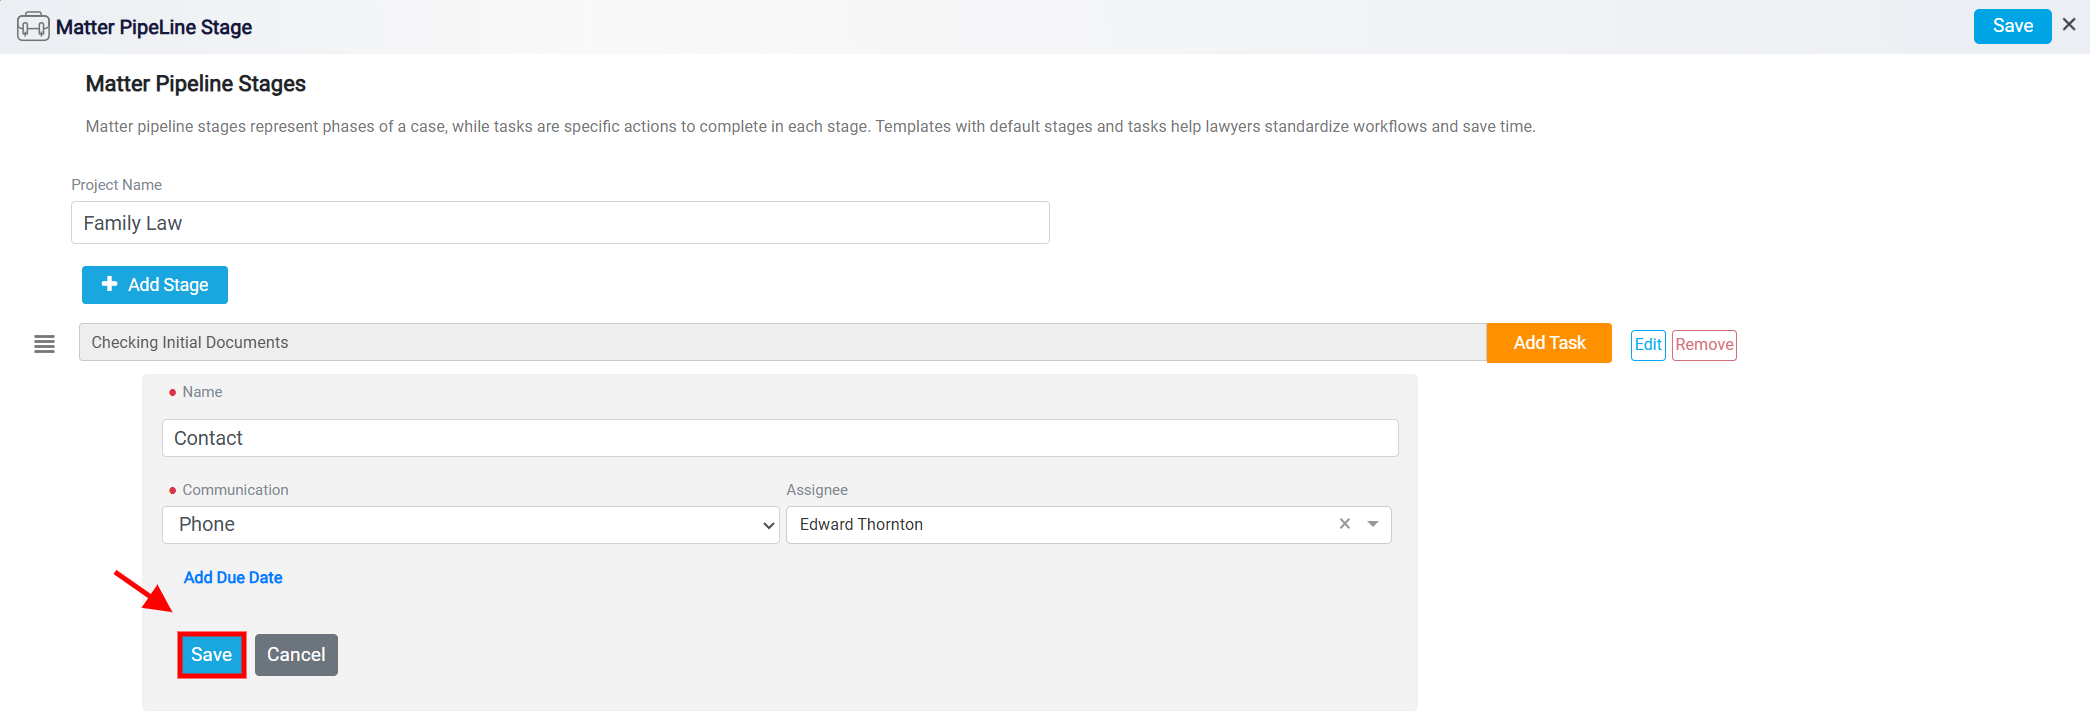
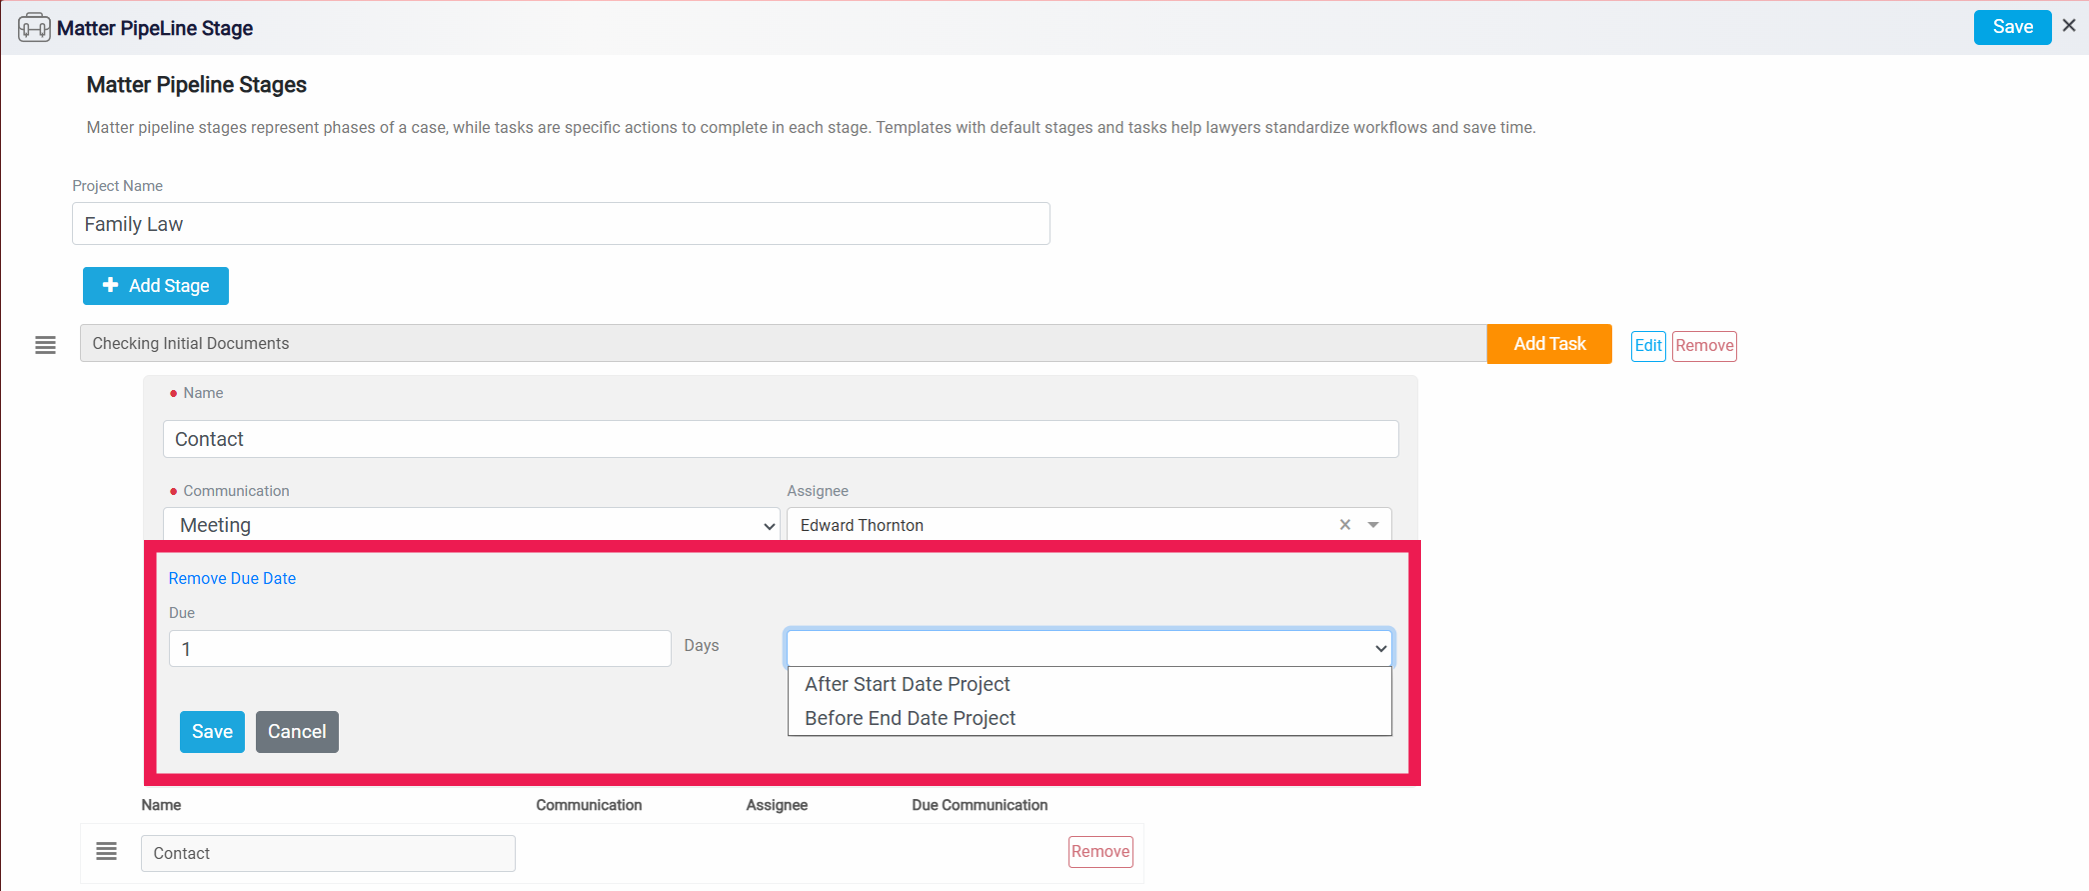
Tasks are the specific actions that need to be completed within a stage. While stages represent the main phases of the matter, tasks represent the actual work that must be done during those phases. To add a task, click Add Task beside the stage where the task should belong. The task form allows you to enter the task Name, choose an Communication type, assign the task to a user, and set a due date. The Communication field identifies the type of task, such as a to-do item, phone call, meeting, email, or other activity. The Assignee field shows which user is responsible for completing the task. After entering the task details, click Save to add the task to the stage.
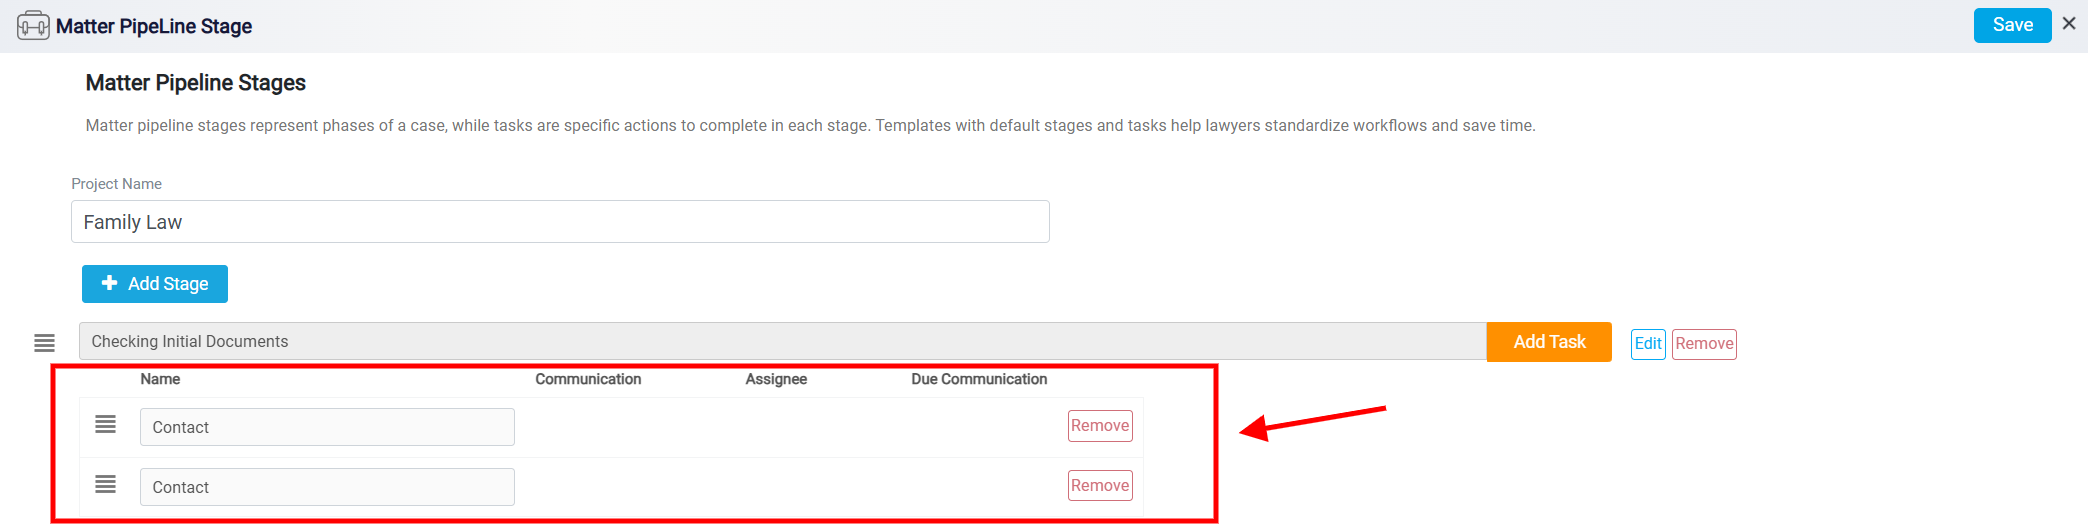
Once a task has been added, you can remove it at any time by clicking Remove.
Task Due Date
The due date section controls when a task should be completed. To use this section, click Add Due Date.
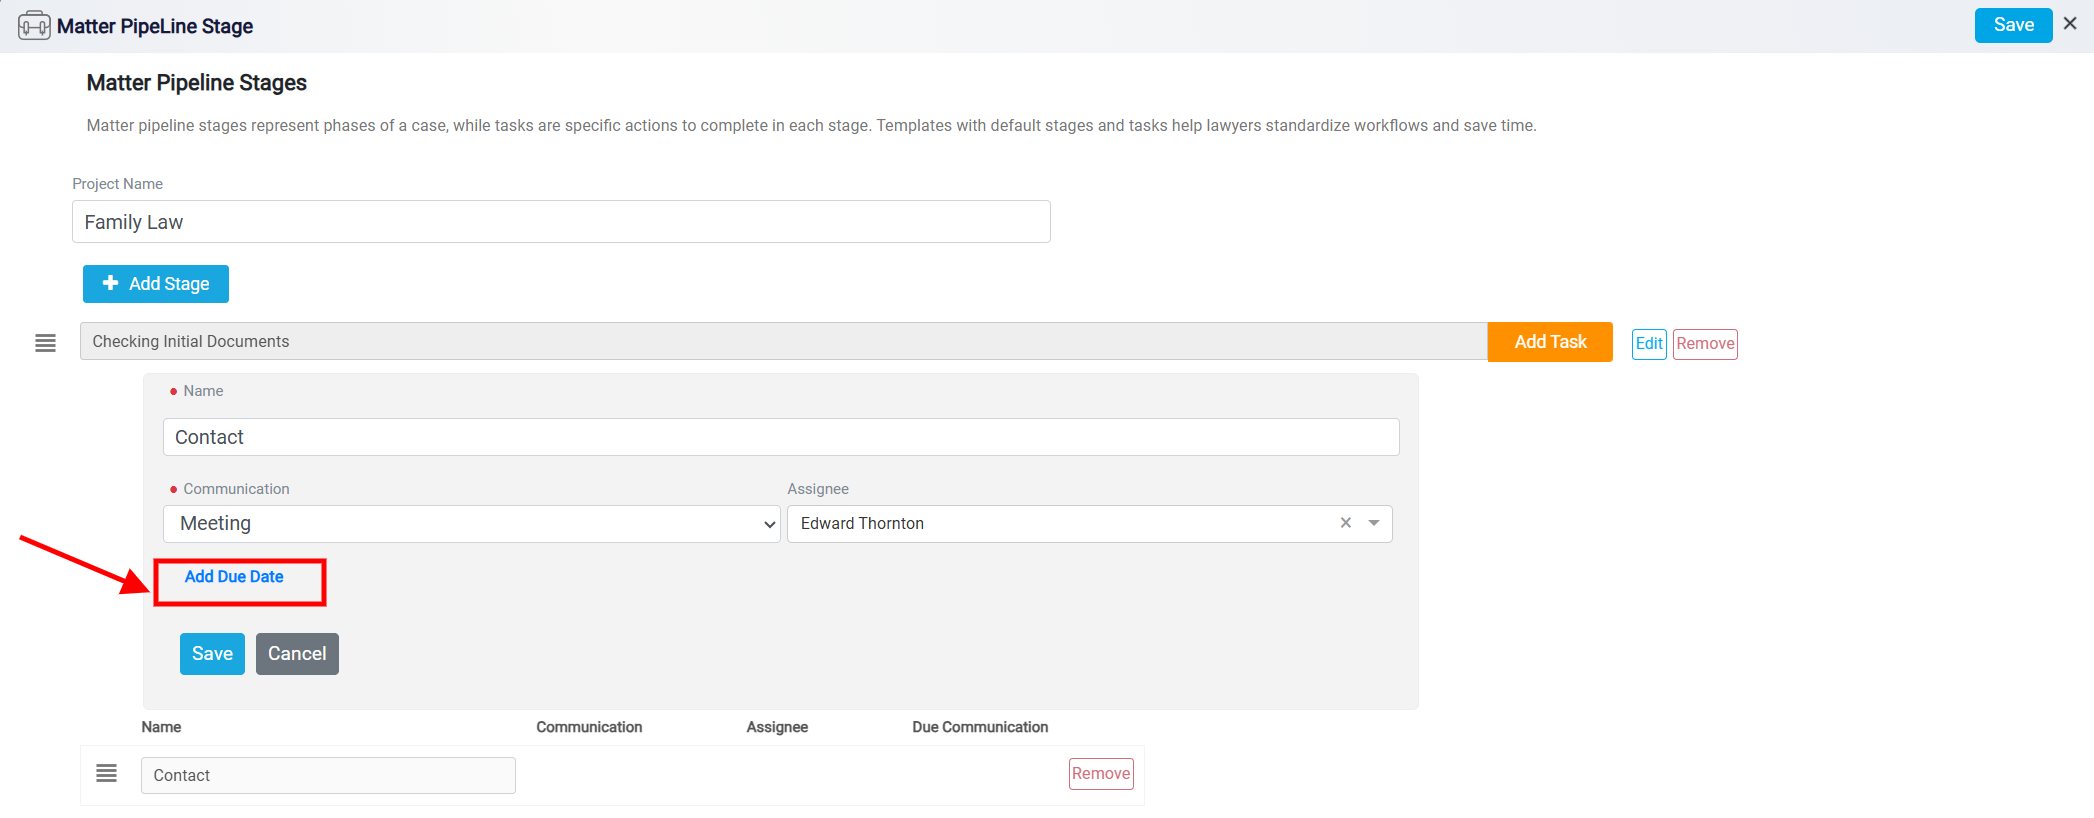
Once activated, the due date fields become available, and the button changes to Remove Due Date. You can use Remove Due Date if you no longer want the task to have a due date.
To set the due date, enter a number in the Due field. This number represents the number of days before or after a project date. Then use the dropdown beside the Due field to choose how the system should calculate the due date.
If you select After Start Date Project, the task will be due a certain number of days after the matter or project starts. For example, if you enter 1, the task will be due one day after the project start date. If you select Before End Date Project, the task will be due a certain number of days before the matter or project ends. For example, if you enter 1, the task will be due one day before the project end date. When the due date settings are correct, click Save to apply them to the task.
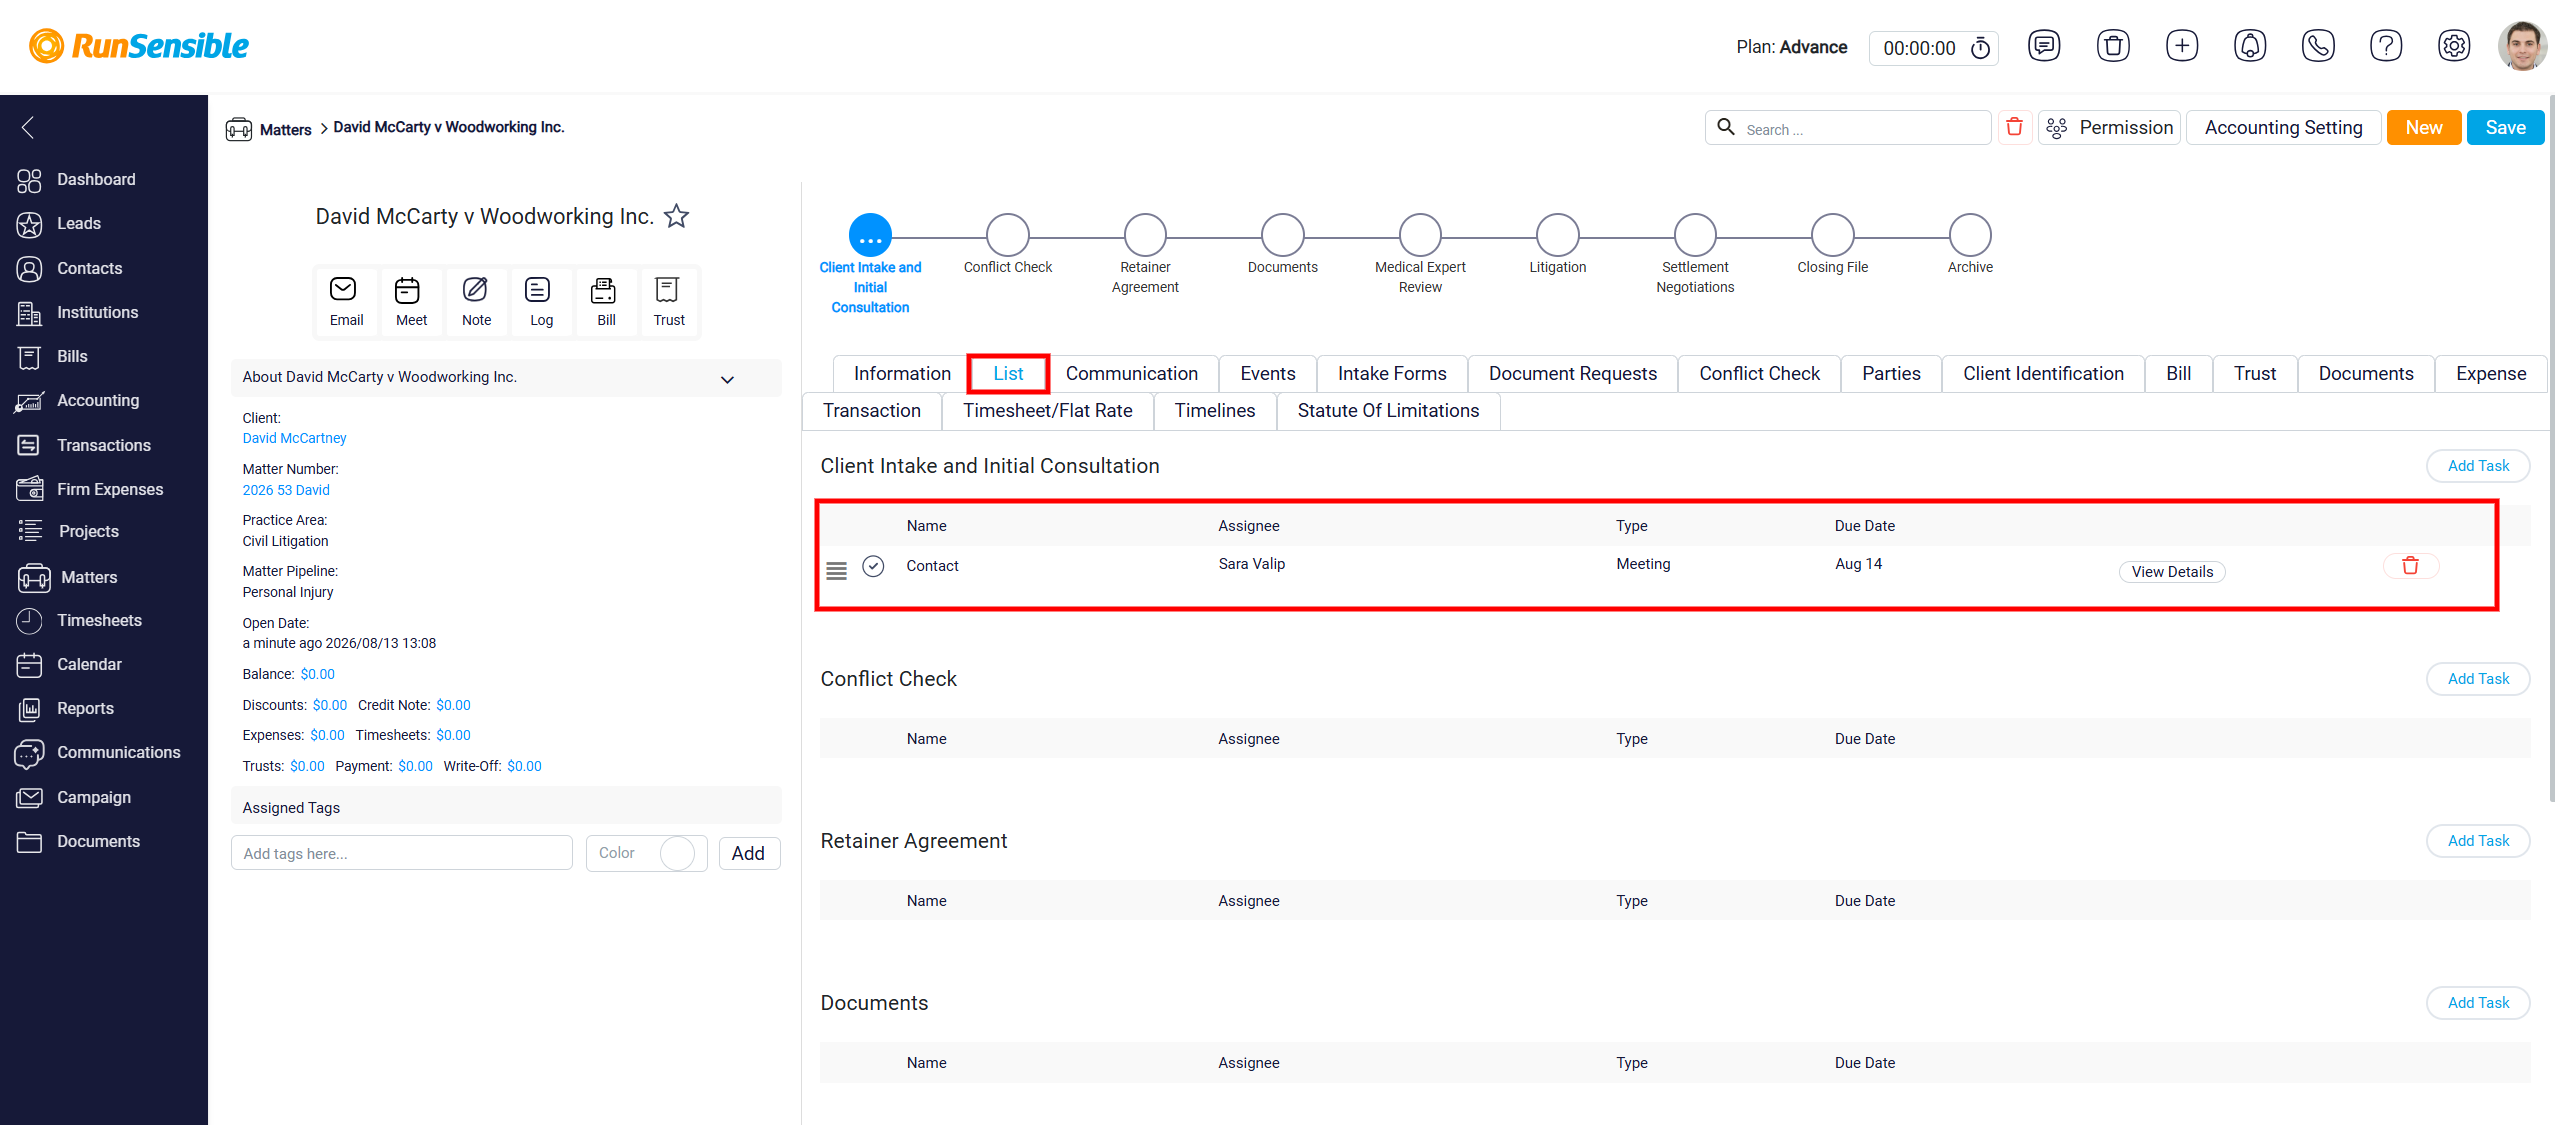
To view a task added to a Matter Pipeline, open the related matter and go to the List tab. The task will appear under its corresponding pipeline stage.
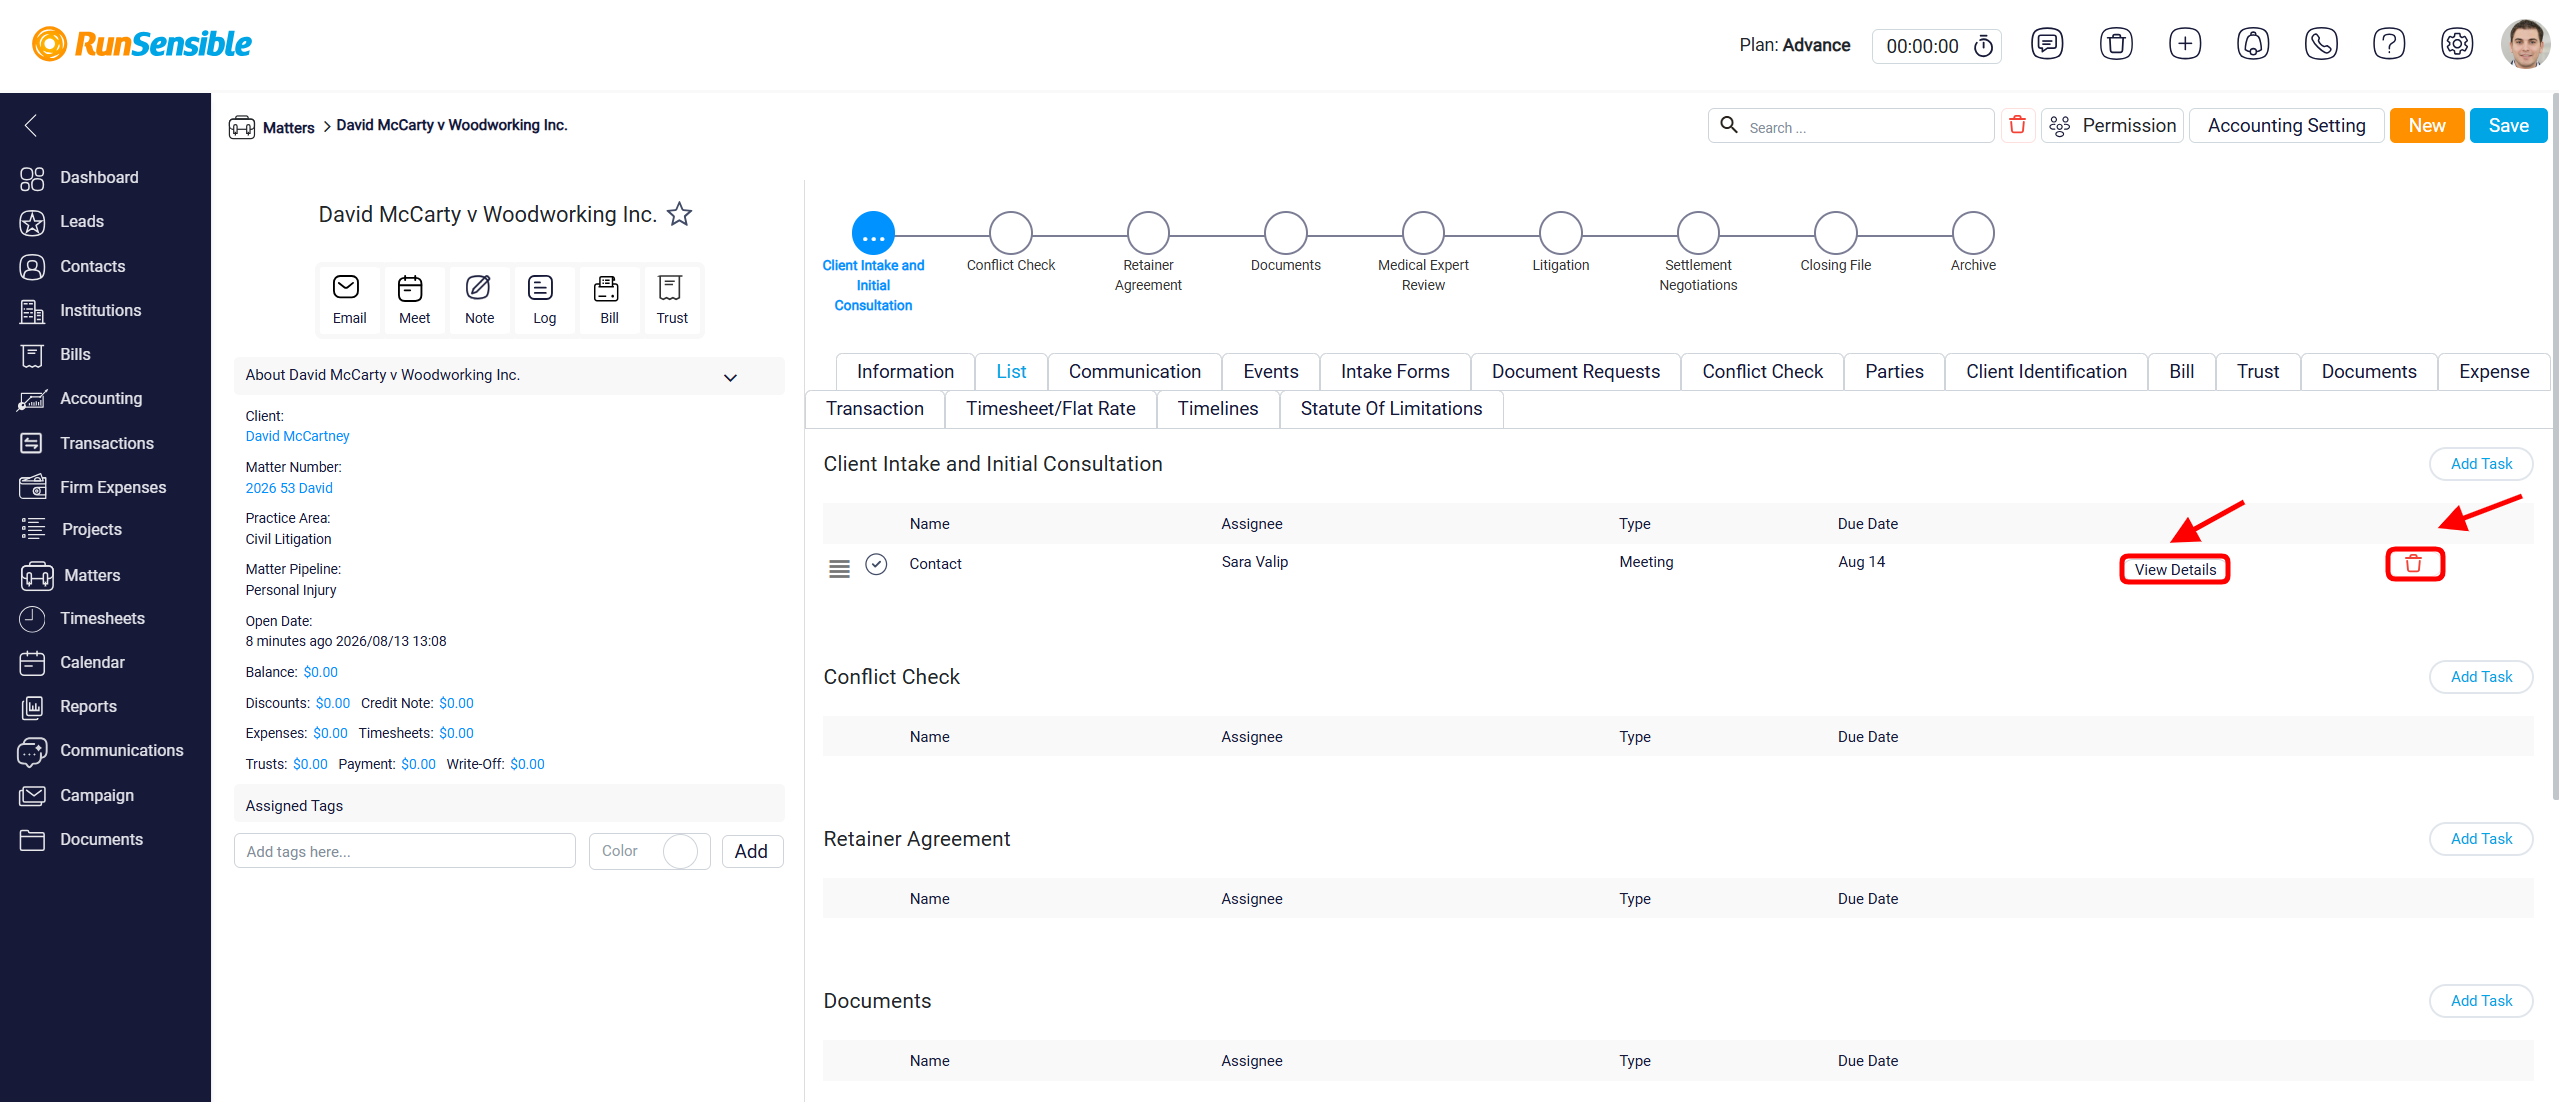
You can view the task details or remove the task if it is no longer needed.
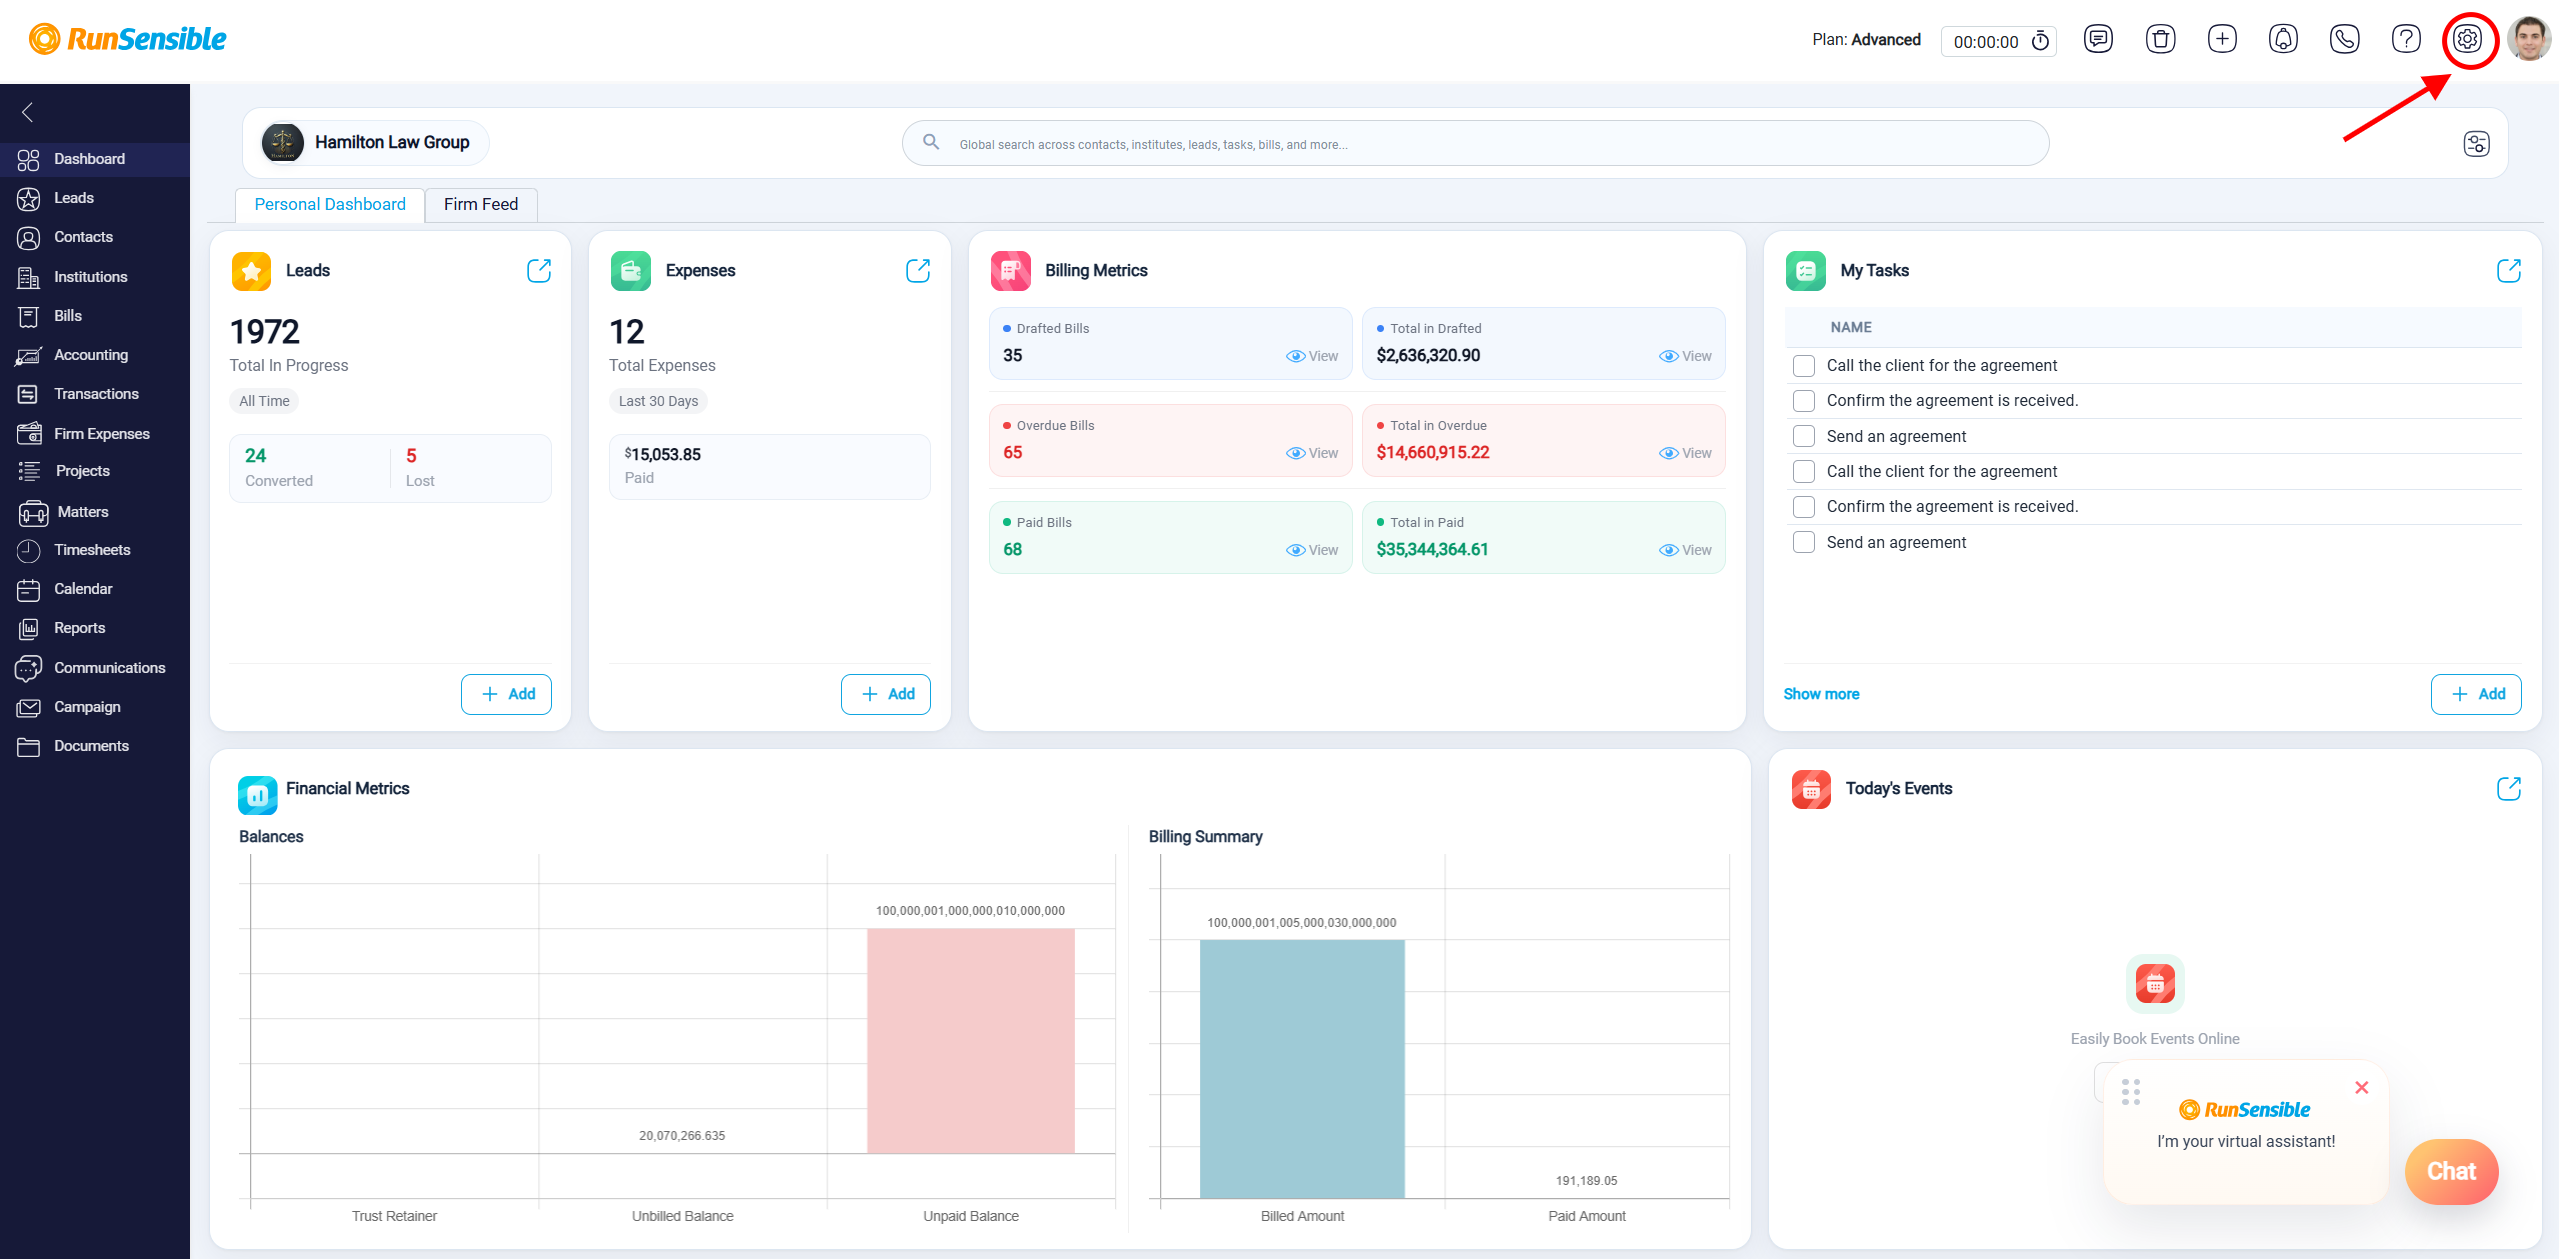
Alternatively you can go to Settings and make the modifications you need.
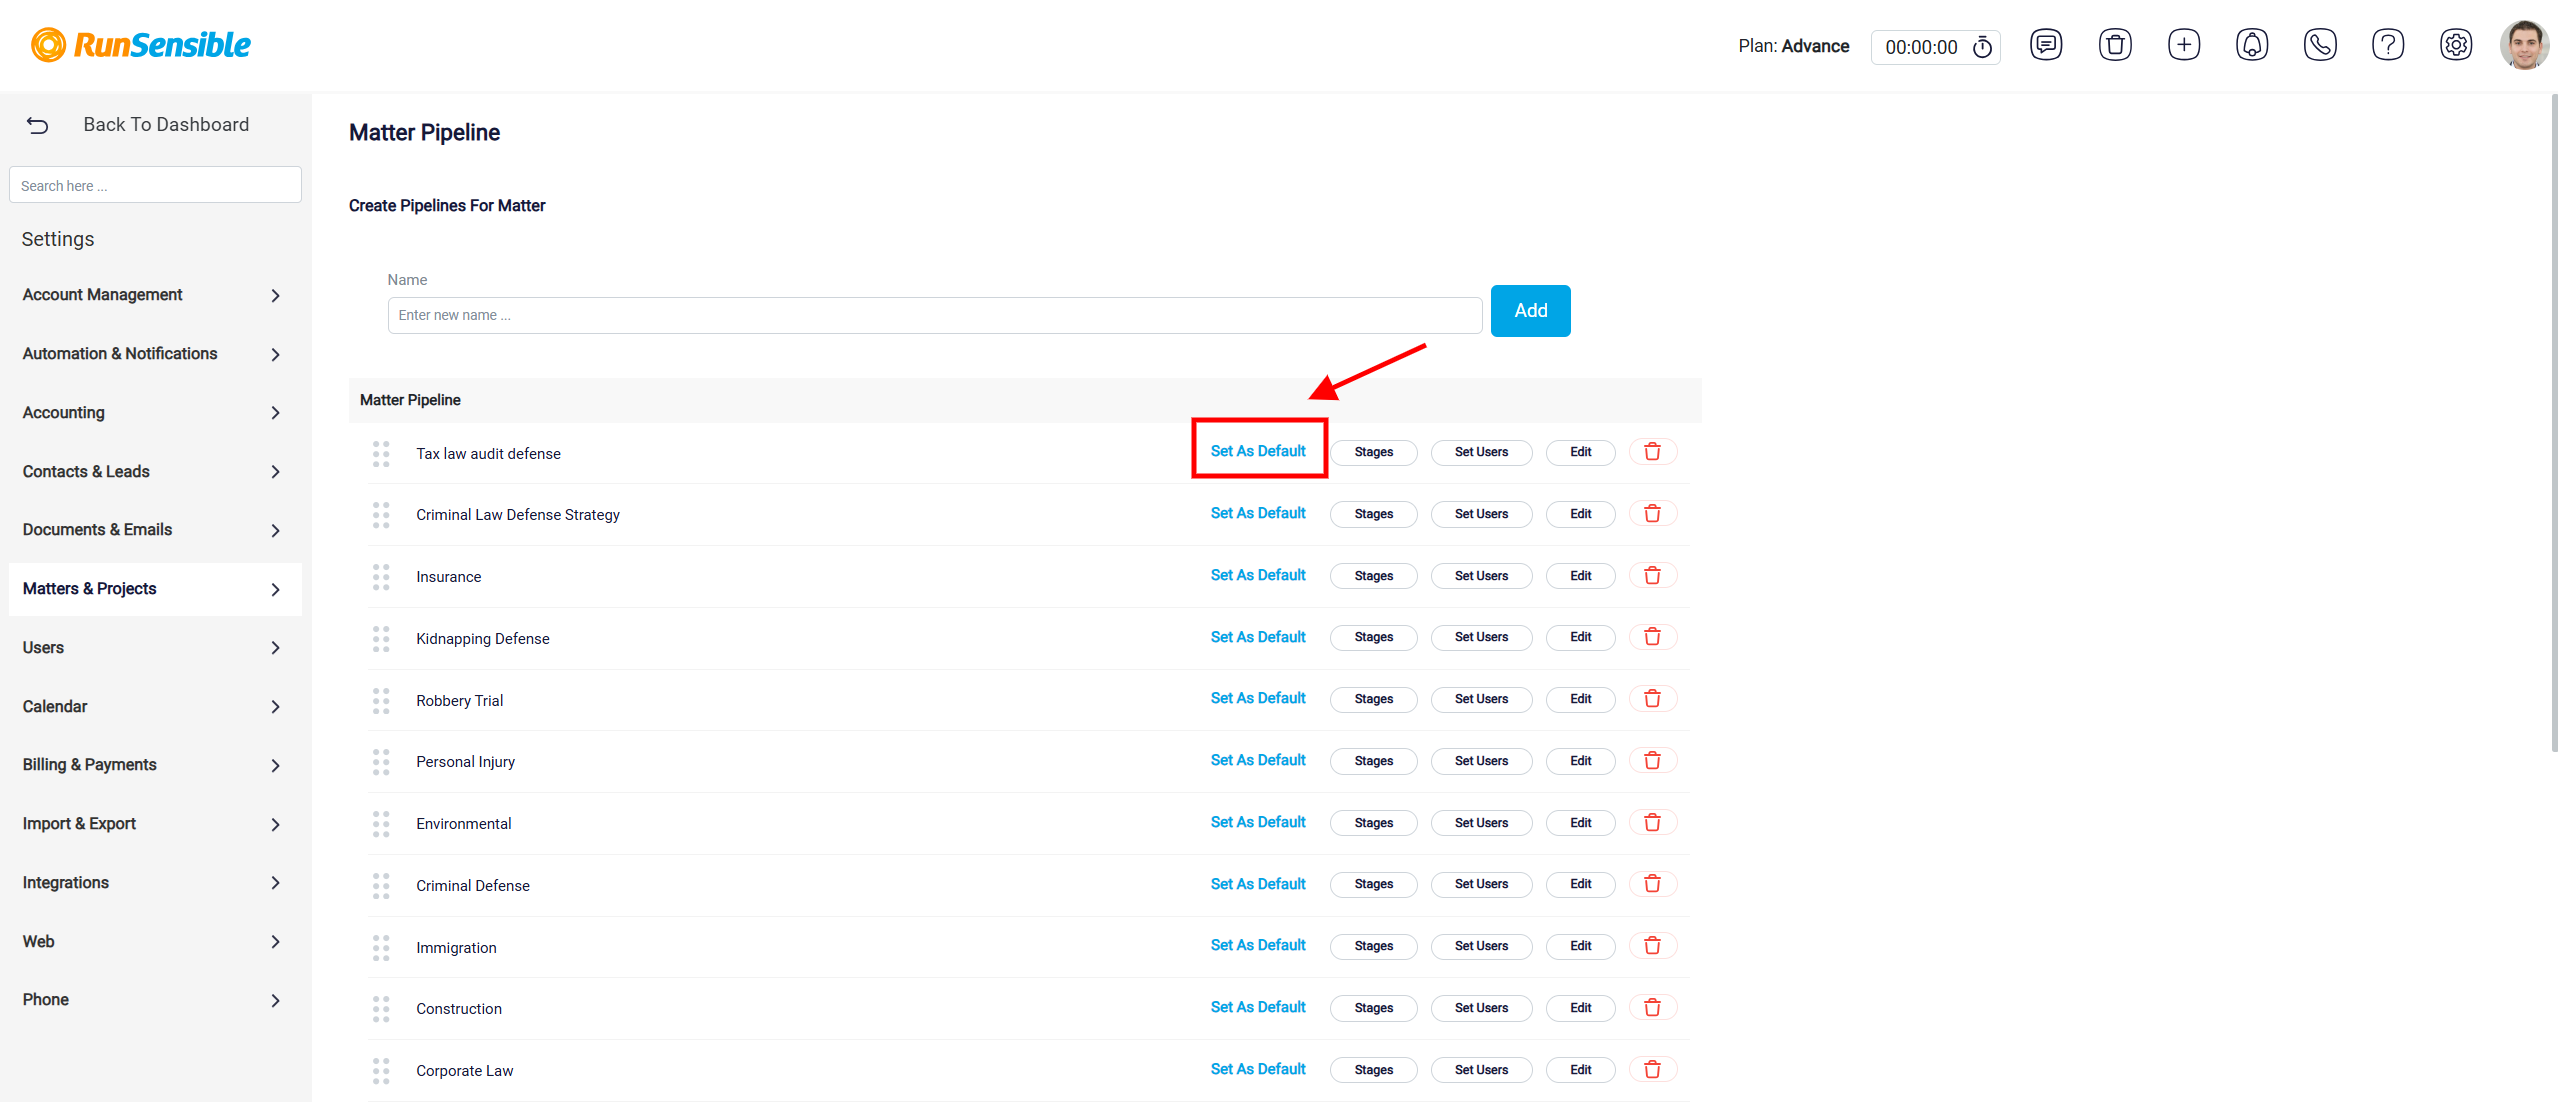
Click Matters & Projects and select Matter Pipeline.
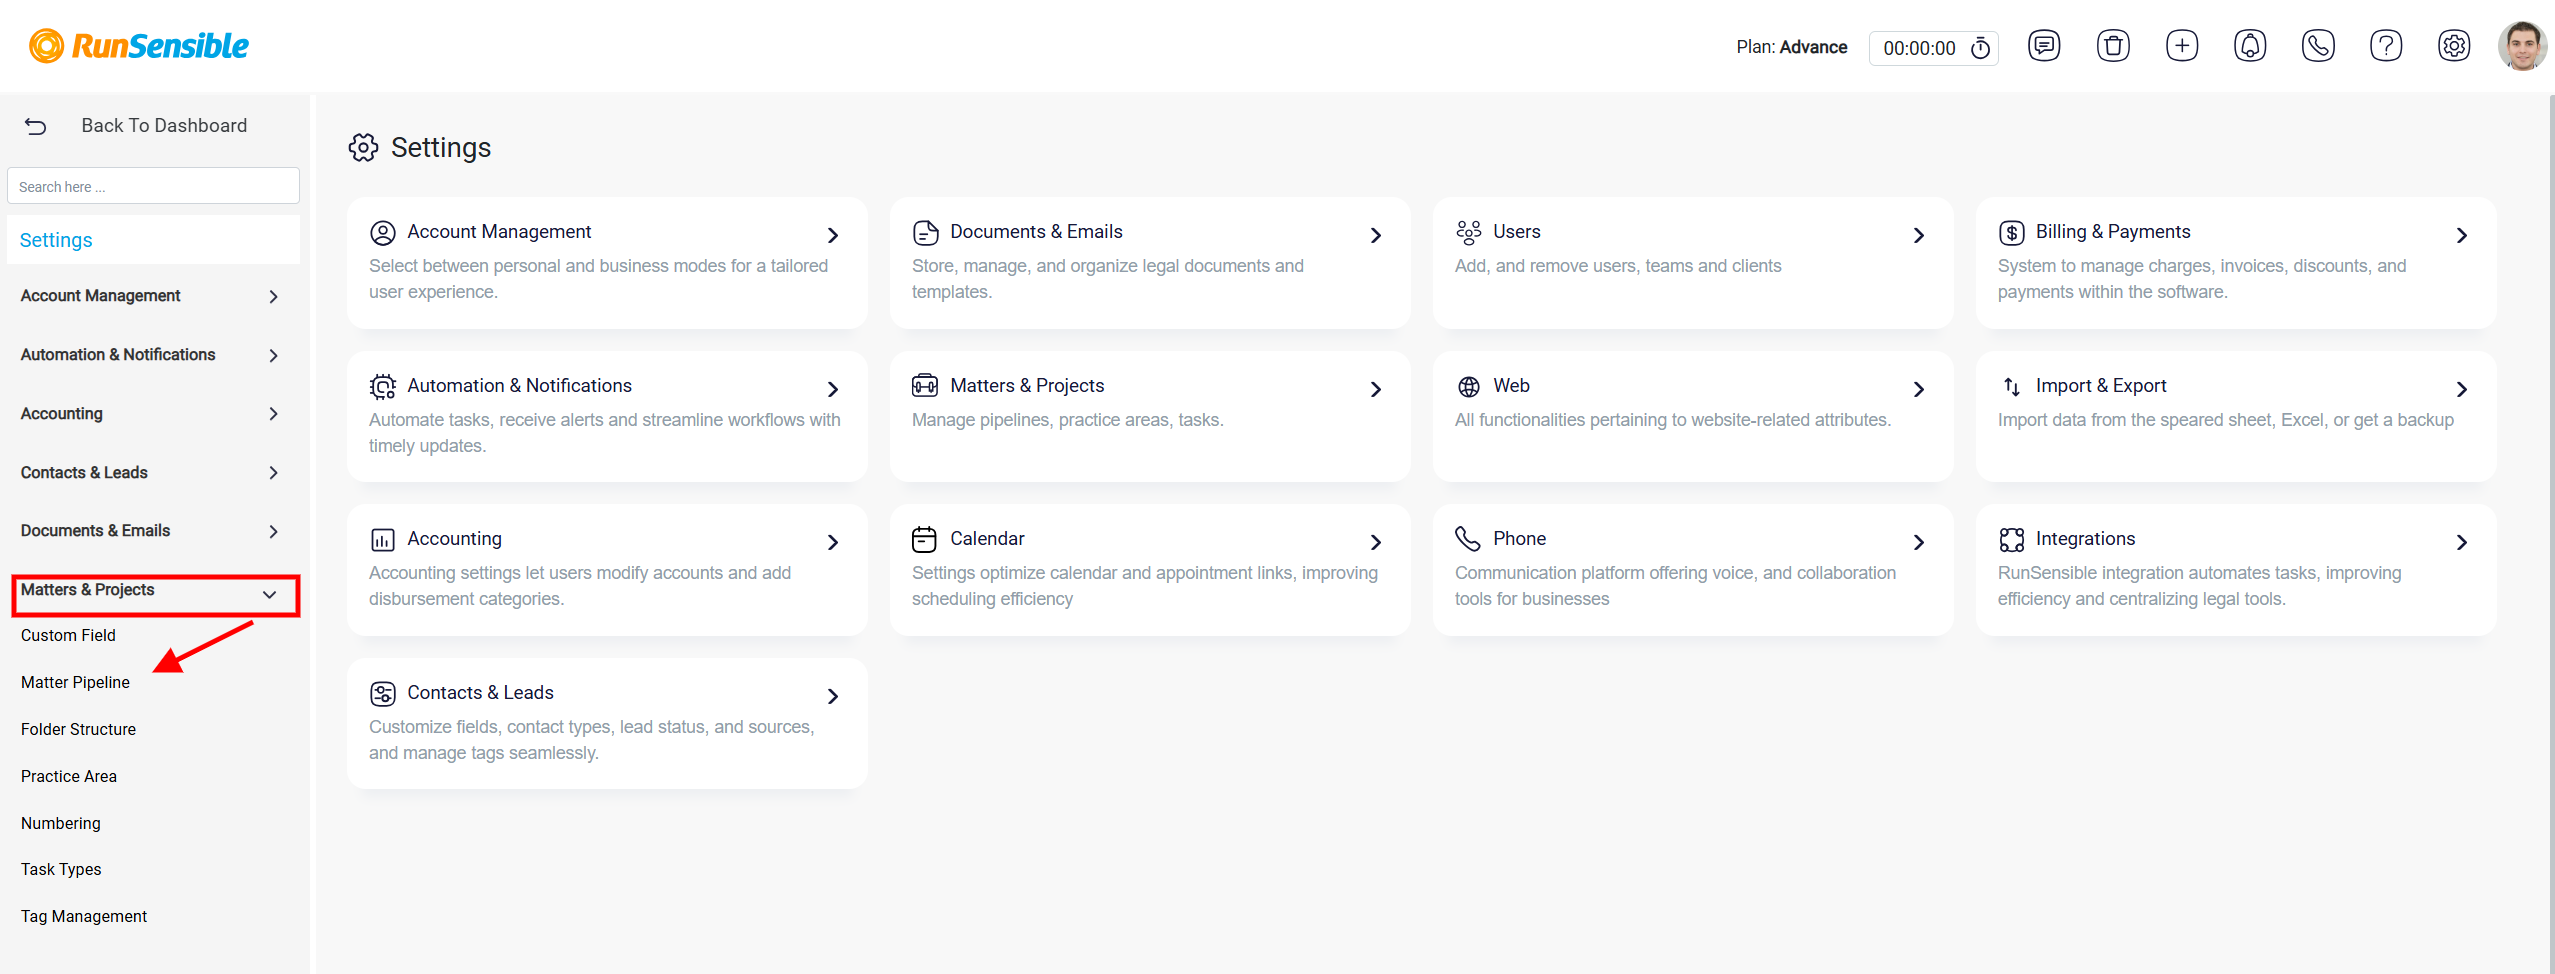
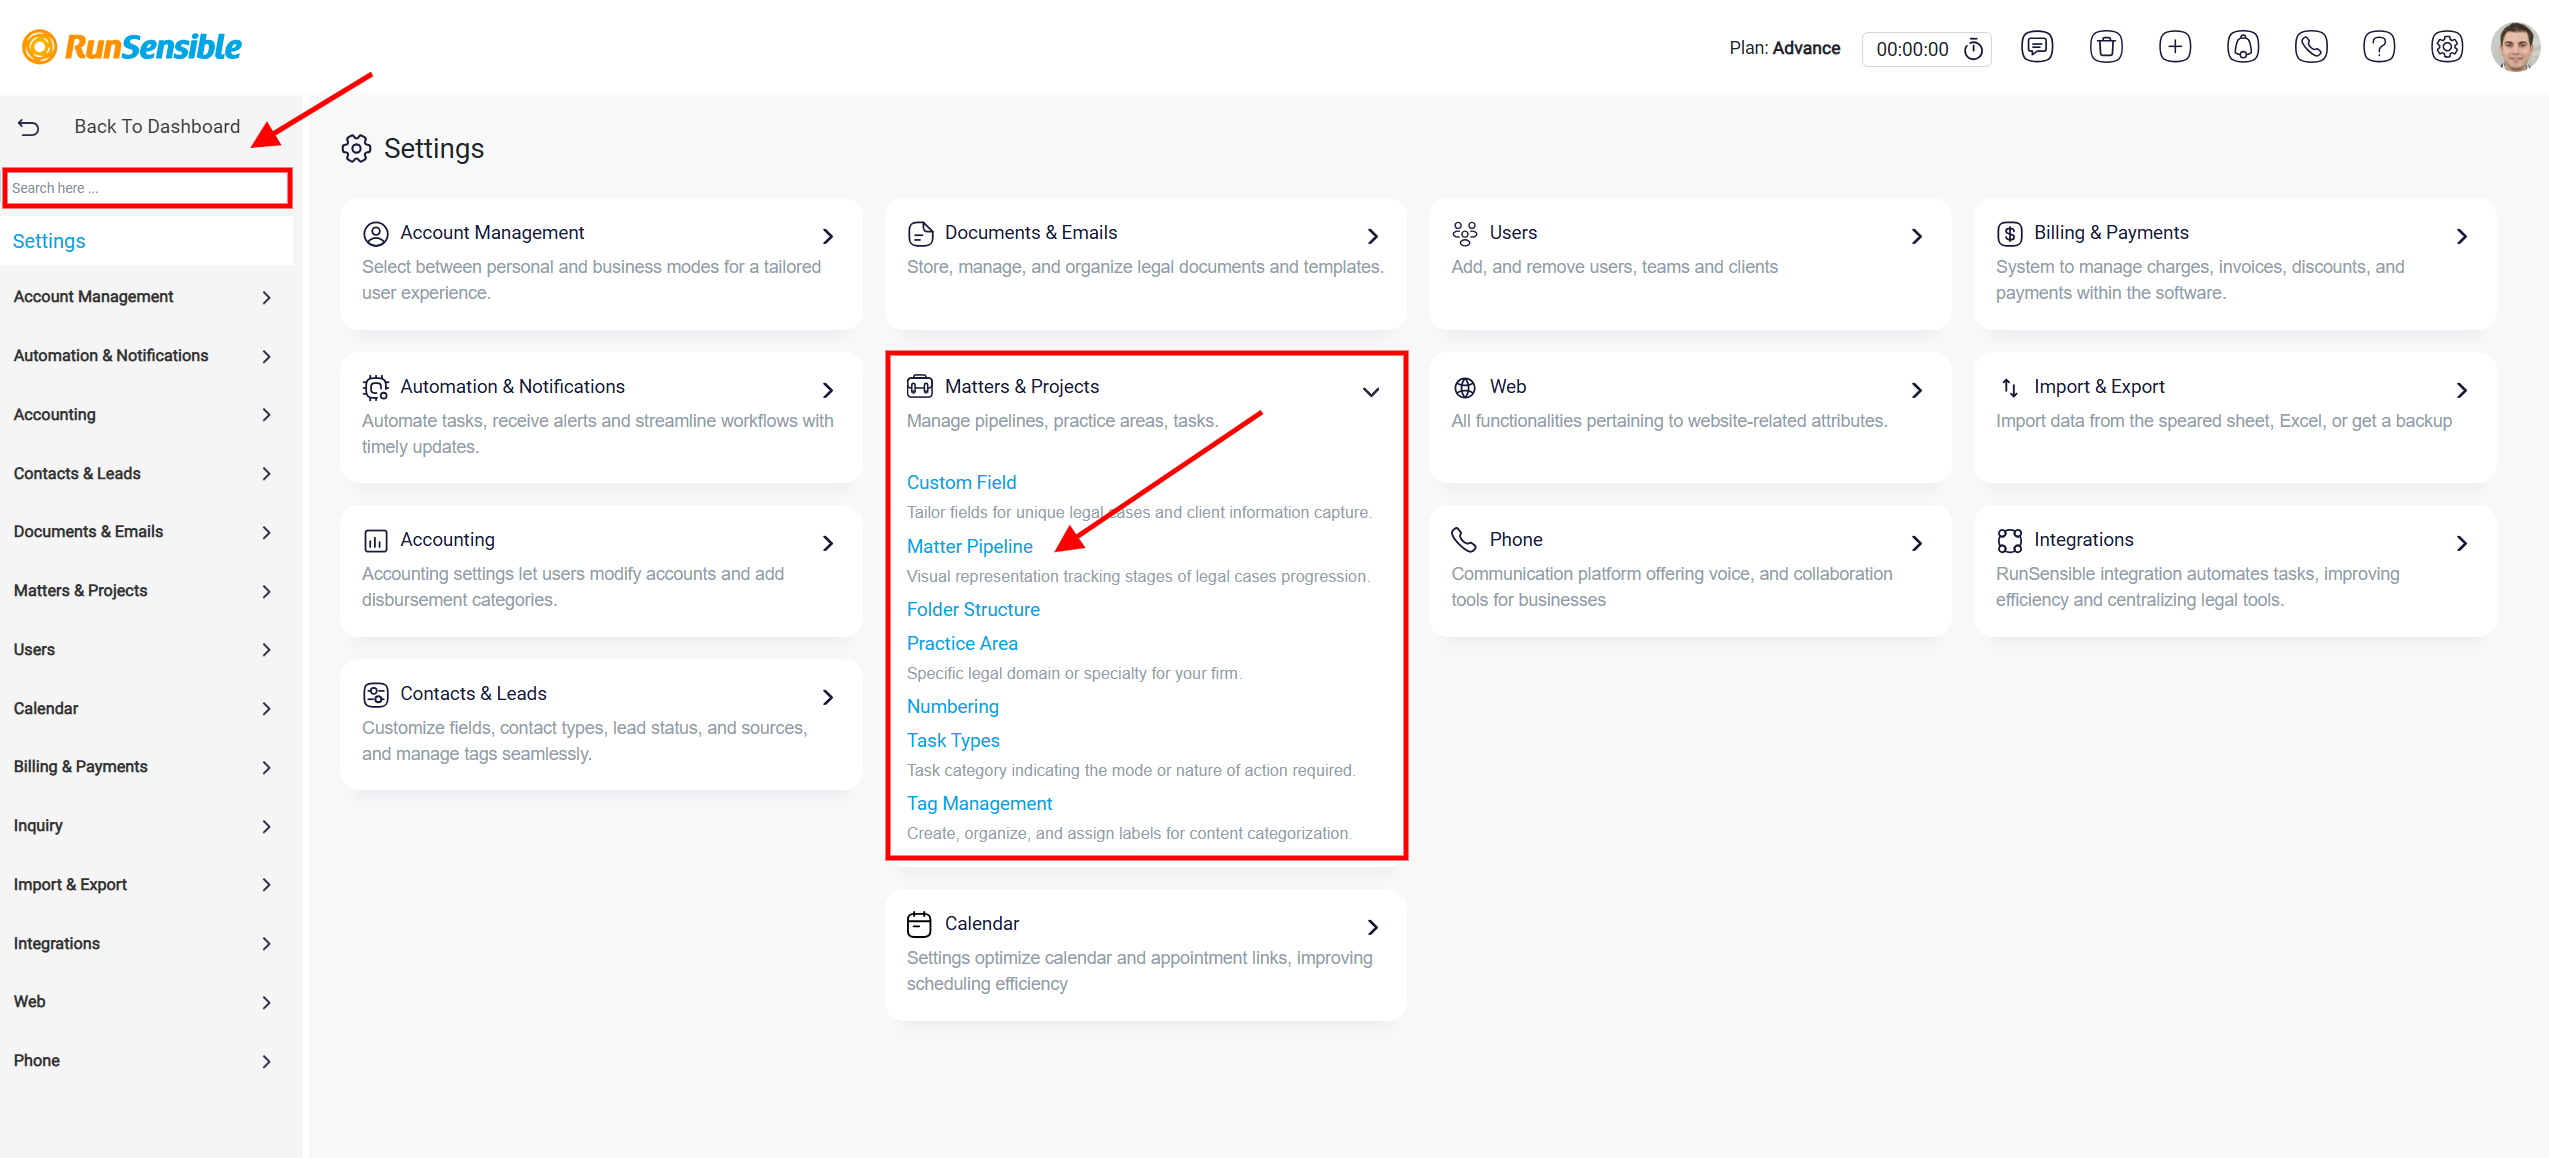
Also locate Matter Pipeline using Search box or click Matters & Projects in the center of the page and select Matter Pipeline.
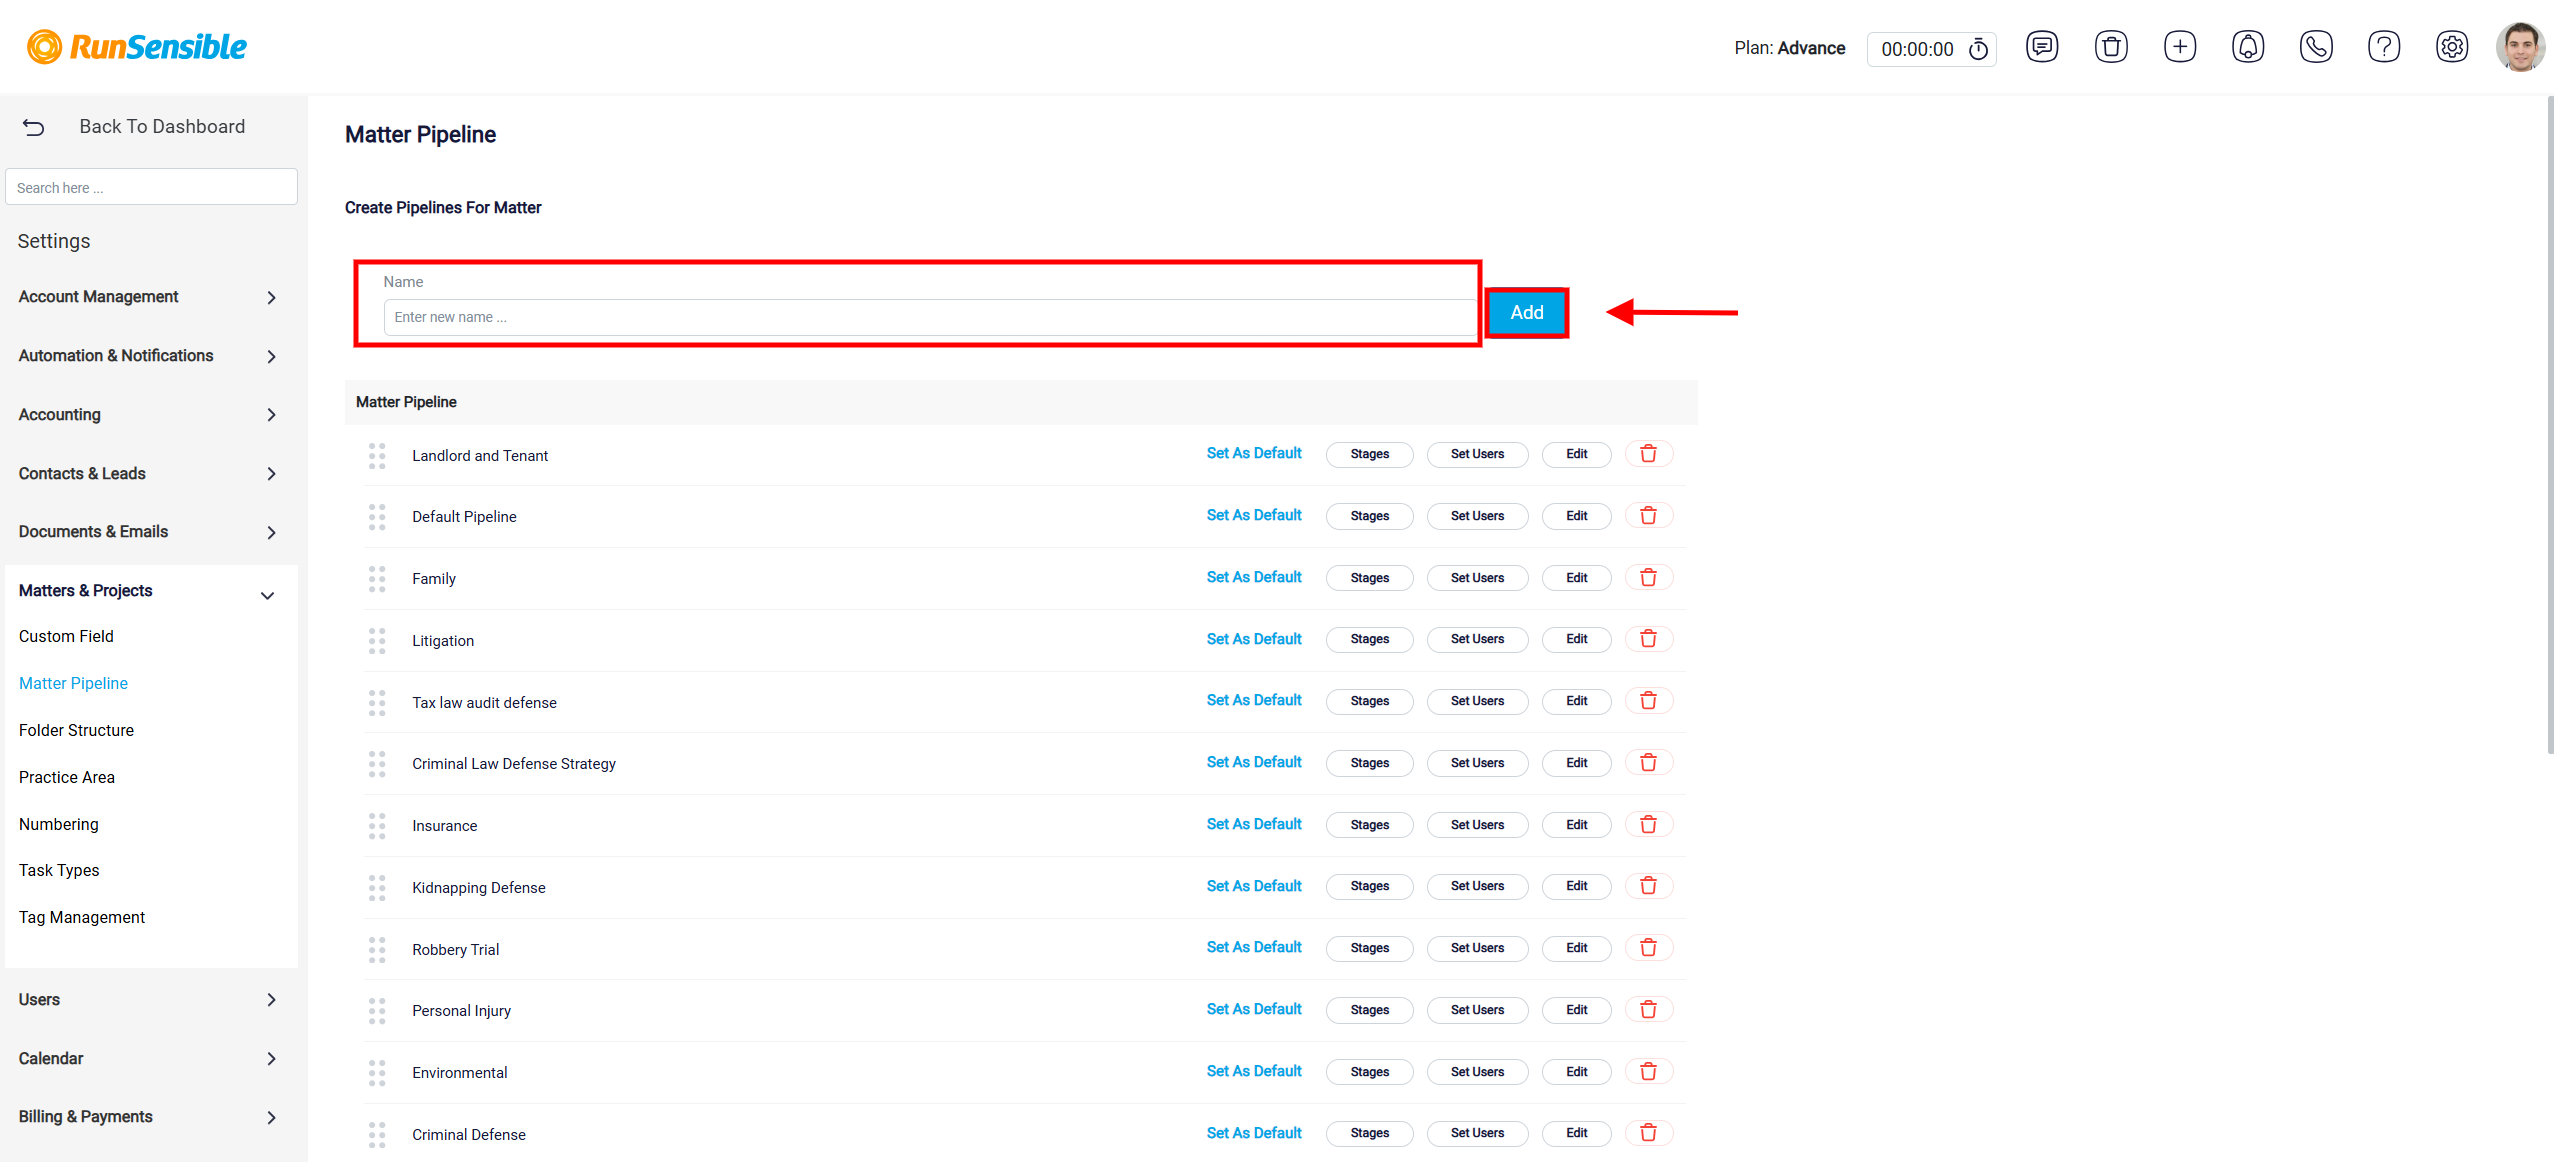
To start, give your pipeline a unique name by typing it into the “Enter New Name” box and clicking Add to save it. This structure helps keep your case management organized and easily trackable from start to finish.
As you may already know, you can assign a new pipeline by selecting the Matter Pipeline option when you are creating a new matter.
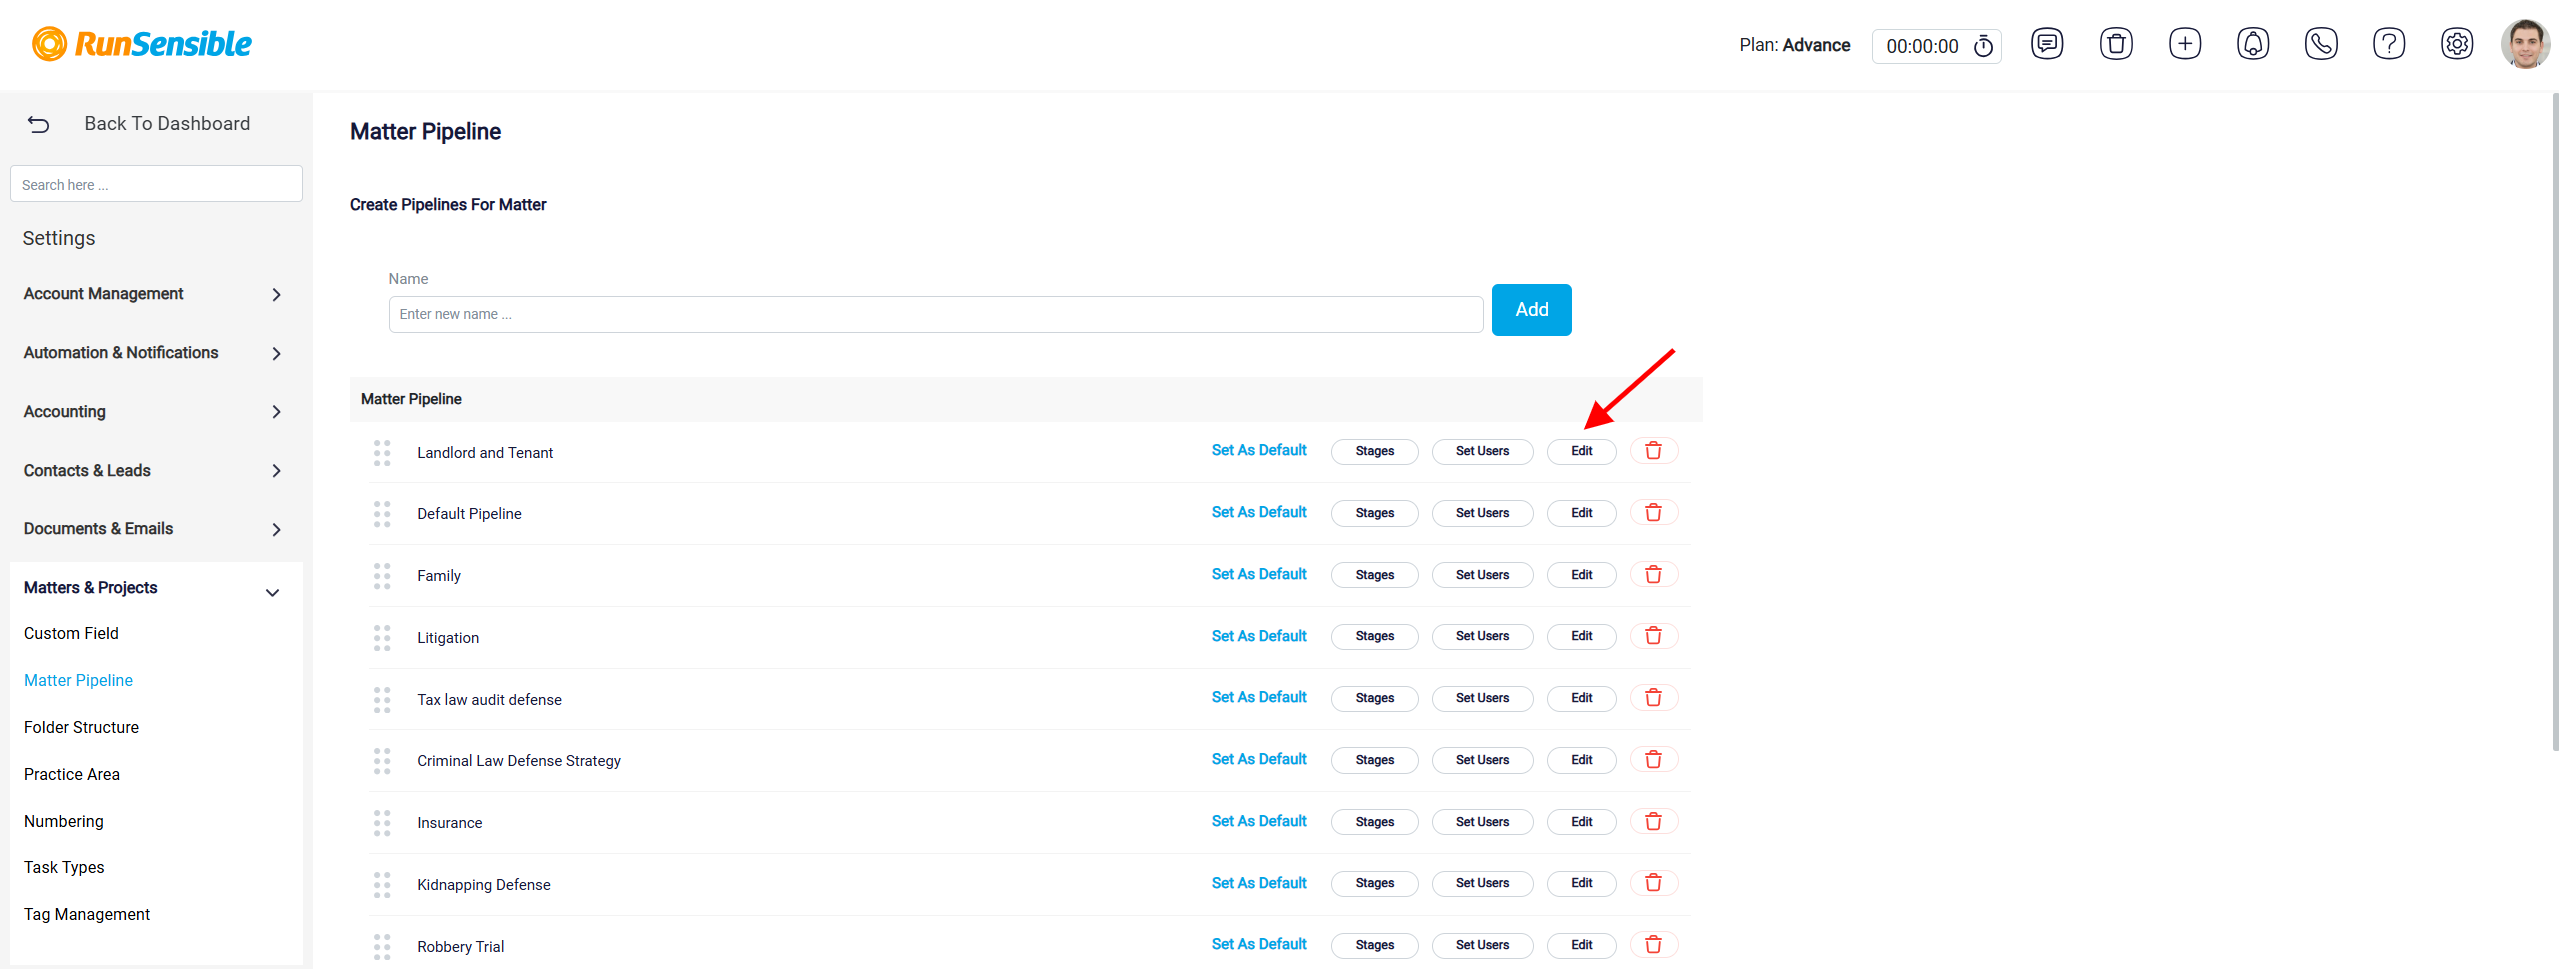
Once you’ve set up a pipeline for your matter, it will appear conveniently at the top of the screen. To rename the Matter Pipeline, simply click the Edit button next to the corresponding entry.
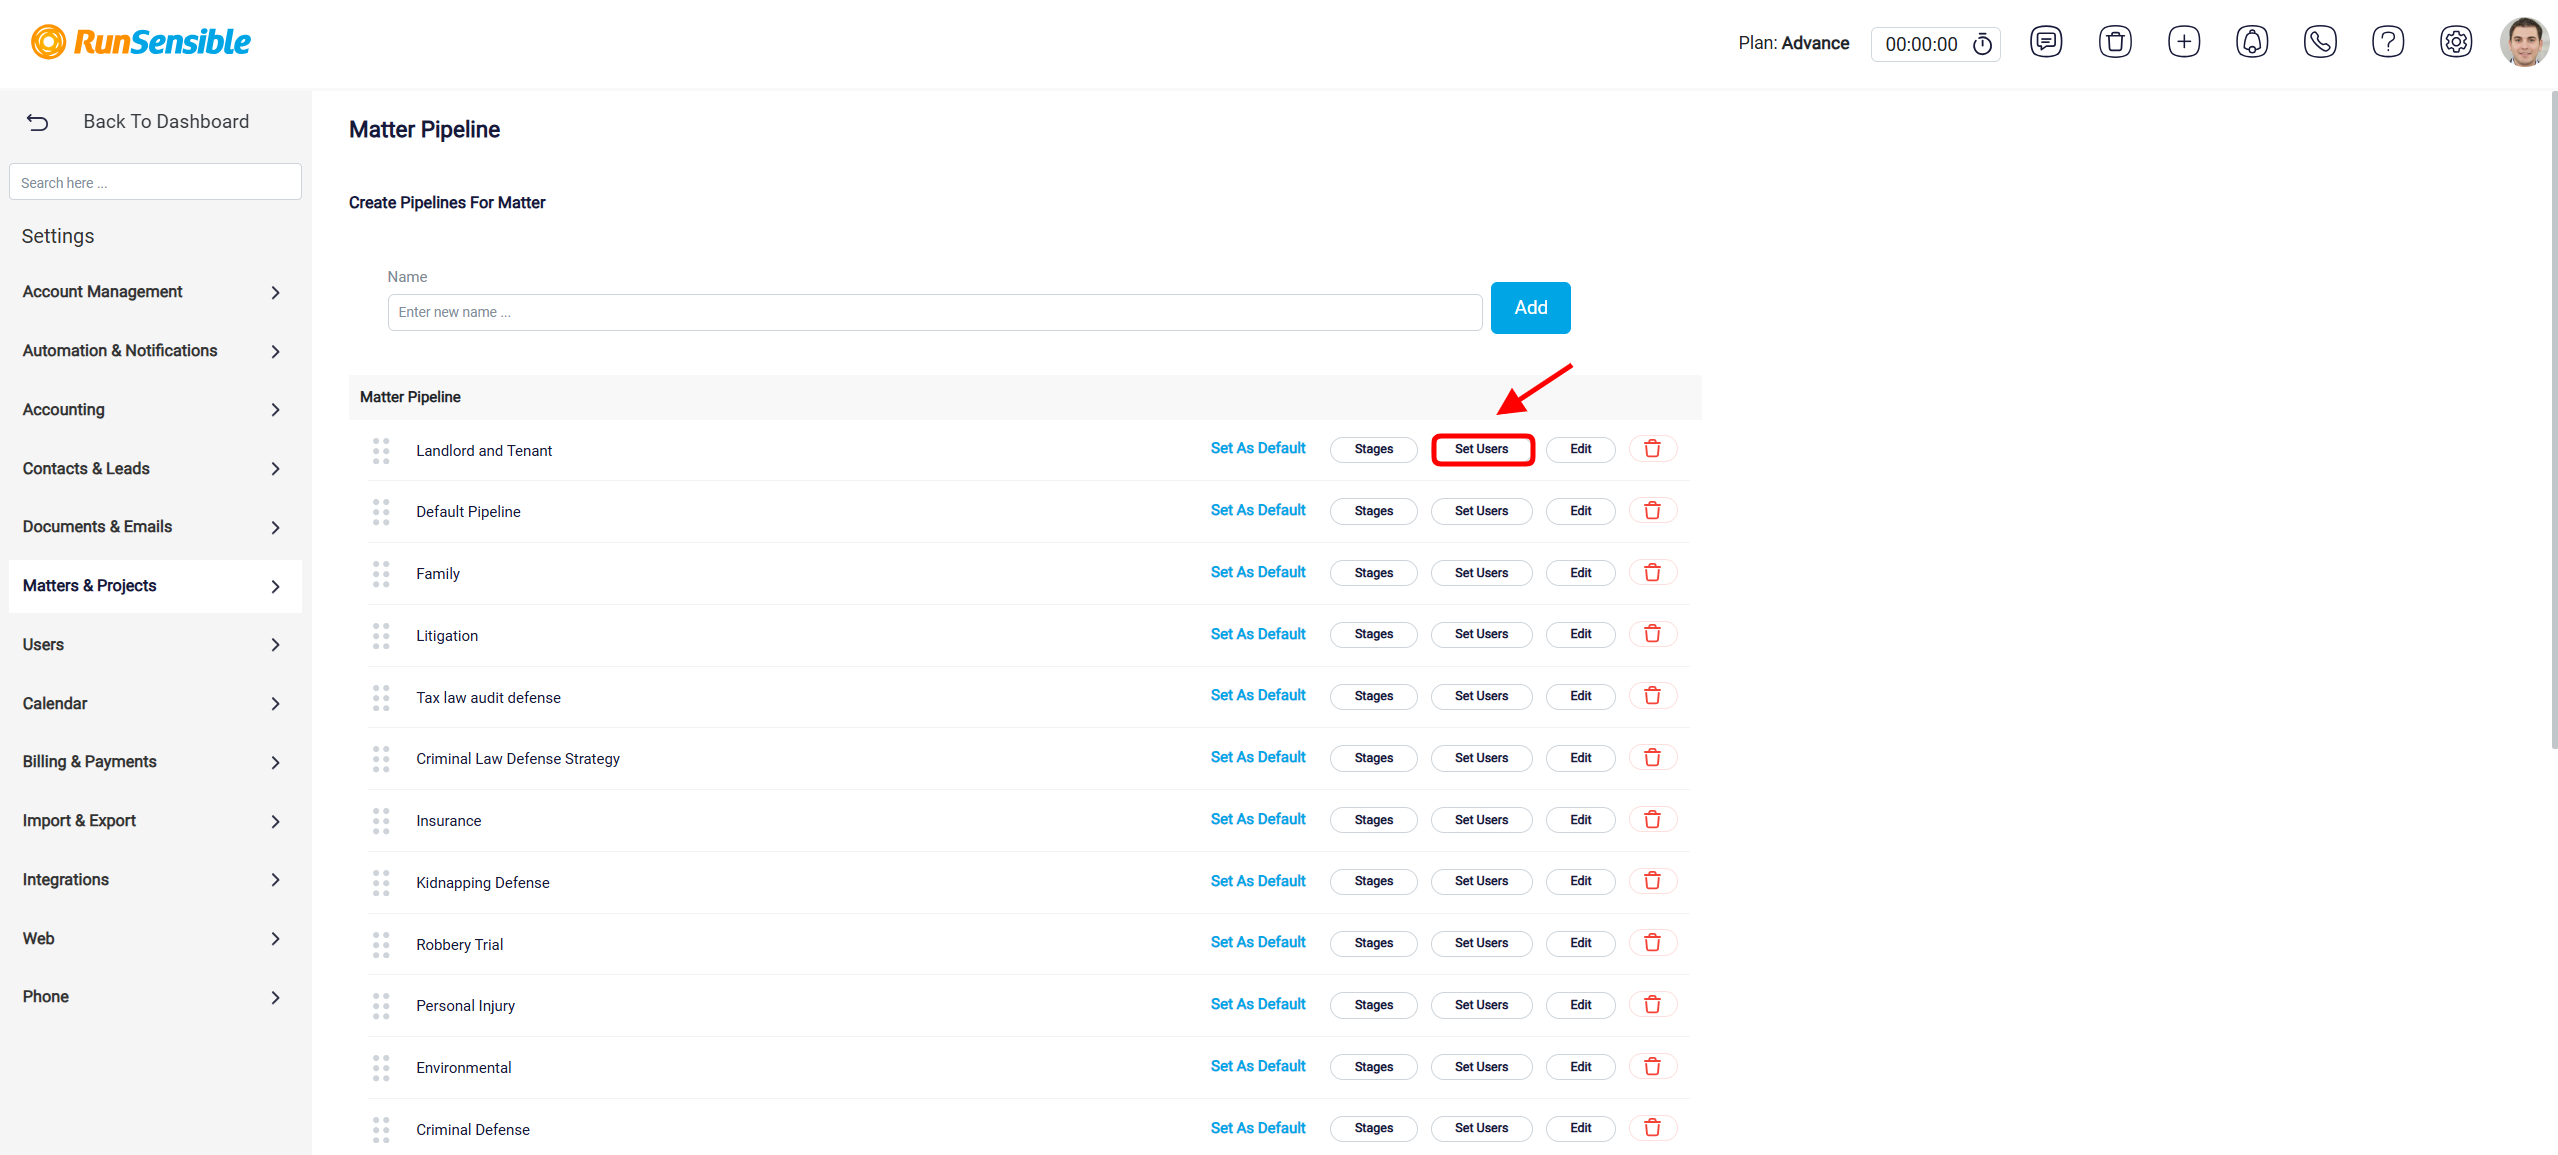
To update the pipeline status, just click on the stage you’d like to modify. This feature makes it easy to track and adjust the progress of your matter as it moves through each stage.
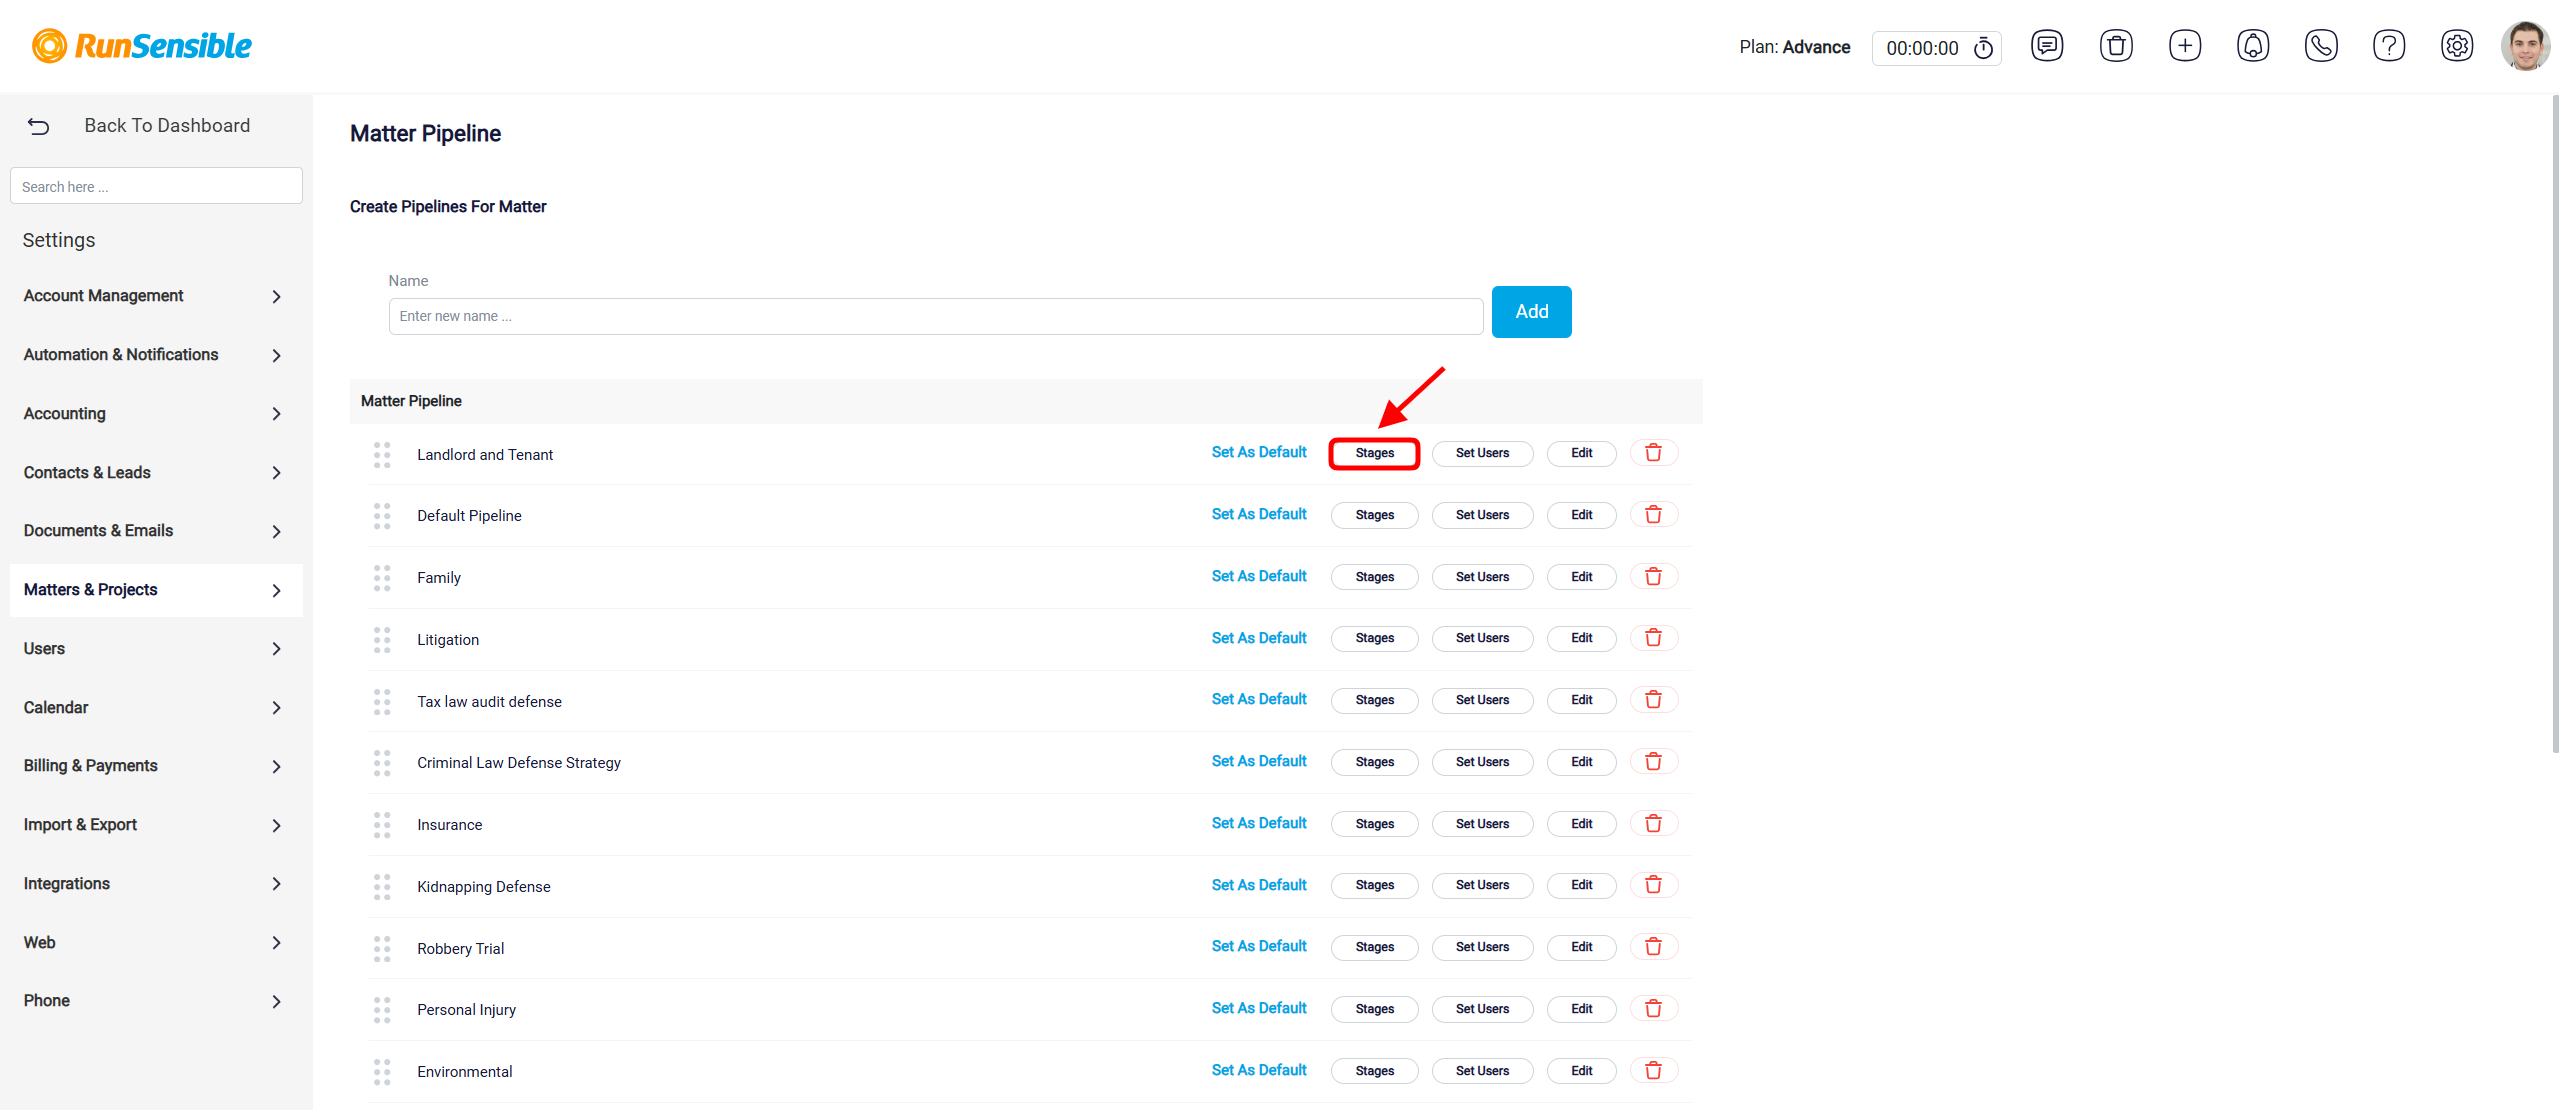
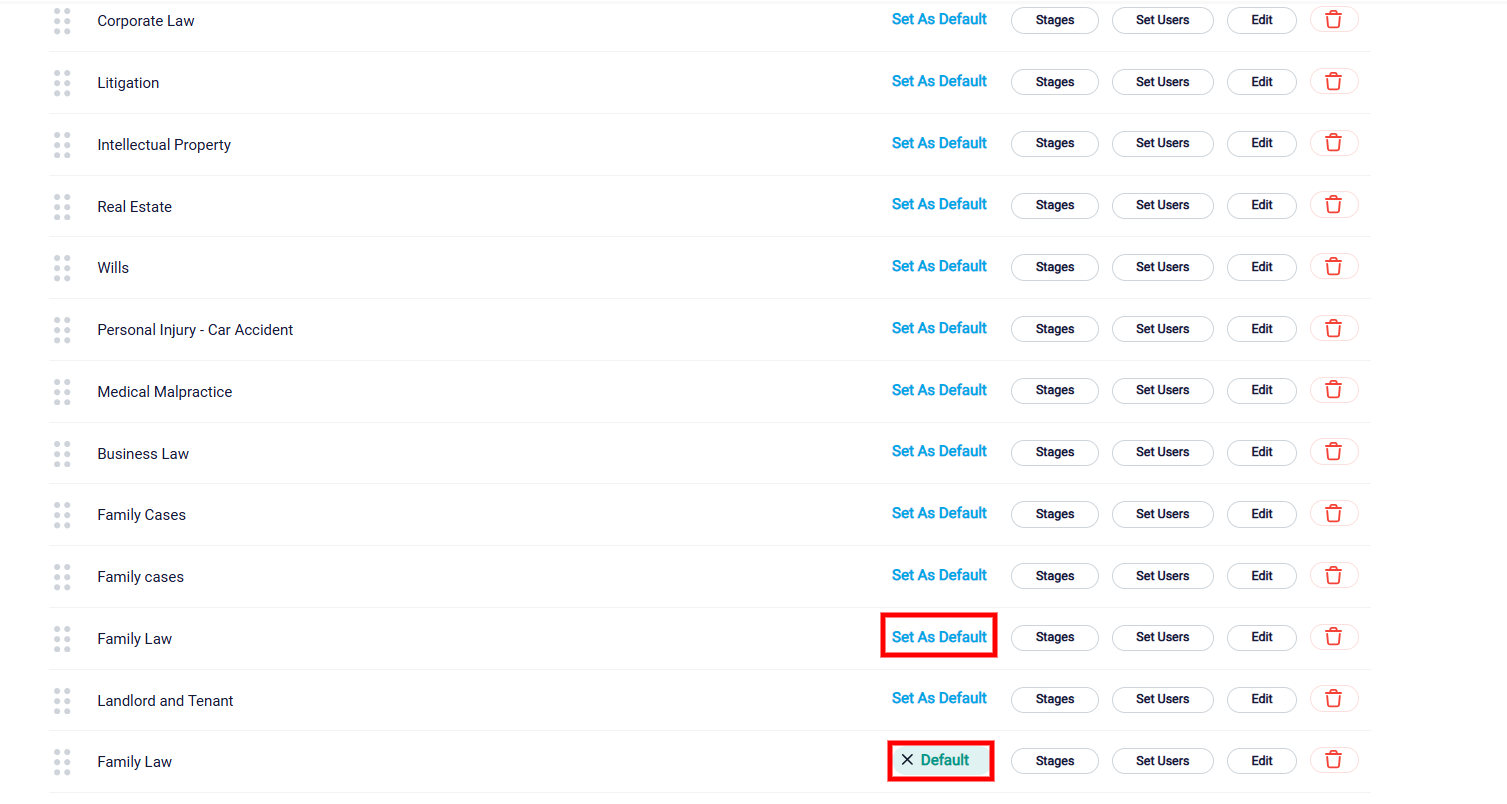
You can set any pipeline as the default by clicking Set As Default.