
Matters Custom Fields
The fields shown in the matter’s Information tab can be customized based on the firm’s needs. This allows the firm to collect additional information that may not be included in the default matter fields.
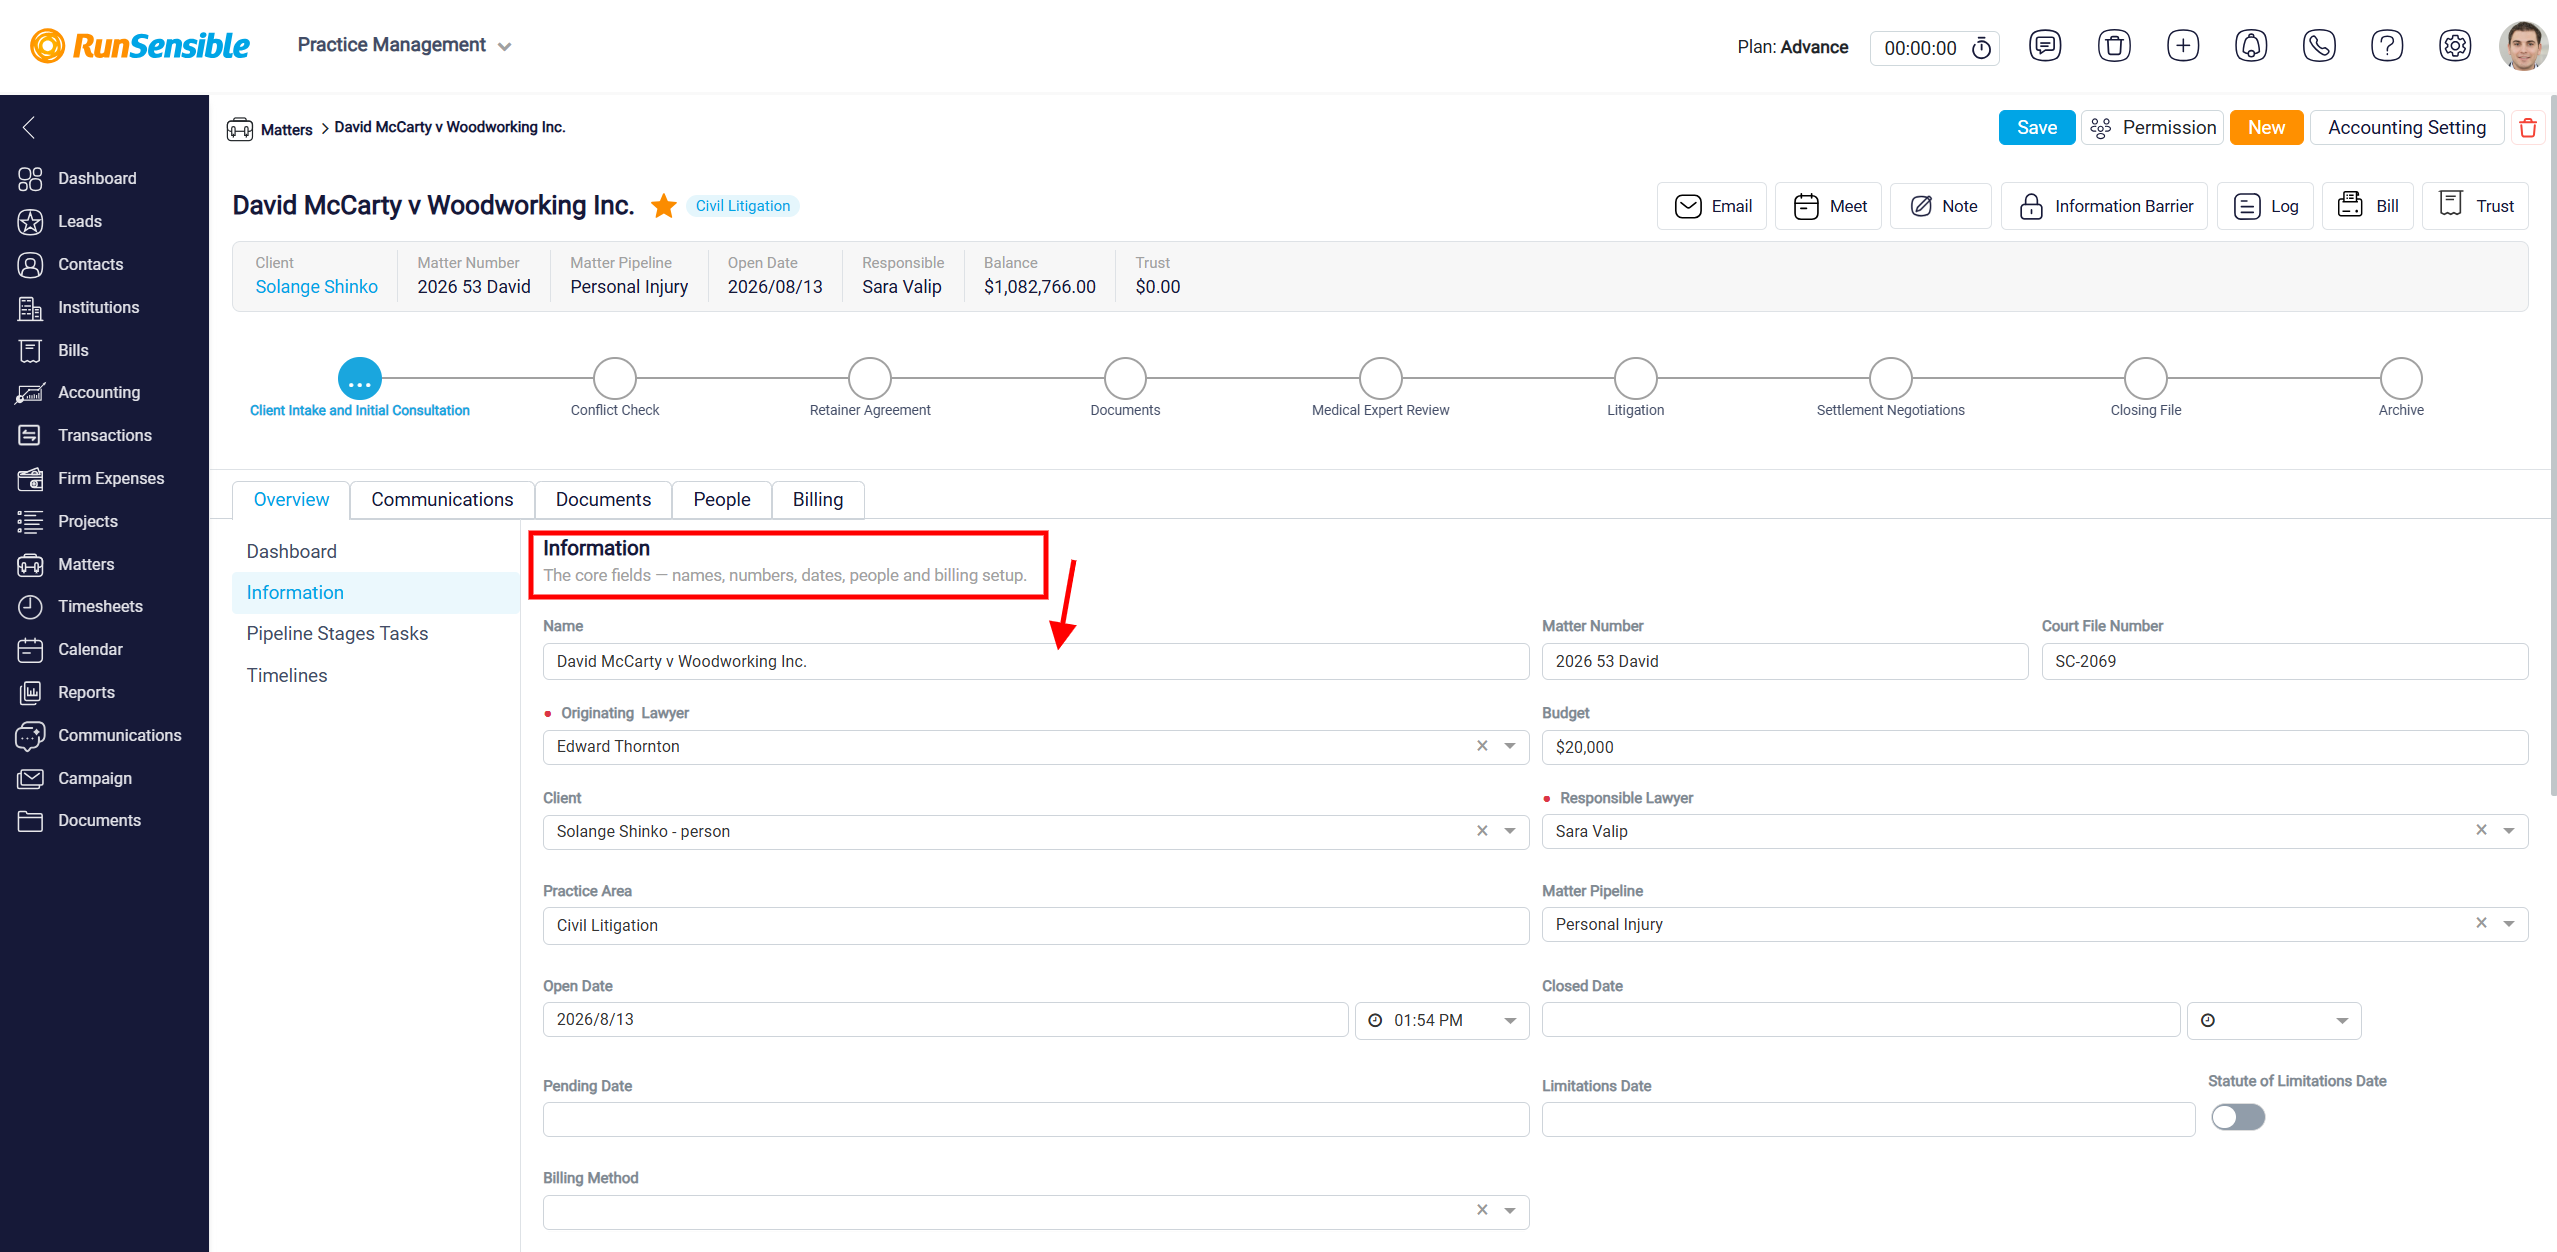
To modify your custom fields, go to the top-right corner of your screen and click on Settings.
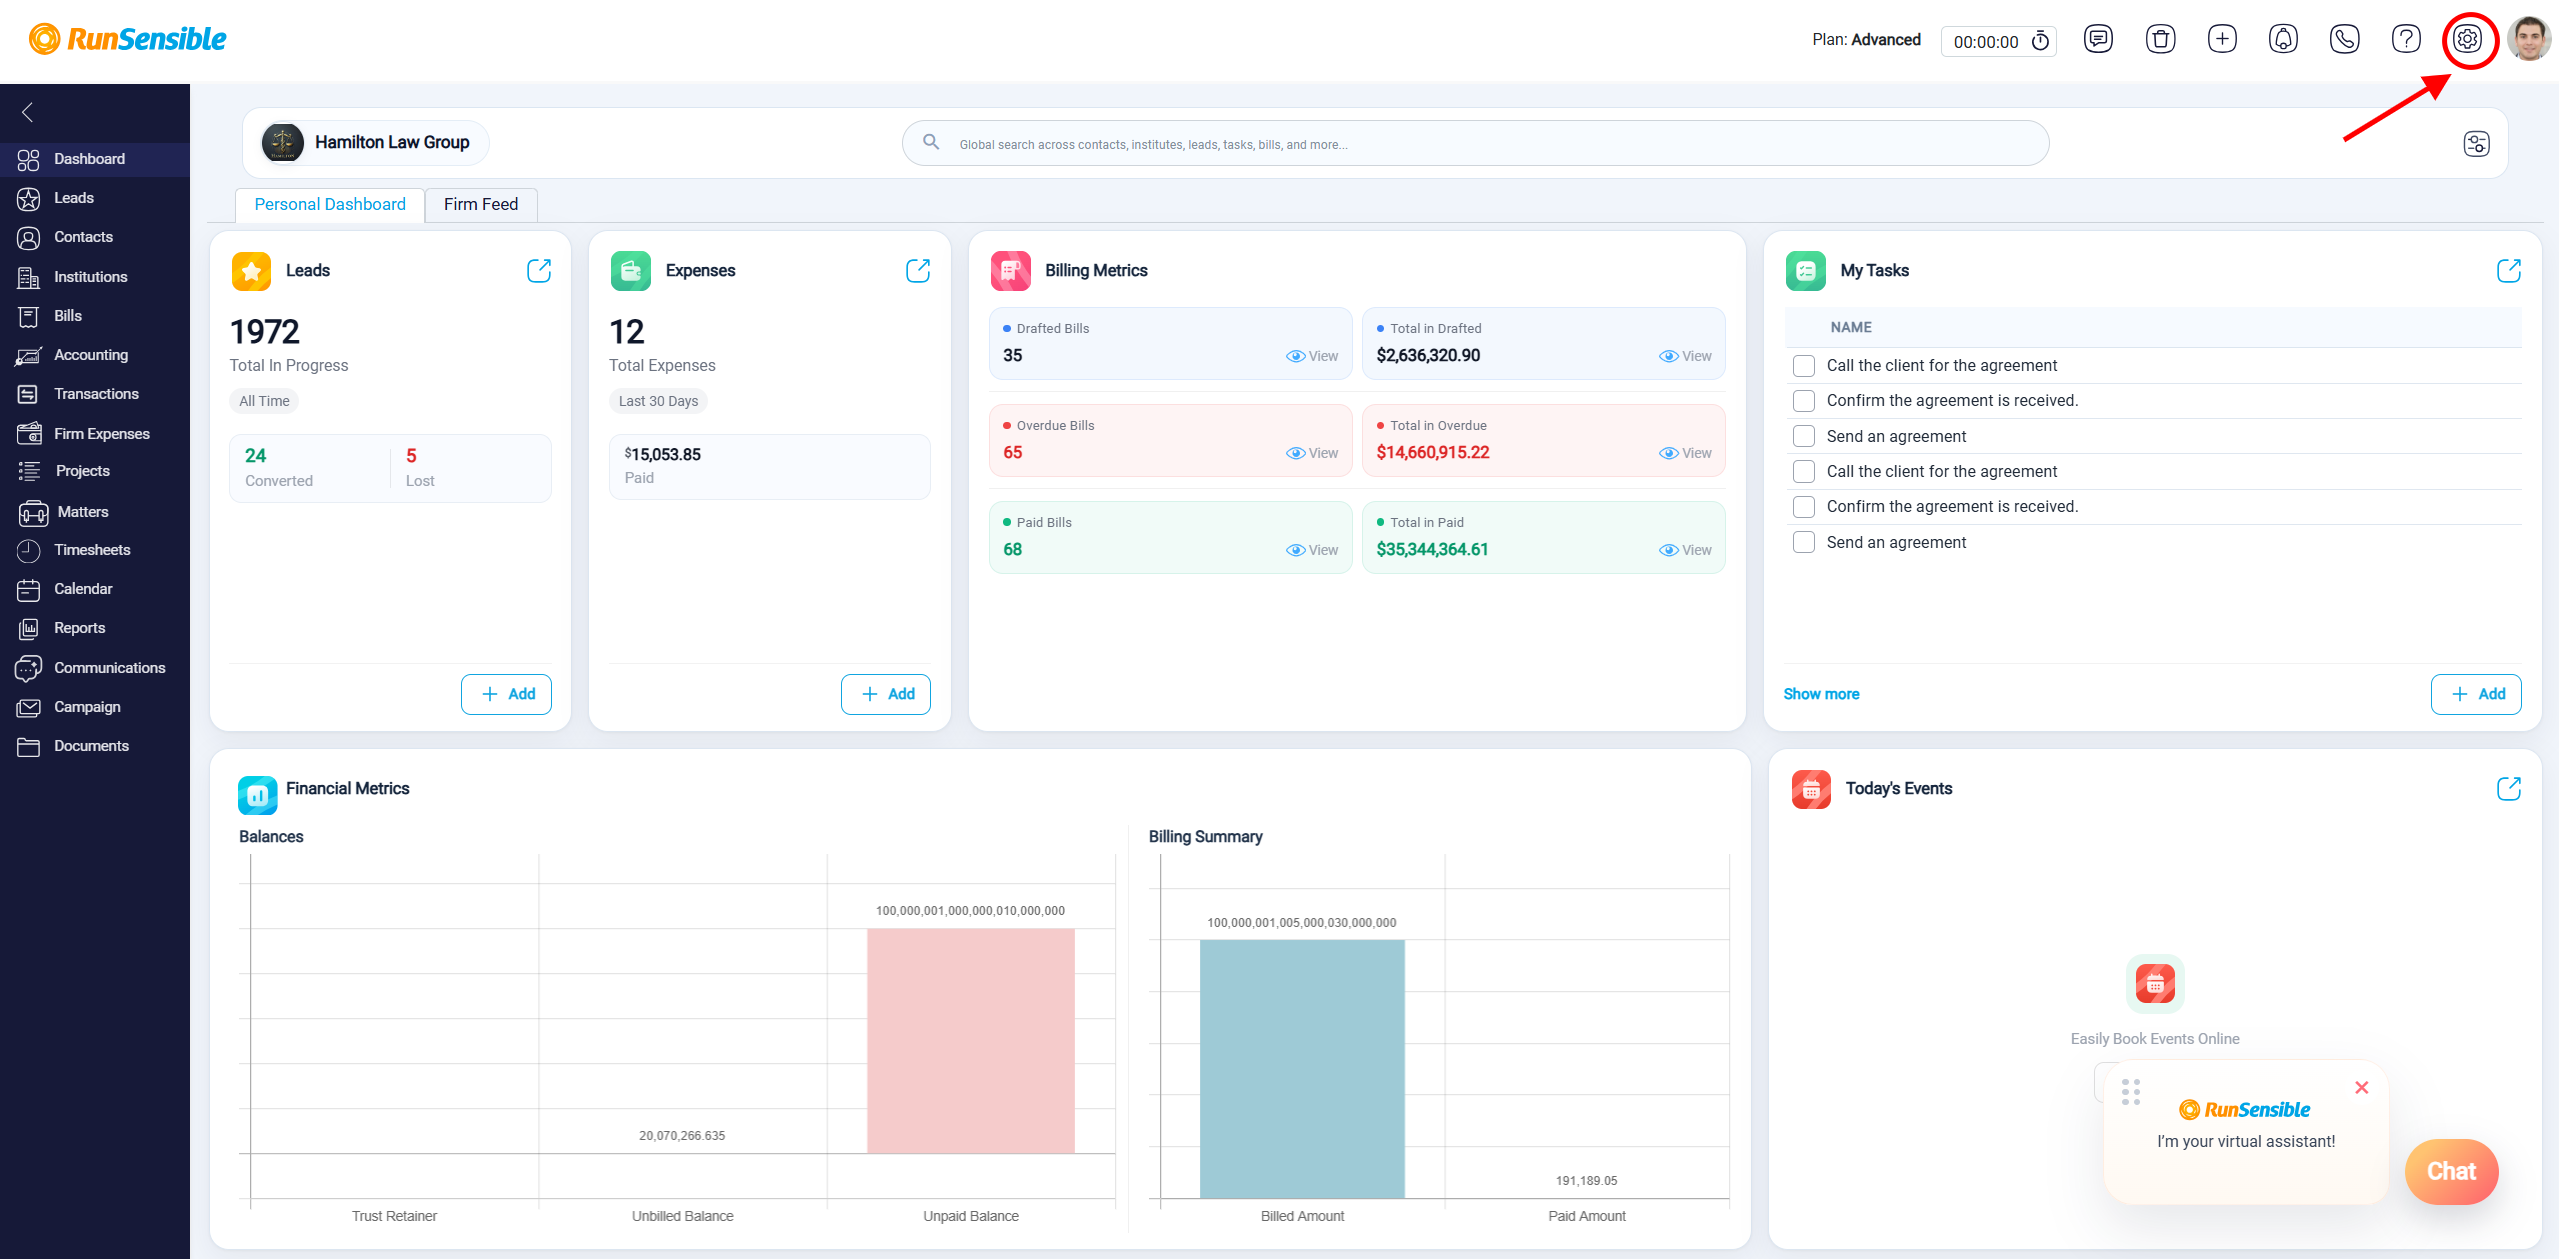
From there, select Matters & Projects, and then click on Custom Field.
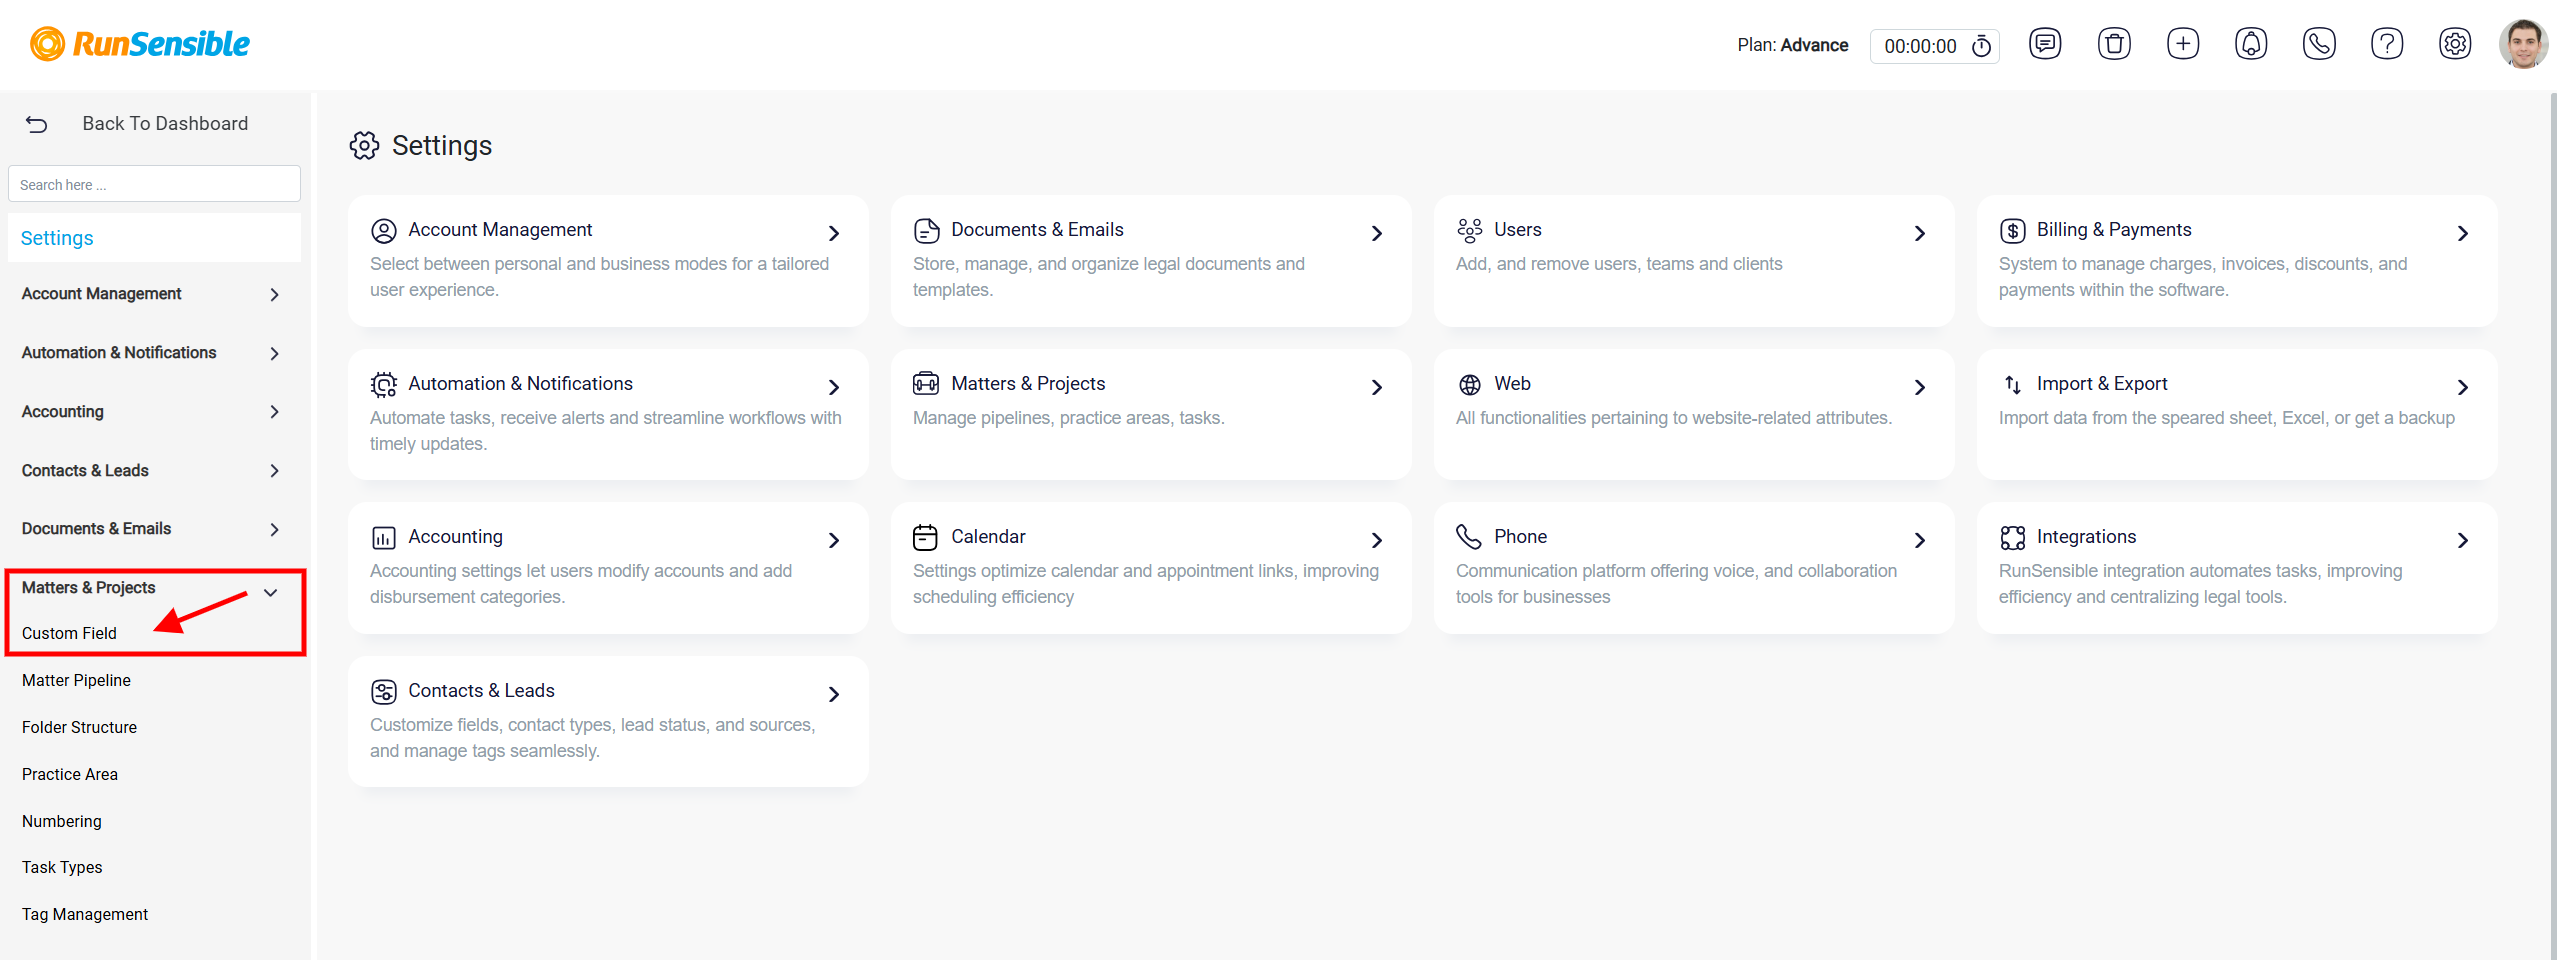
Alternatively, you can quickly locate the Custom Field by entering custom field the Search box on the Settings page. You can also find it in the Matters & Projects section in the main area of the Settings page and select Custom Field from the available options.
Once you are there, select Matter to change its custom fields.
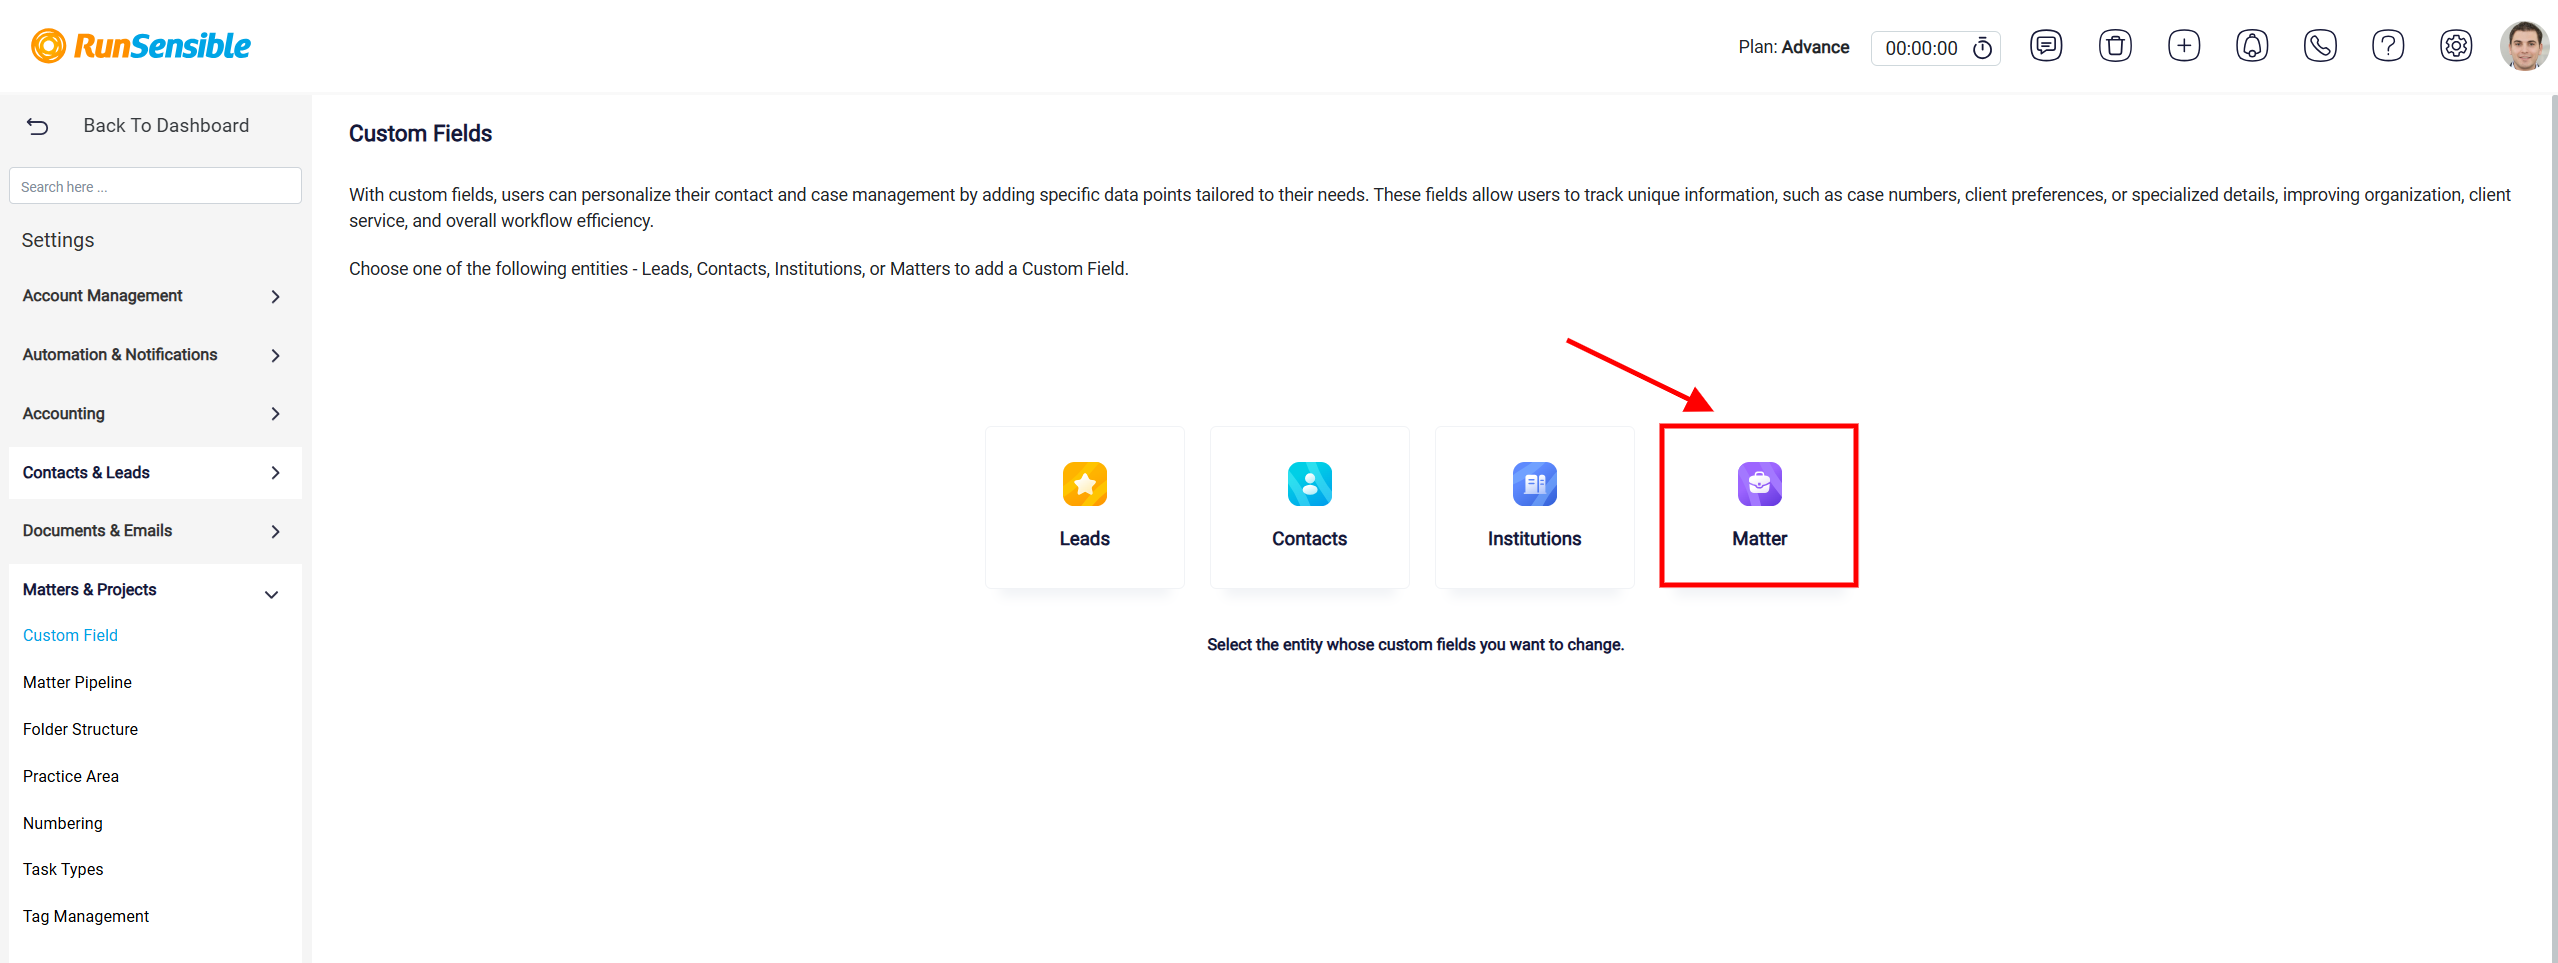
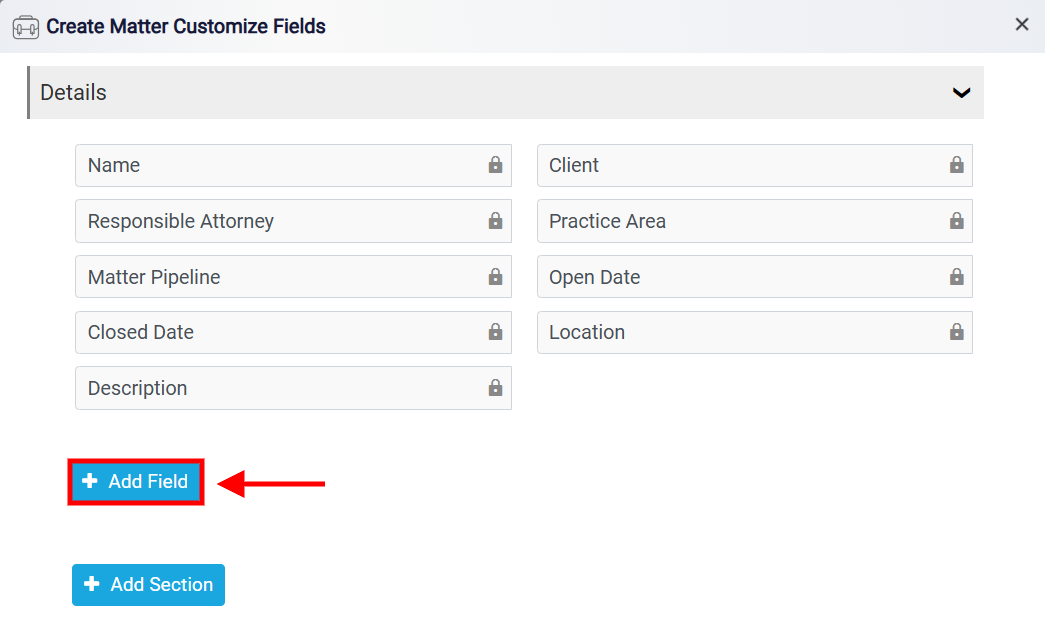
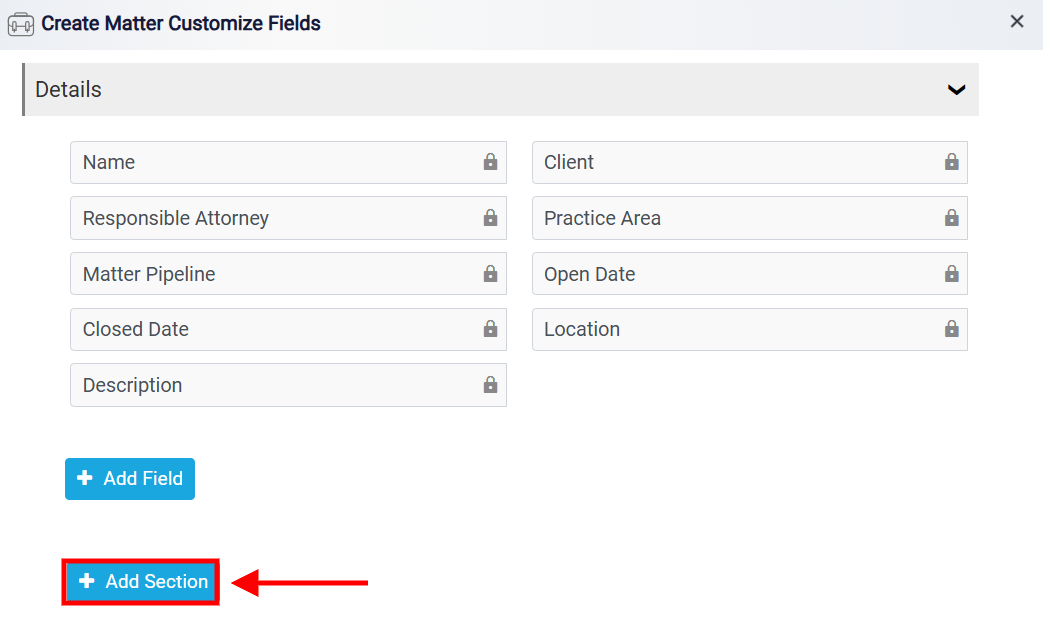
This opens the Create Matter Customize Fields panel, where you can manage the fields and sections that appear in the matter’s Information tab. It determines which fields appear, how they are grouped, and which custom sections are available when viewing or editing a matter. Fields are organized into sections to keep related matter information grouped together. For example, a section such as Details may contain the main fields needed to identify and manage the matter.
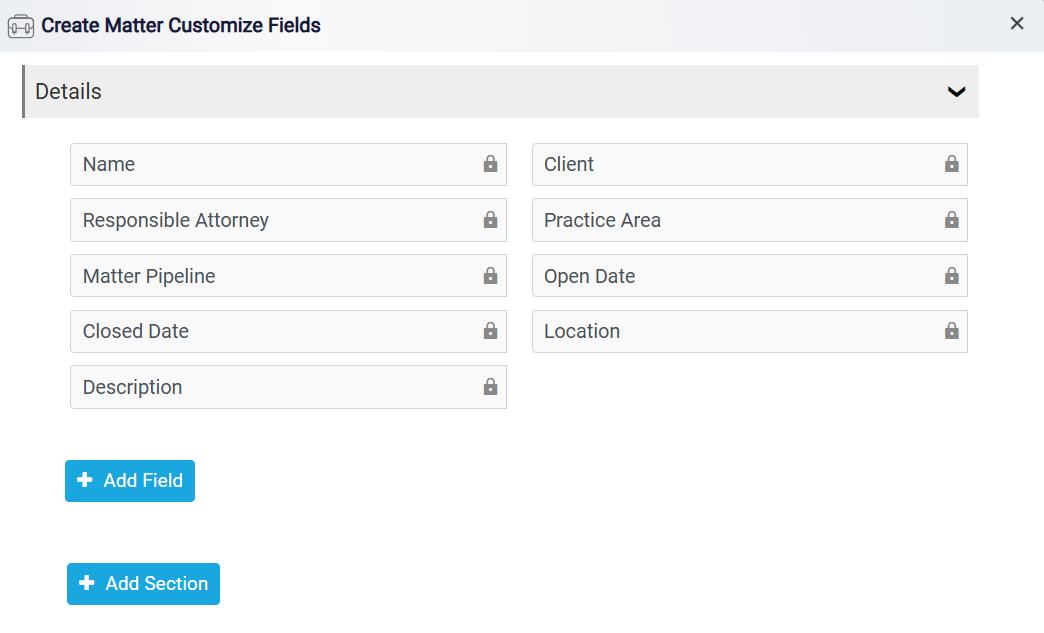
Each section has an Arrow beside its name. Clicking this arrow opens or closes the section. When the section is open, the fields inside it are visible. When it is closed, the fields are hidden.
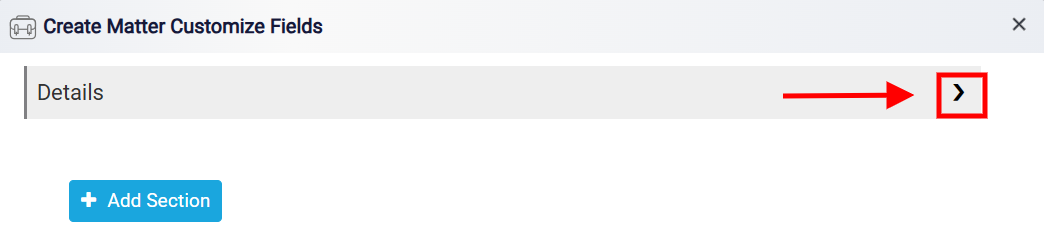
Some fields display a Lock icon. These are system fields. System fields are part of the default matter structure and are required for the system to work properly. Because of this, they cannot be removed or fully changed like custom fields. Locked fields may still appear in the customization panel so users can see where they belong, but they are protected because the system depends on them for matter records, workflows, reporting, billing, or other connected features.
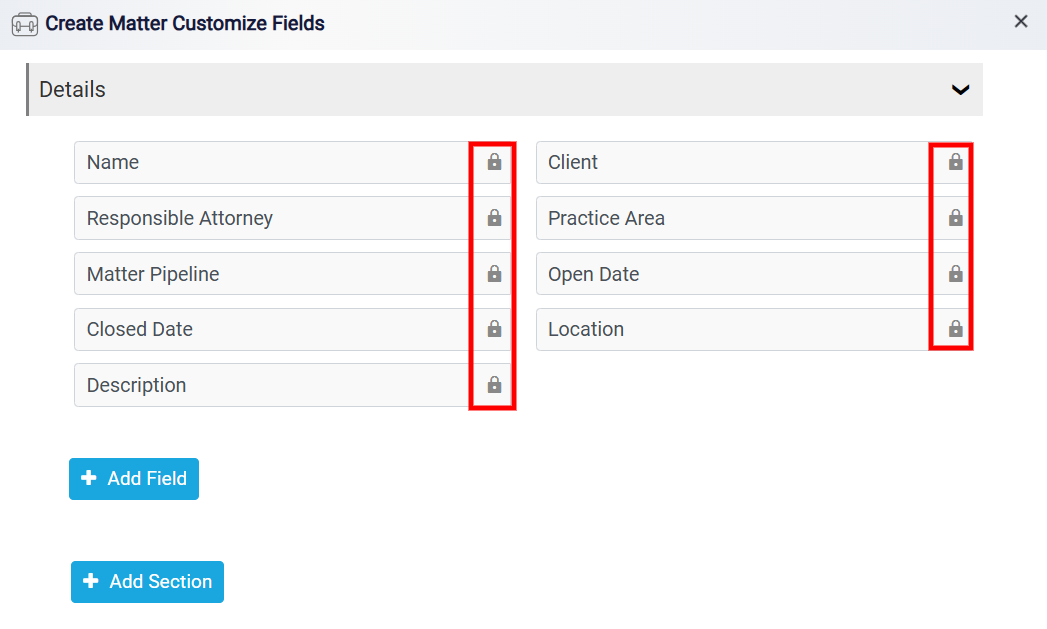
Adding Custom Fields
The Add Field button is used to create a new custom field inside a selected section.
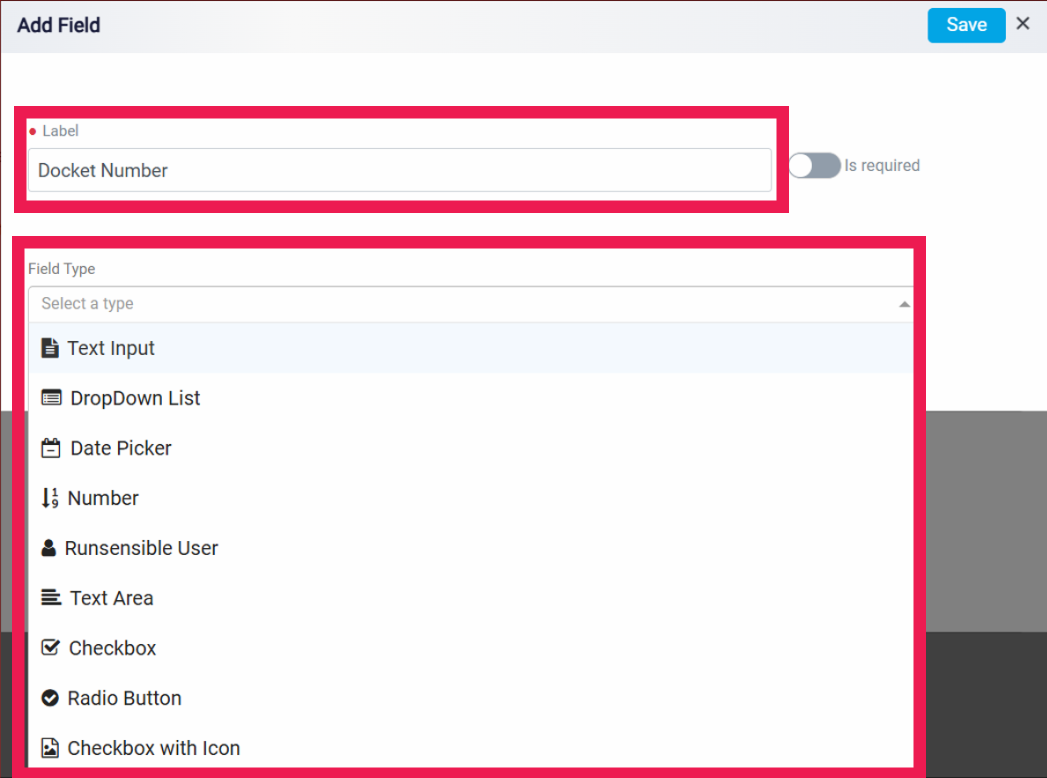
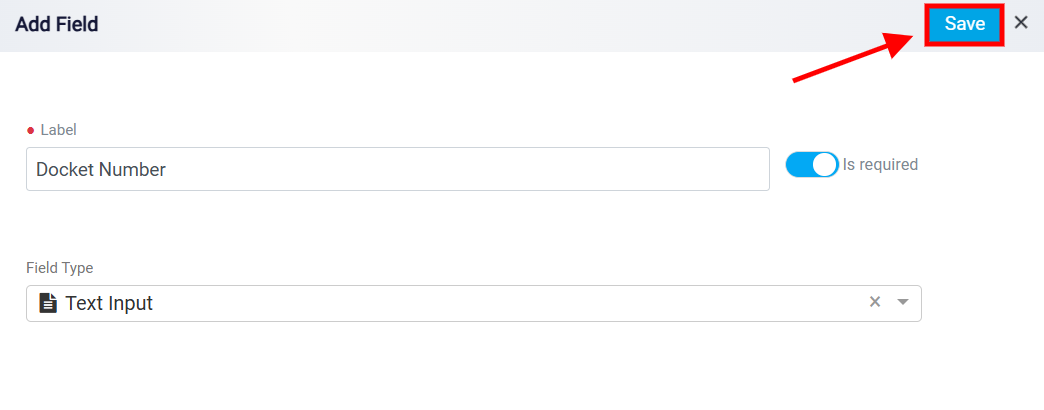
After clicking Add Field, a panel opens where the user can enter the field label, choose whether the field should be required, and select the field type. The field Label is the name that users will see in the matter’s Information tab. The field type controls how information will be entered. For example, a Text Input field is used for short answers, while a Text Area field is used for longer explanations or notes. A Number field is used when the answer should be numeric. A Date Picker field is used when the user needs to select a date. A RunSensible User field allows the user to select one of the users registered in the system.
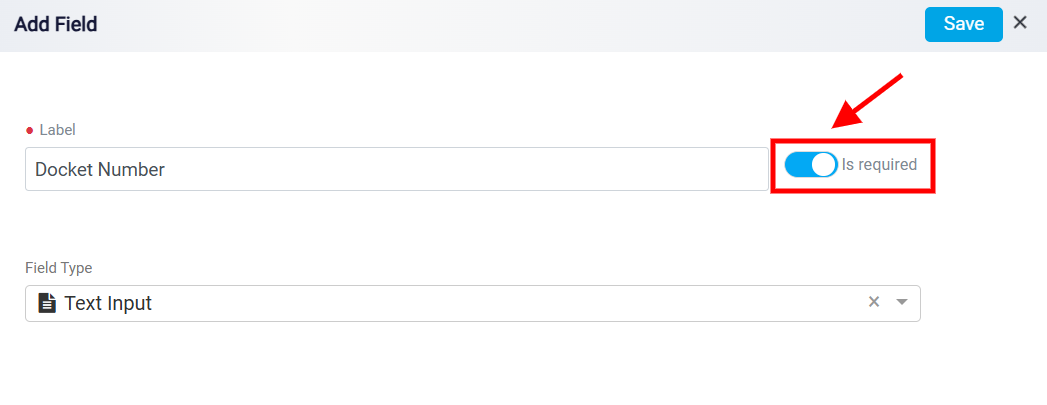
The Is Required option is used when the field must be completed before the matter information can be saved. If this option is turned on, users will not be able to save the matter information until that field has been filled in.
Some field types require predefined choices. These include Dropdown List, Checkbox, Checkbox with Icon, and Radio Button. When one of these field types is selected, the system shows option rows where the user can enter a Label and a Value.
The Label is the option name that users will see in the matter’s Information tab. The Value is a unique internal identifier for that option. This value is mainly used by the system, especially when information is synced with integrations or connected systems. Once a value is created, it cannot be edited, so it should be entered carefully.
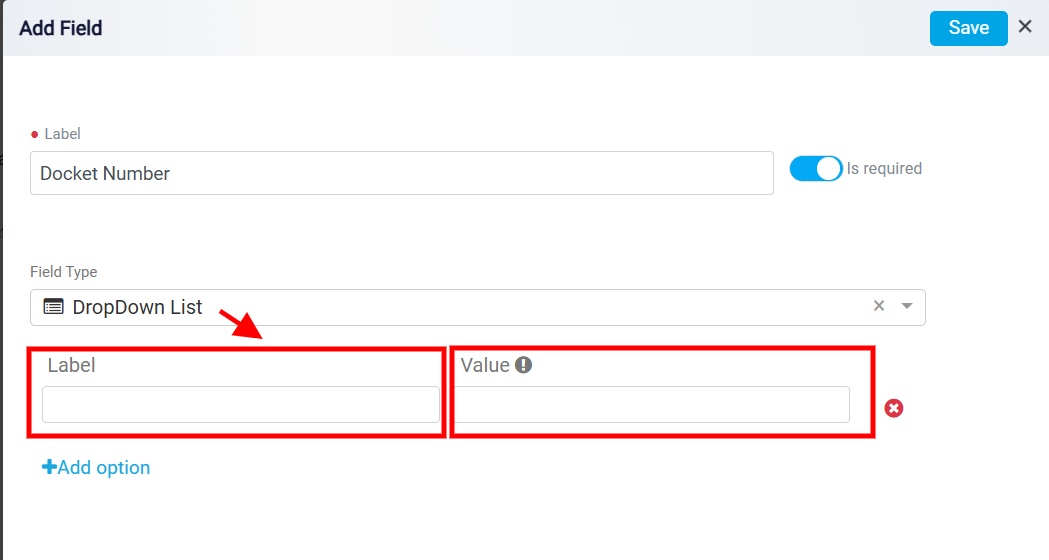
The Add Option button is used to create more choices for the field. Each time the user clicks Add Option, a new row appears where another label and value can be entered. This allows the user to build all available choices for dropdowns, checkboxes, radio buttons, and other option-based fields.
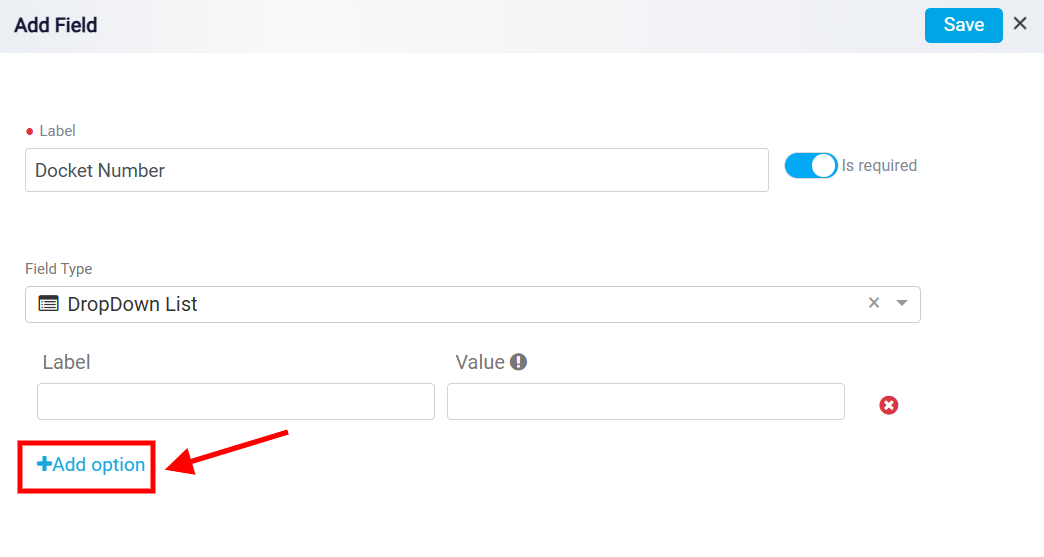
A Dropdown List allows users to choose one option from a dropdown menu. A Radio Button also allows users to choose one option, but the choices are displayed directly on the page. A Checkbox allows users to select more than one option. A Checkbox with Icon works like a checkbox, but each option can also include an image or icon. When this field type is selected, a camera button appears beside each option row so the user can upload the image or icon for that option.
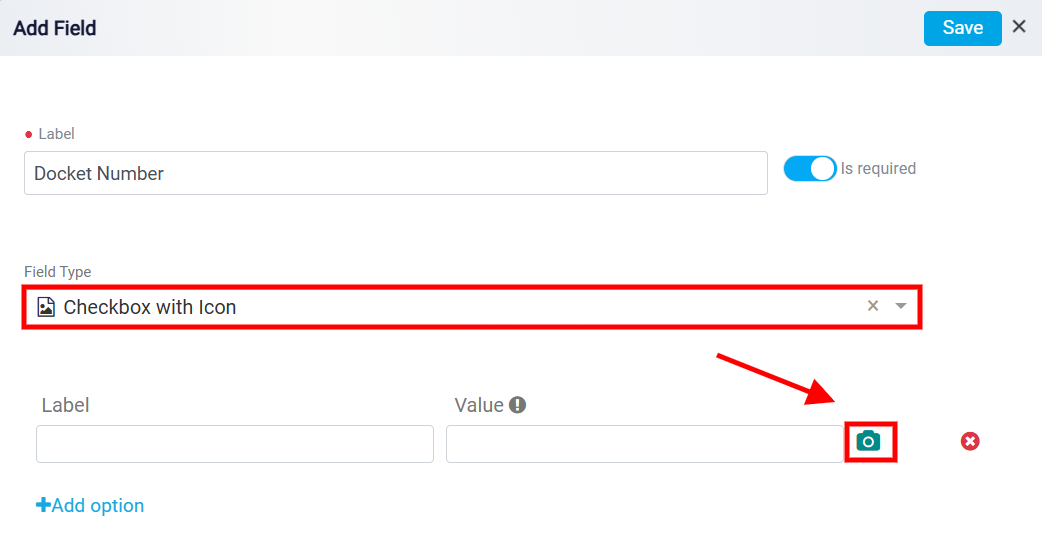
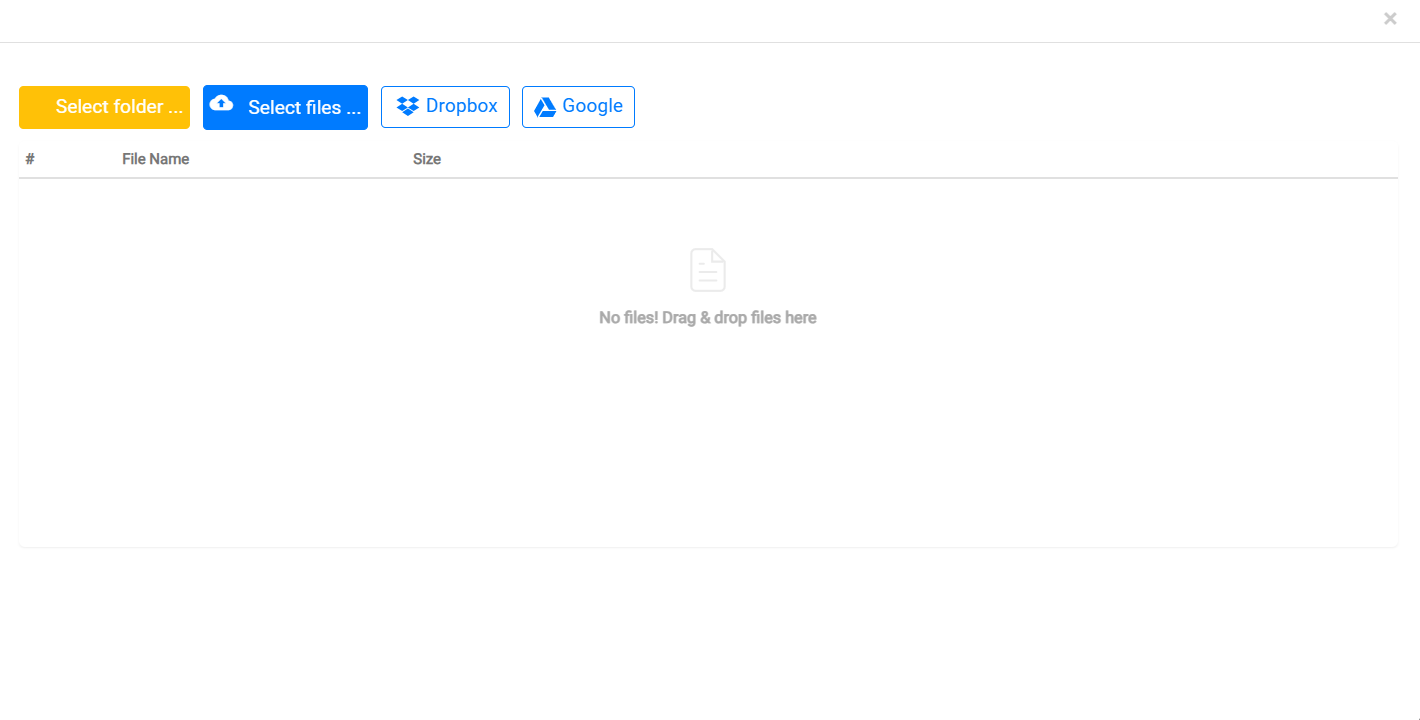
From here, choose the desired icon file on your device, and it will be seamlessly uploaded and attached to the option.
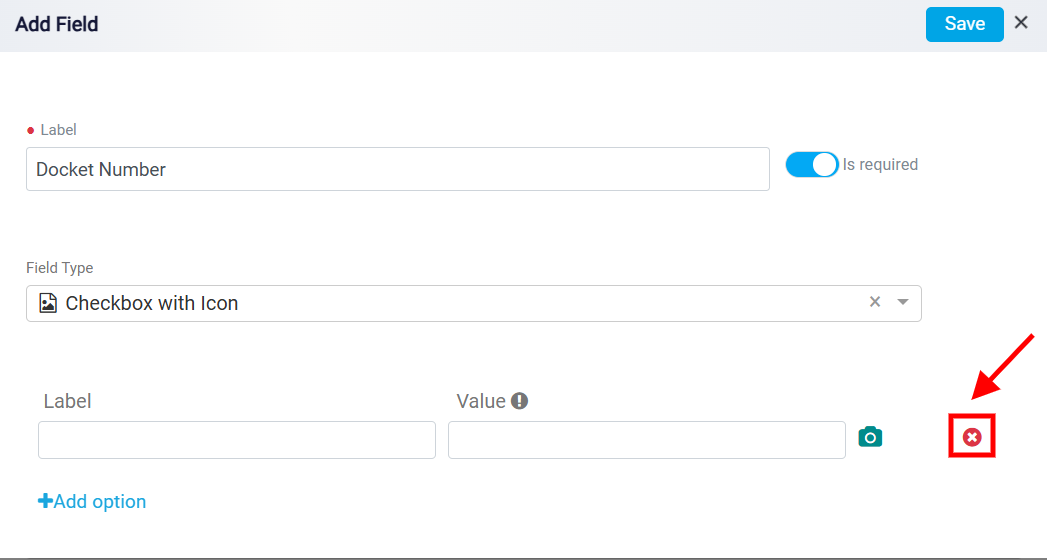
Please keep in mind that it’s important to avoid leaving any of the specified boxes empty when creating your list. If you find yourself with an excess of options without content, you can easily manage this by clicking on the Remove button next to the respective options. However, note that the system may only allow you to save your changes if there are no empty options in your list.
After making your desired changes, click the Save button to save all the modifications.
Adding Custom Sections
The Add Section button is used to create a new section in the matter’s Information tab.
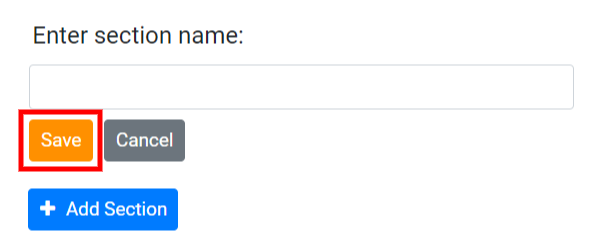
After clicking Add Section, the user enters the section name and saves it. The new section can then be used to organize related custom fields under a separate category.
Custom sections are useful when the firm wants to group information by topic. For example, the firm may want separate sections for basic details, important dates, contact information, address information, case-specific details, intake information, or any other category needed for matter management.