Managing Contacts in the Parties Tab
The People tab in RunSensible allows you to manage individuals and organizations involved in a matter, including clients, opposing parties, attorneys, and other relevant contacts. You can assign party types, define relationships, and distinguish between parties on your client’s side and counterparties on the opposing side. This helps keep all matter-related contacts organized and easily accessible.
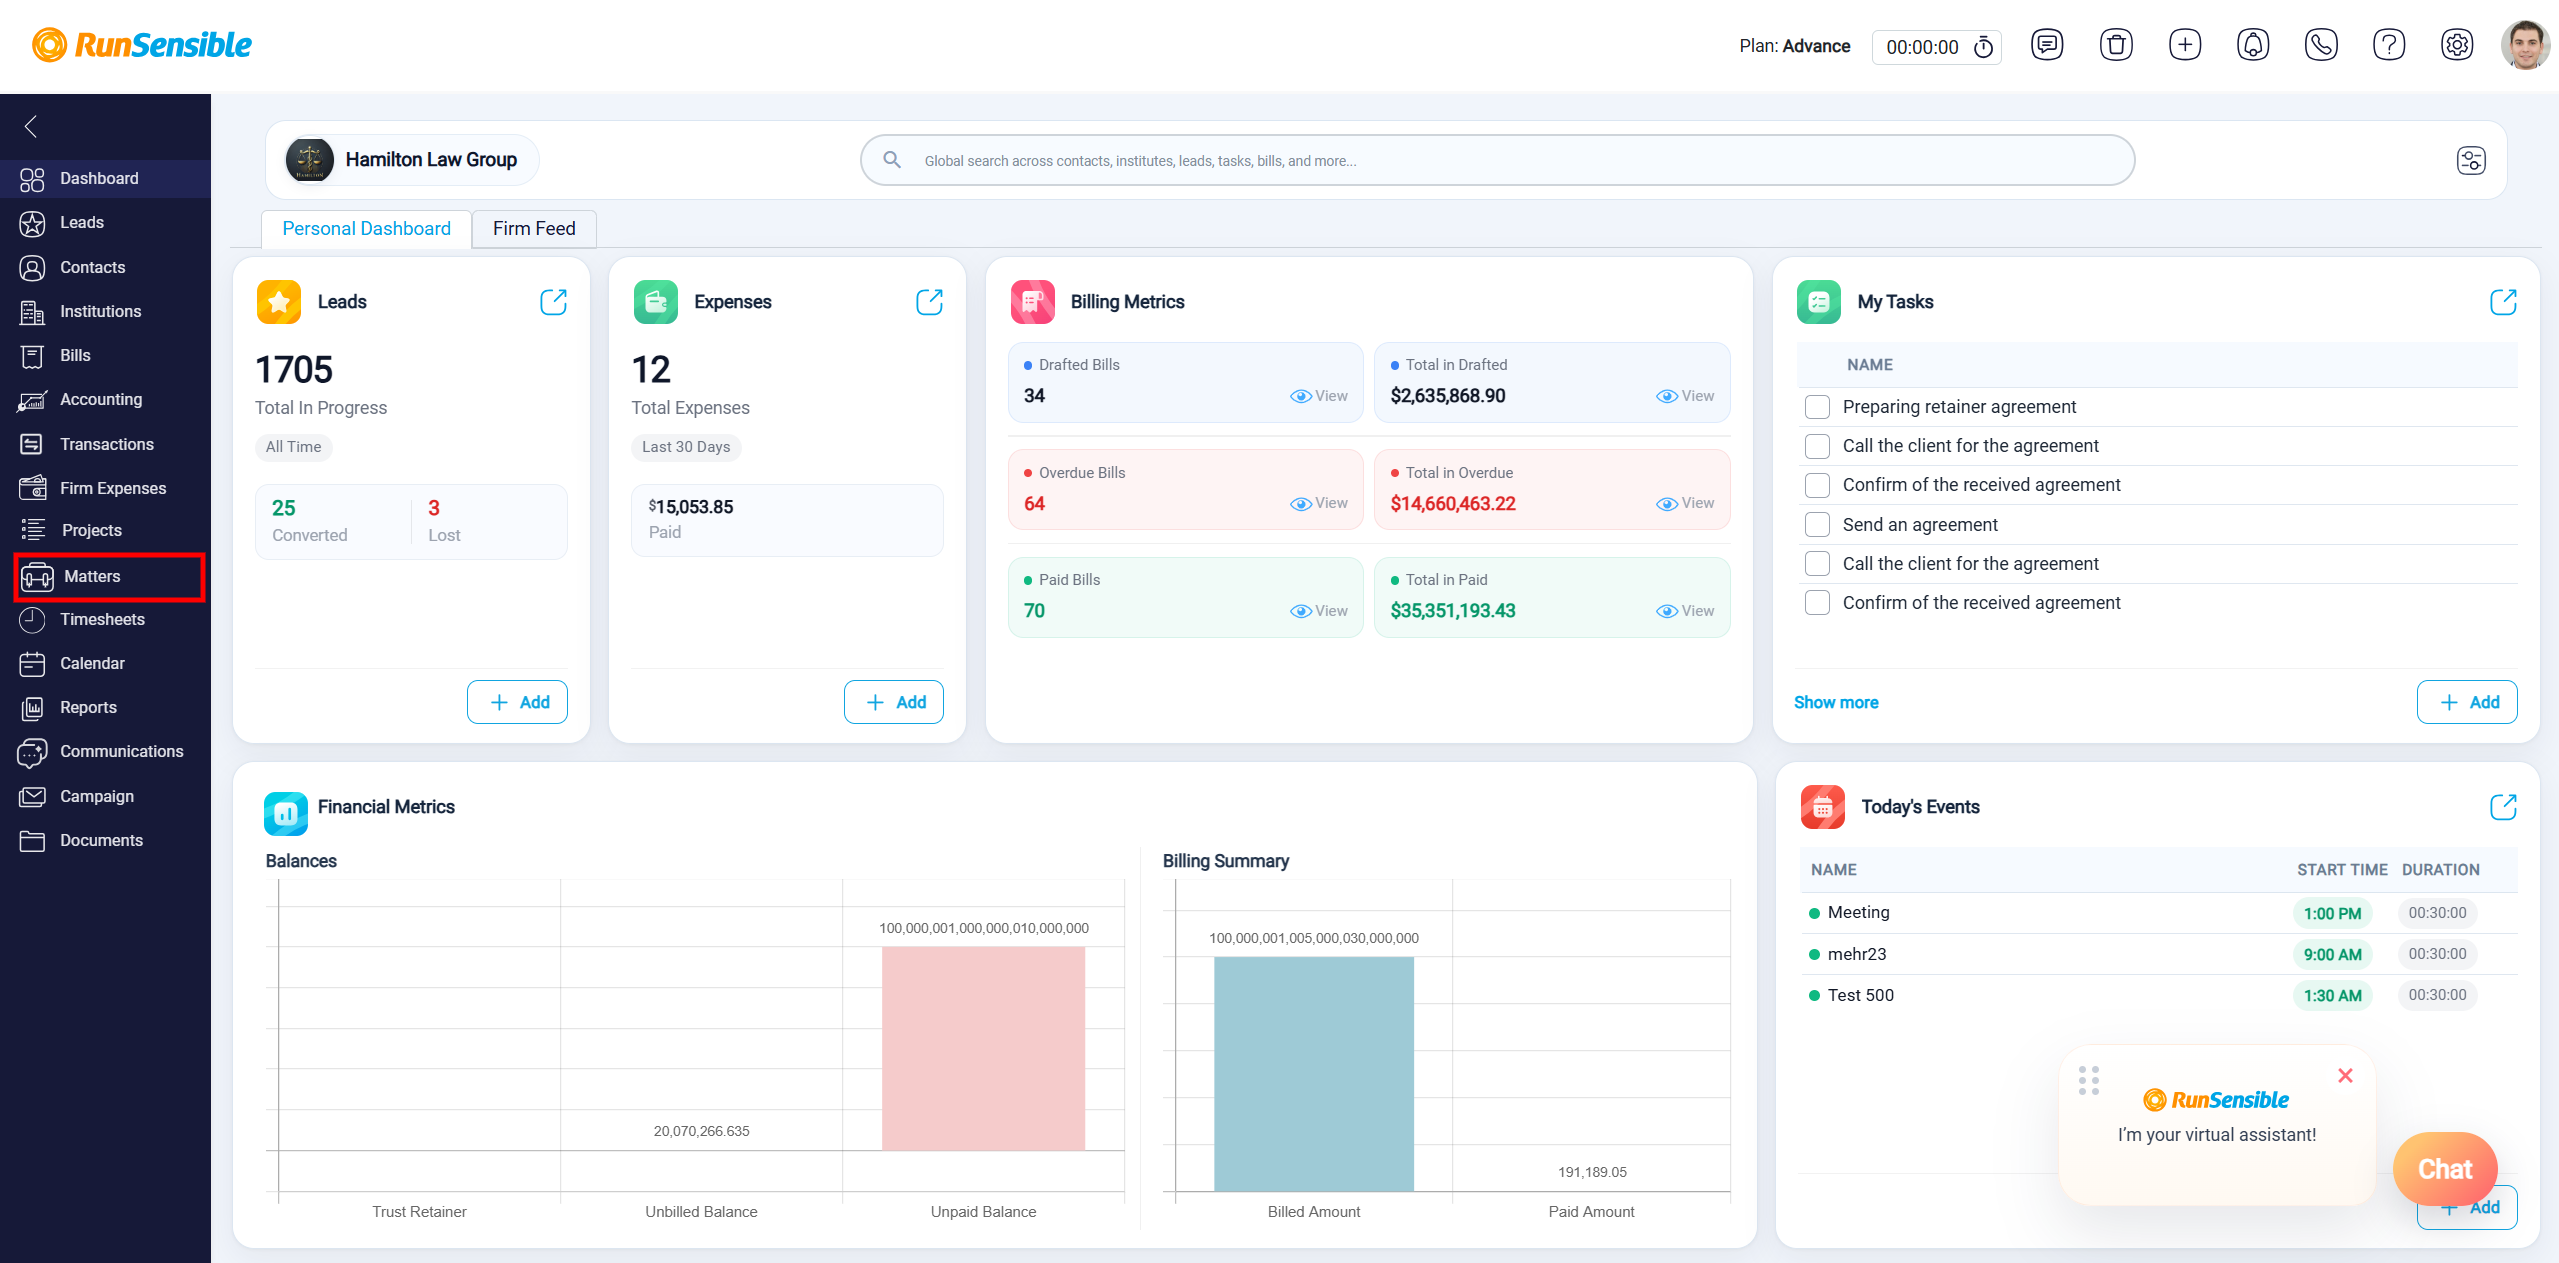
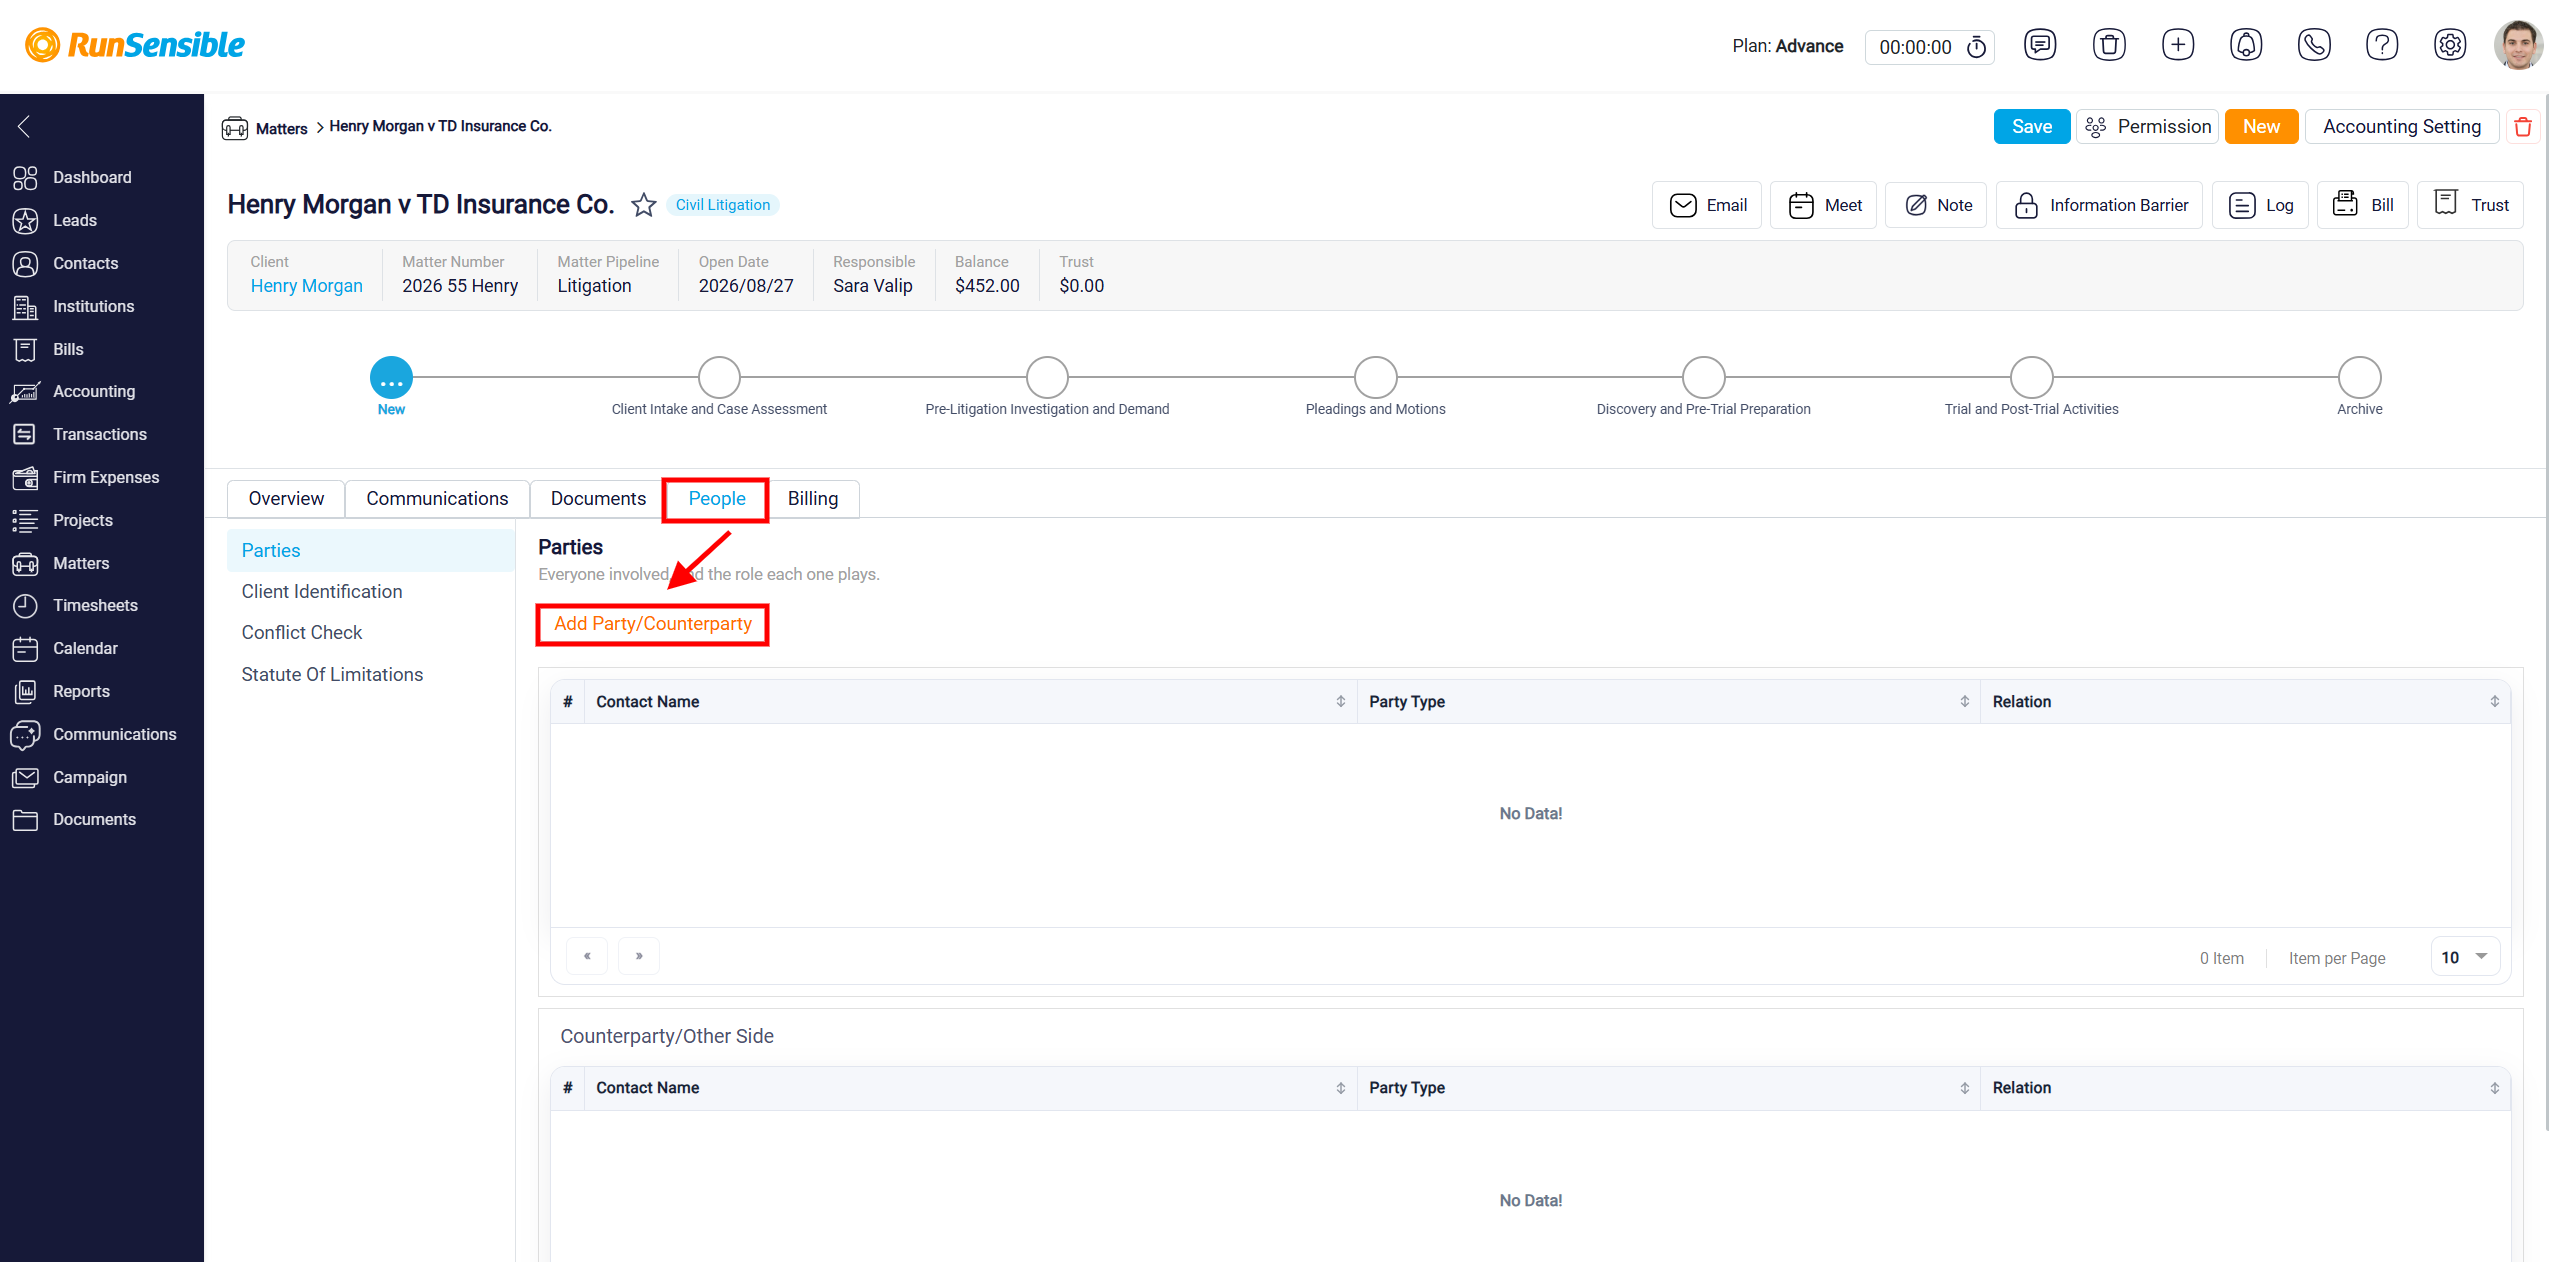
To access the People tab, navigate to Matters from the left-hand sidebar and open the matter you want to manage.
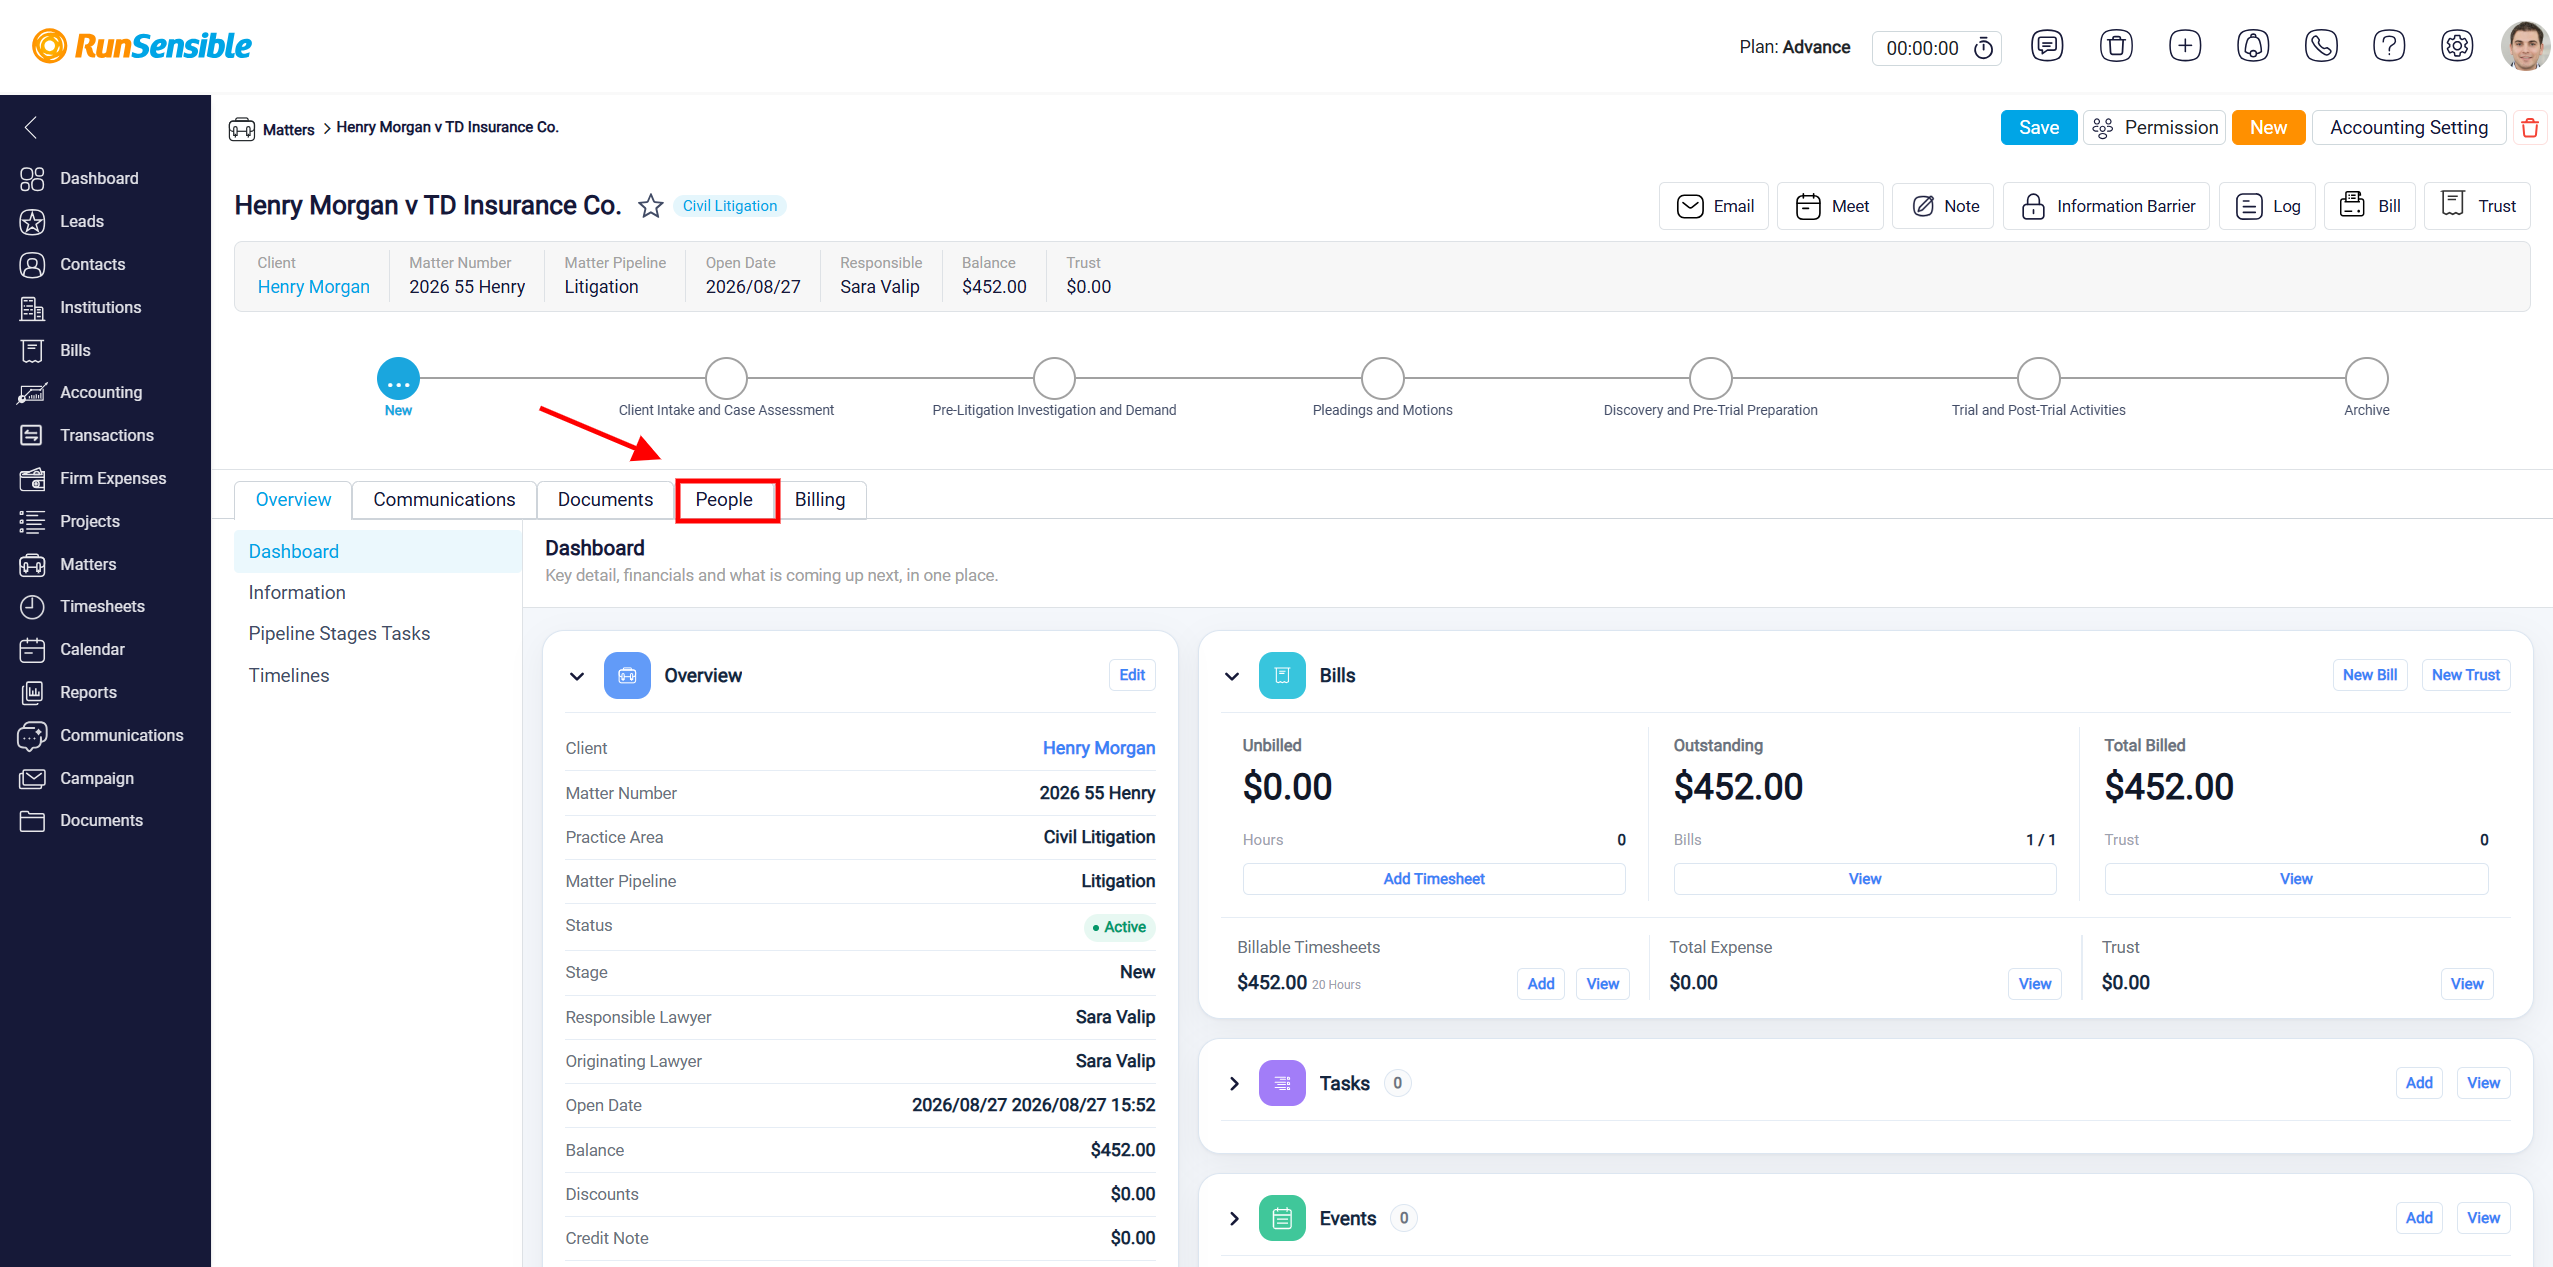
Once the matter is open, click the People tab at the top of the page, then select Parties from the left-hand menu.
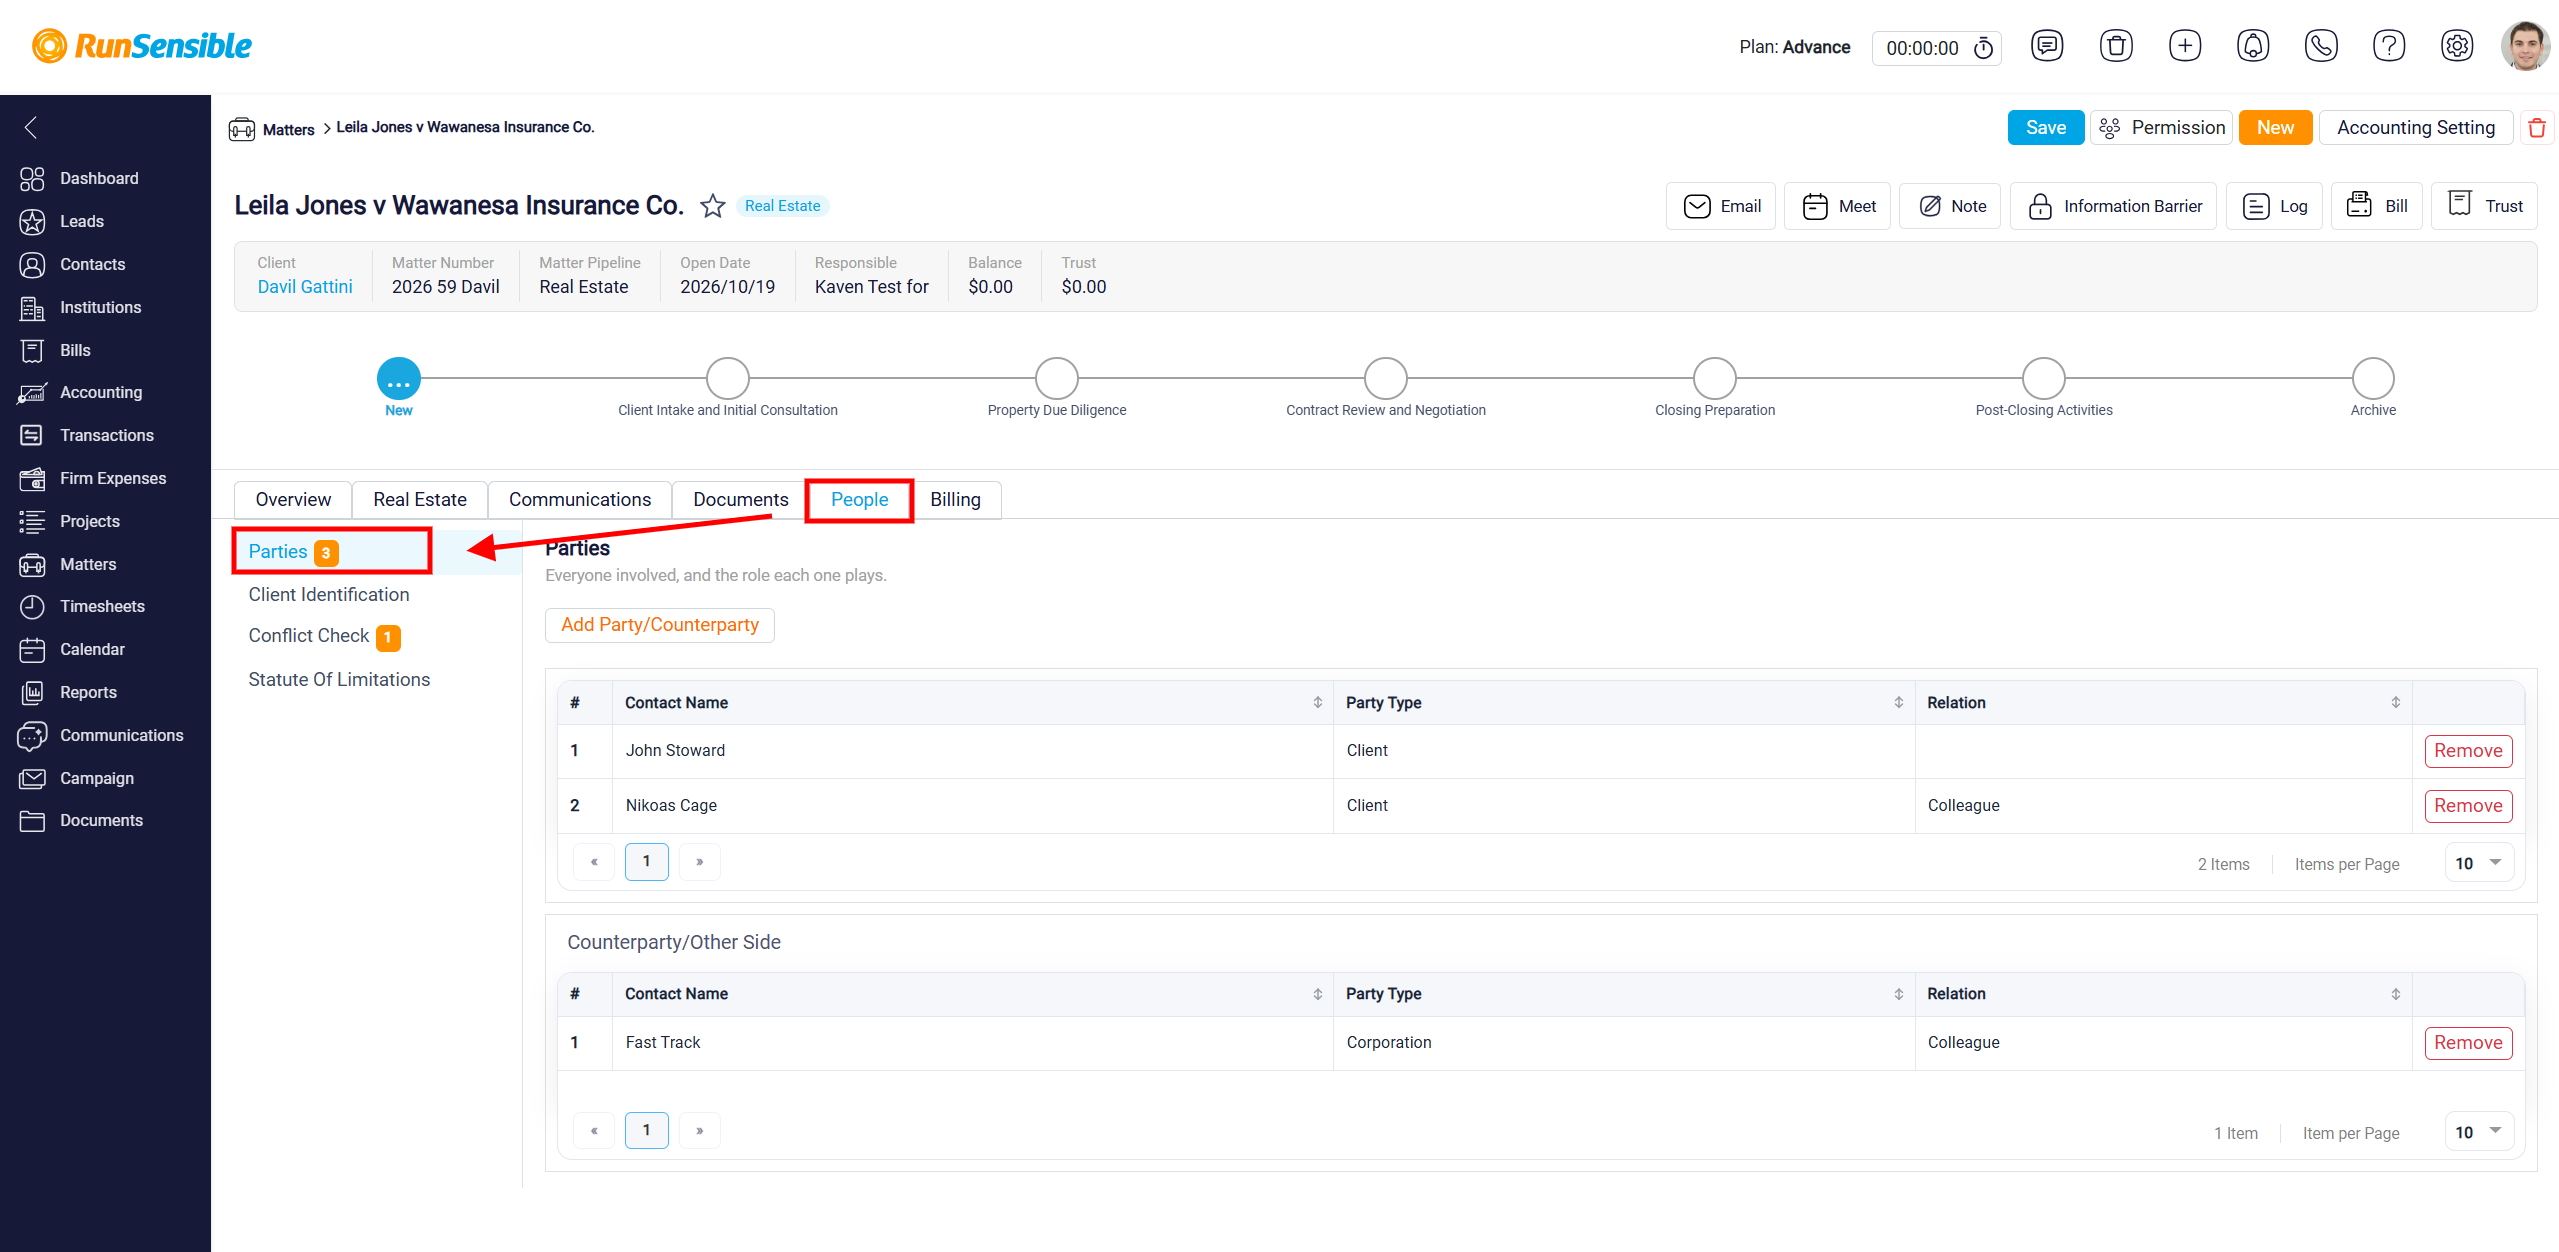
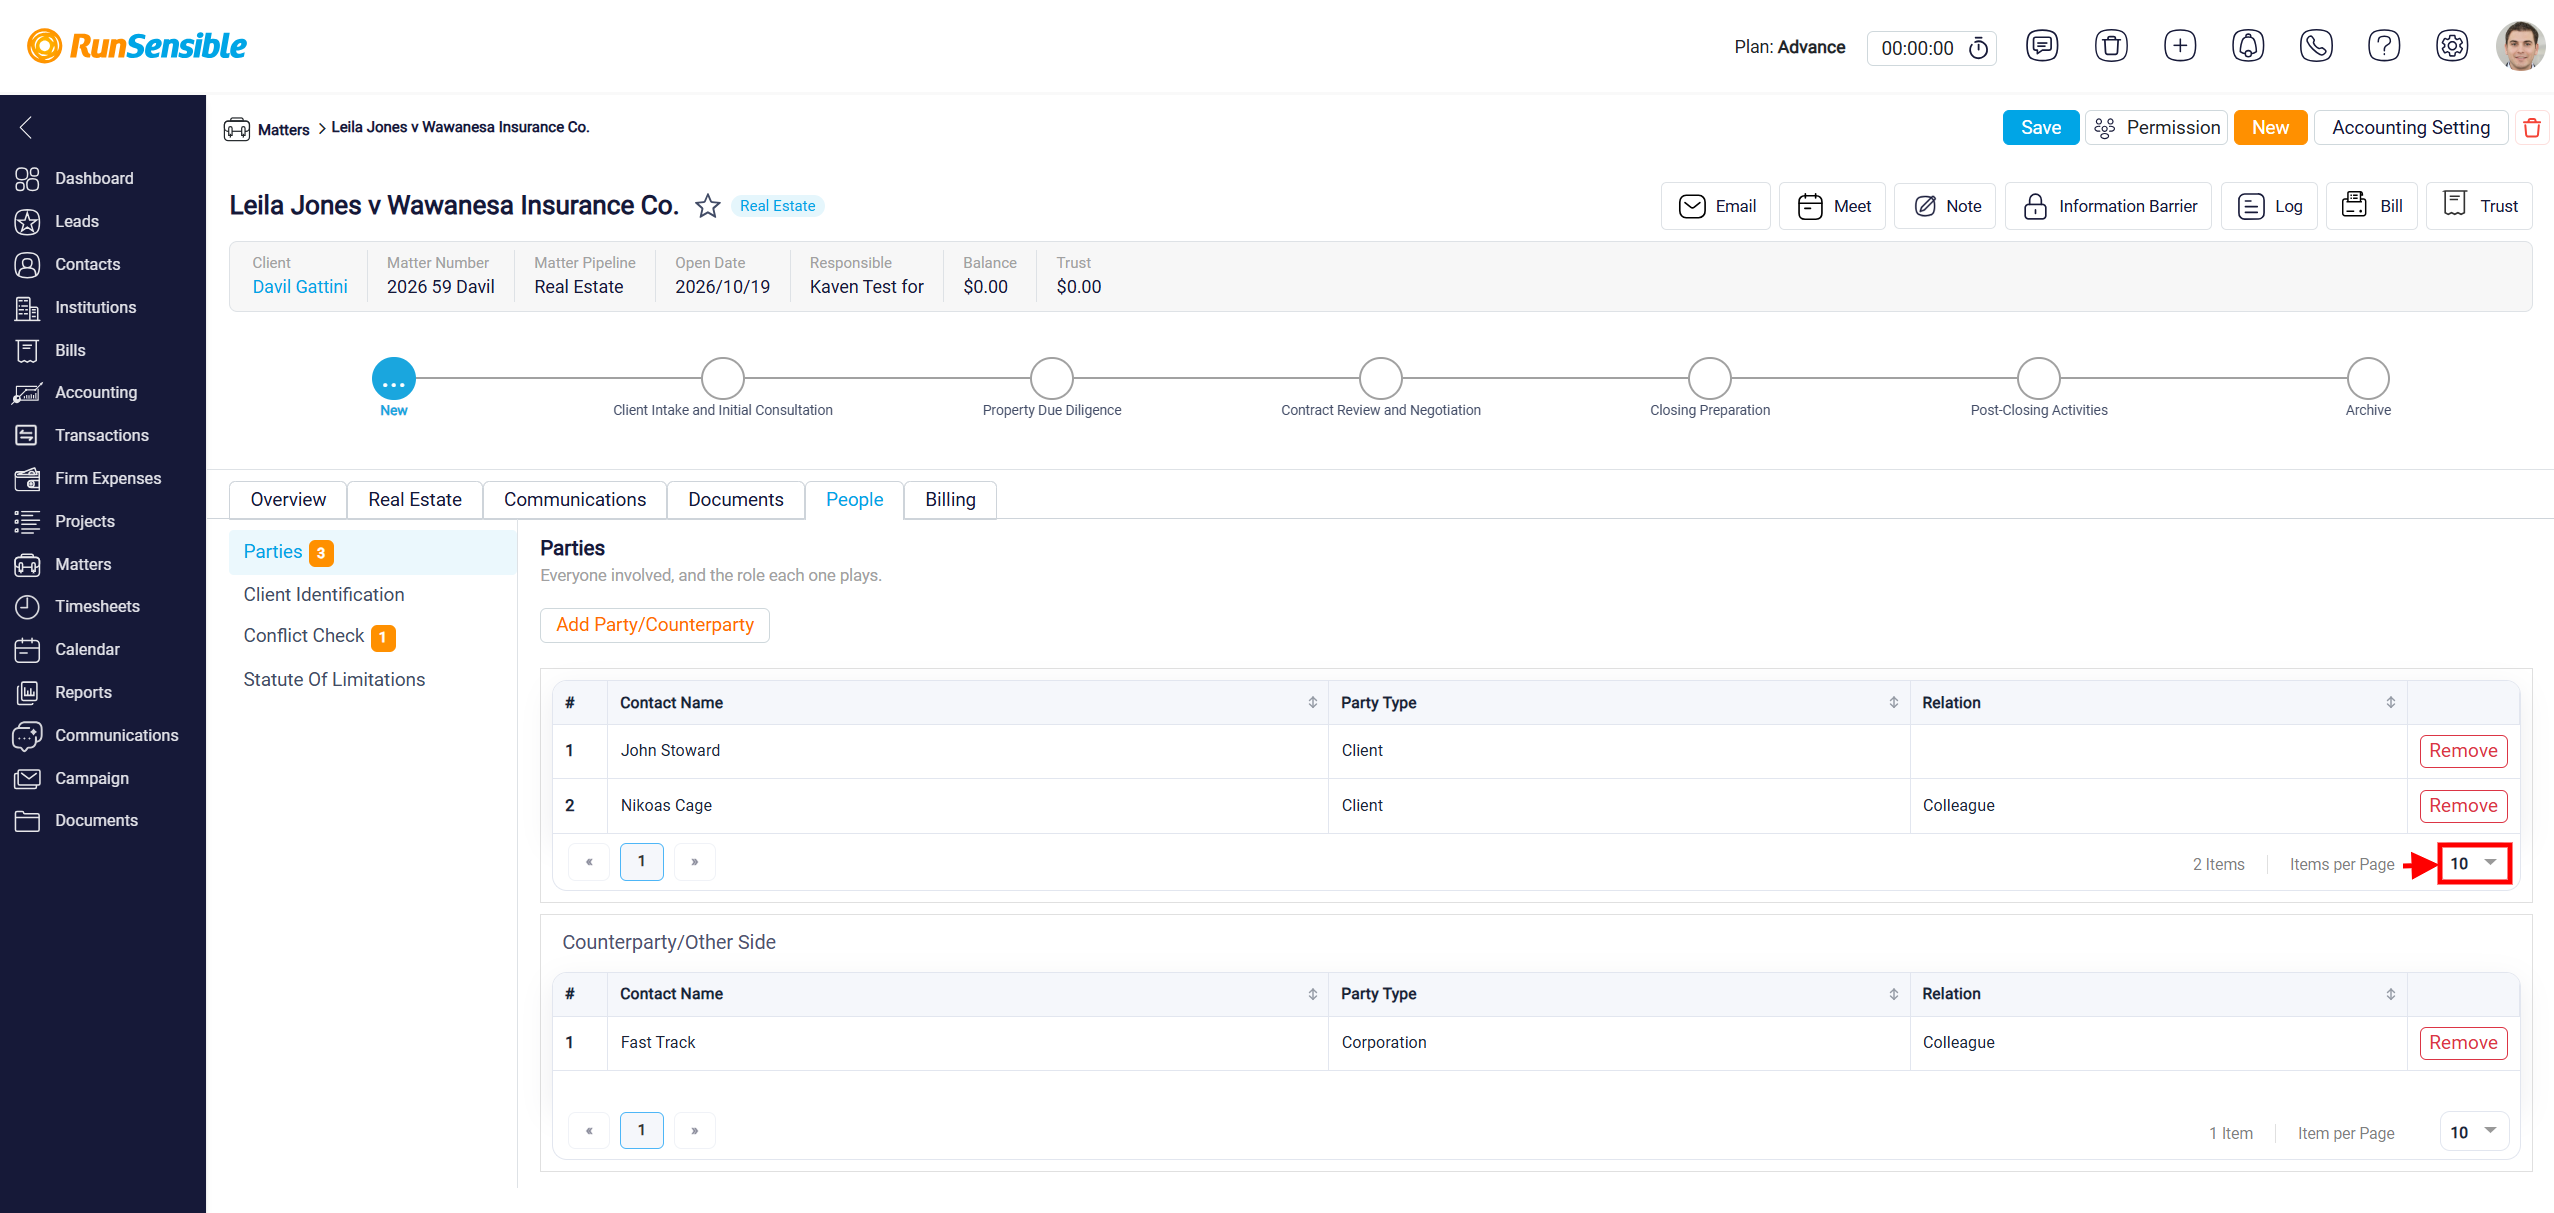
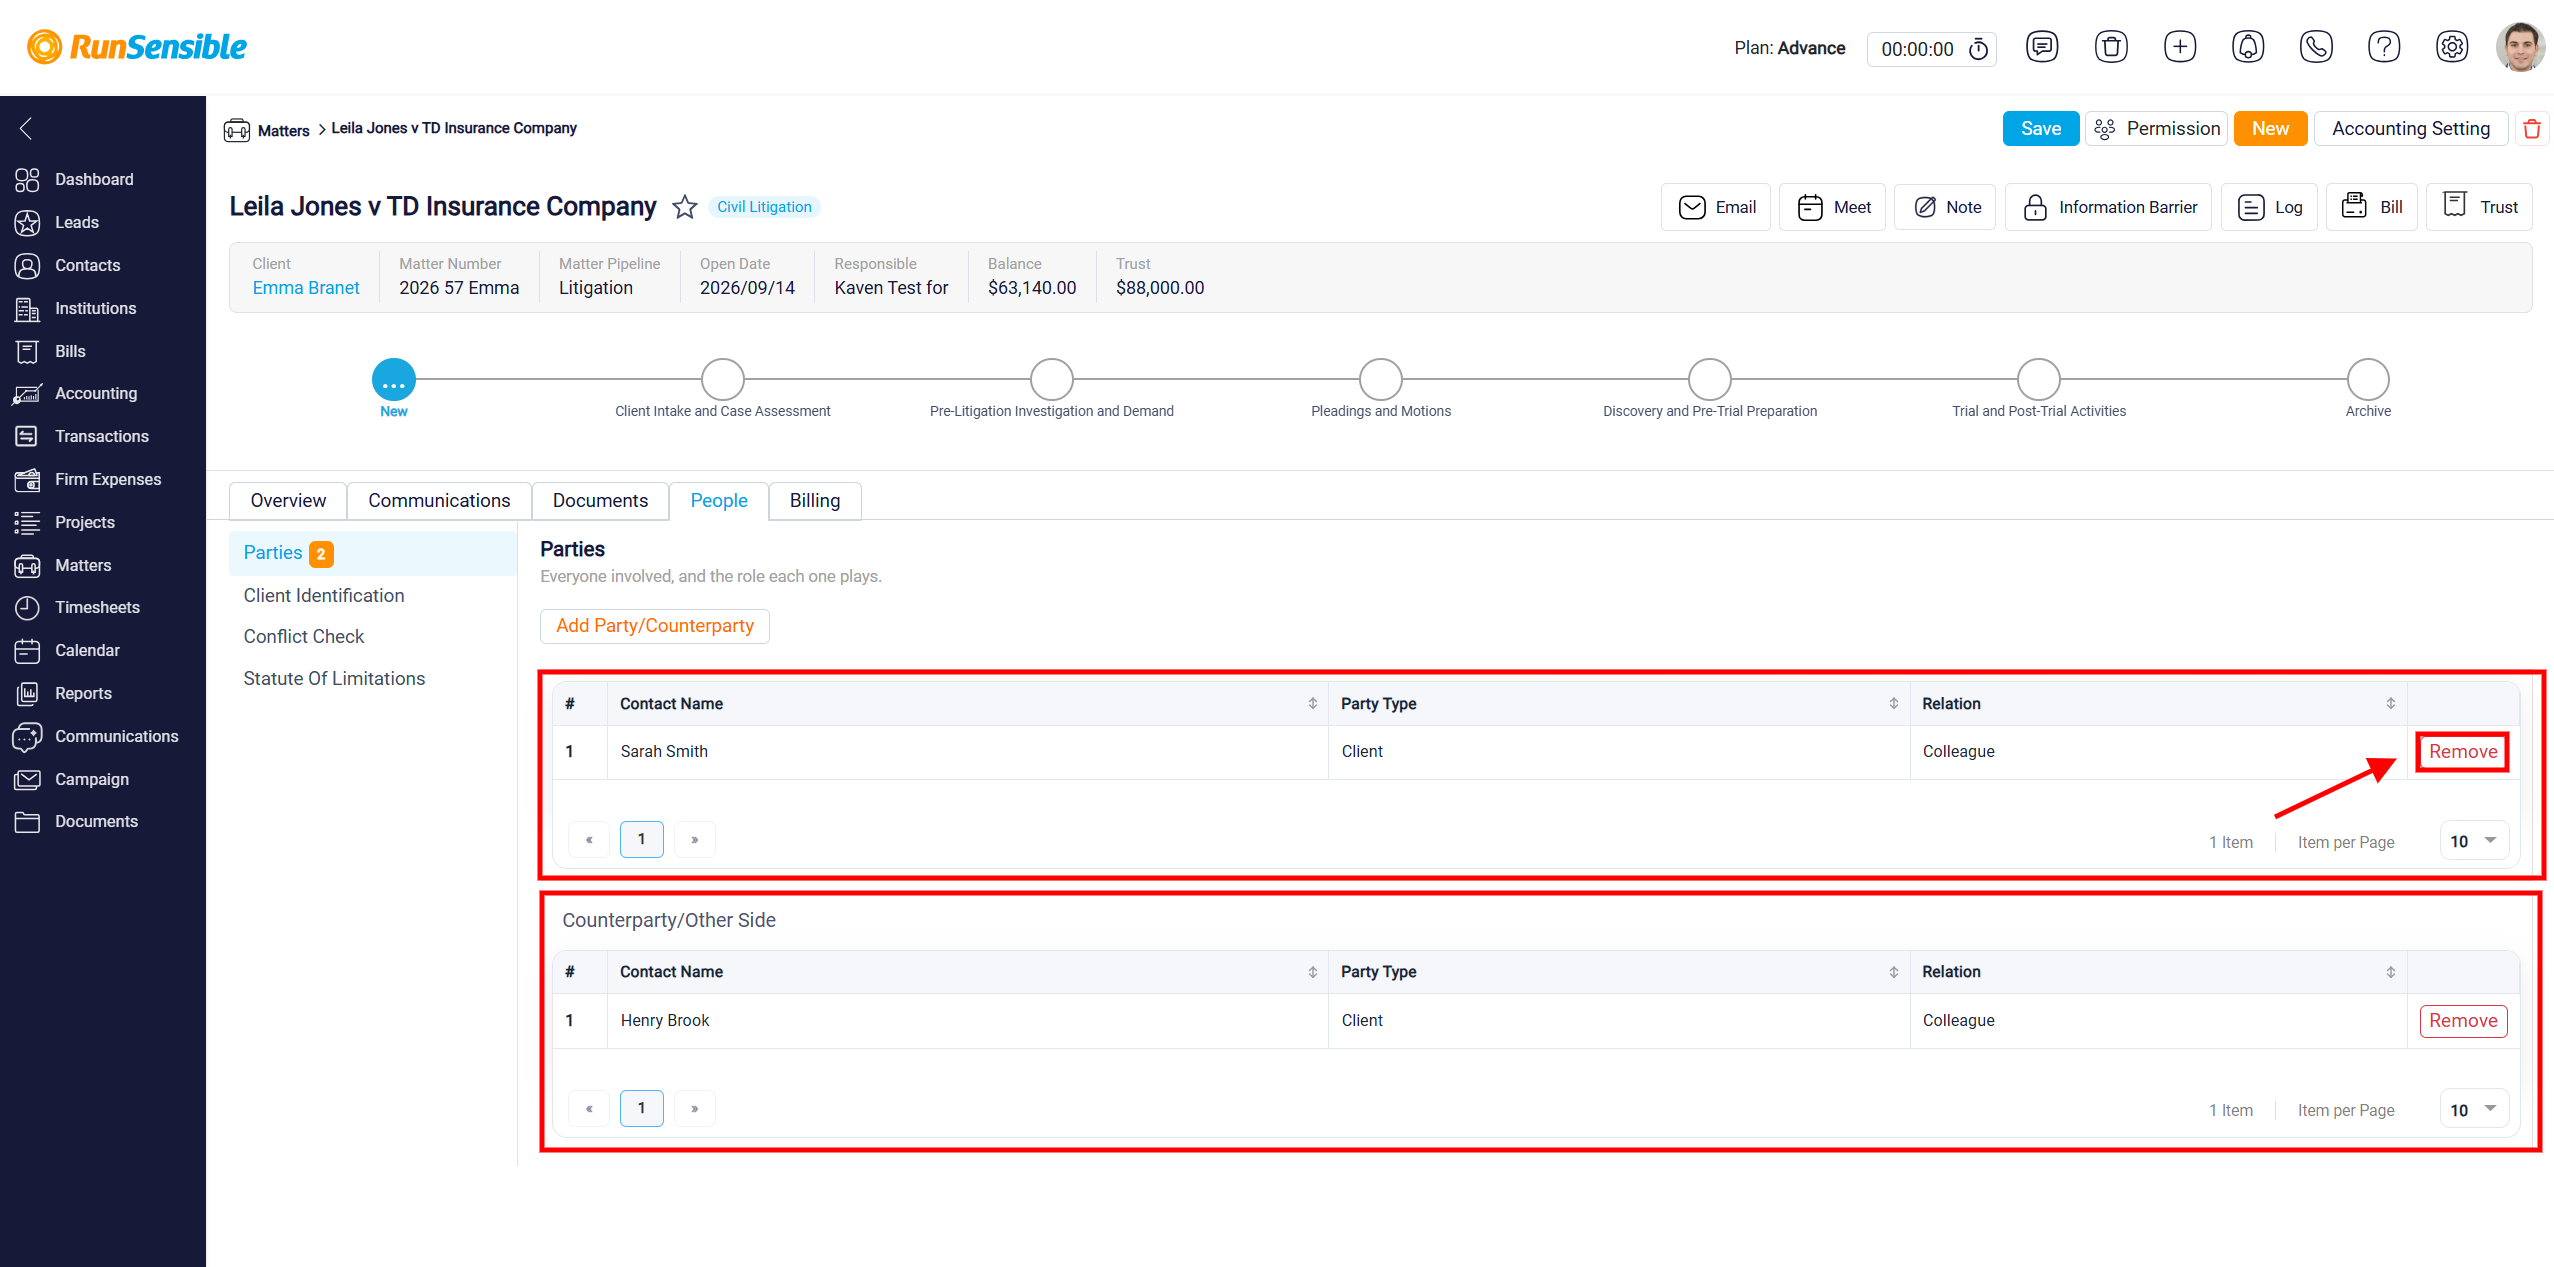
The Parties section displays individuals and organizations associated with the matter, along with their Contact Name, Party Type, and Relation. The information is organized into two separate sections: Parties and Counterparty/Other Side, making it easier to identify each person’s role in the matter.
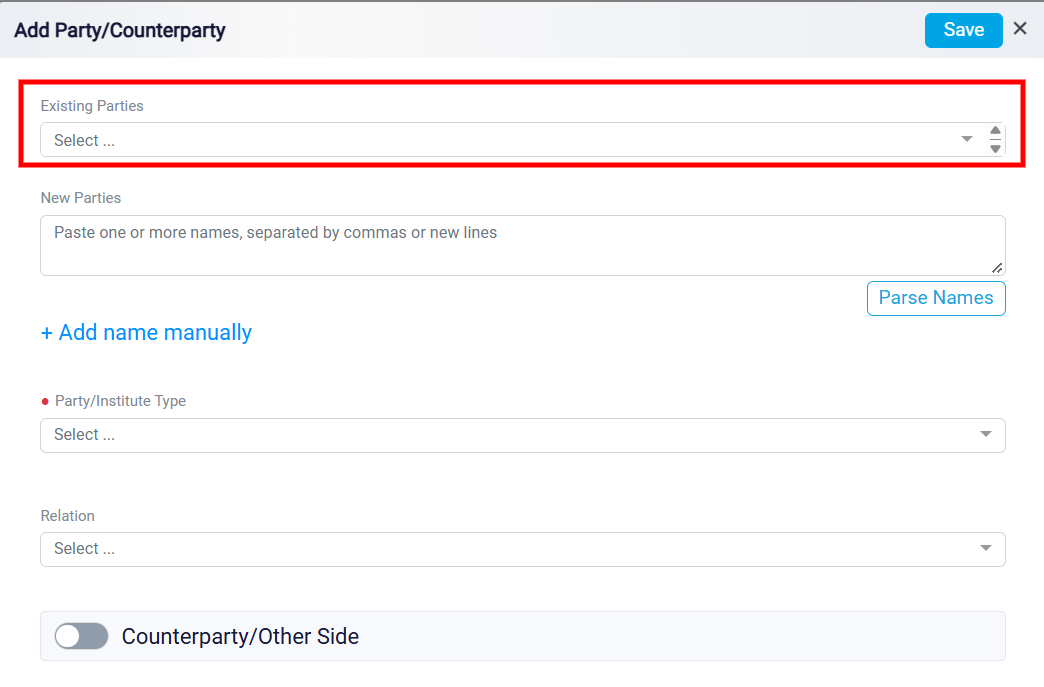
To add someone to the matter, click the Add Party/Counterparty button. This opens a window where you can select existing contacts or add new individuals.
In the Existing Parties field, use the dropdown menu to search for and select contacts already available in RunSensible.
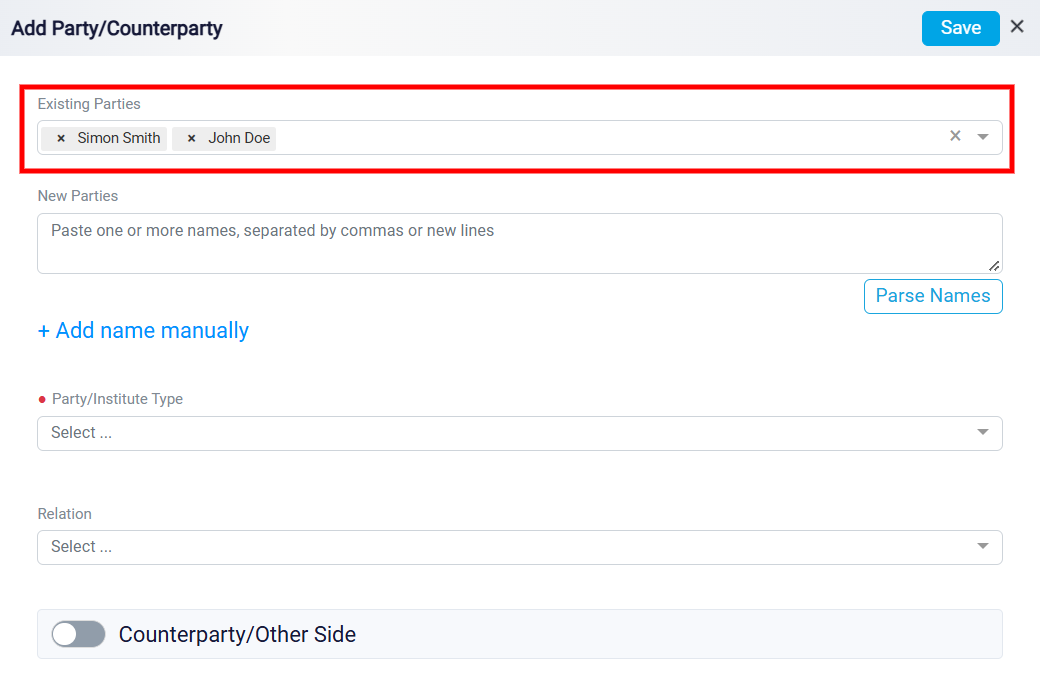
You can select one or more existing contacts to associate with the matter. To remove a selected contact before saving, click the X icon beside their name.
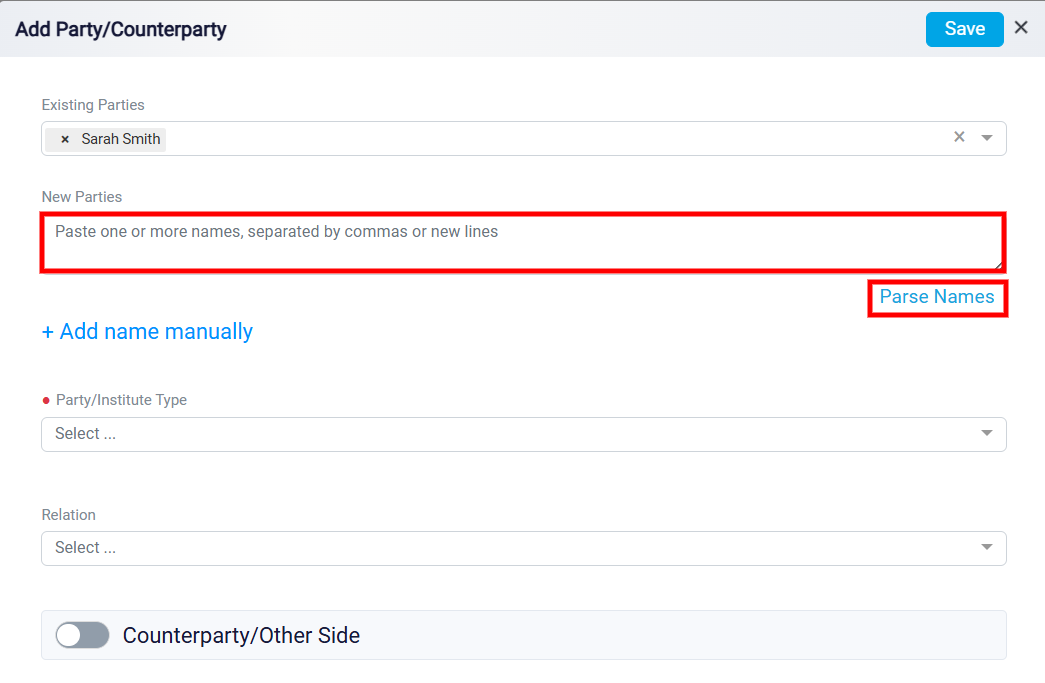
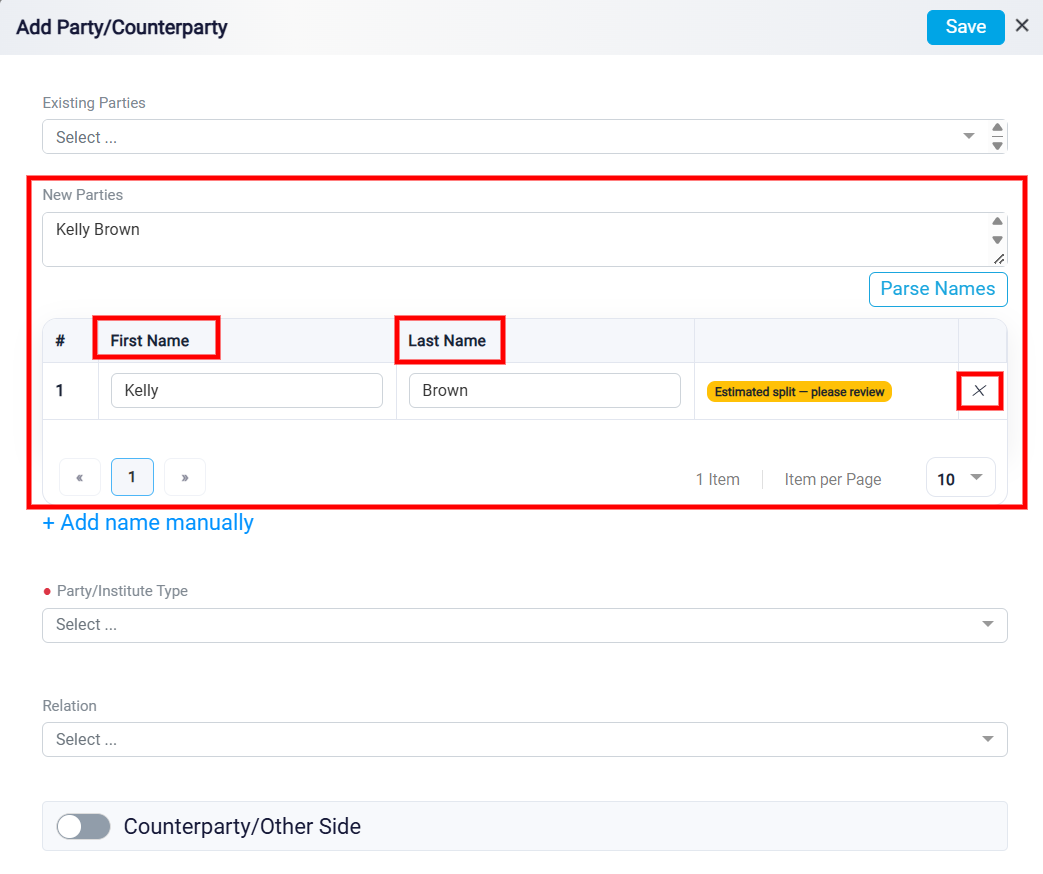
If the person you want to add is not already in your contact list, you can use the New Parties section to enter their information. The New Parties section allows you to add multiple individuals at once. Enter or paste one or more full names into the text box, separating each name with a comma or a new line. Once you have entered the names, click Parse Names.
RunSensible will process the entered names and display them in a table with separate First Name and Last Name fields. Review the information to ensure that each name has been divided correctly. If the system displays an Estimated split — please review message, verify the suggested first and last names and make any necessary corrections before saving.
You can also remove an incorrectly entered name by clicking the X icon beside its entry.
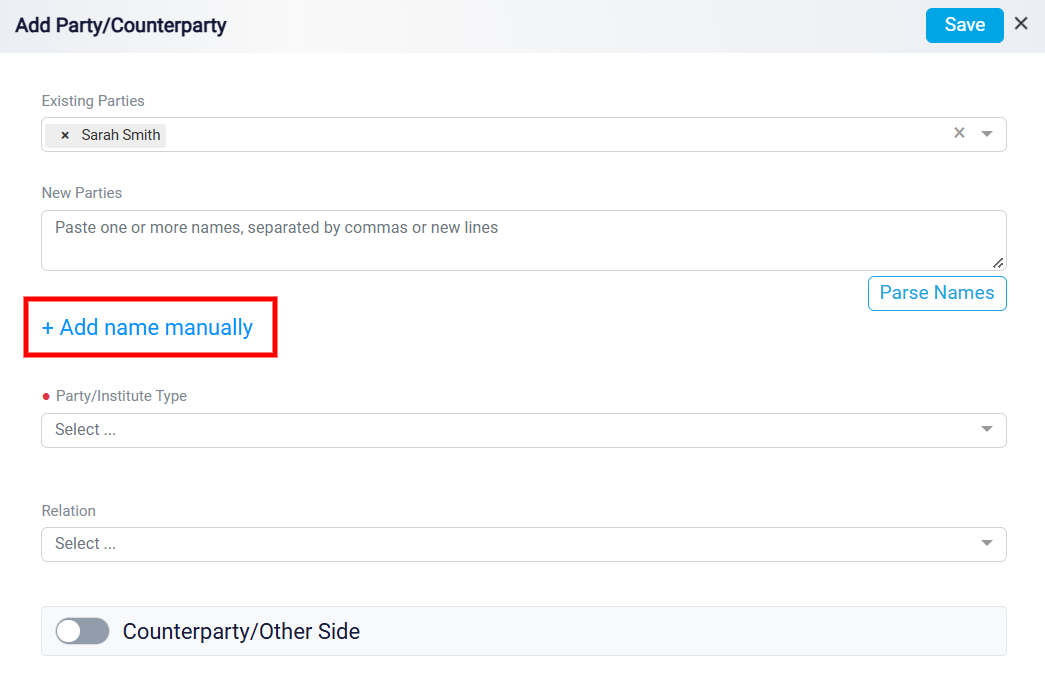
If you prefer to enter names individually, click + Add name manually below the New Parties section. This allows you to add a new entry and provide the person’s first and last name directly.
This option is particularly useful when you want to add a single individual or manually control how a name is entered without using the Parse Names feature.
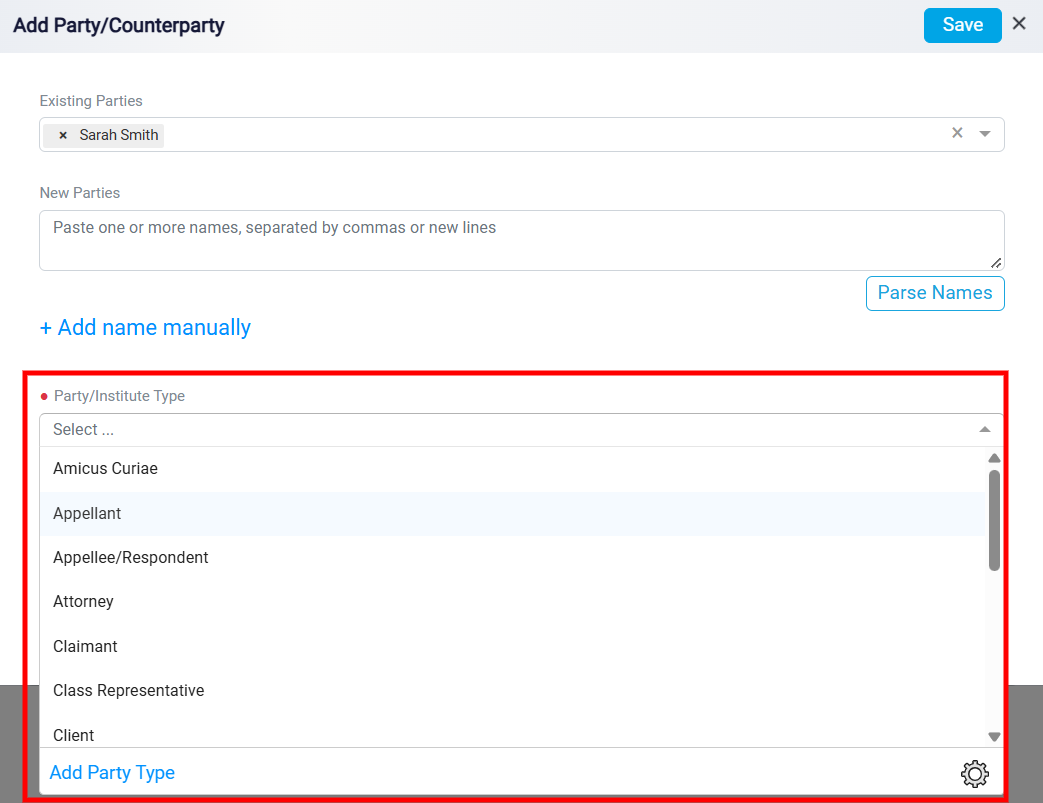
After selecting or adding the individuals, use the required Party/Institute Type dropdown menu to specify their role in the matter. Available options may include Client, Attorney, Claimant, Appellant, Appellee/Respondent, Amicus Curiae, and other legal roles.
Selecting the appropriate party type helps identify each individual’s involvement in the matter and keeps your records organized.
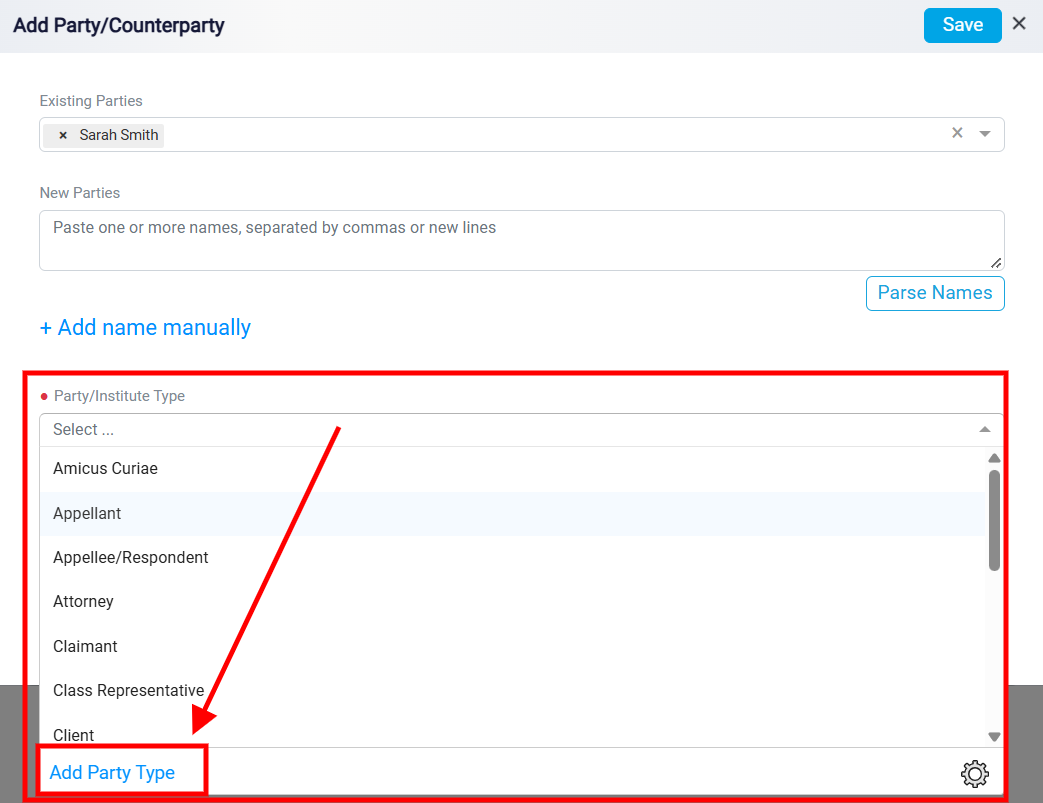
If the required party type is not available, scroll to the bottom of the dropdown menu and click Add Party Type.
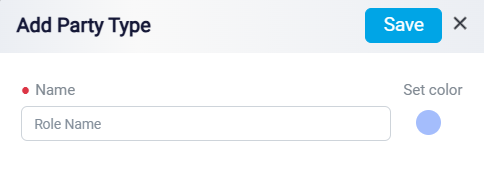
An Add Party Type window will appear, allowing you to enter a new role name in the required Name field. You can also use Set color to assign a color to the new party type. Once you have entered the details, click Save to create the new party type.
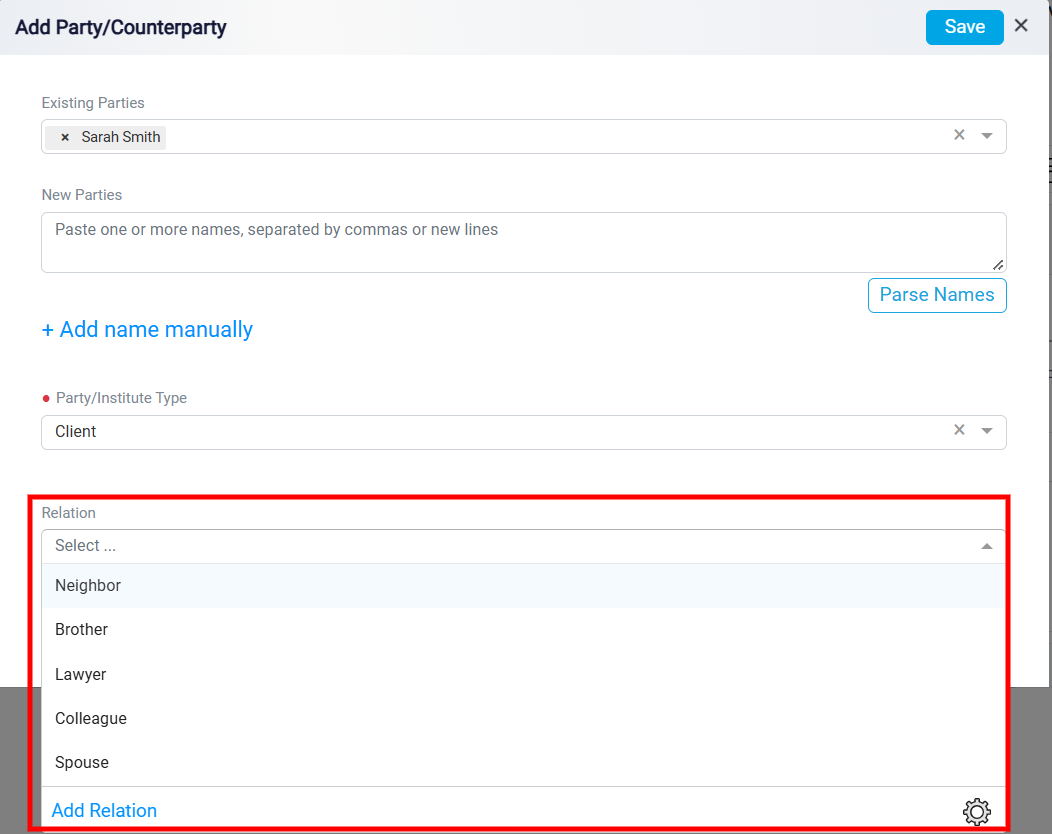
The Relation field allows you to specify the relationship associated with the selected party. Click the dropdown menu to view the available options, such as Neighbor, Brother, Lawyer, Colleague, or Spouse.
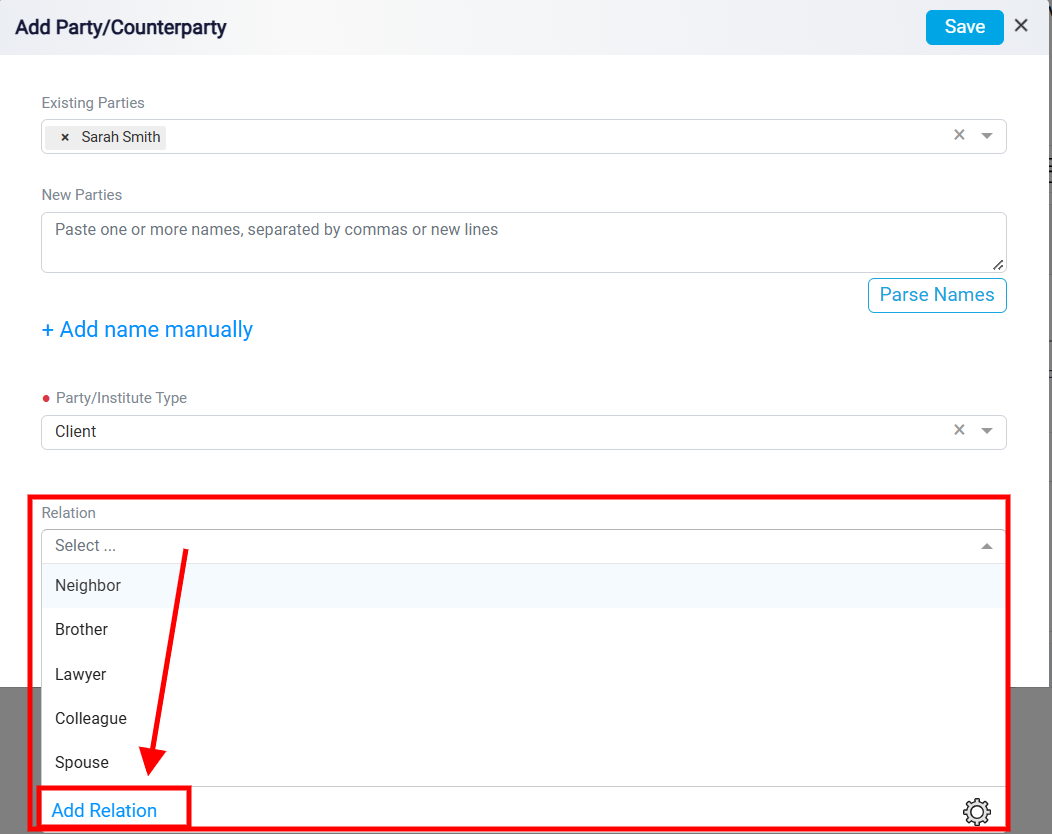
If the relationship you need is not listed, click Add Relation at the bottom of the dropdown menu.
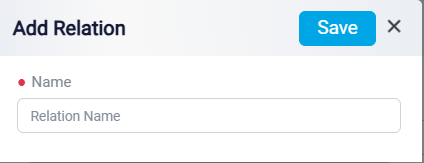
In the Add Relation window, enter the relationship name in the required Name field and click Save.
Adding a relation provides additional context about the individuals associated with the matter, making it easier to understand their connections and involvement.
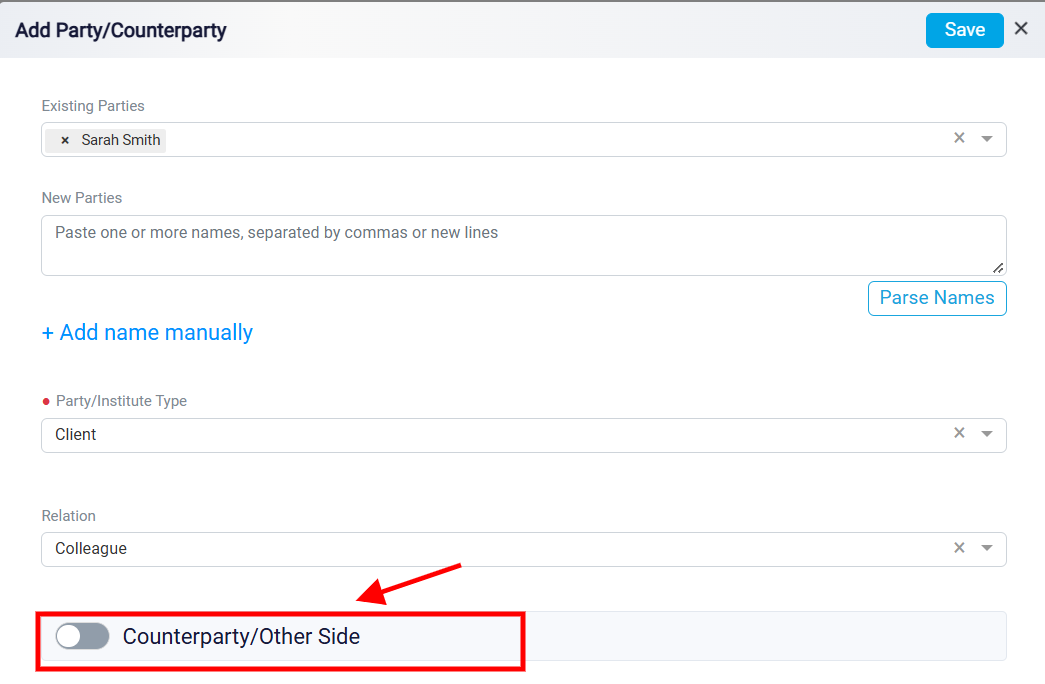
At the bottom of the Add Party/Counterparty window, you will find the Counterparty/Other Side toggle. This option allows you to distinguish individuals or organizations representing the opposing side of the matter from other parties.
By default, the toggle is turned off. When adding someone who belongs to the opposing side, enable the Counterparty/Other Side toggle before saving.
When this option is enabled, the selected individual or organization will appear in the Counterparty/Other Side section of the Parties page rather than the main Parties section.
This distinction is particularly useful in litigation matters, where identifying opposing parties and their representatives is important for maintaining accurate matter records.
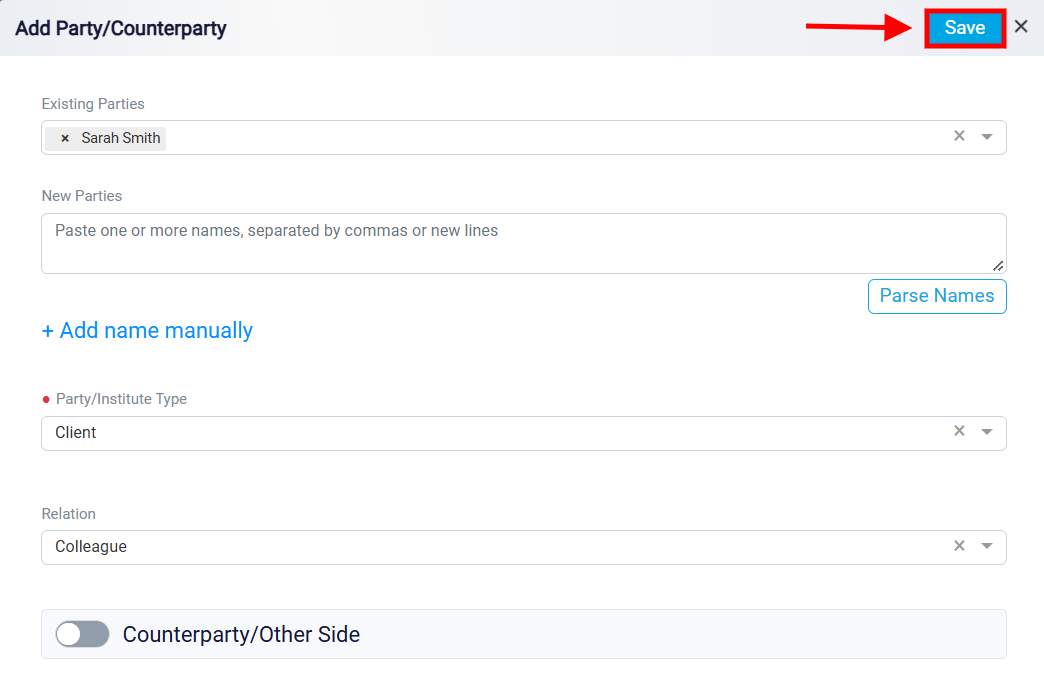
Once you have selected or entered the individuals, assigned the appropriate Party/Institute Type, specified their Relation if applicable, and selected whether they belong to the opposing side, click Save at the top-right corner of the window.
The added individuals will appear in the appropriate section of the Parties page. Each entry displays the contact’s name, party type, and relationship, allowing you to quickly review everyone involved in the matter.
The Parties page displays two separate tables to help you manage individuals associated with the matter. The first table lists the parties, while the Counterparty/Other Side table displays individuals or organizations identified as belonging to the opposing side.
Each table includes columns for Contact Name, Party Type, and Relation. You can review these details to understand the roles and relationships of the people involved in the matter.
To remove an individual from either section, locate their name in the relevant table and click Remove on the right-hand side of their entry.
You can also use the pagination controls at the bottom of each table to navigate through multiple records or adjust the number of items displayed per page.
By keeping your parties and counterparties organized, RunSensible helps you maintain a clear record of everyone involved in a matter, supporting more efficient matter management and easier access to important contact information.