Linking a Client to a Matter
After assigning the attorney, you will need to link the client associated with the matter. To select the client, click on the Client dropdown menu, which will present a list of all the contacts stored in your system. From this list, choose the contact involved in the matter you are creating.
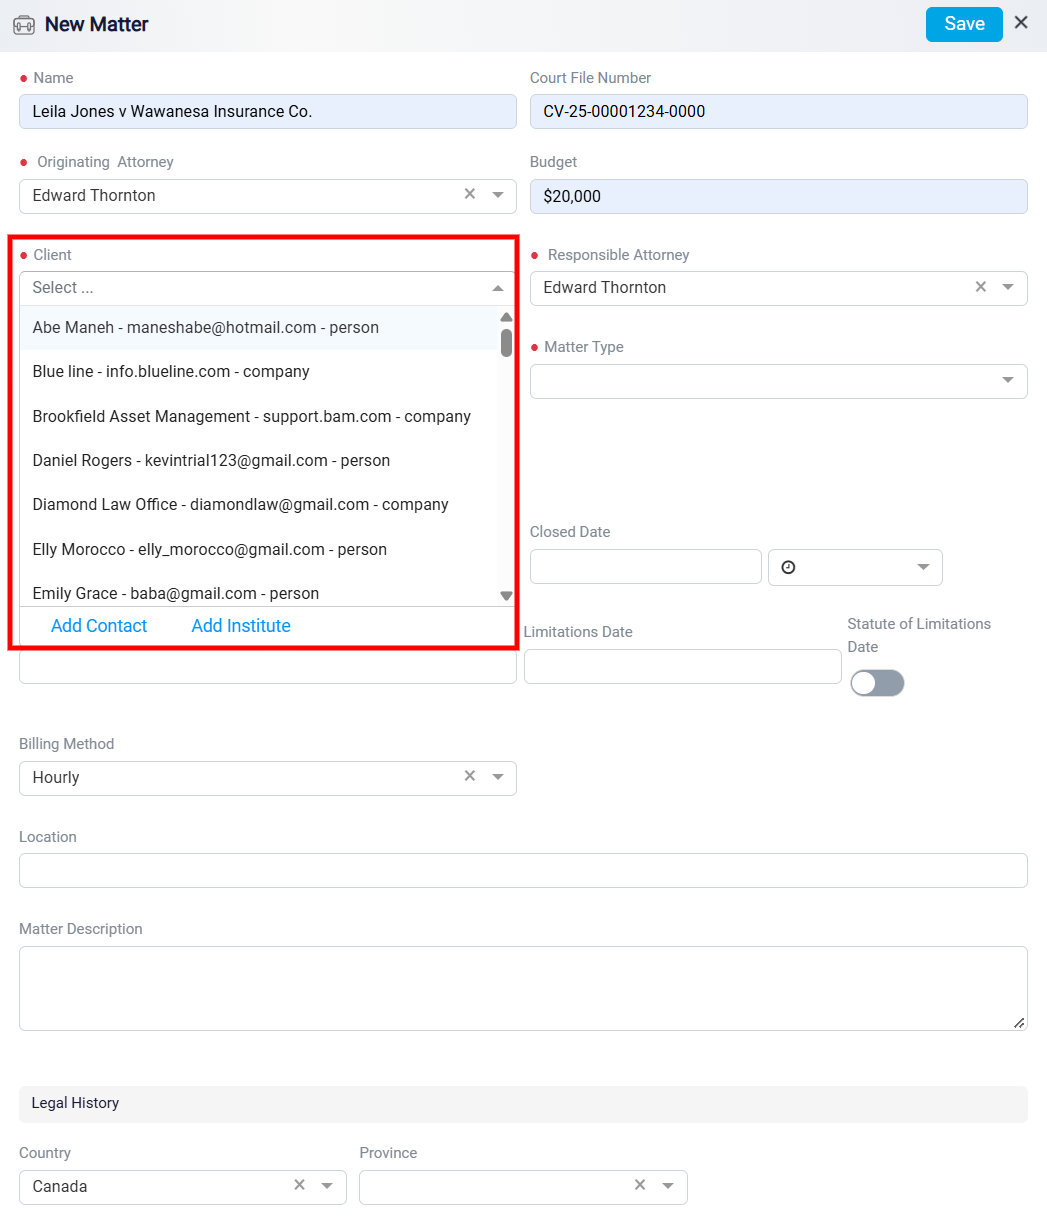
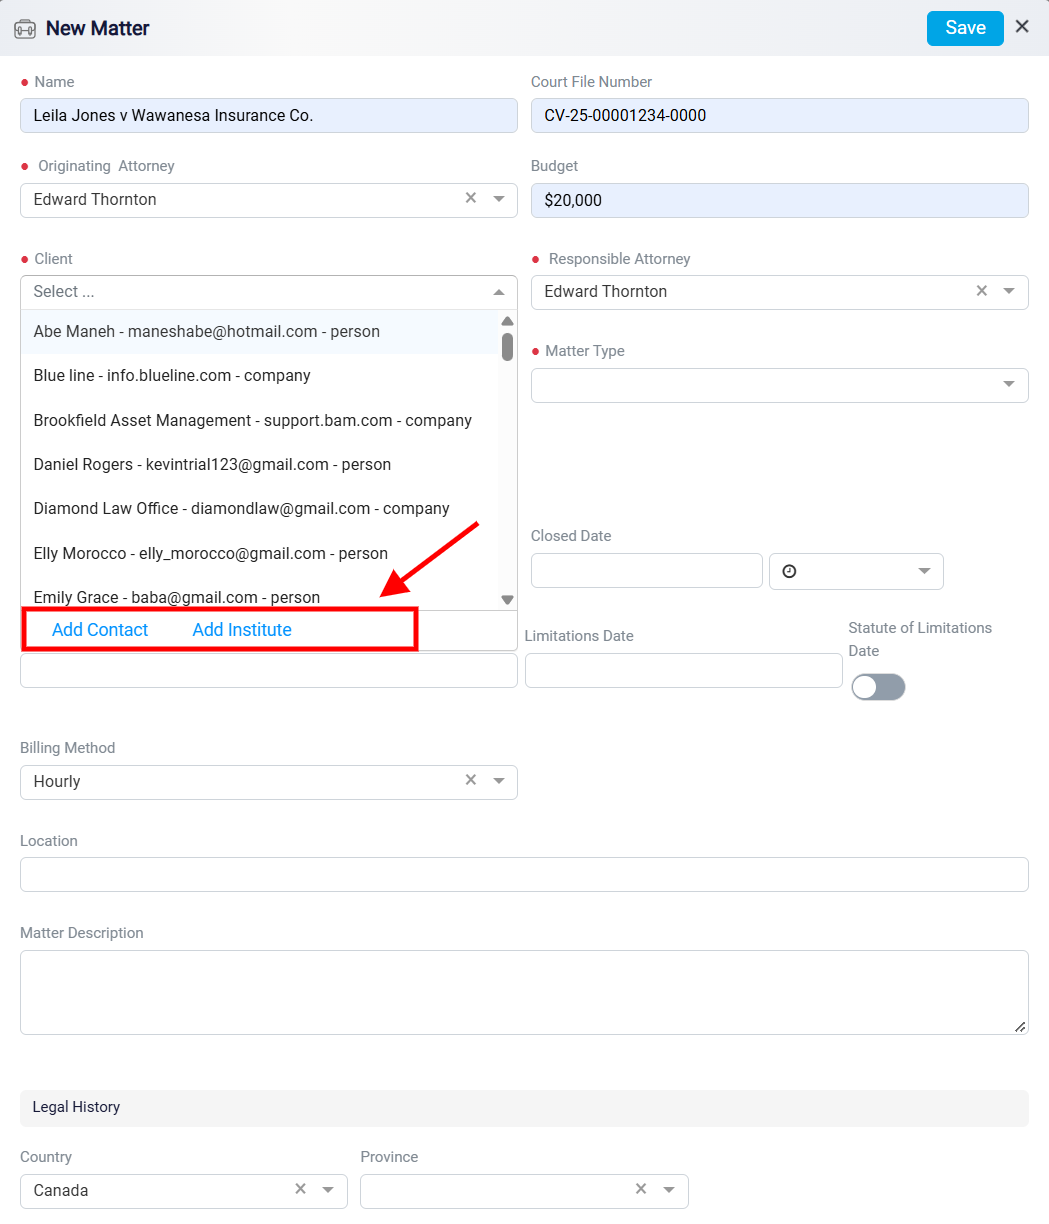
If the client is not listed in the dropdown, you can add a new contact or institution directly from the same menu. This allows you to create the missing client record without leaving the matter creation process.
Adding a New Contact
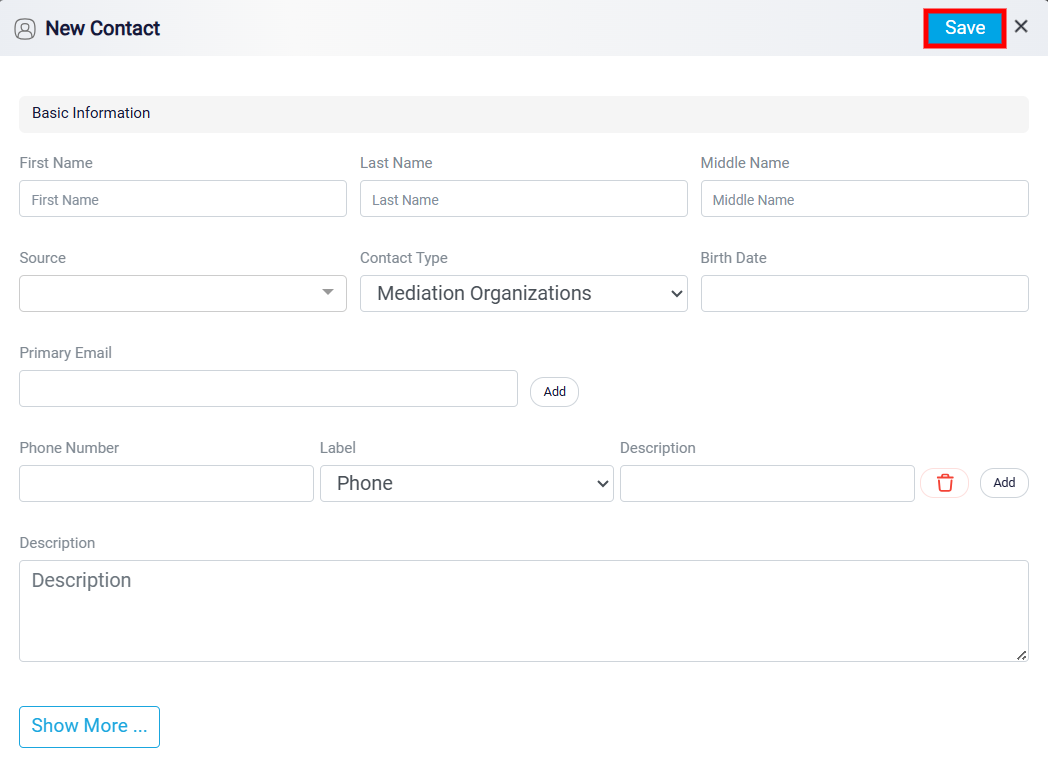
To add a new contact, click Add Contact at the bottom of the Client dropdown. This opens the New Contact panel, where you can enter the contact’s details and save them to the system. In the Basic Information section, enter the contact’s name. This includes the First Name, Last Name, and Middle Name, if applicable. You can also select a Source, choose a Contact Type, and enter a Birth Date. After completing the basic information, enter the contact’s communication details. Add the Primary Email and use the Add button if the contact has more than one email address. You can also enter a Phone Number, choose the appropriate phone label, and add a short description if needed. If a phone entry is incorrect or no longer needed, use the delete icon to remove it. When the contact information is complete, click Save in the top-right corner of the panel. The contact will then be saved in the system and will become available in the Client dropdown.
Adding a New Institution
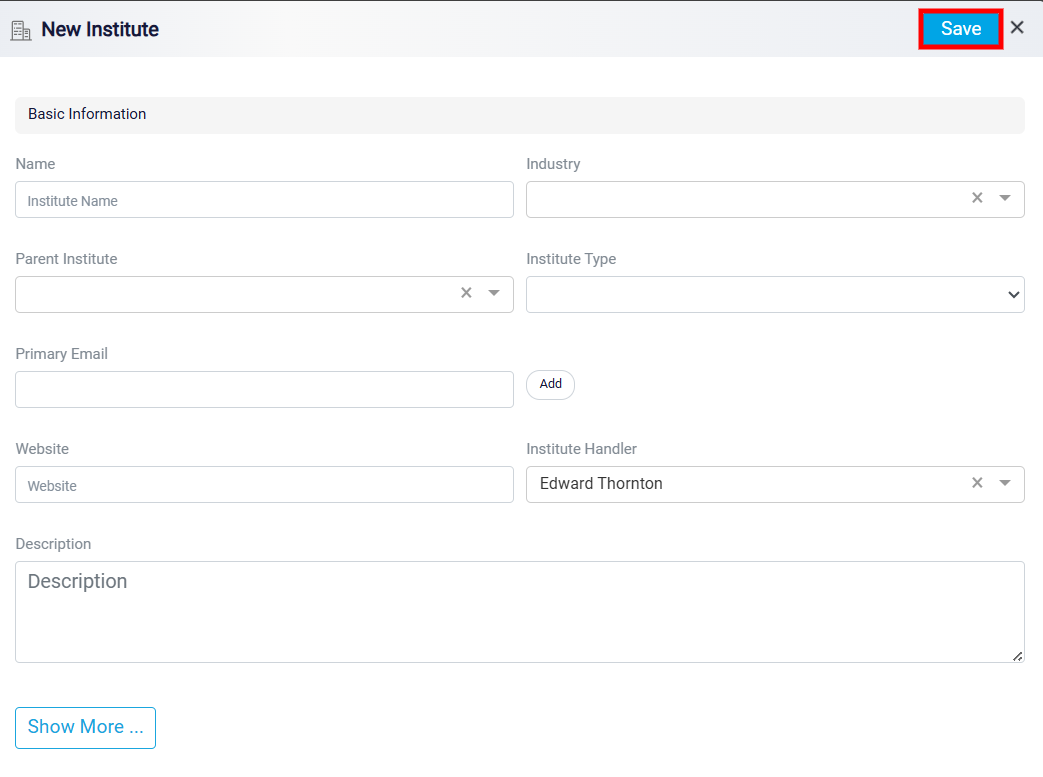
To add a new institution, click Add Institute at the bottom of the Client dropdown. This opens the New Institute form. The institution form works in a similar way to the New Contact form. Enter the required information about the institution, then click Save in the top-right corner of the screen. Once saved, the institution will be added to the system. It will be available in the institutions section and can also be selected from the Client dropdown when creating or editing a matter.