
Filtering Matters in Table View
RunSensible’s matters filtering allows you to efficiently manage and organize your matters by applying various filters to your matter list. This feature helps you quickly find the specific matters you need, saving you time and ensuring you stay organized.
To start filtering matters, navigate to Matters in your sidebar. Here, you will find an overview of all your matters. By default, the list displays your matters in chronological order, with the most recent matters appearing at the top. However, to refine this list and find specific matters, you can apply filters. RunSensible offers a range of filters for matters, allowing you to narrow down your search and focus on specific criteria. The Filter button is used to narrow the matters shown in the table based on selected criteria.
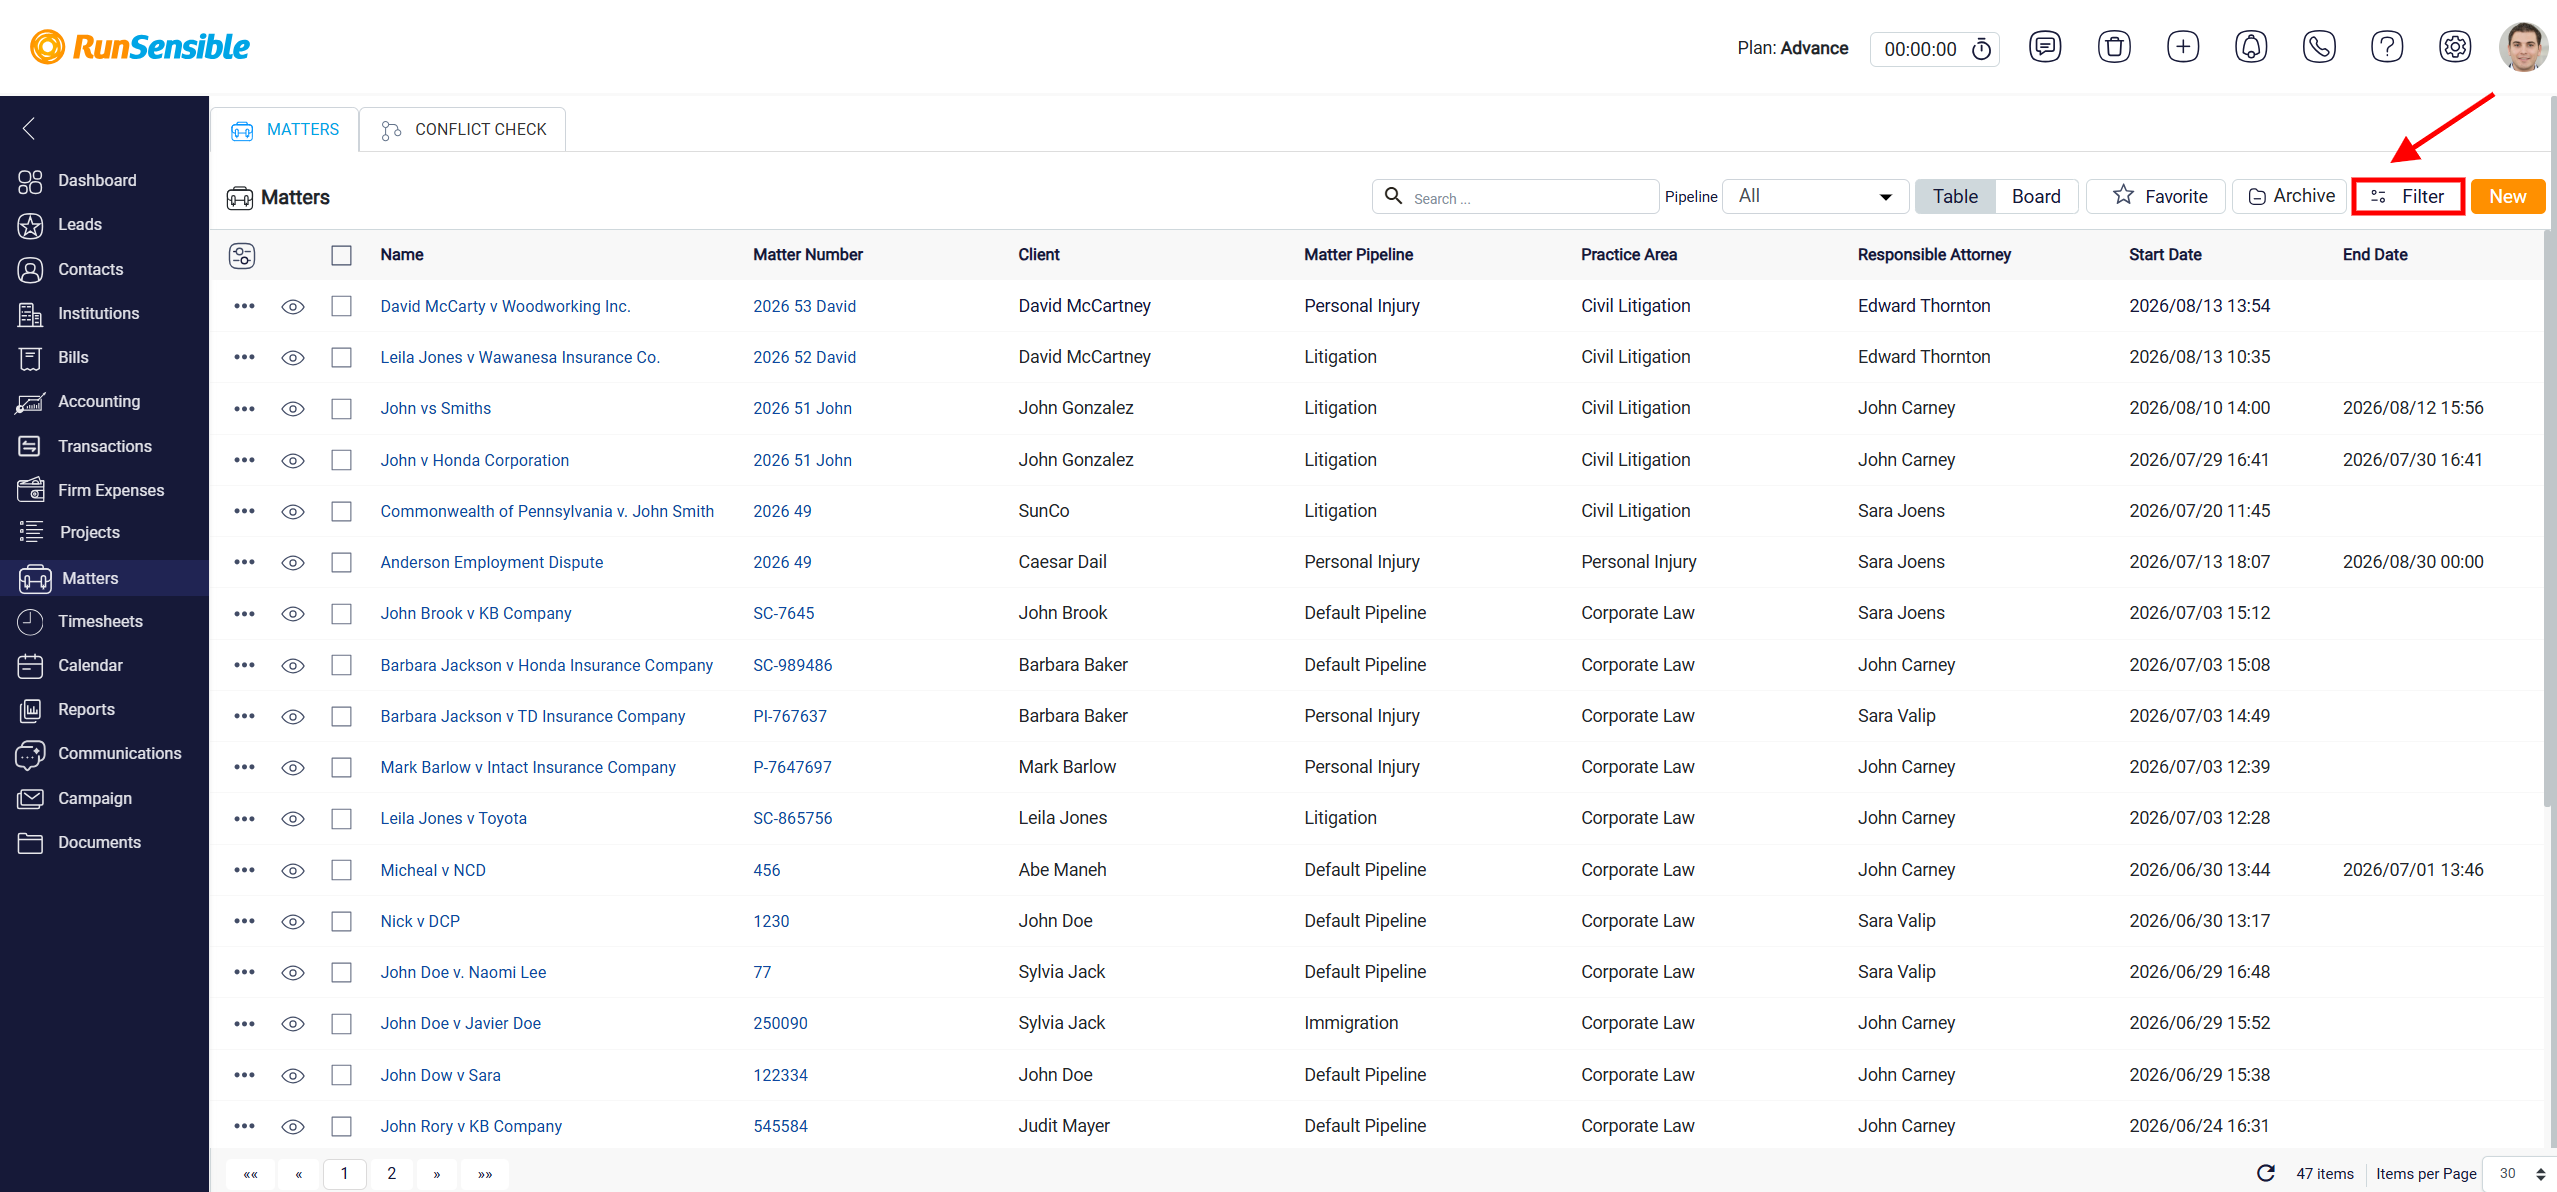
When you click the Filter button, a filter panel opens on the right side of the screen. This panel displays the available fields related to the section you are viewing. These filters include:
– Name: Simply type out the matter’s name.
– Client: Filter matters for specific clients.
– Originating Attorney: An originating attorney is the lawyer who begins a legal case for a client, providing initial legal advice and managing the case’s early stages. By this filter you get access to the cases at their first stages by the name of the originating attorney.
– Responsible Attorney: This filter helps you identify matters assigned to a specific lawyer or staff member within your firm. By selecting the relevant user, you can easily view and manage matters delegated to individuals, streamlining workflows and fostering accountability.
– Open Date: You could also filter matters based on the time they get started. All you have to do is enter the matter’s start date, using the dropdown calendar.
– Closed Date: Filter matters based on the time they get close.
– Practice area: This filter enables you to sort matters by their respective legal practice areas.
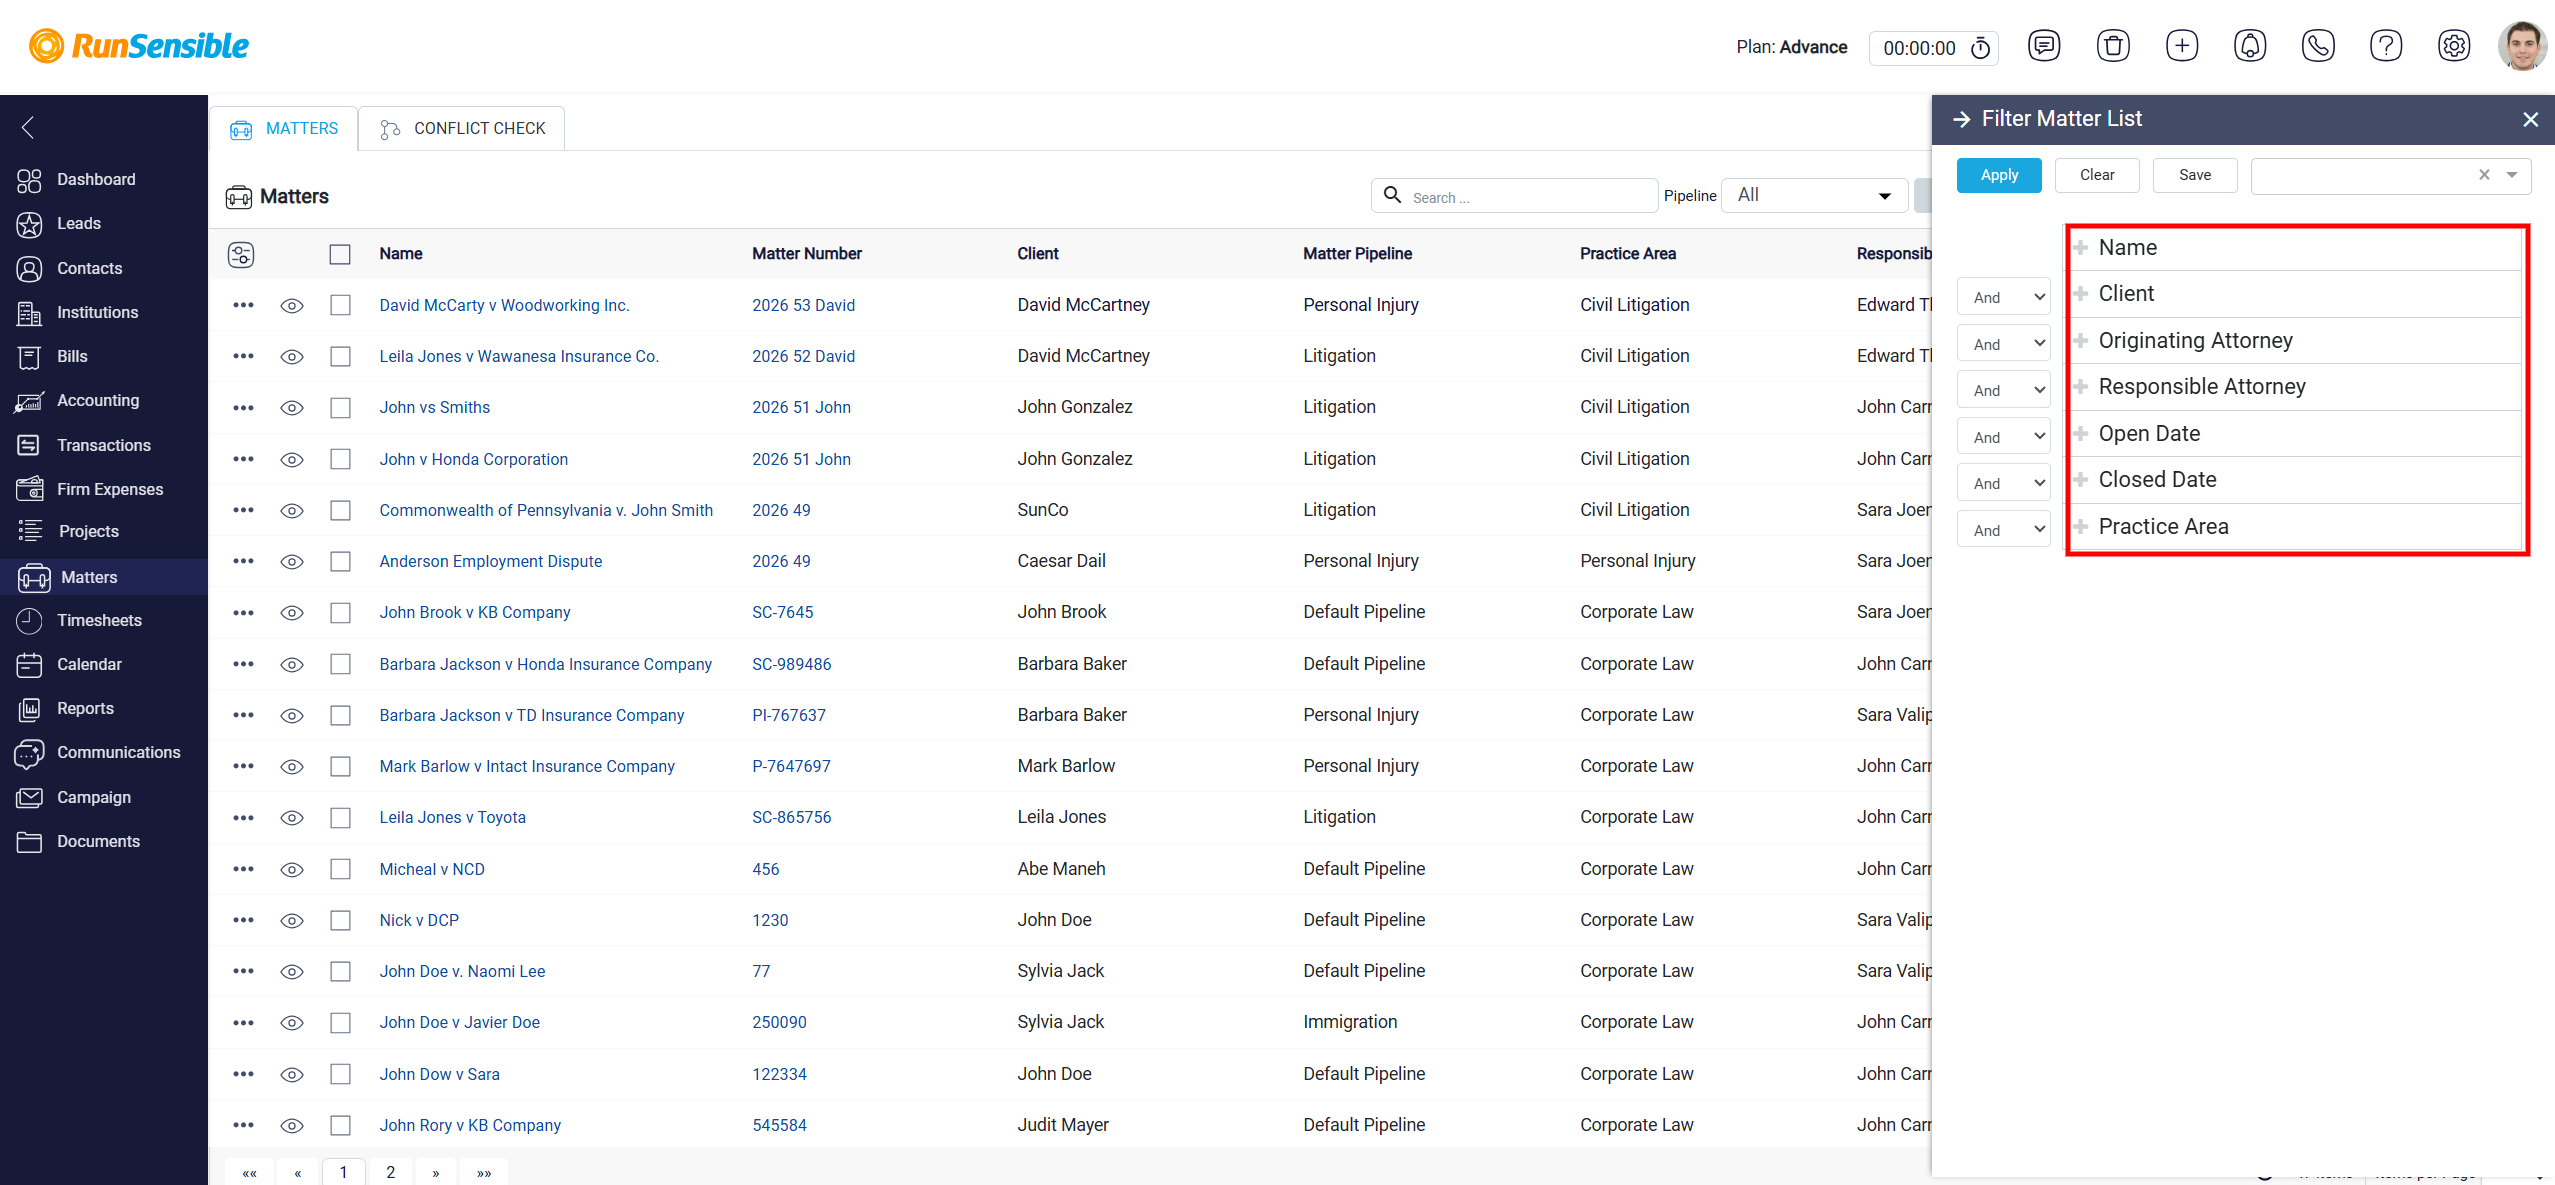
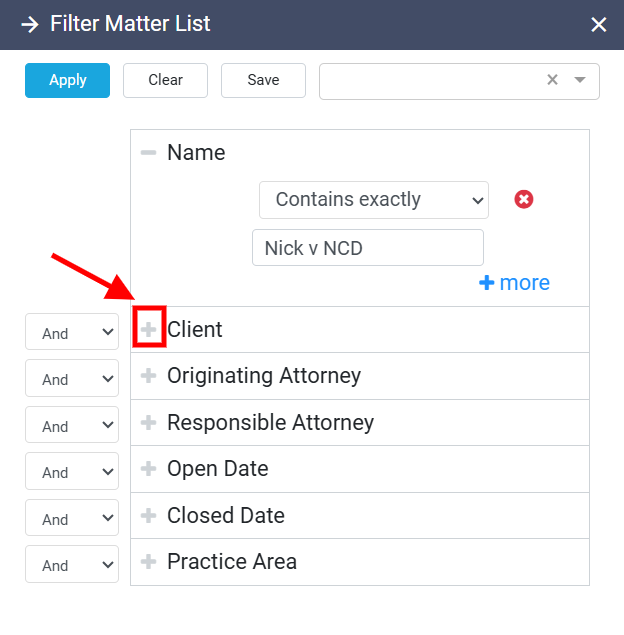
Each field in the filter panel can be used to create a filter condition. To begin filtering by a specific field, click the Plus button beside that field.
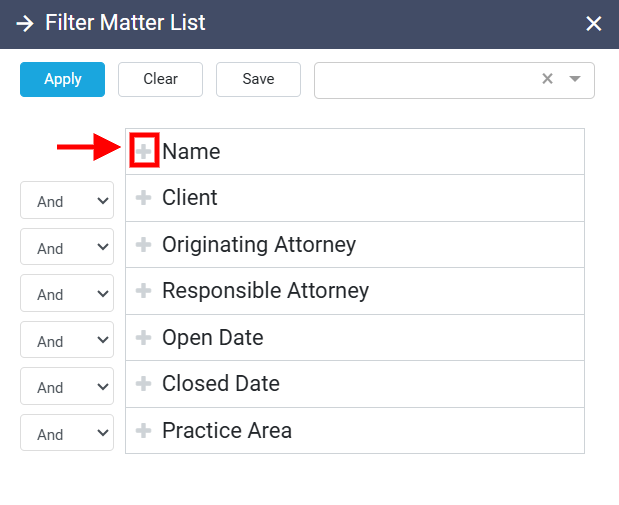
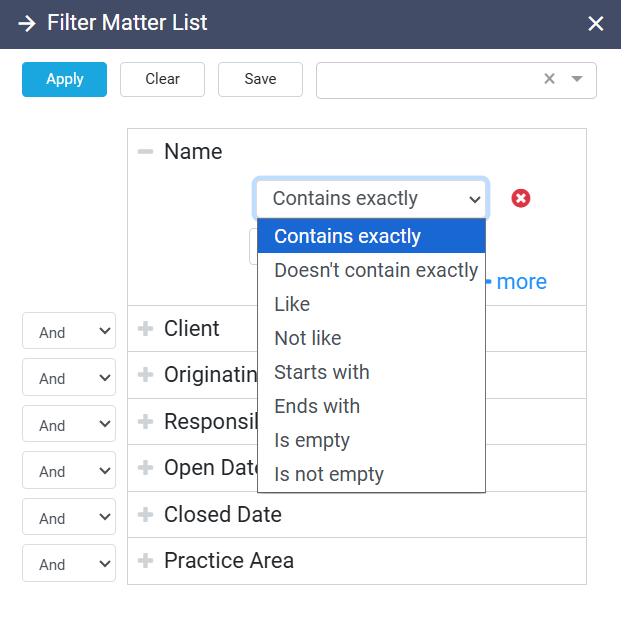
This opens a filter setup area for that field. The setup area usually includes a dropdown menu and, when needed, a search box.
The dropdown menu controls how the system should compare the field value with the value you enter. For example, you may be able to choose options such as Contains exactly if you want the result to match the entered value exactly.
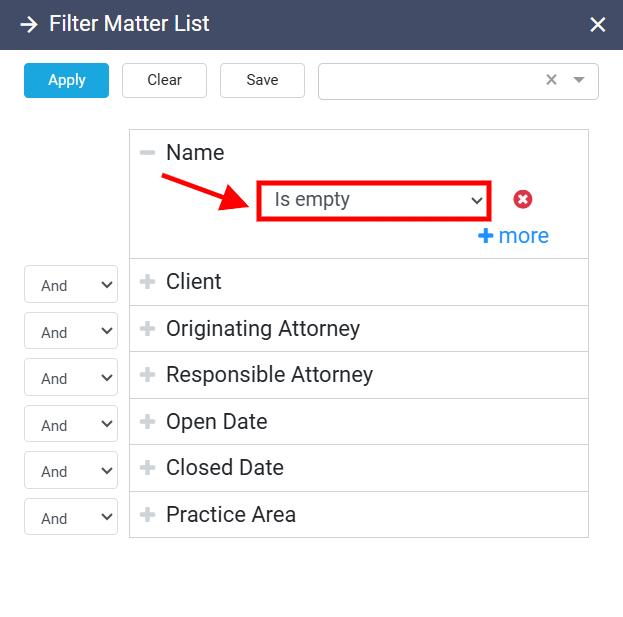
Some filter options do not require you to type anything into a search box. For example, options such as Is Empty and Is Not Empty are used to filter records based on whether a field contains information. If you choose one of these options, the search box will disappear because the system does not need a typed value to complete the filter. It only needs to know whether the selected field is empty or filled.
Adding Filter Values
If the selected filter condition requires a value, choose the matching option from the dropdown menu and then type the value into the search box. For example, if you want to find matters connected to a specific attorney, client, or practice area, you would select the appropriate field, choose the matching rule, and enter the value you want the system to search for.
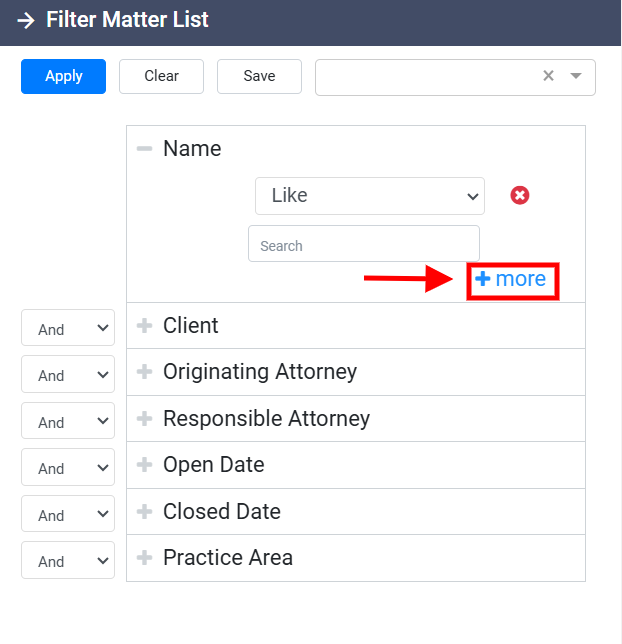
You can also add more than one condition to the same field. To do this, click the More button at the bottom of the filter setup area. This adds a second dropdown menu and search box, allowing you to define another condition for the same field. After adding the second condition, you must decide how the two conditions should work together.
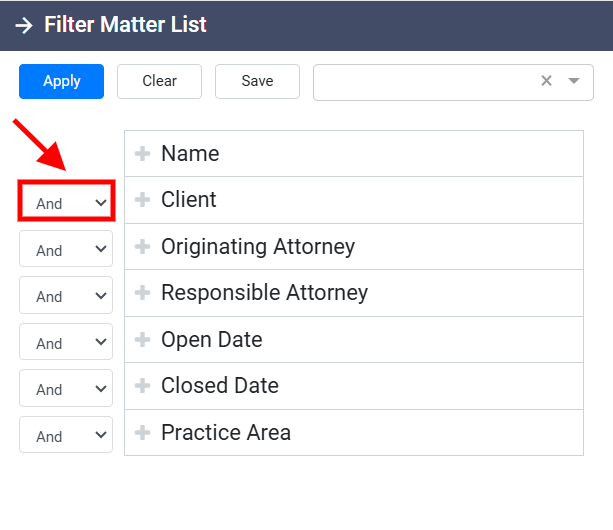
If you select And, the system will only show results that meet both conditions. This is the default option. If you select Or, the system will show results that match either one of the conditions. The And option creates a narrower result, while the Or option creates a broader result.
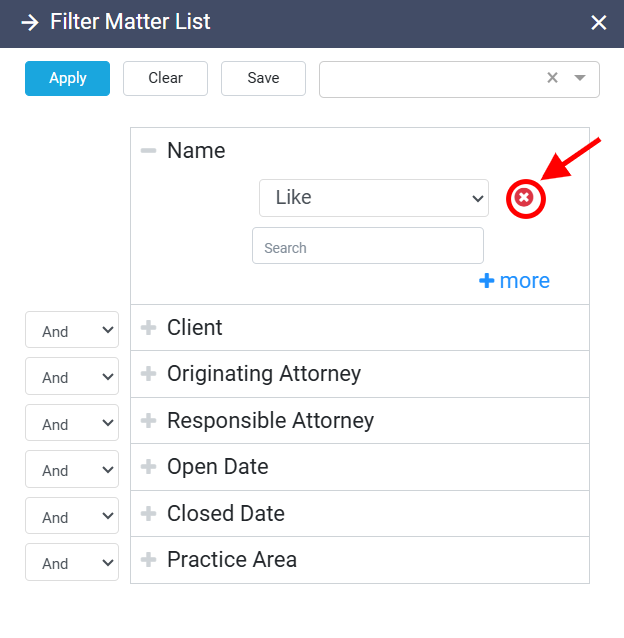
If you no longer need the second condition, click the X beside the second search box to remove it.
Combining Multiple Filters
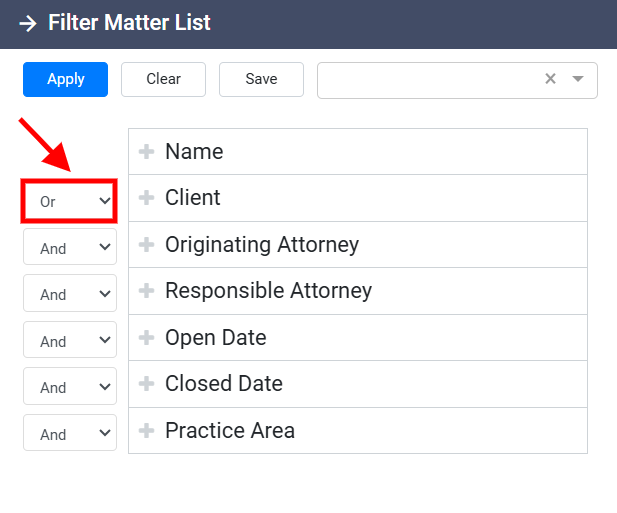
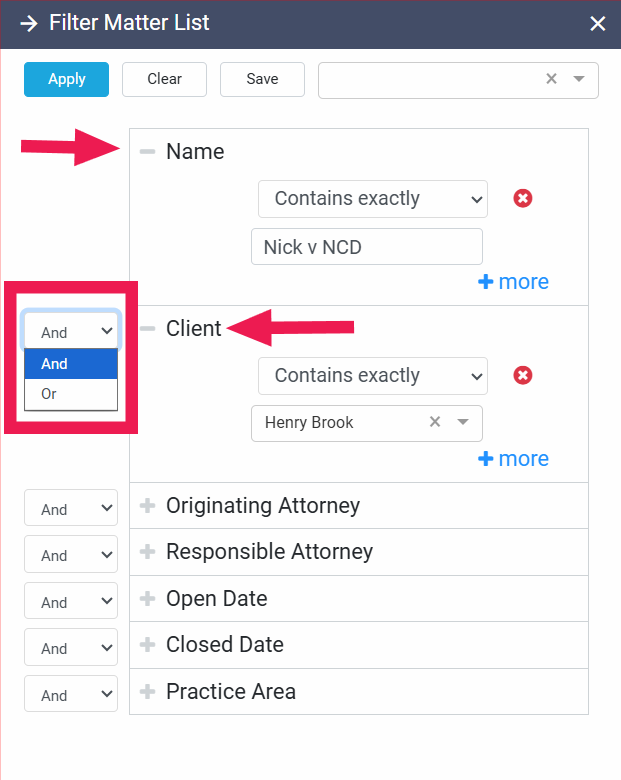
You can also filter matters using more than one field at the same time. After setting up one filter, you can add another by clicking the Plus button beside another field in the filter panel. For example, you may want to filter matters by responsible attorney, practice area, and open date at the same time.
When multiple filters are applied, you can decide whether the matters must match all selected filters or only some of them. If the filters are connected with And, the system will only show matters that meet every selected condition. If they are connected with Or, the system will show matters that match at least one of the selected conditions.
Applying and Clearing Filters
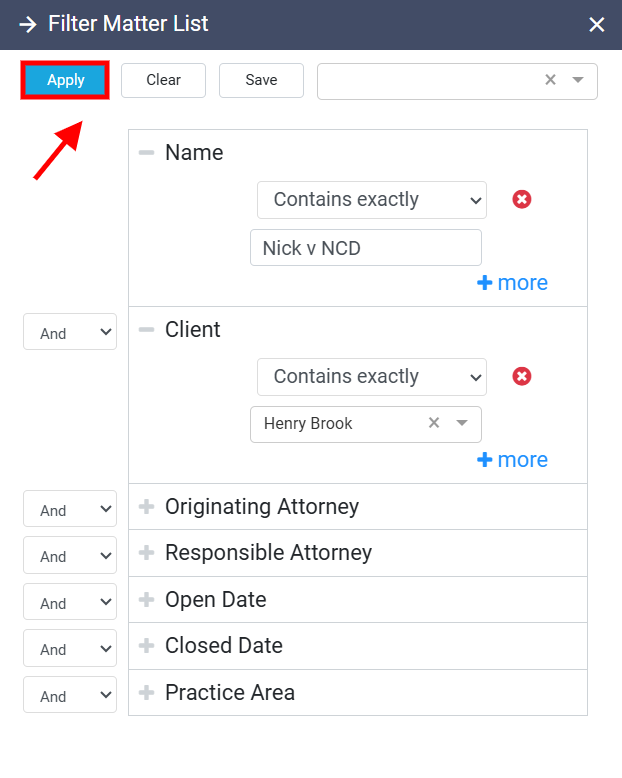
After setting up the filter conditions, click the Apply button at the top-left side of the filter panel. This applies the selected filters and updates the table so only the matching matters are shown.
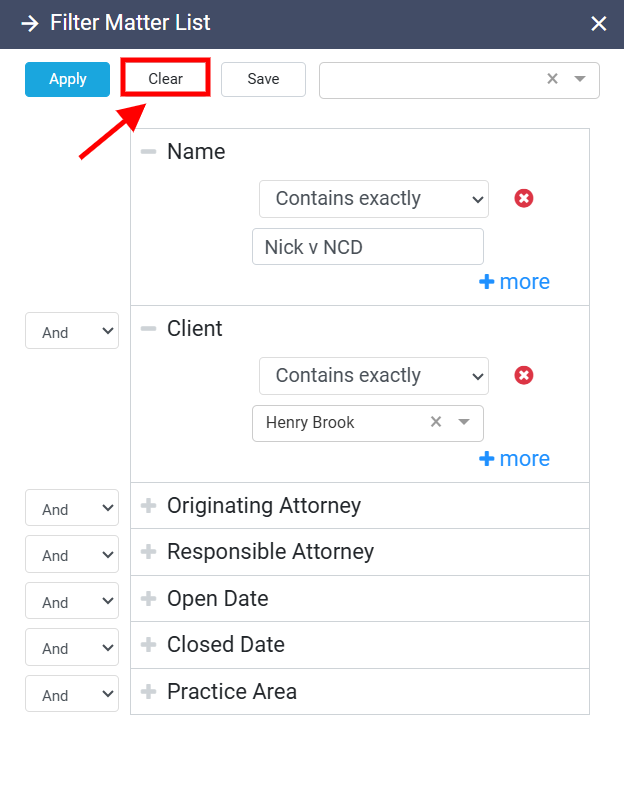
If you want to remove the filters and return to the full matters list, click the Clear button at the top of the filter panel. This removes the active filter conditions and restores the table to its original view.
Saving Filters
RunSensible also allows you to save filters that you use often.
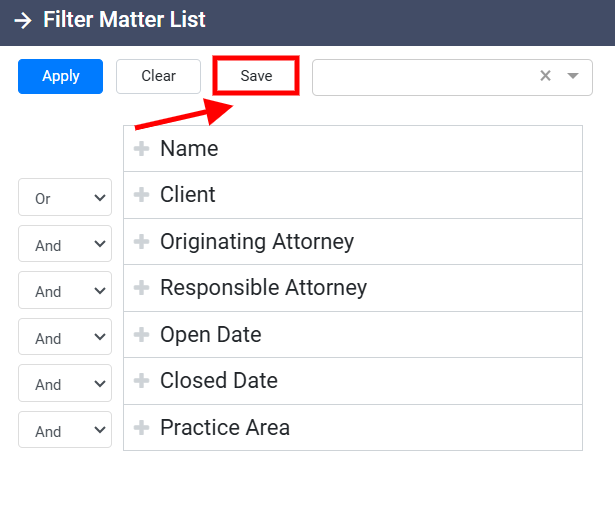
After setting up the filter conditions, click the Save button at the top of the filter panel. This opens the Save Current Filter panel, where you can enter a name for the filter.
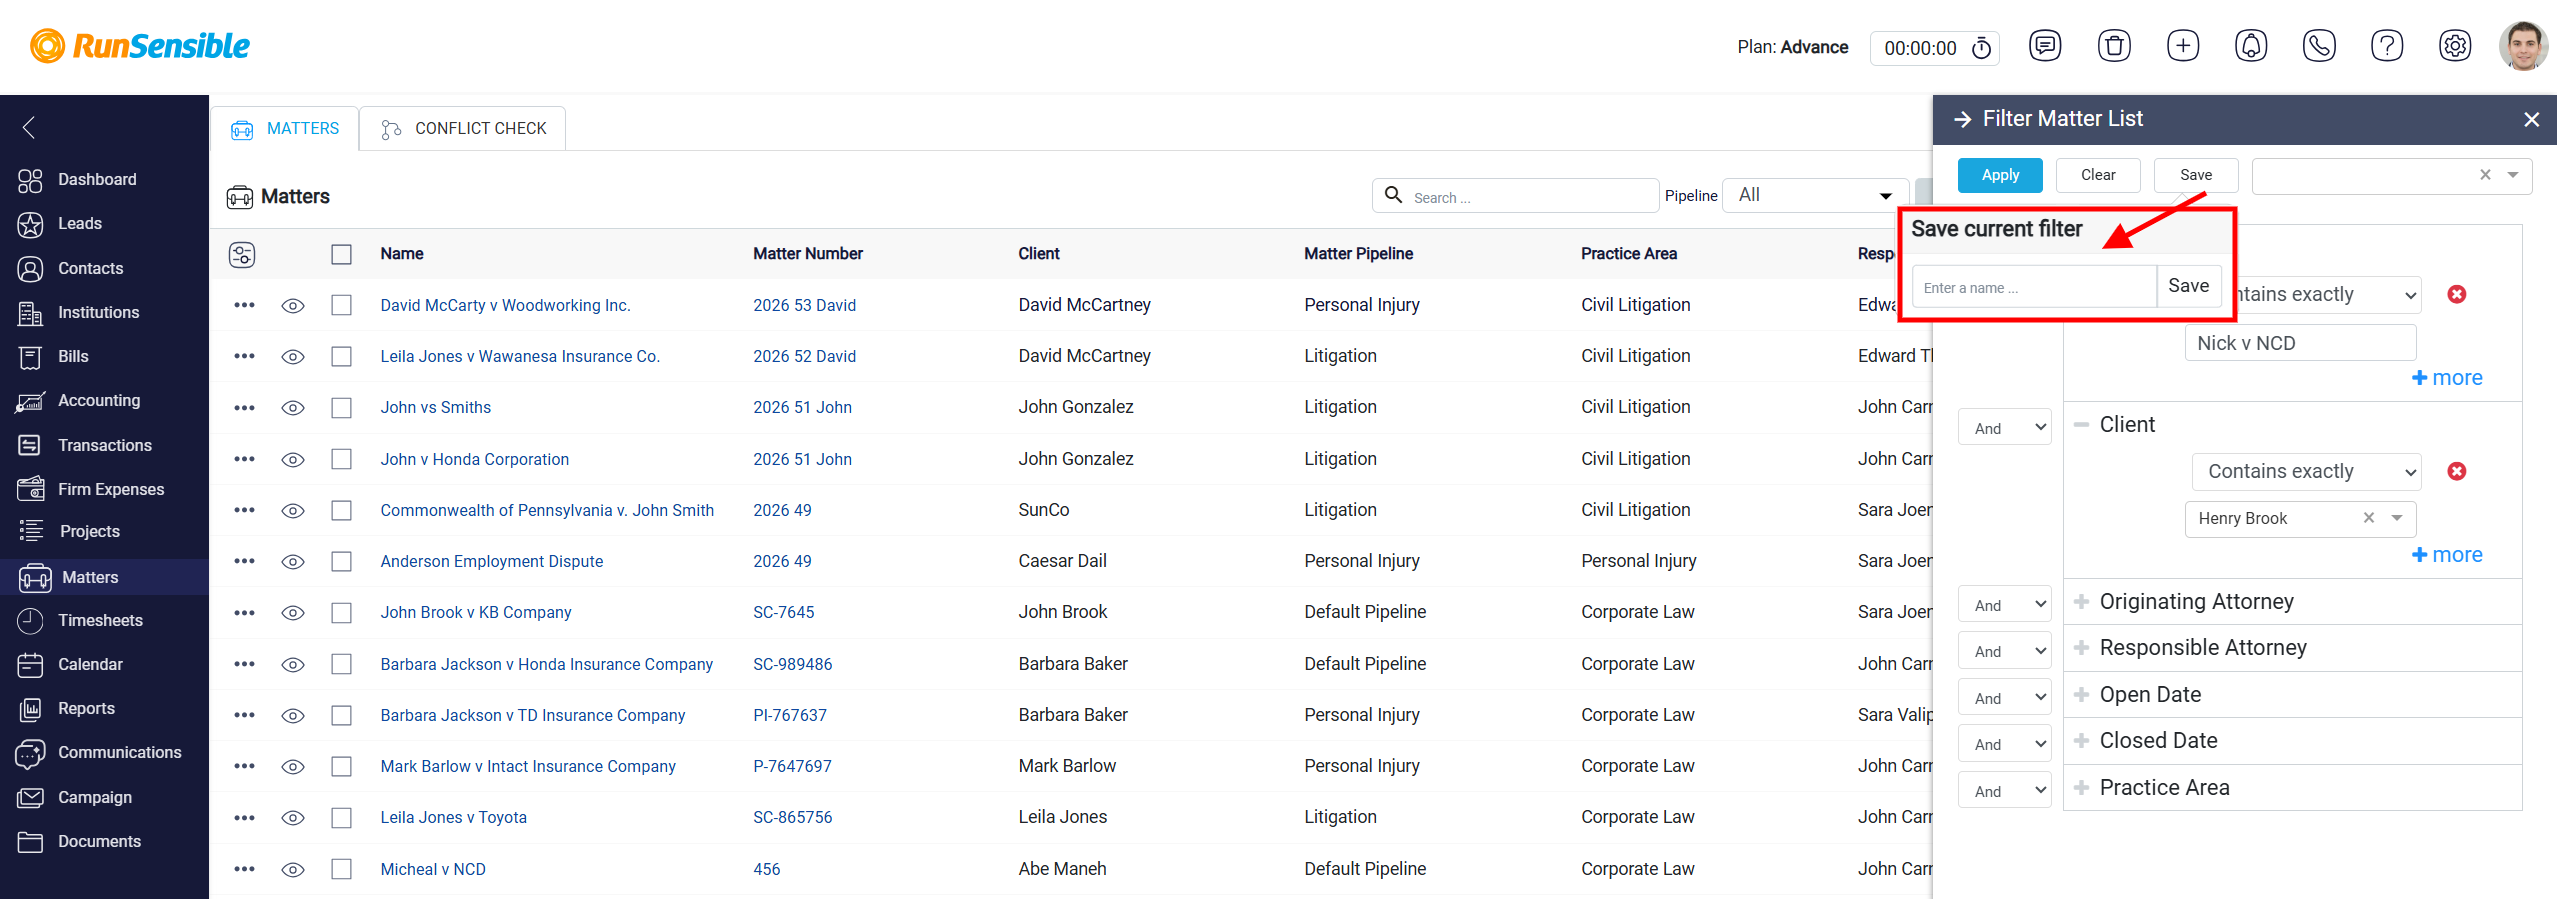
After the filter is saved, you can find it later by using the search box at the top-right of the filter panel. Search for the saved filter name, select it, and apply it without rebuilding the same filter conditions again. This is useful when you regularly review the same type of matters, such as matters assigned to a specific attorney, matters in a certain practice area, or matters with a particular status.