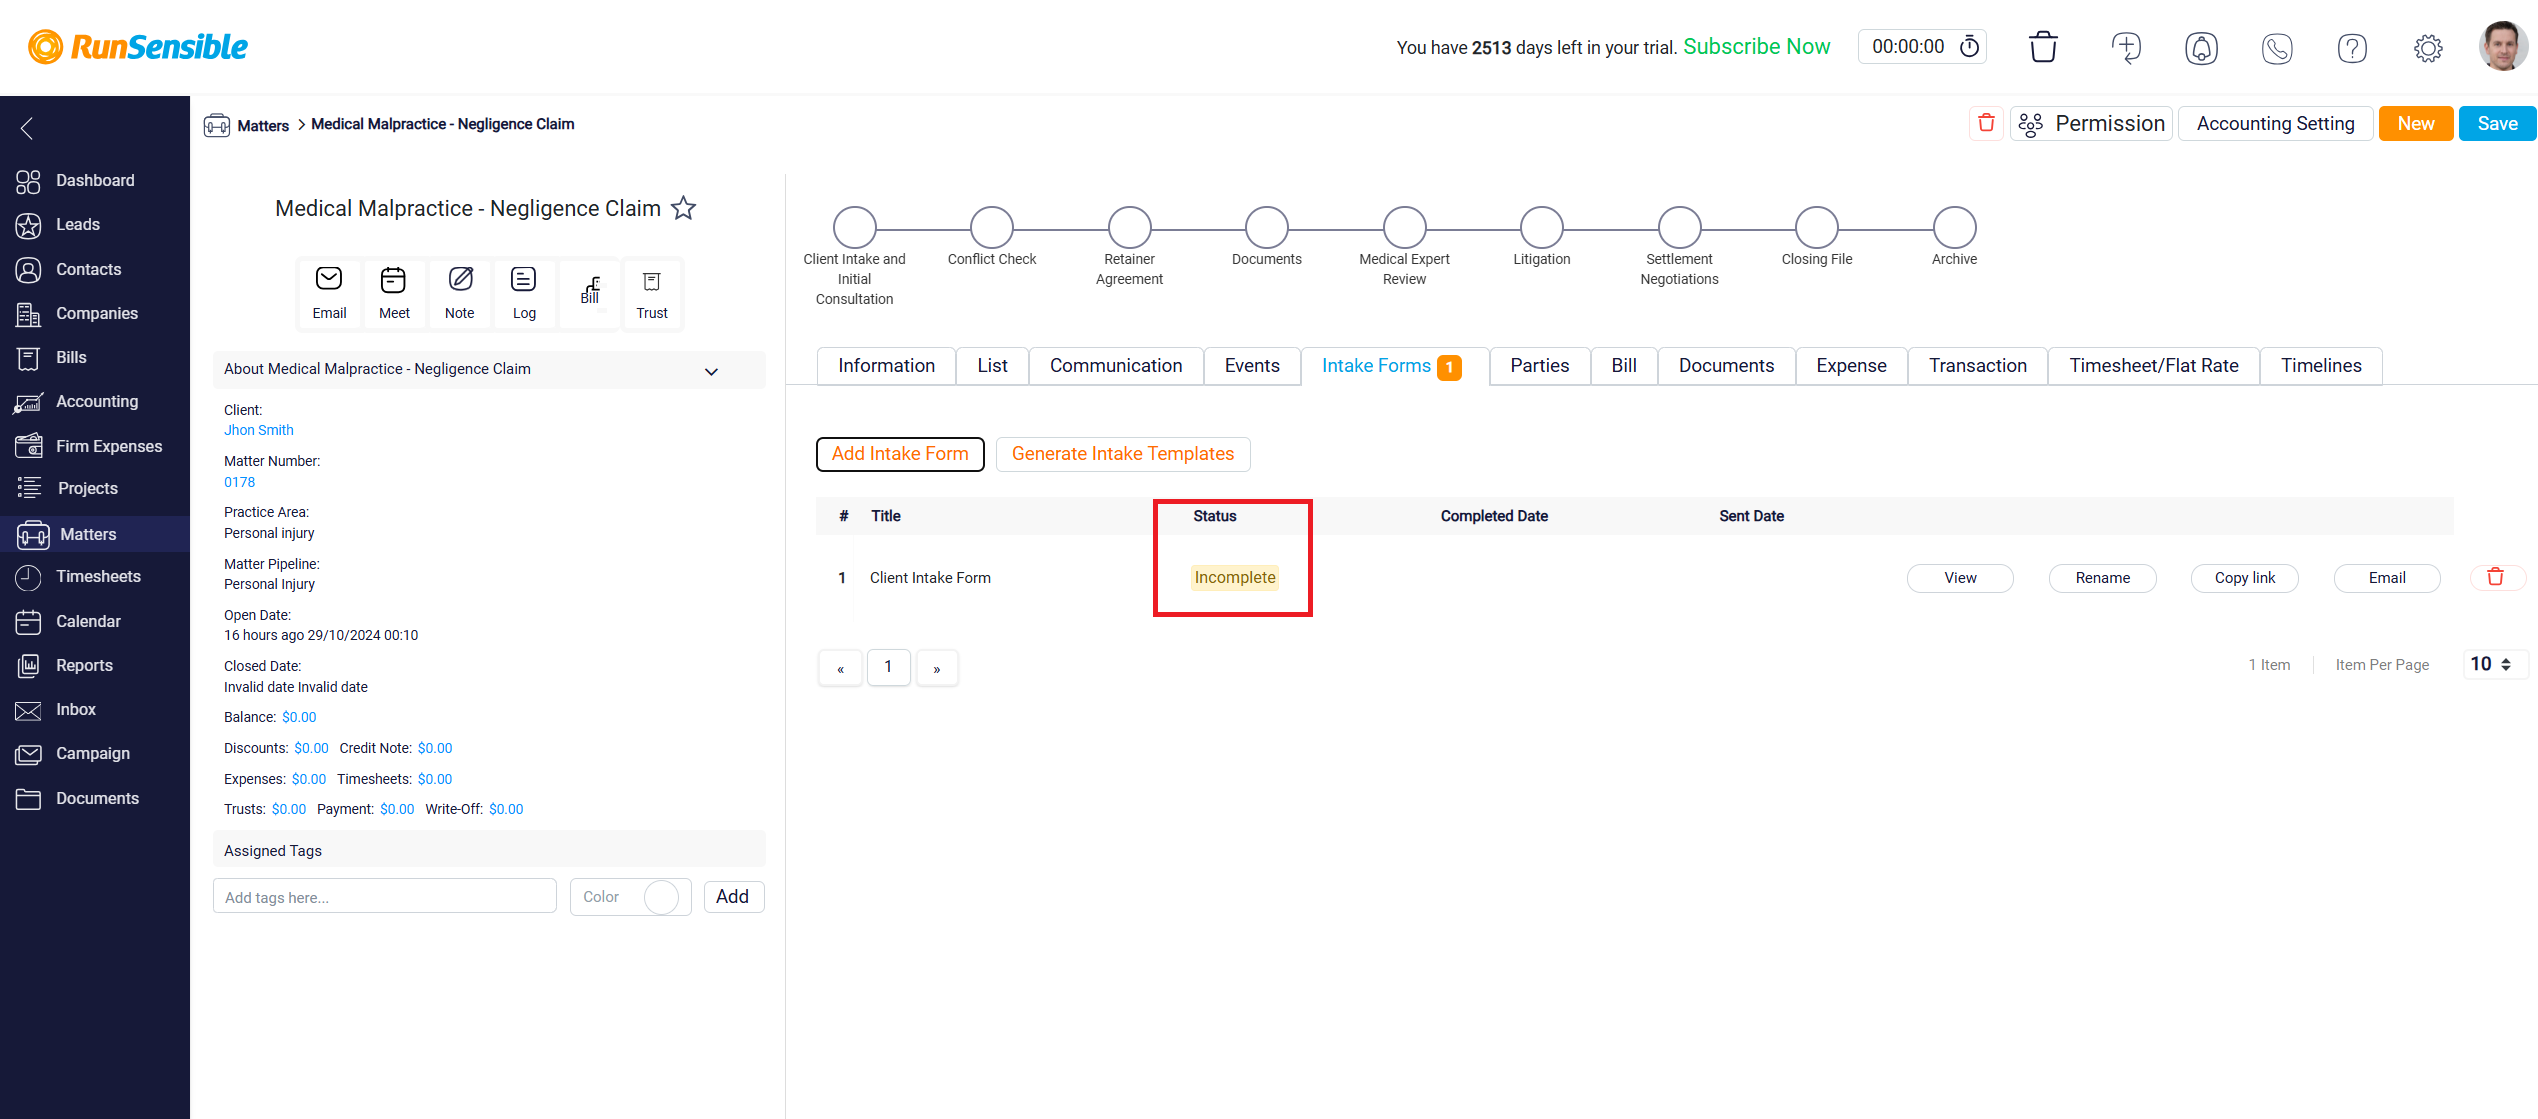
Customizing Intake Forms for a Matter
The next tab is the Intake Form tab. This tab provides the flexibility to either customize existing intake forms or create entirely new ones tailored specifically to each matter. When you add an intake form to a matter’s Intake Form tab, the system automatically creates a link so that the intake form would be specifically for this matter and you would be able to see the information after the client has submitted them within this tab.
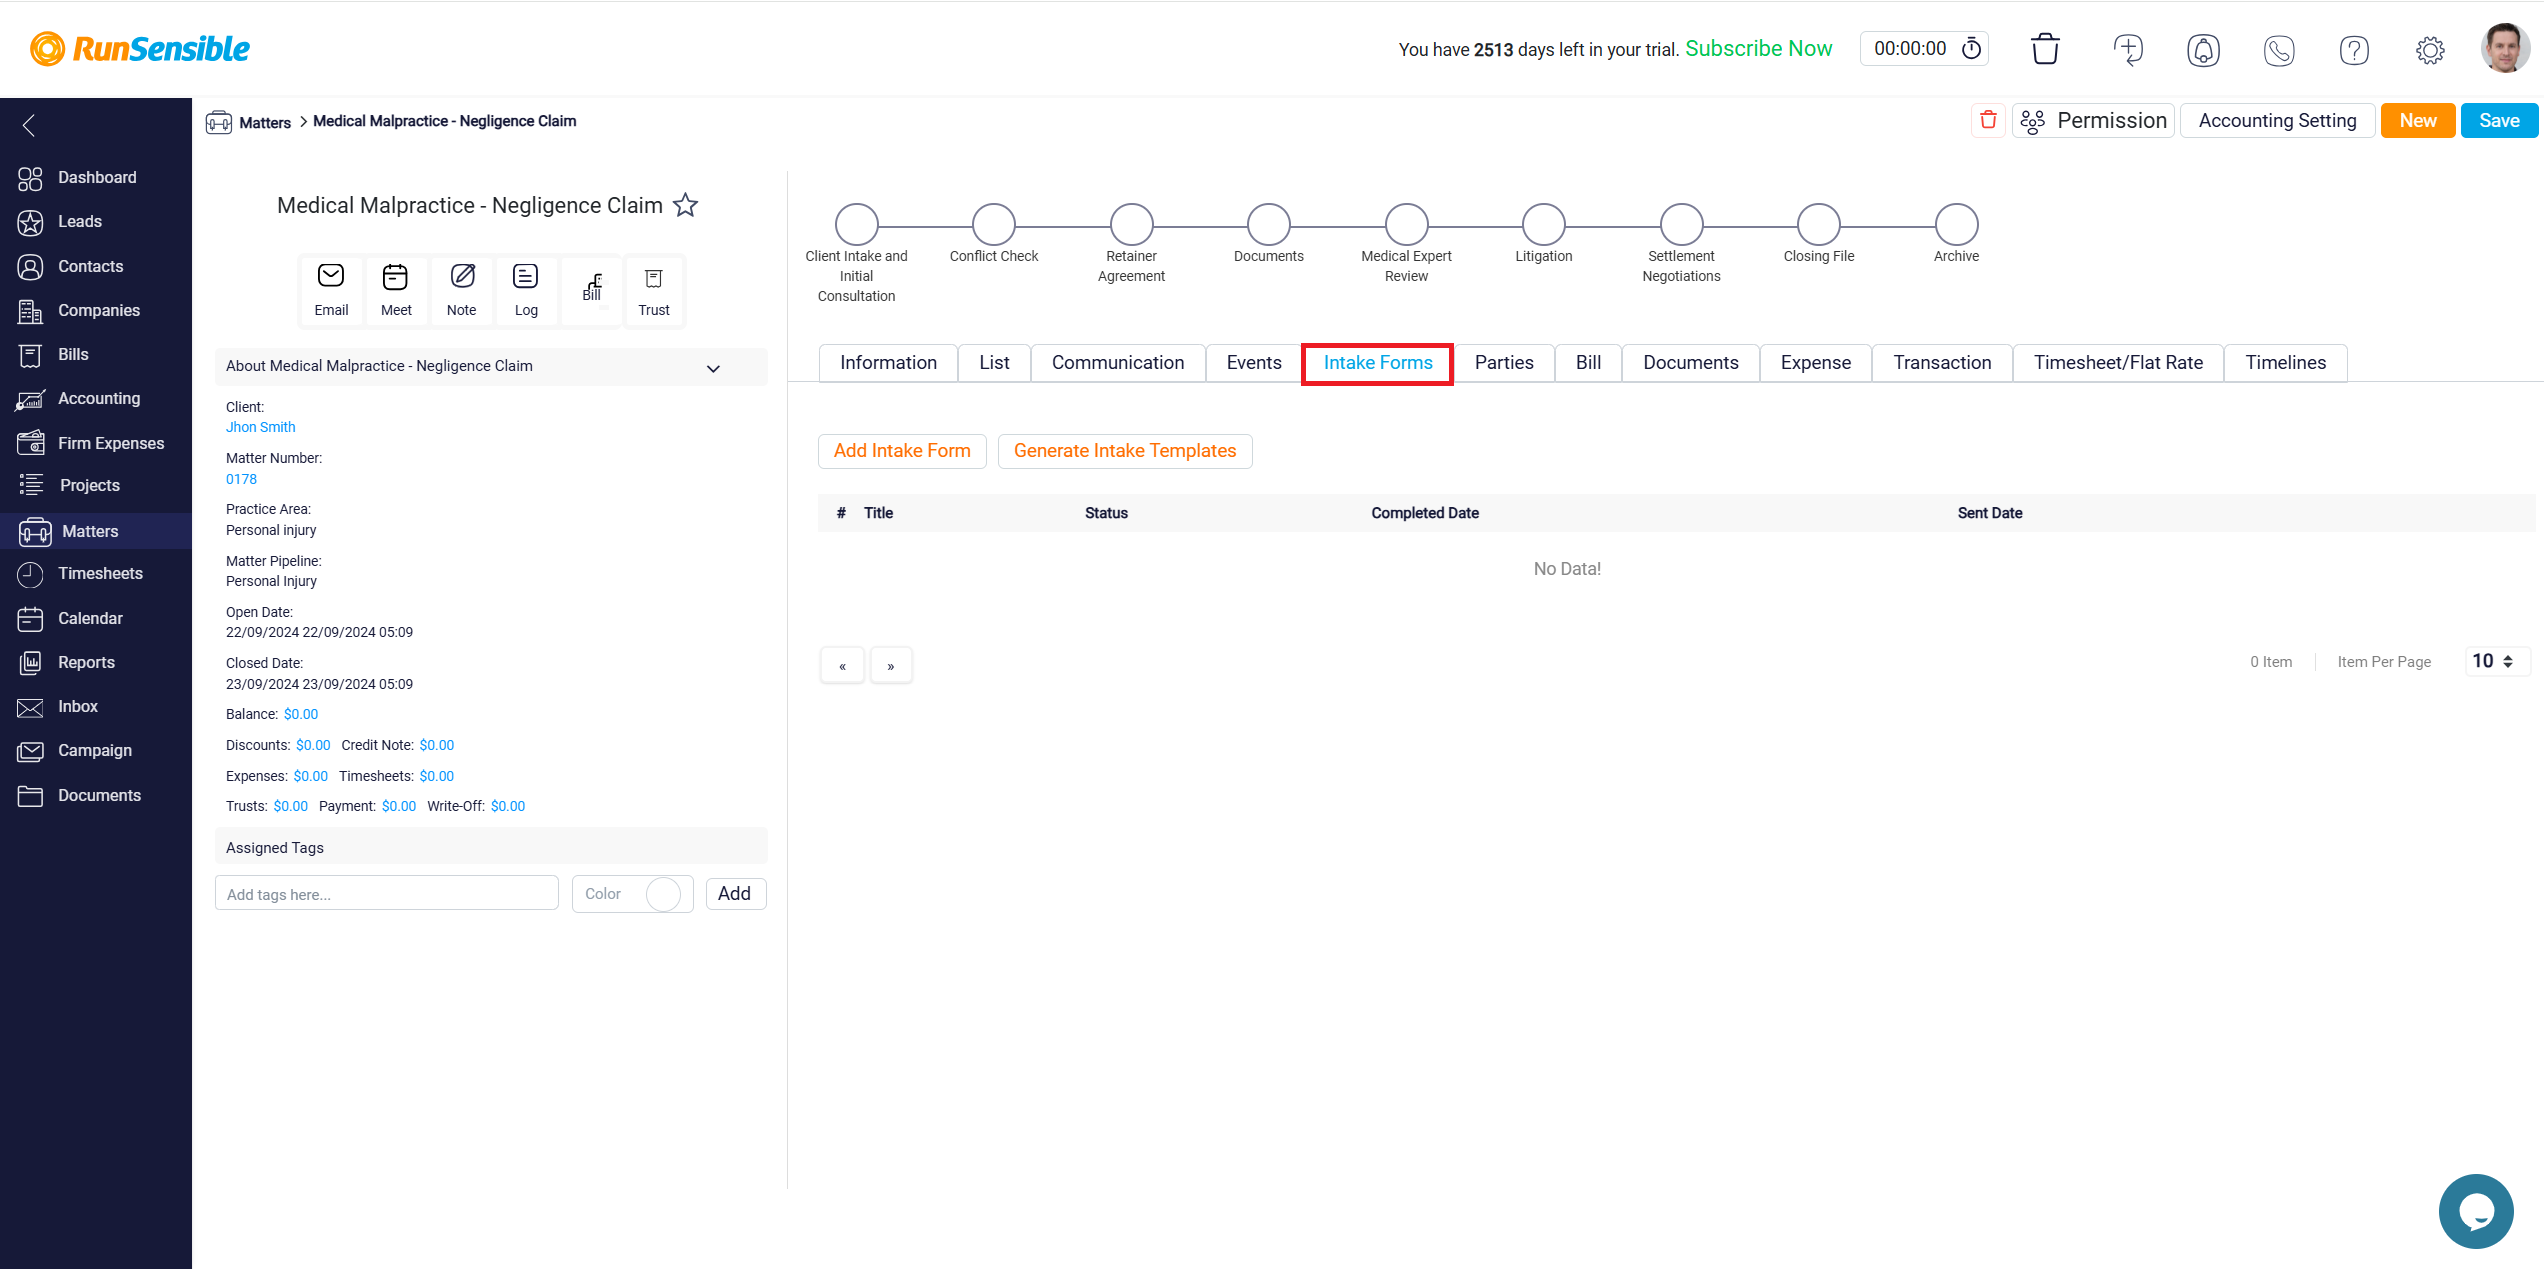
To use an existing intake form, start by clicking the Add Intake Form button located at the top left corner of the screen. This will open a dropdown menu displaying all the available templates. From this menu, you can select the template that best suits your needs. After making your selection, click Save to add the form to the matter’s Intake Form tab.
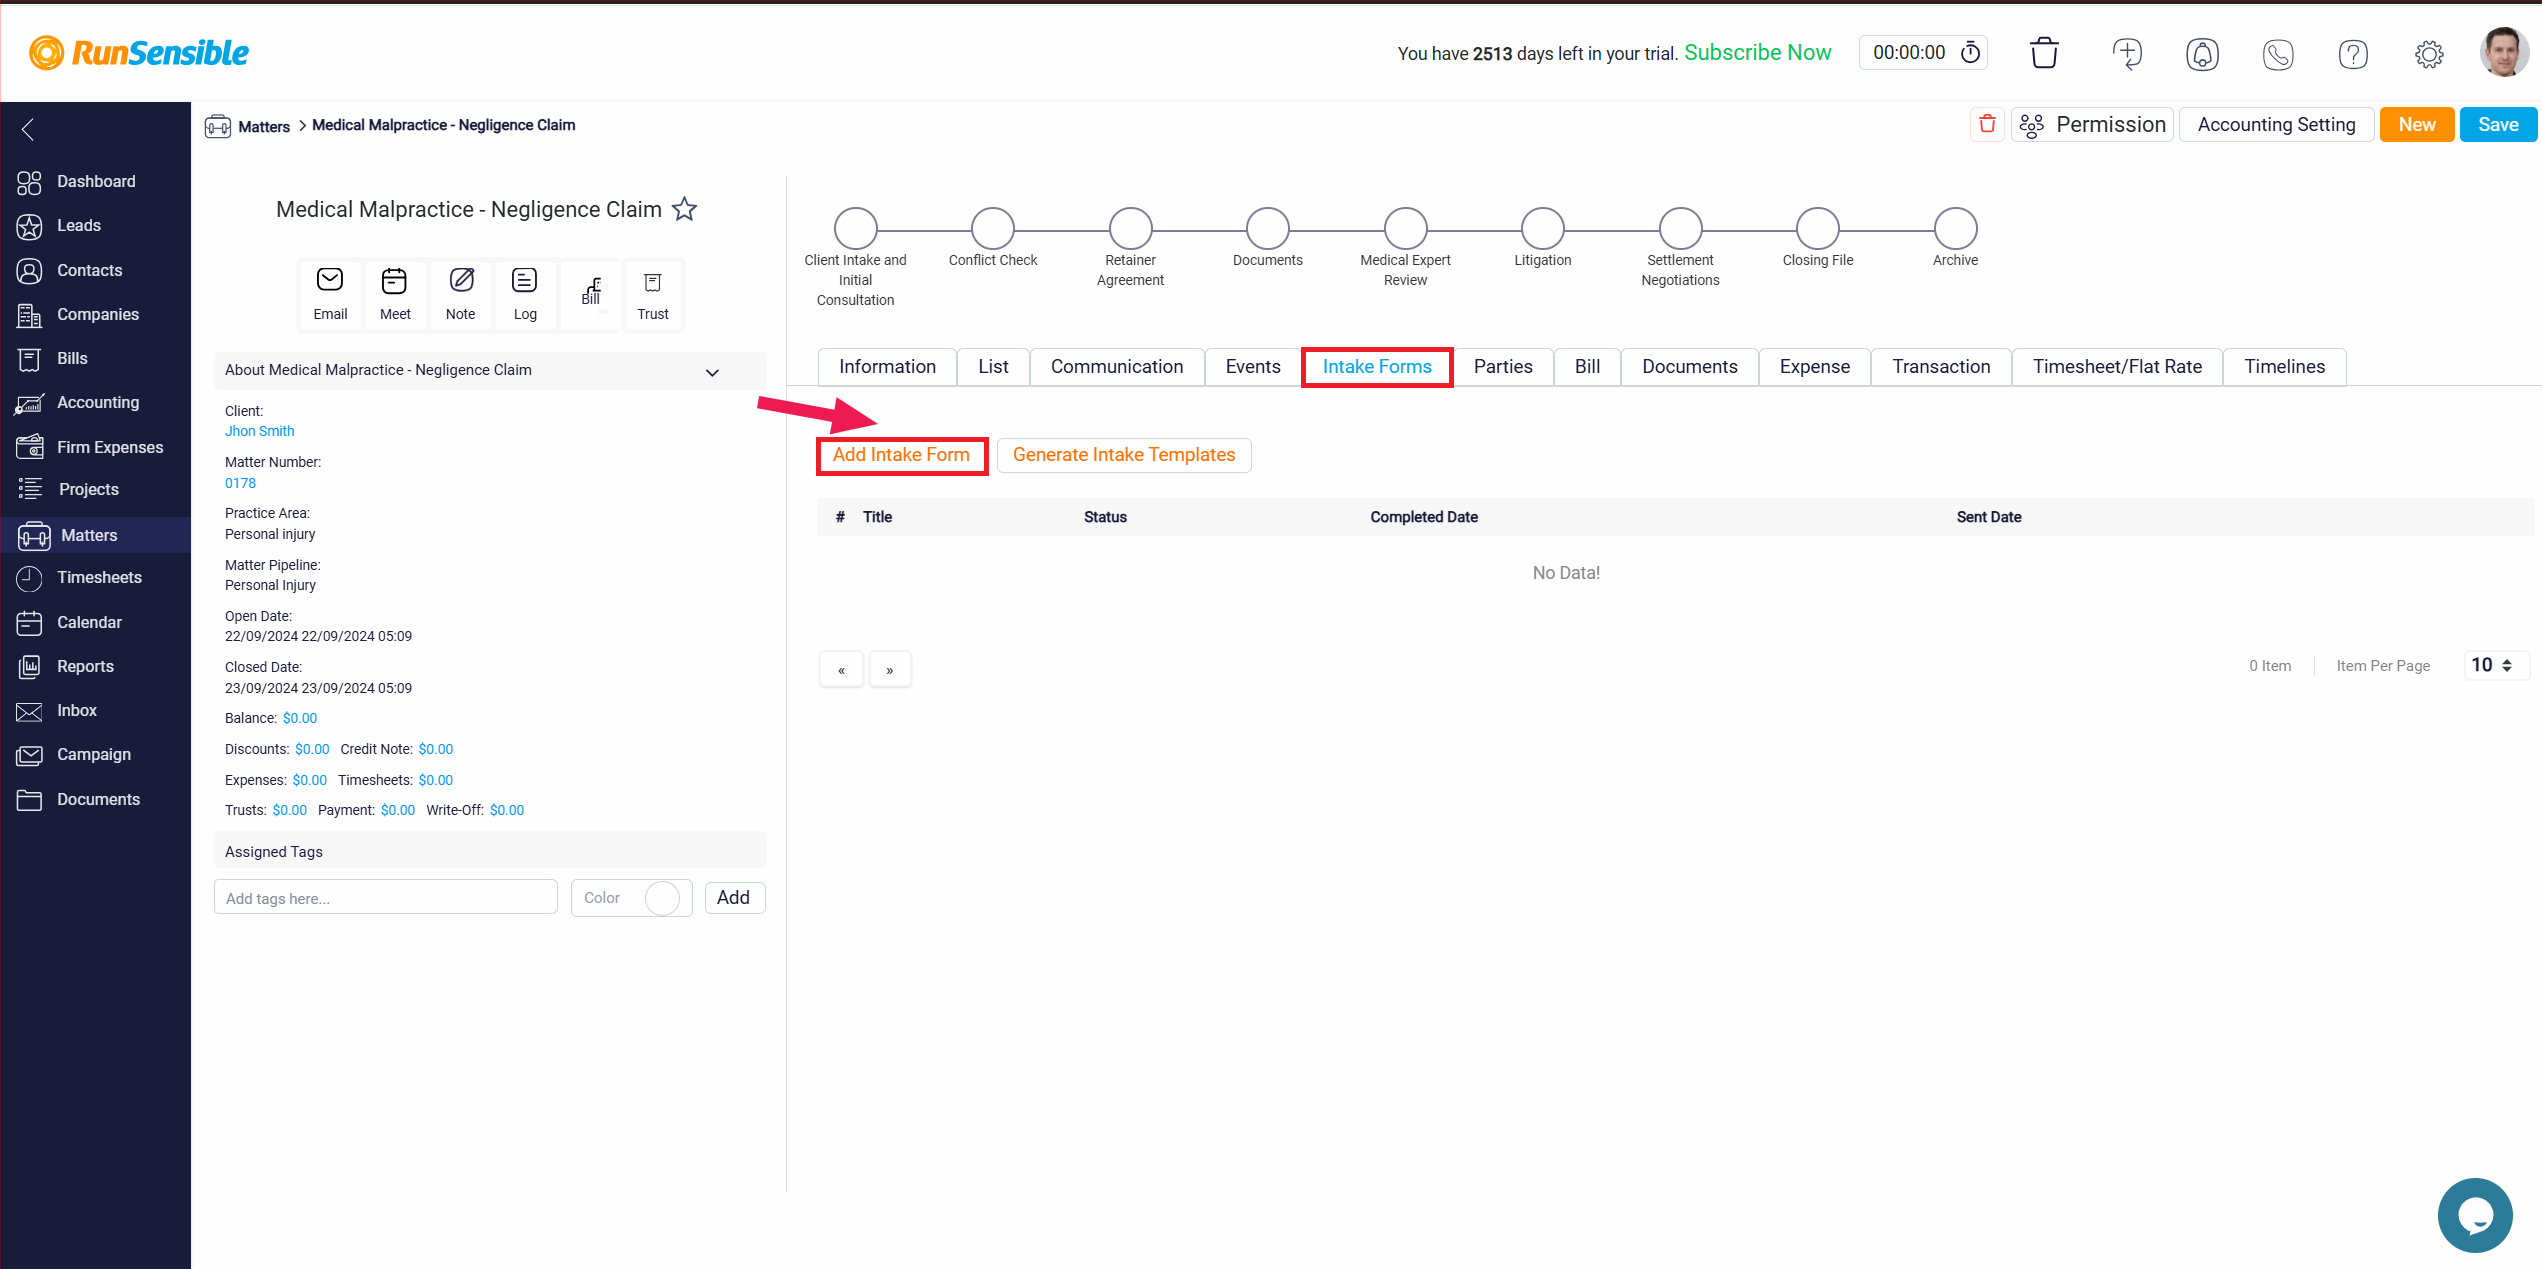
If the available templates do not meet your needs, you can create a new intake form by clicking the Generate Intake Template button. This feature allows you to design a form from scratch, ensuring that it meets your specific requirements. Once you have created and saved this new template, it will be available in your template list for future use. You can then select this custom template and add it to the matter’s Intake Form tab just as you would with any other template.
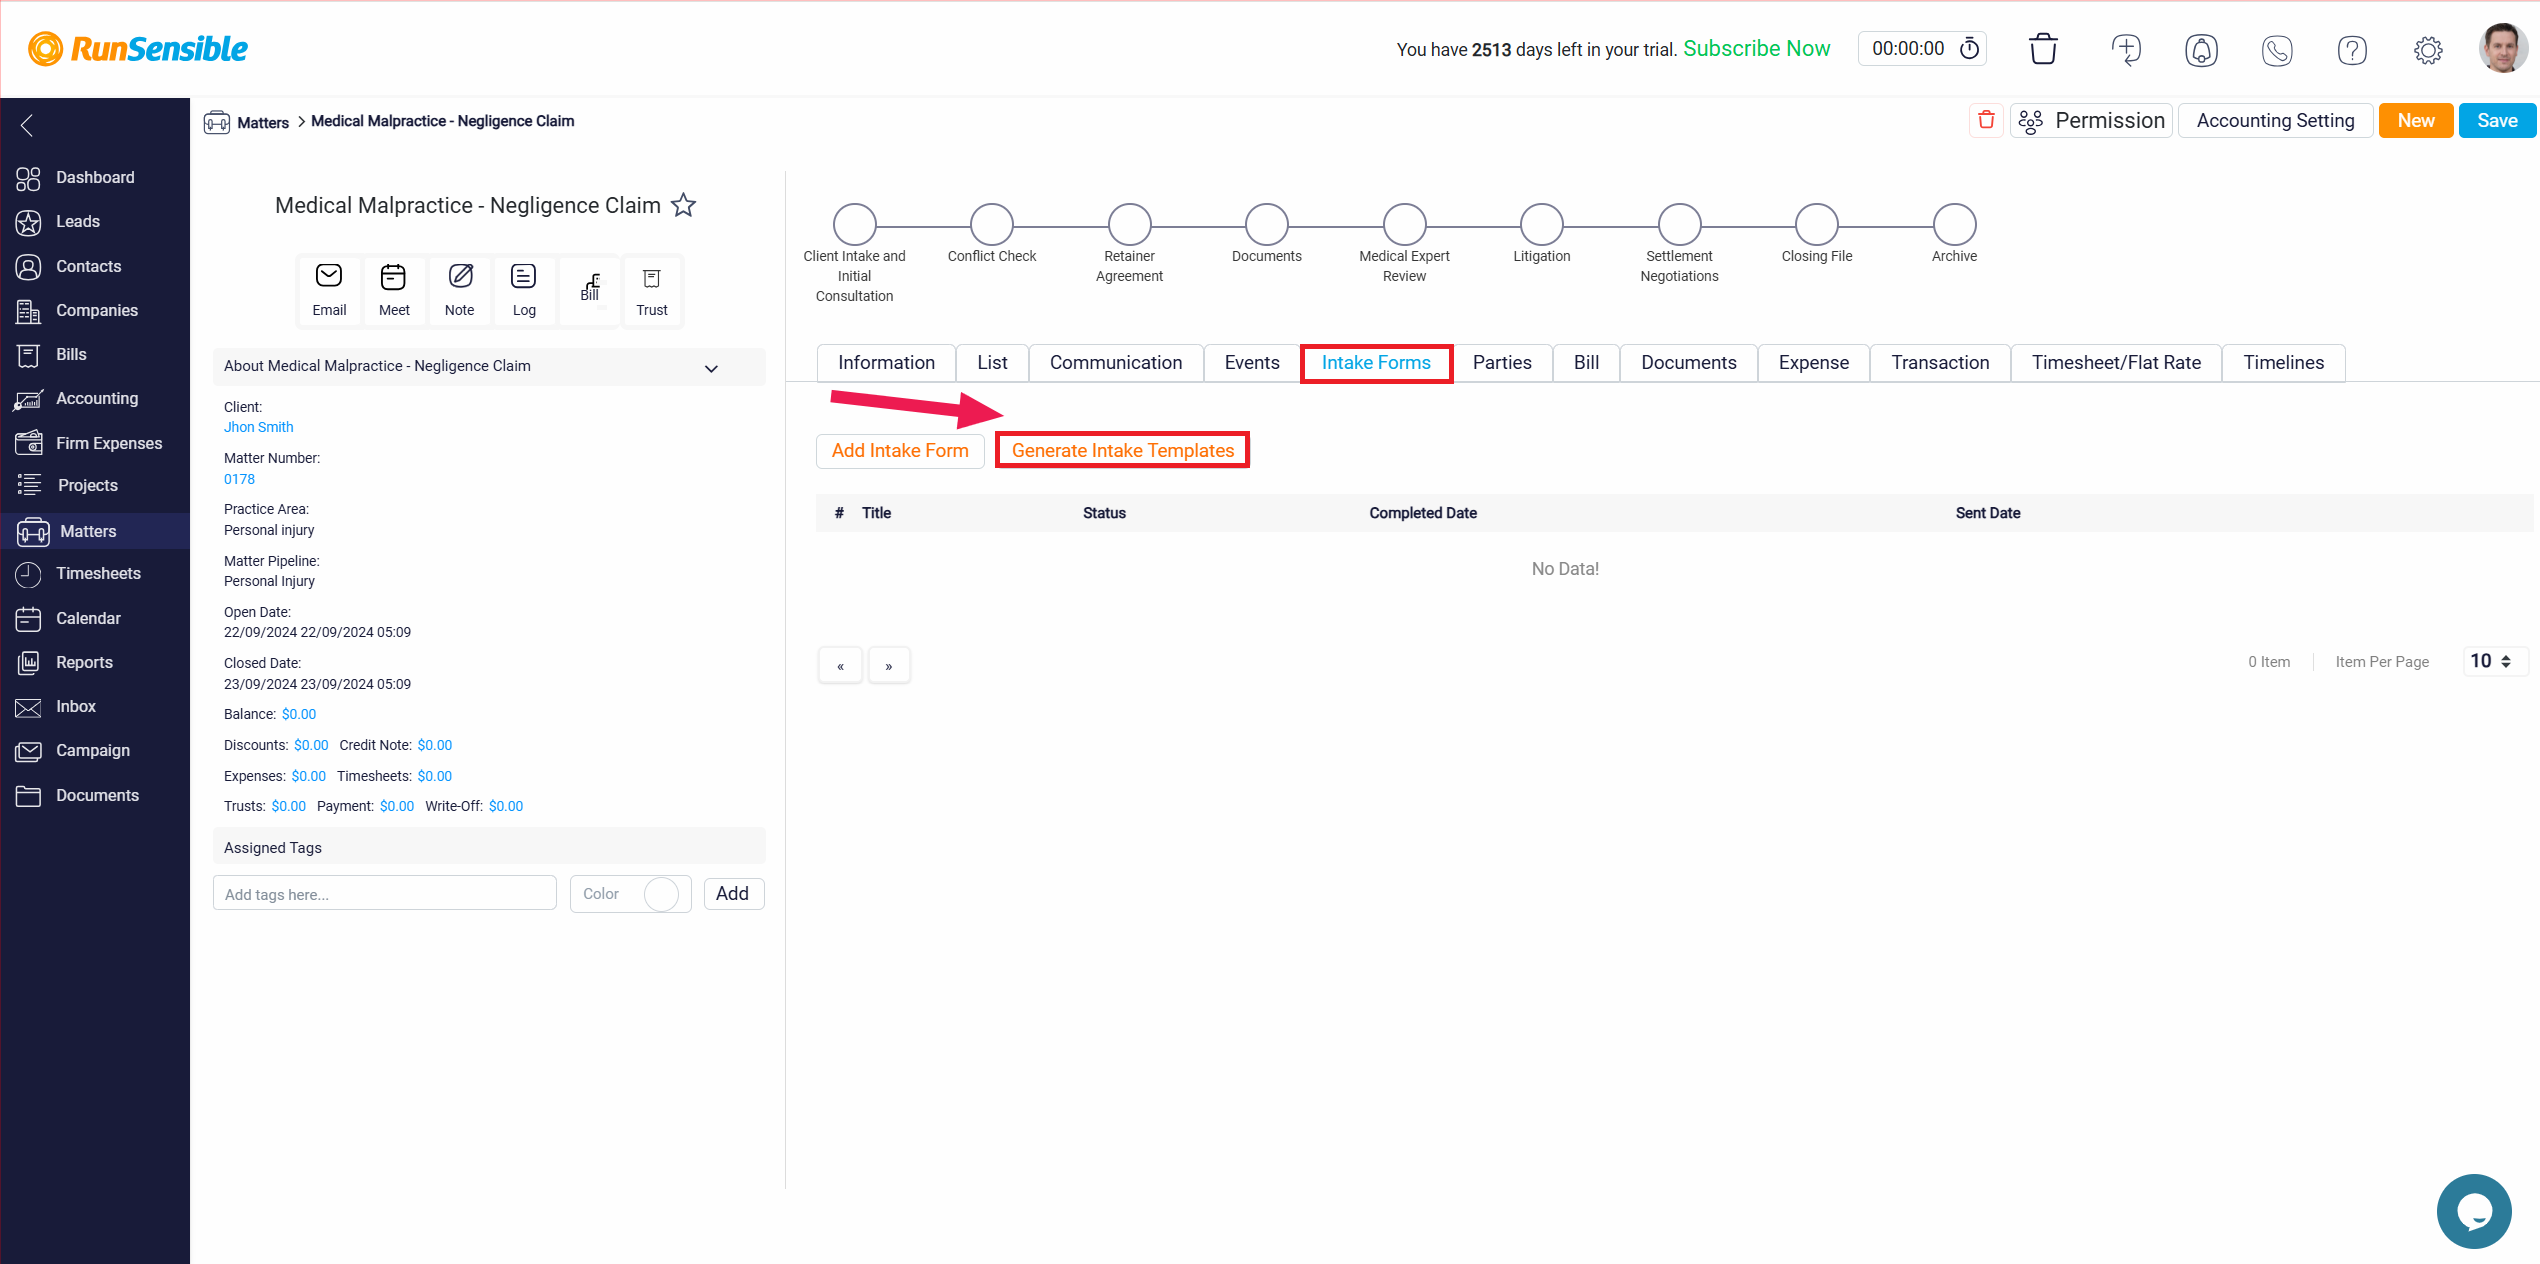
When managing intake forms, you have five essential action buttons that help streamline your workflow and enhance efficiency.
The View button allows you to review the form in detail, print it, or download it as a PDF.
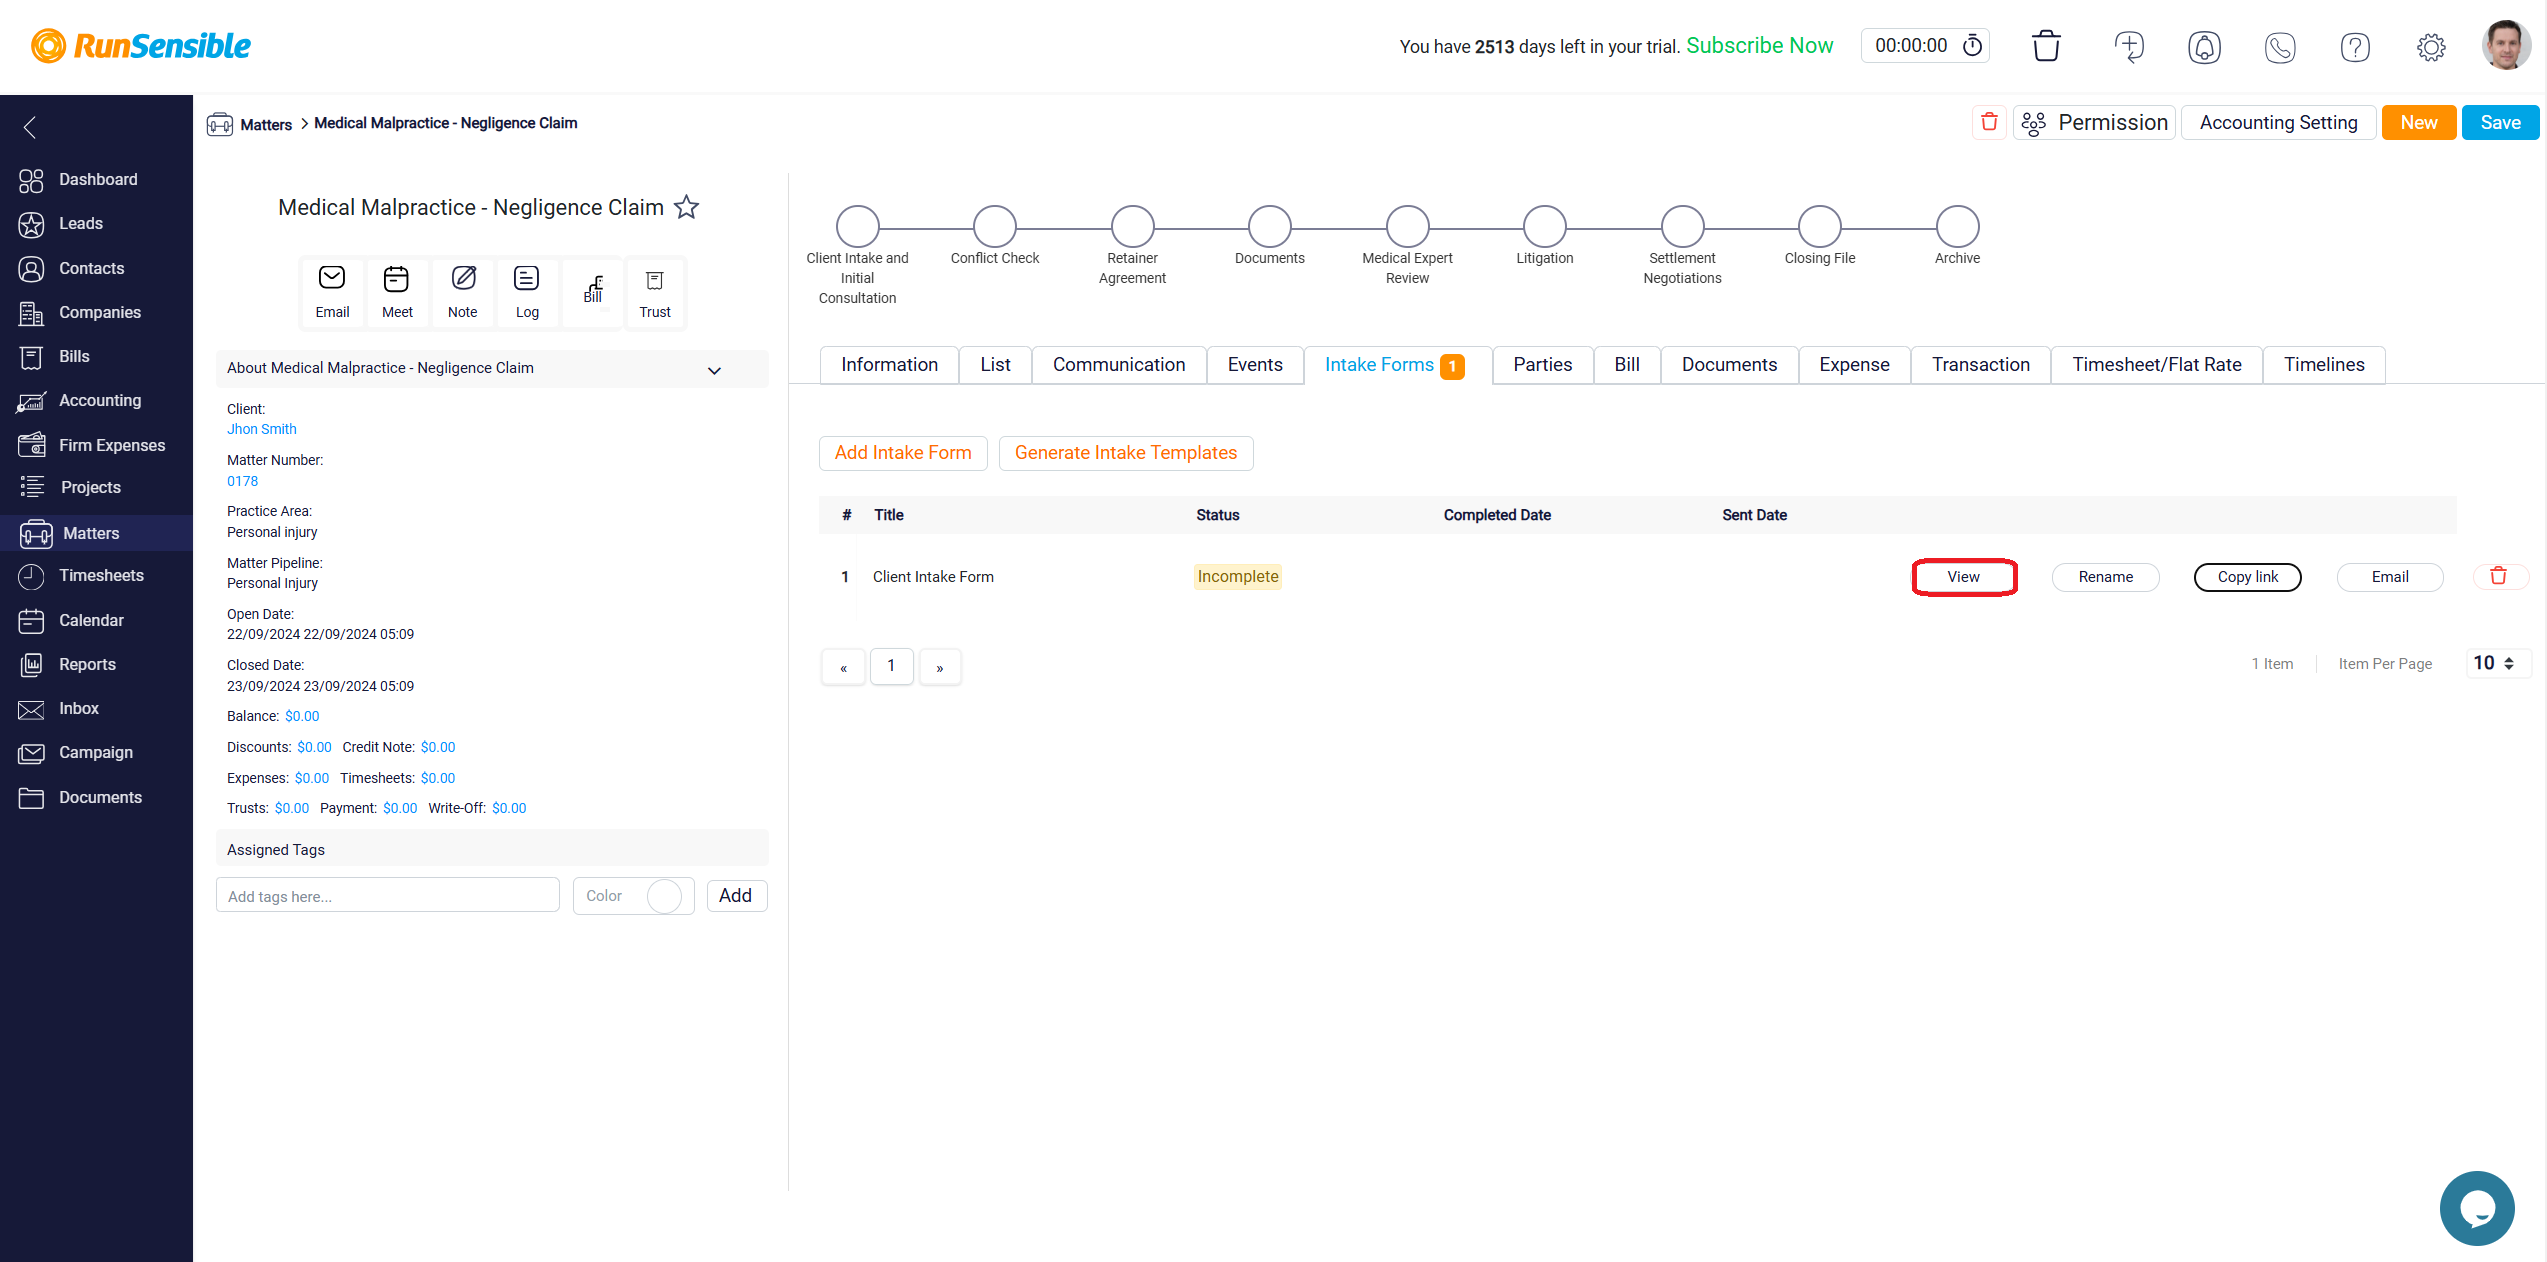
If the client has submitted information through this intake form, you will be able to see the completed fields under the relevant sections. When you use the Print or Download button, the submitted information will also be included, ensuring you have a complete record of the client’s responses.

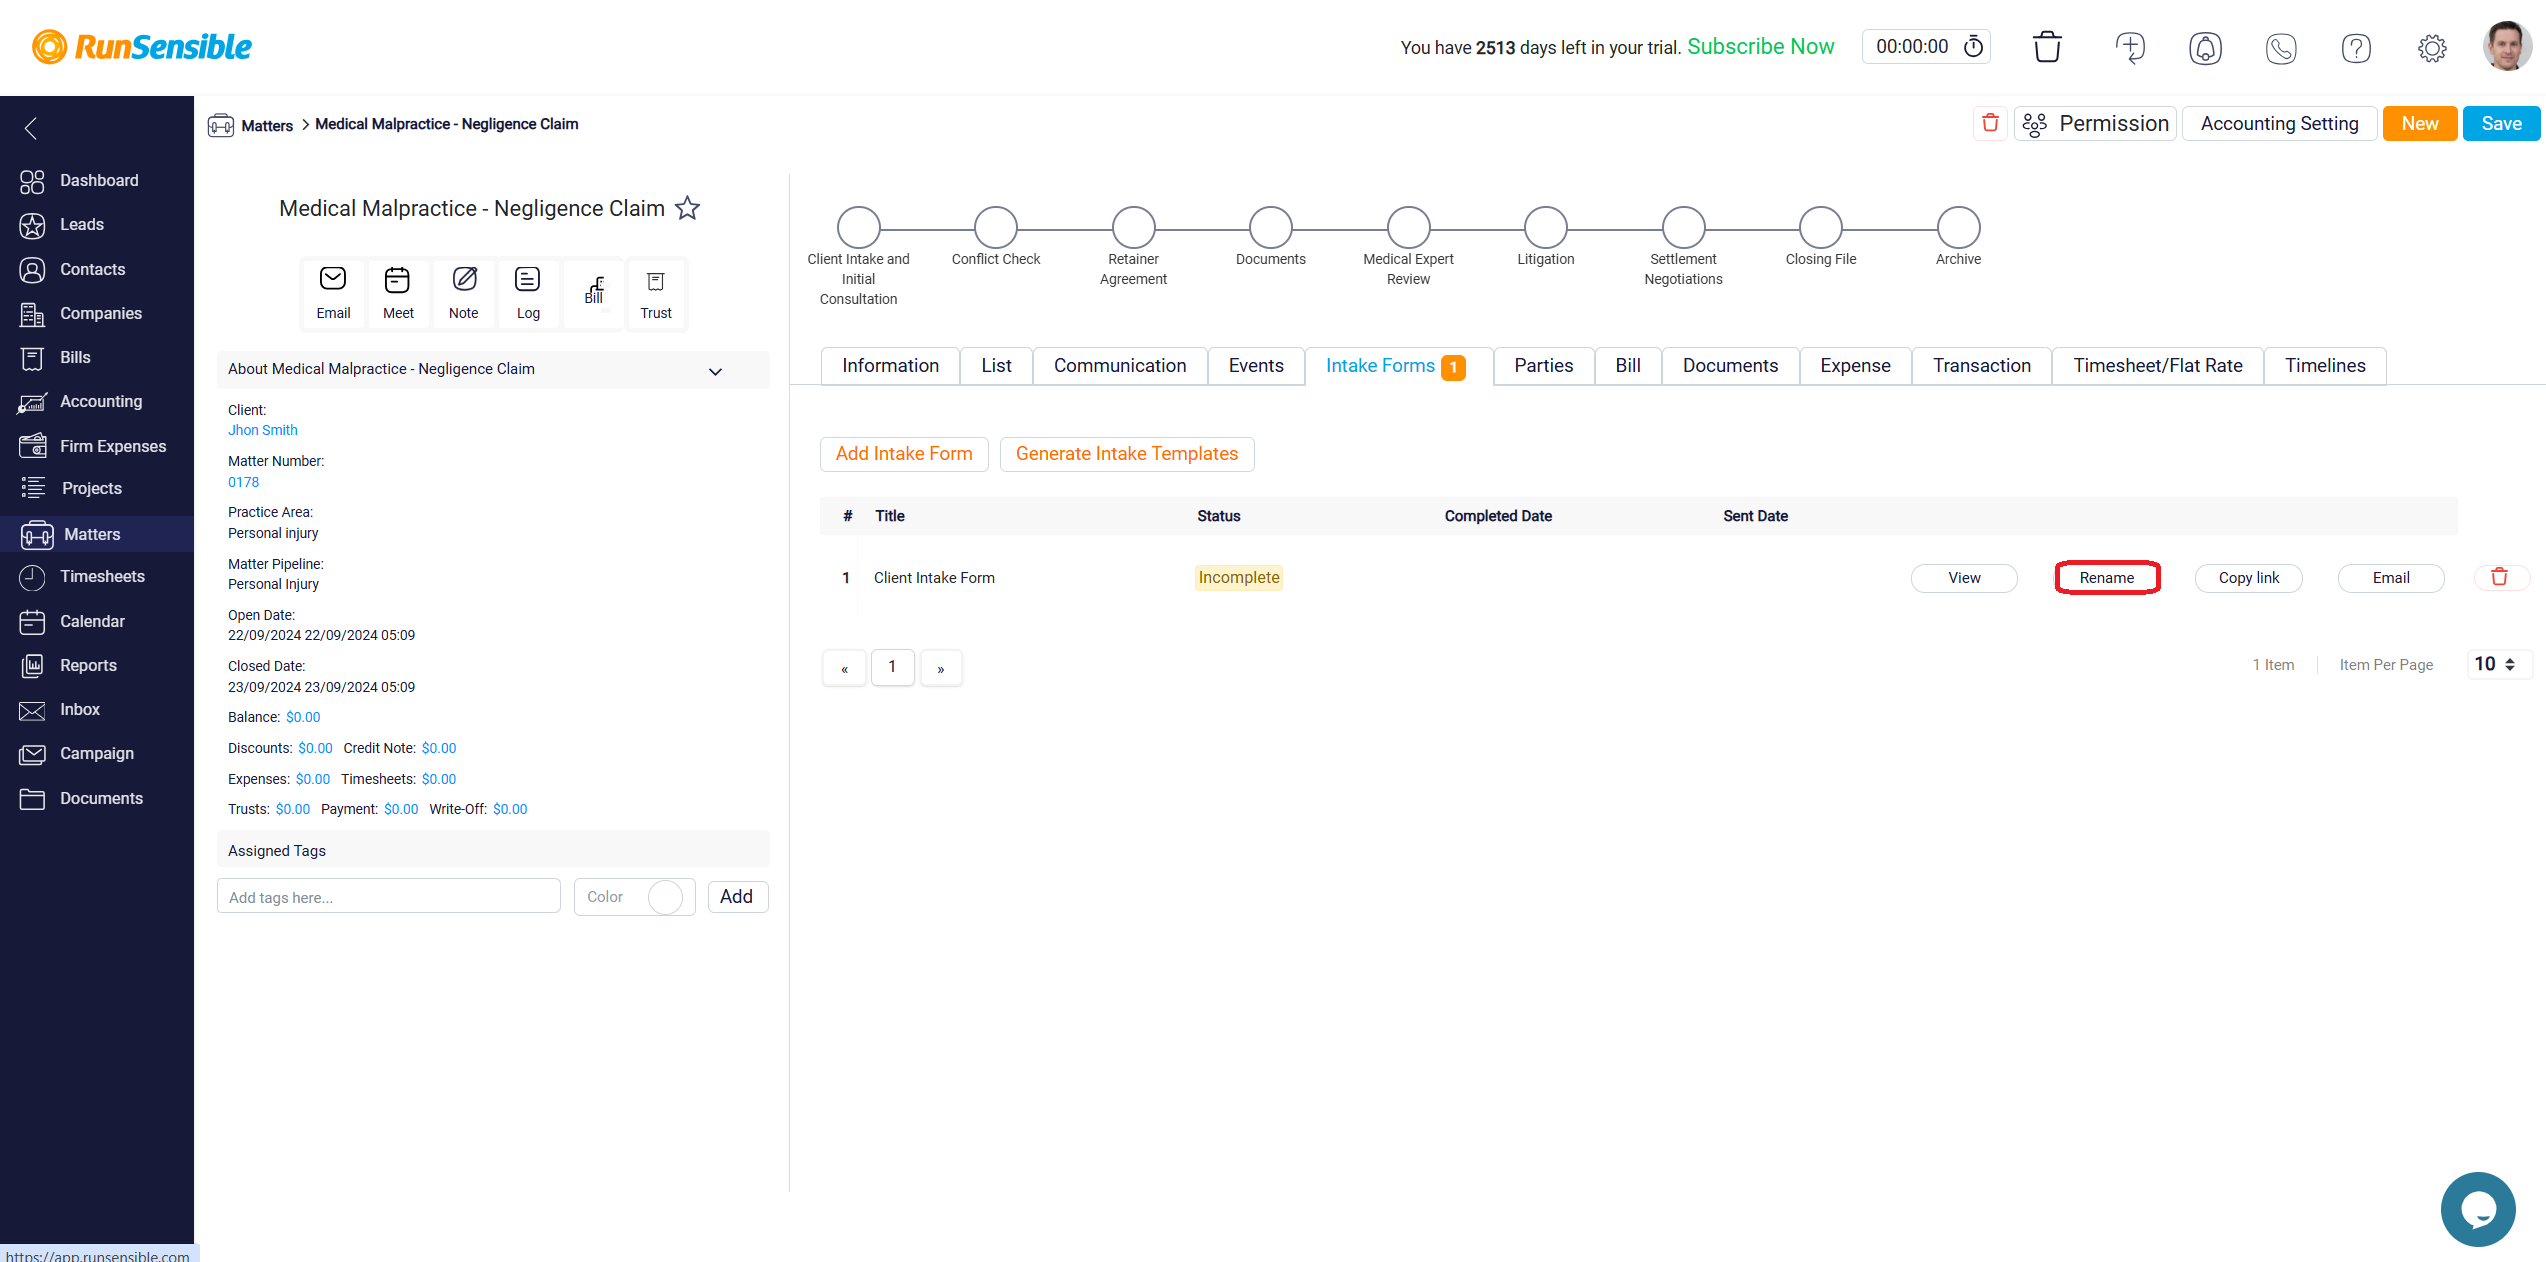
The Rename button helps you keep your forms organized by allowing you to change the form’s name within the Matter tab. This feature is particularly useful when managing multiple forms for the same matter, as it helps distinguish between different versions or types of forms.
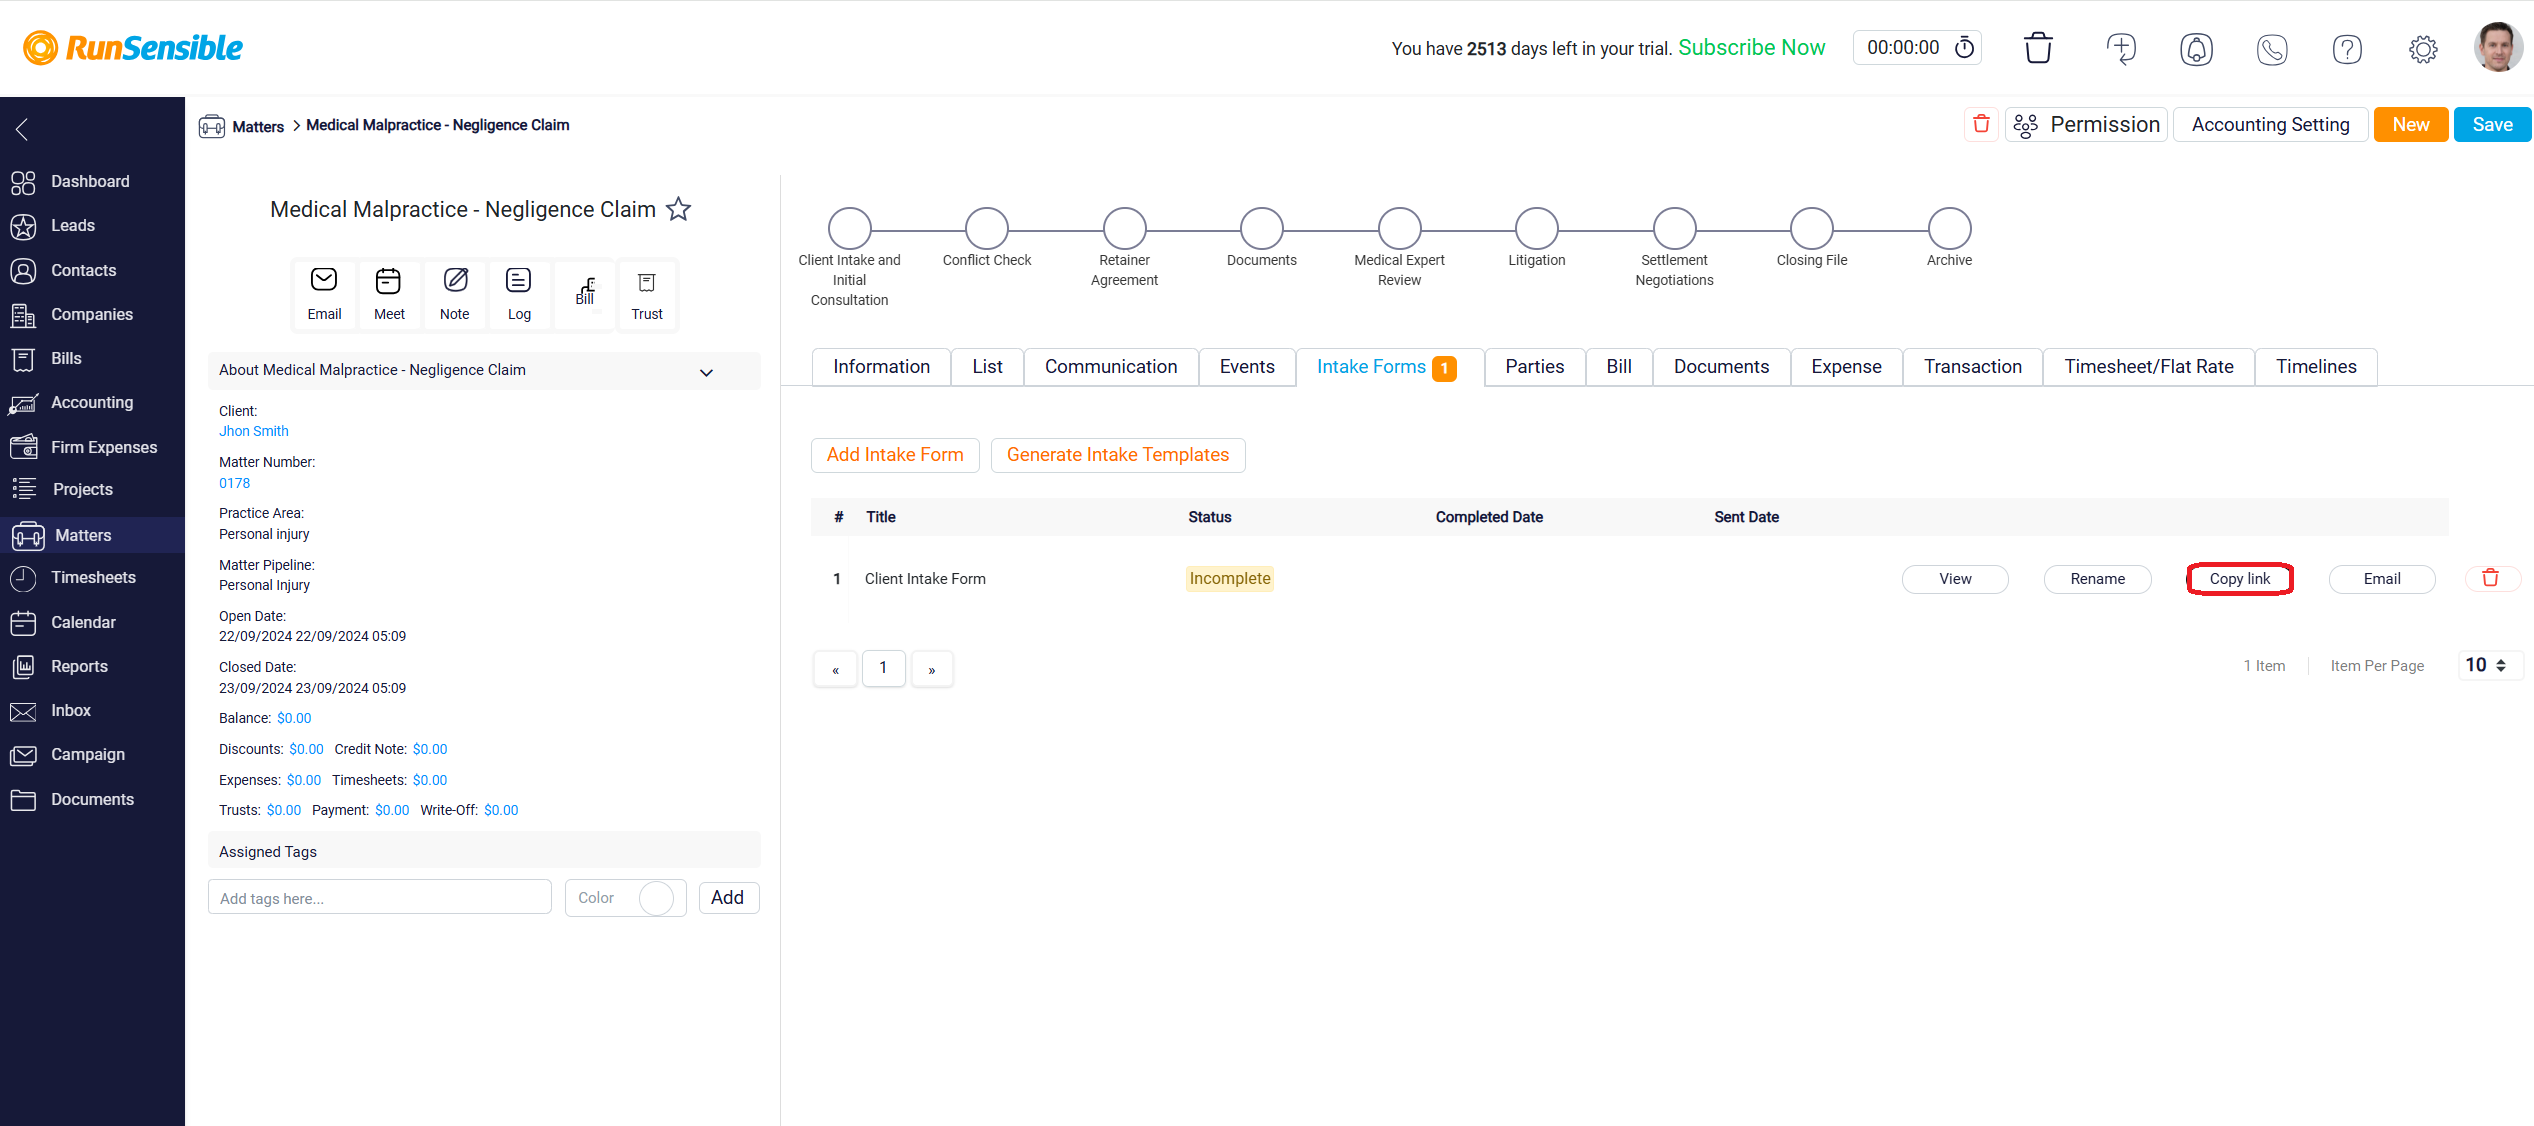
The Copy Link button generates a shareable link specific to the matter, making it easy to distribute the form via email or other communication platforms. By sending the intake form to the client using this link, you can later view the submitted information through the View button, ensuring that all data is captured and accessible.
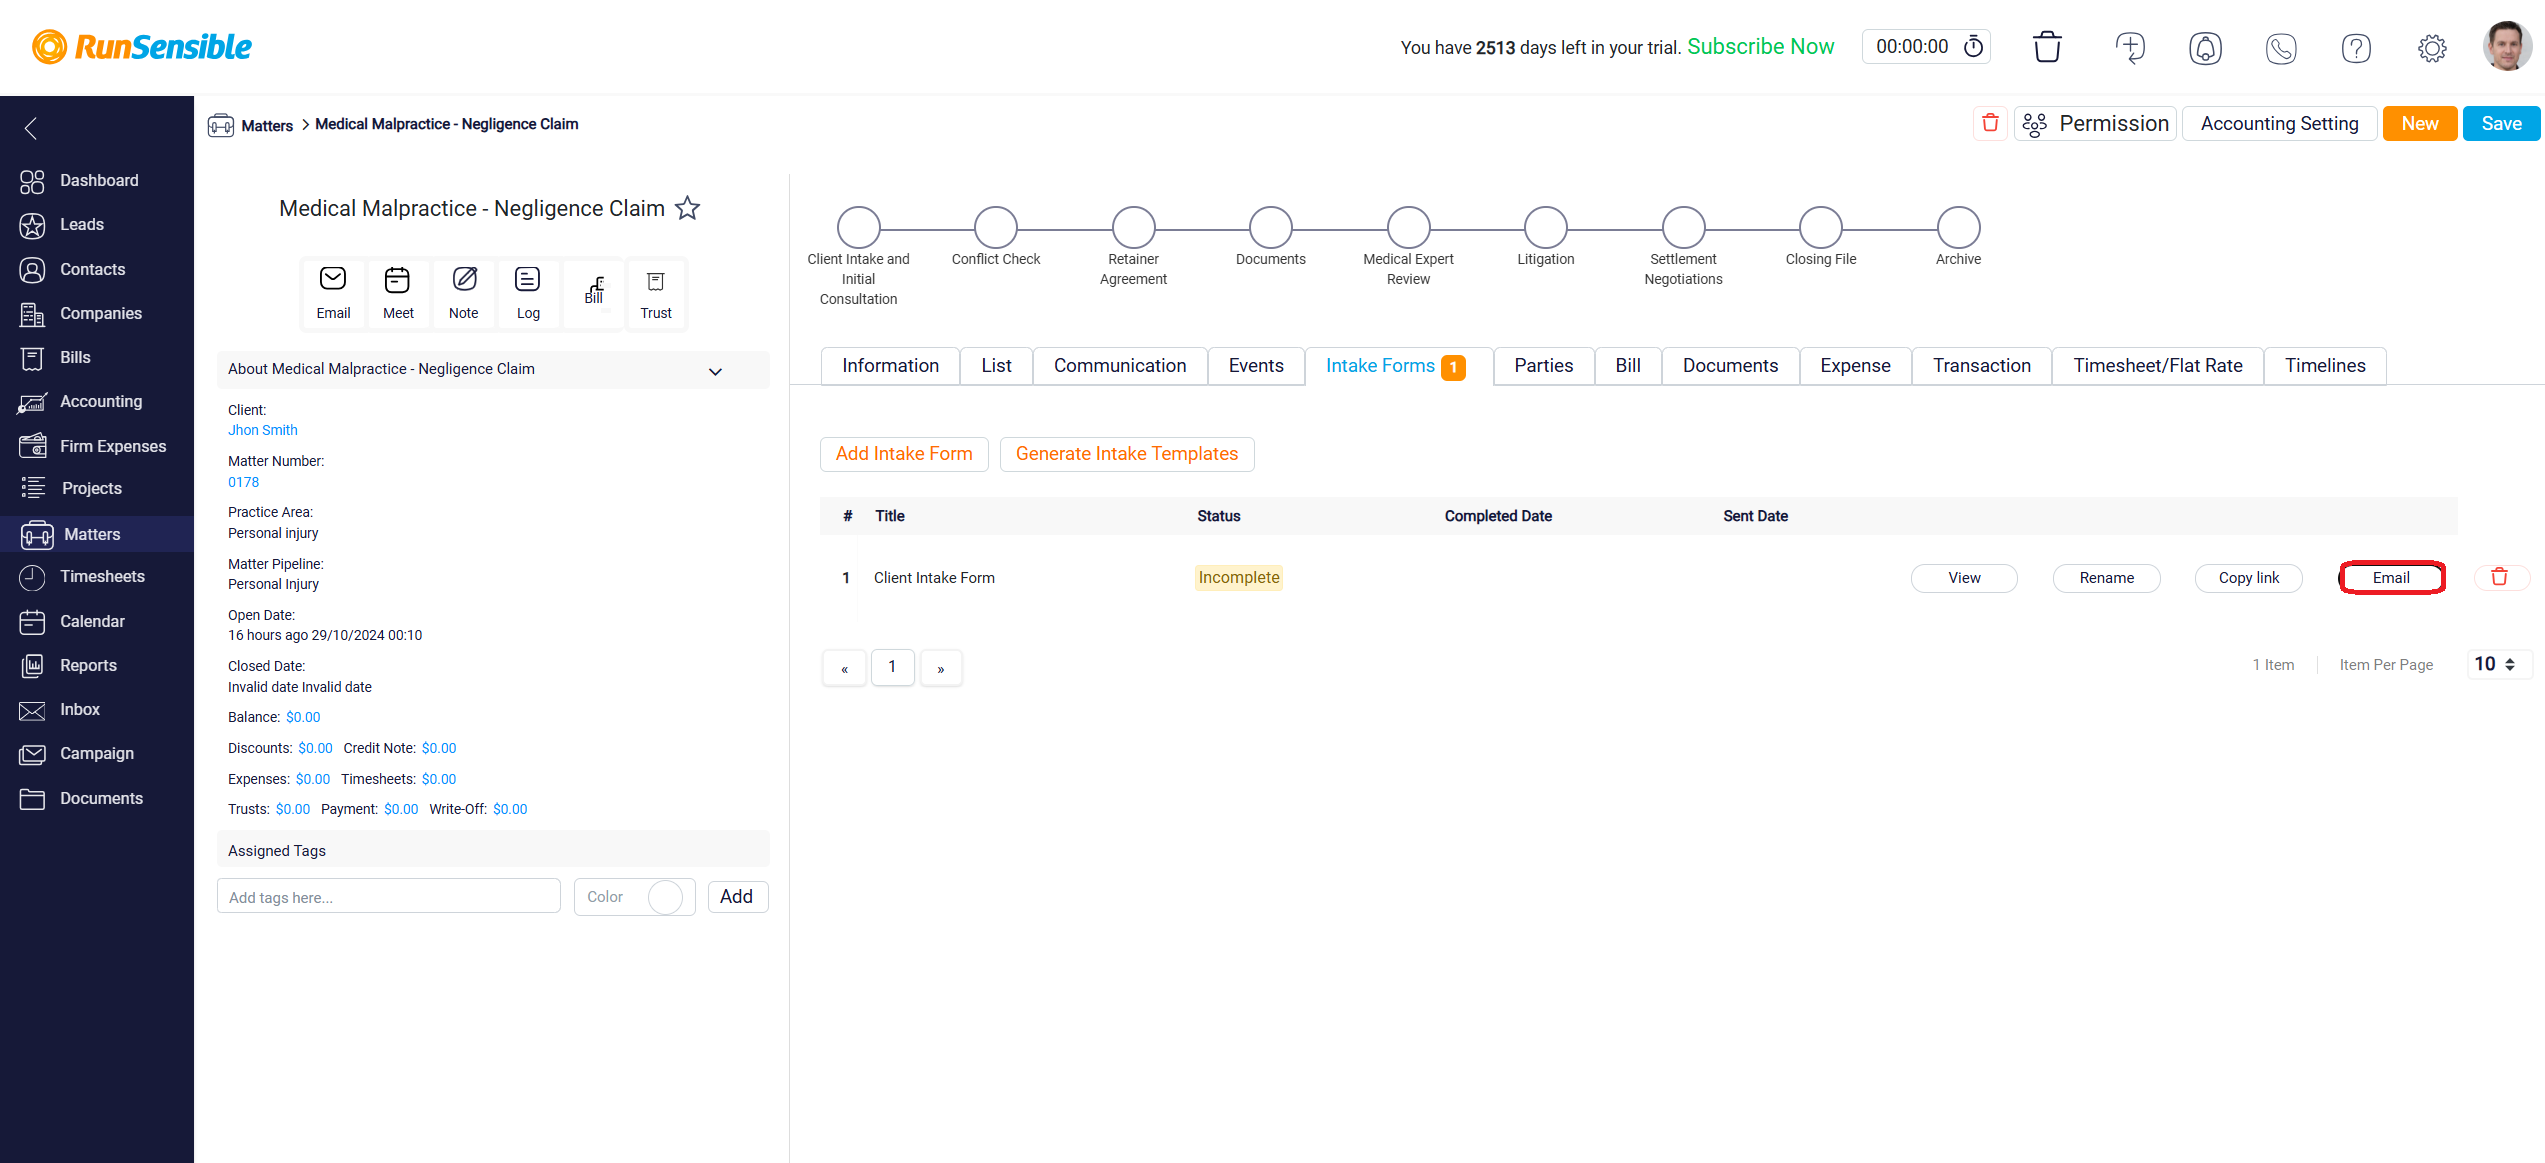
The Email button allows you to send the form directly to the client’s email address without the need for manual attachments.
Finally, the Trash button lets you delete the form when it is no longer needed.
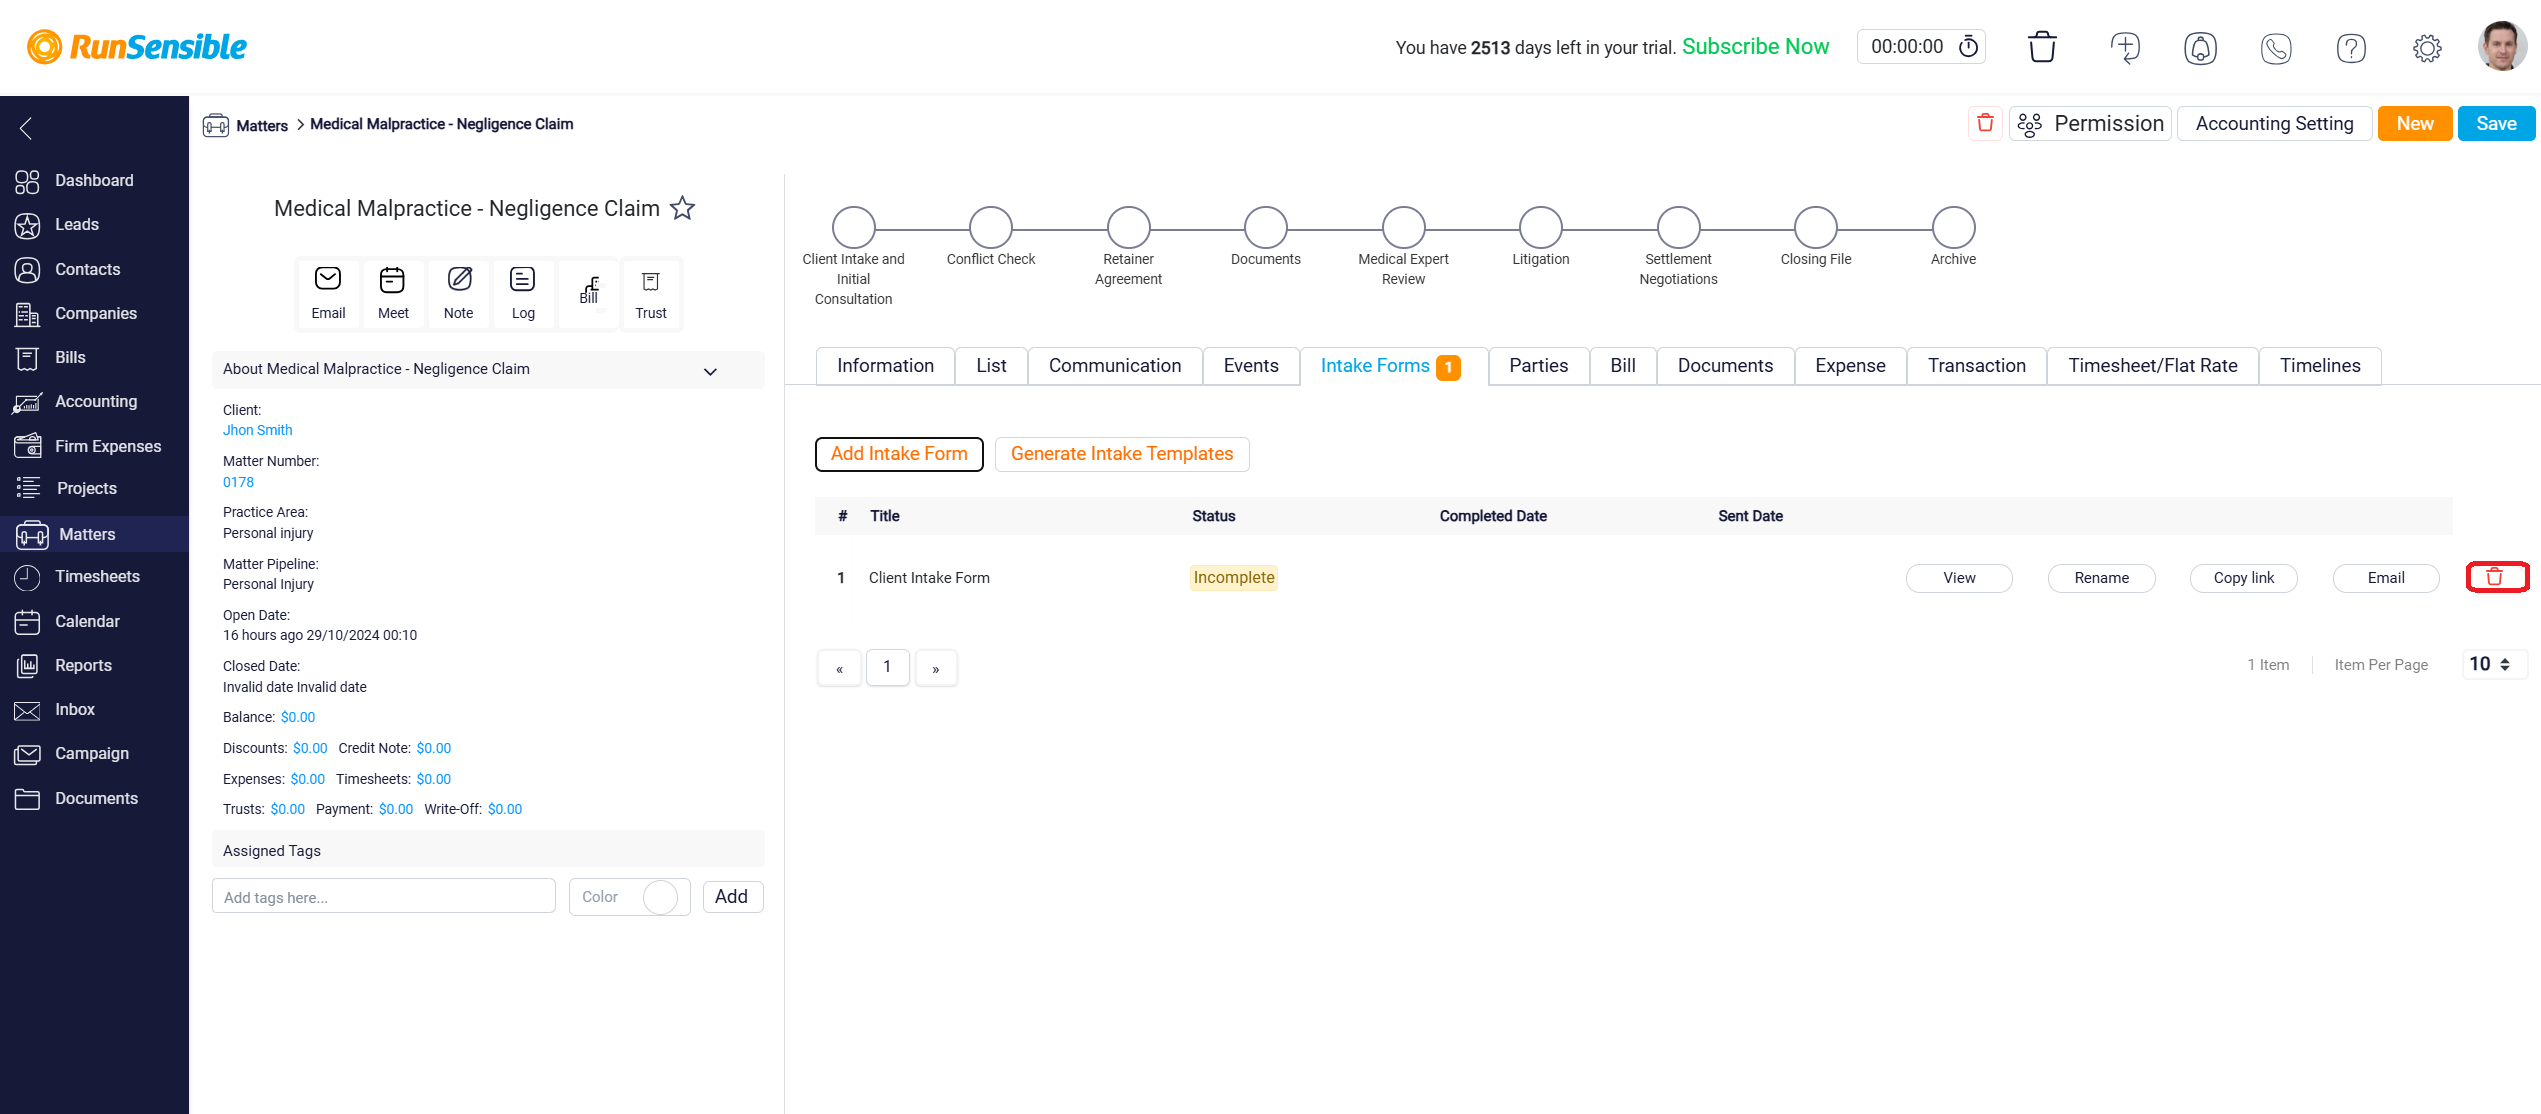
In the Status column, you can easily track whether the intake form has been completed. Additionally, the Sent Date column shows the exact date the intake form was sent to the client, while the Completed Date column records when the client completed and submitted the form. These columns provide a clear overview of the form’s progress and ensure that you are always informed about the status of your intake processes.
