Managing Contacts in the Parties Tab
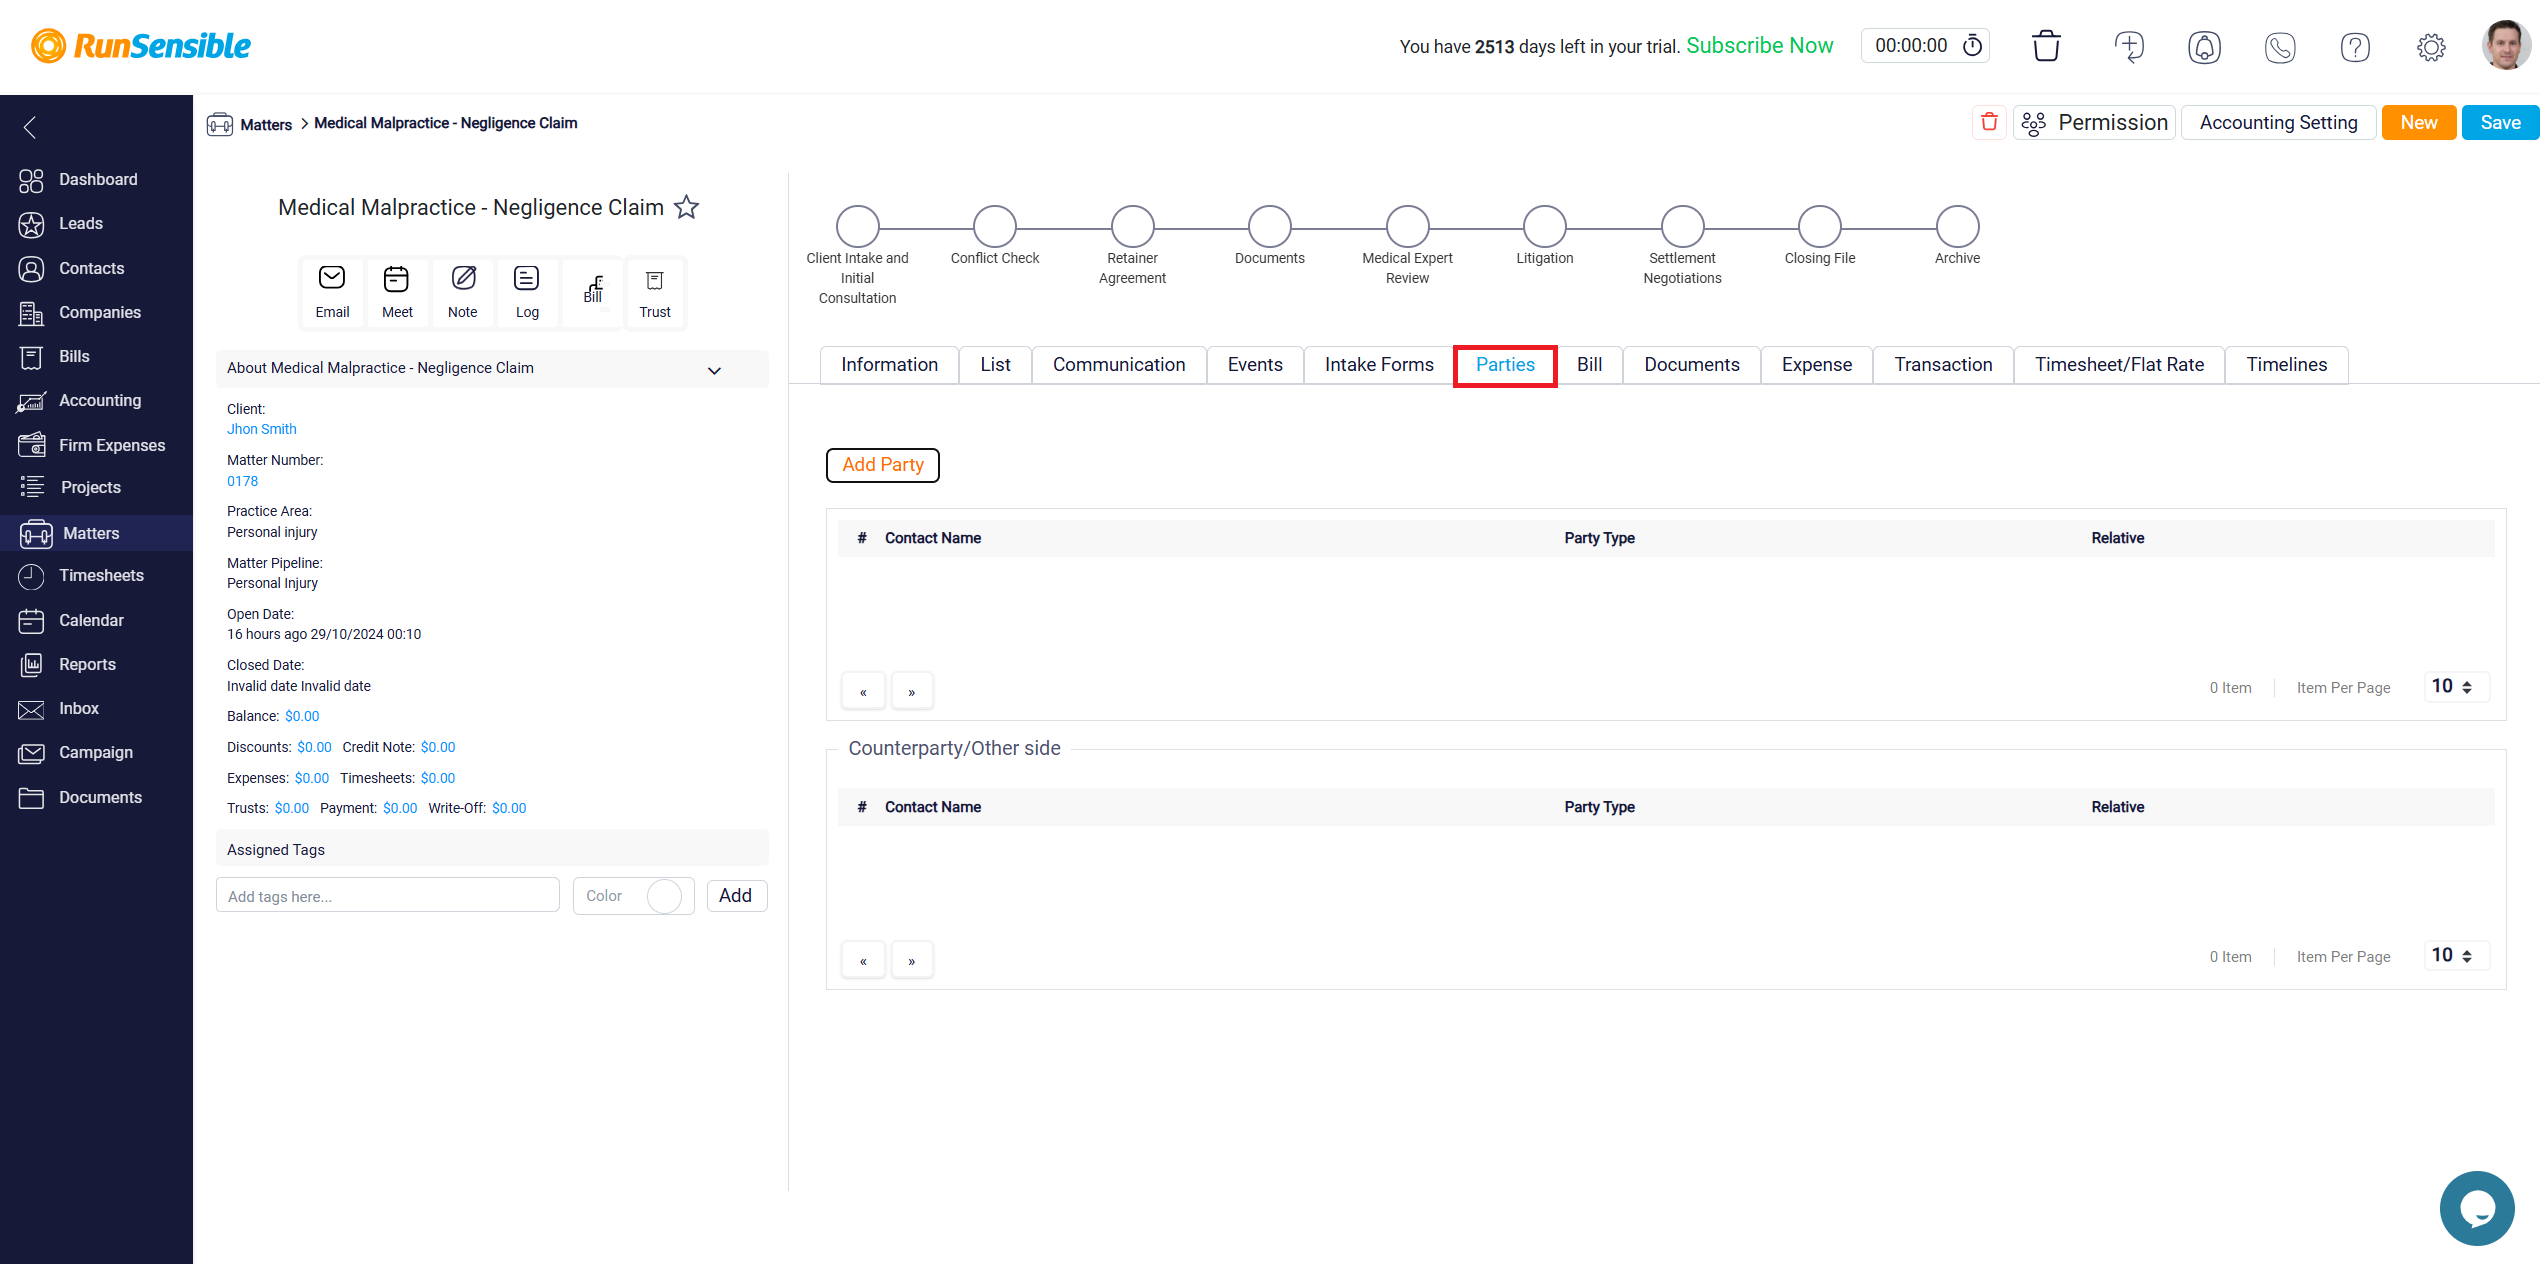
The next tab, labeled Parties, allows you to add and manage contacts connected to a specific matter. This feature helps you keep track of all relevant individuals in one centralized location, whether they are clients, witnesses, experts, or any other party involved in the matter. By organizing these contacts within the Parties tab, you can access their details and monitor their involvement in the case.
The Parties tab integrates closely with the Document tab, allowing for efficient management of contacts and their roles within a matter. When a contact is assigned to a specific role, such as a client or witness, in the Parties tab, their information is automatically transferred to the corresponding sections of documents added in the Document tab, eliminating the need for manual data entry. This ensures that the relevant contact details are included accurately in all documents. Additionally, the integration works both ways: if a contact is assigned a role while adding a document in the Document tab, that contact is automatically added to the Parties tab under the appropriate role. This connection keeps contact information and role assignments consistently aligned across both tabs, ensuring accurate and organized records for all parties involved in a matter.

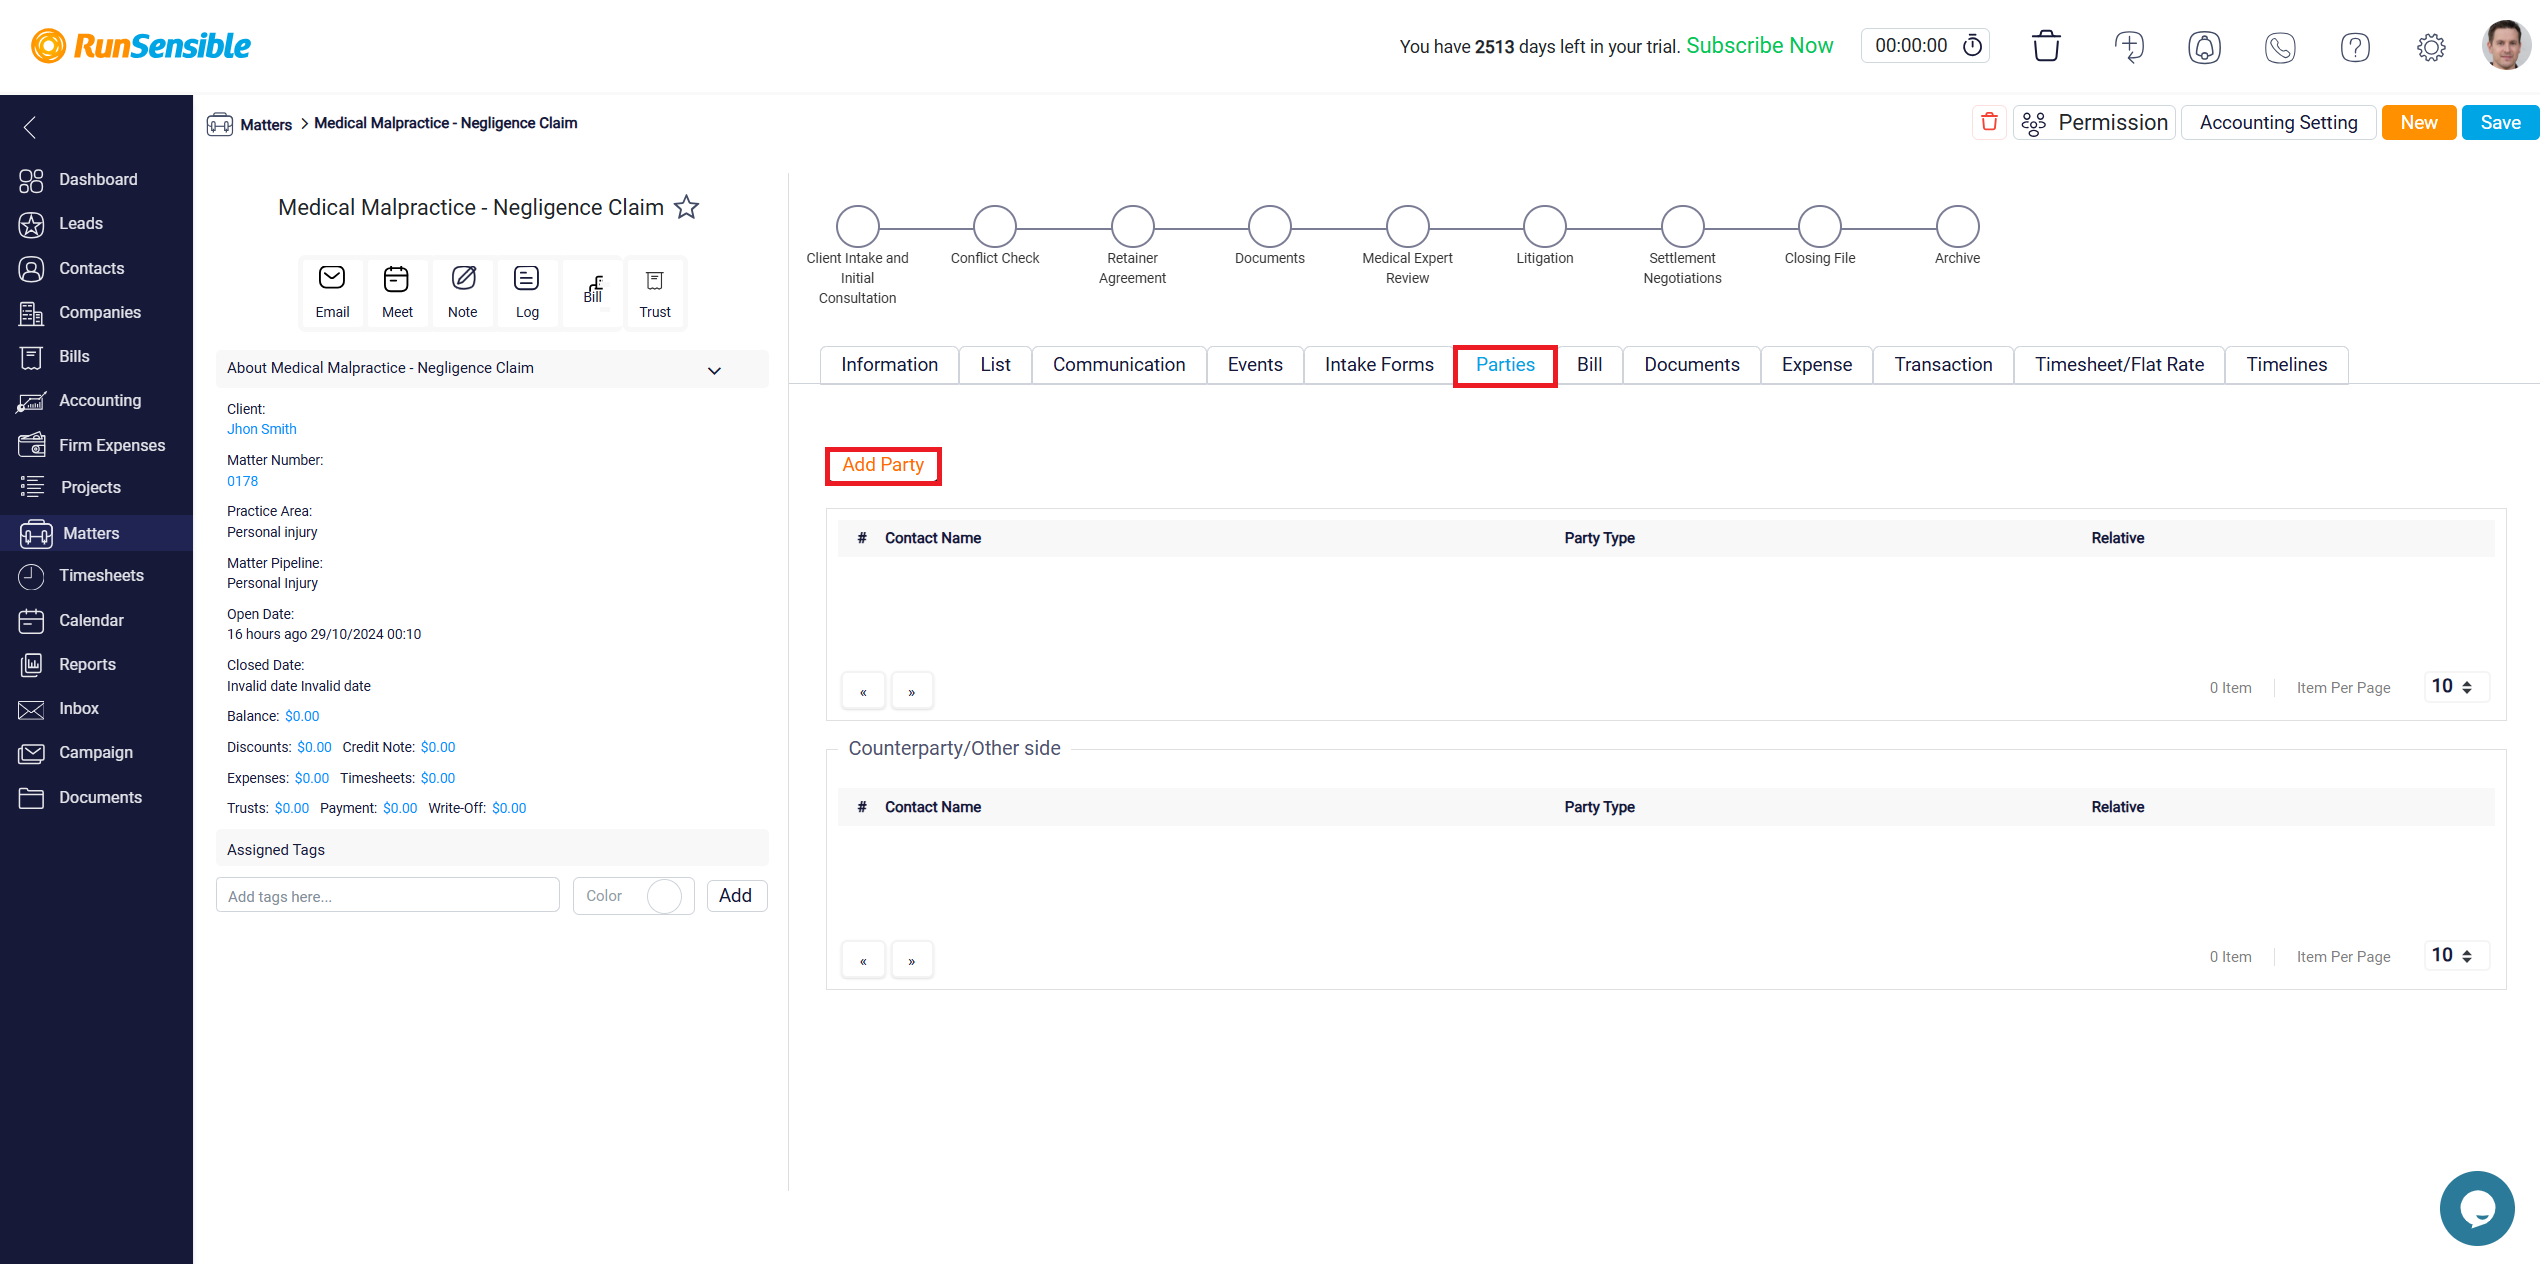
To add a new contact in the Parties tab, begin by clicking the Add Party button located at the top right corner of the screen. This will initiate the process of linking a contact to the matter.

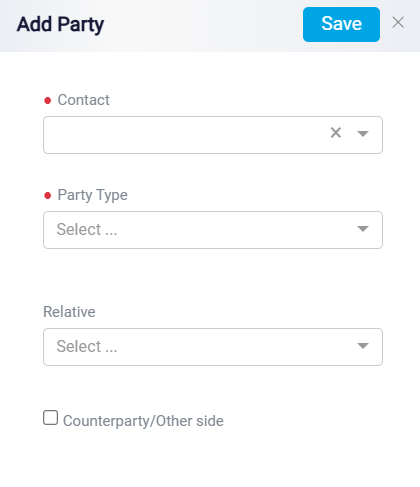
After clicking this button, a dropdown menu labeled Contact will appear. From this menu, you can select the contact you wish to associate with the matter. The dropdown menu will display a list of all the contacts stored in your system, making it easy to find and choose the appropriate individual.
Once you have selected the contact, the next step is to define the nature of their relationship with the matter. To do this, click on the Relation dropdown menu, where you can choose the role or relationship type that best describes the contact’s involvement in the case. If the specific role or relationship type you need is not listed, you can create a new one by clicking on the Add Relation link, which appears in blue at the bottom of the list.

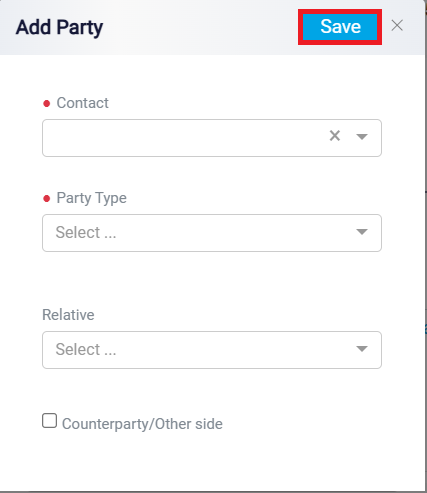
Clicking the Add Relation link will open the Add Relation panel. In this panel, you can enter the name of the new role in the Name box. Additionally, you have the option to assign a color to the role, which can help visually distinguish different types of relationships within the system. After entering the desired role and selecting a color (if applicable), click the Save button at the top right corner of the panel to add this new role to your list of available relationship types.
