Uploading and Managing Documents in the Document Tab
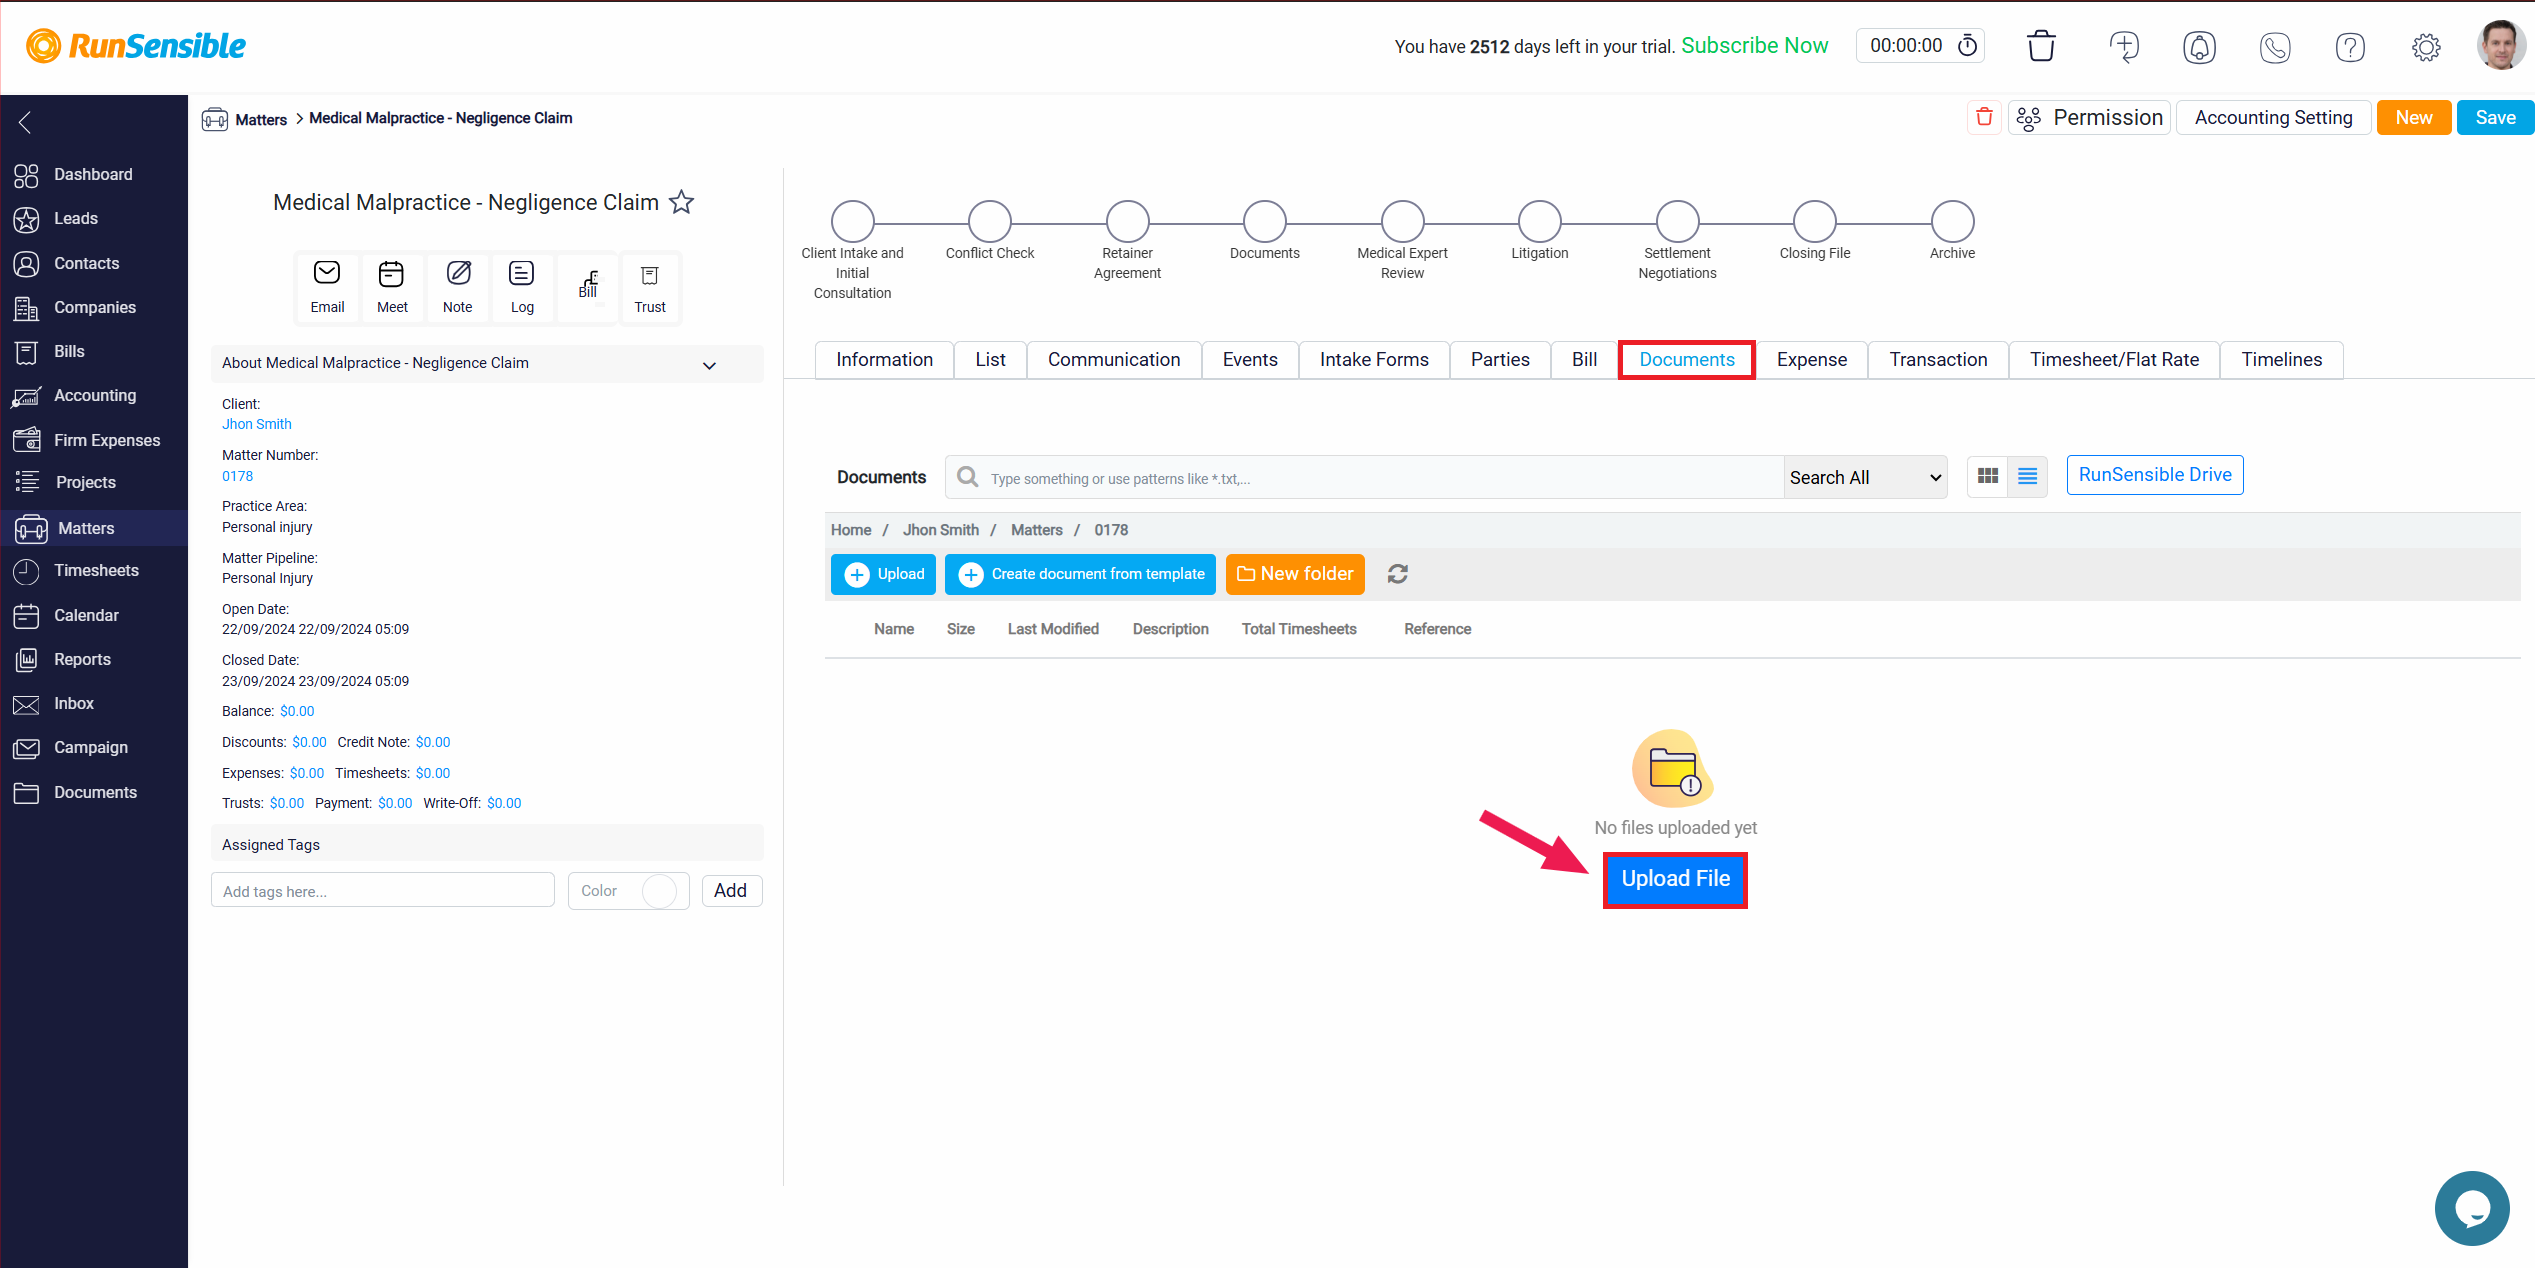
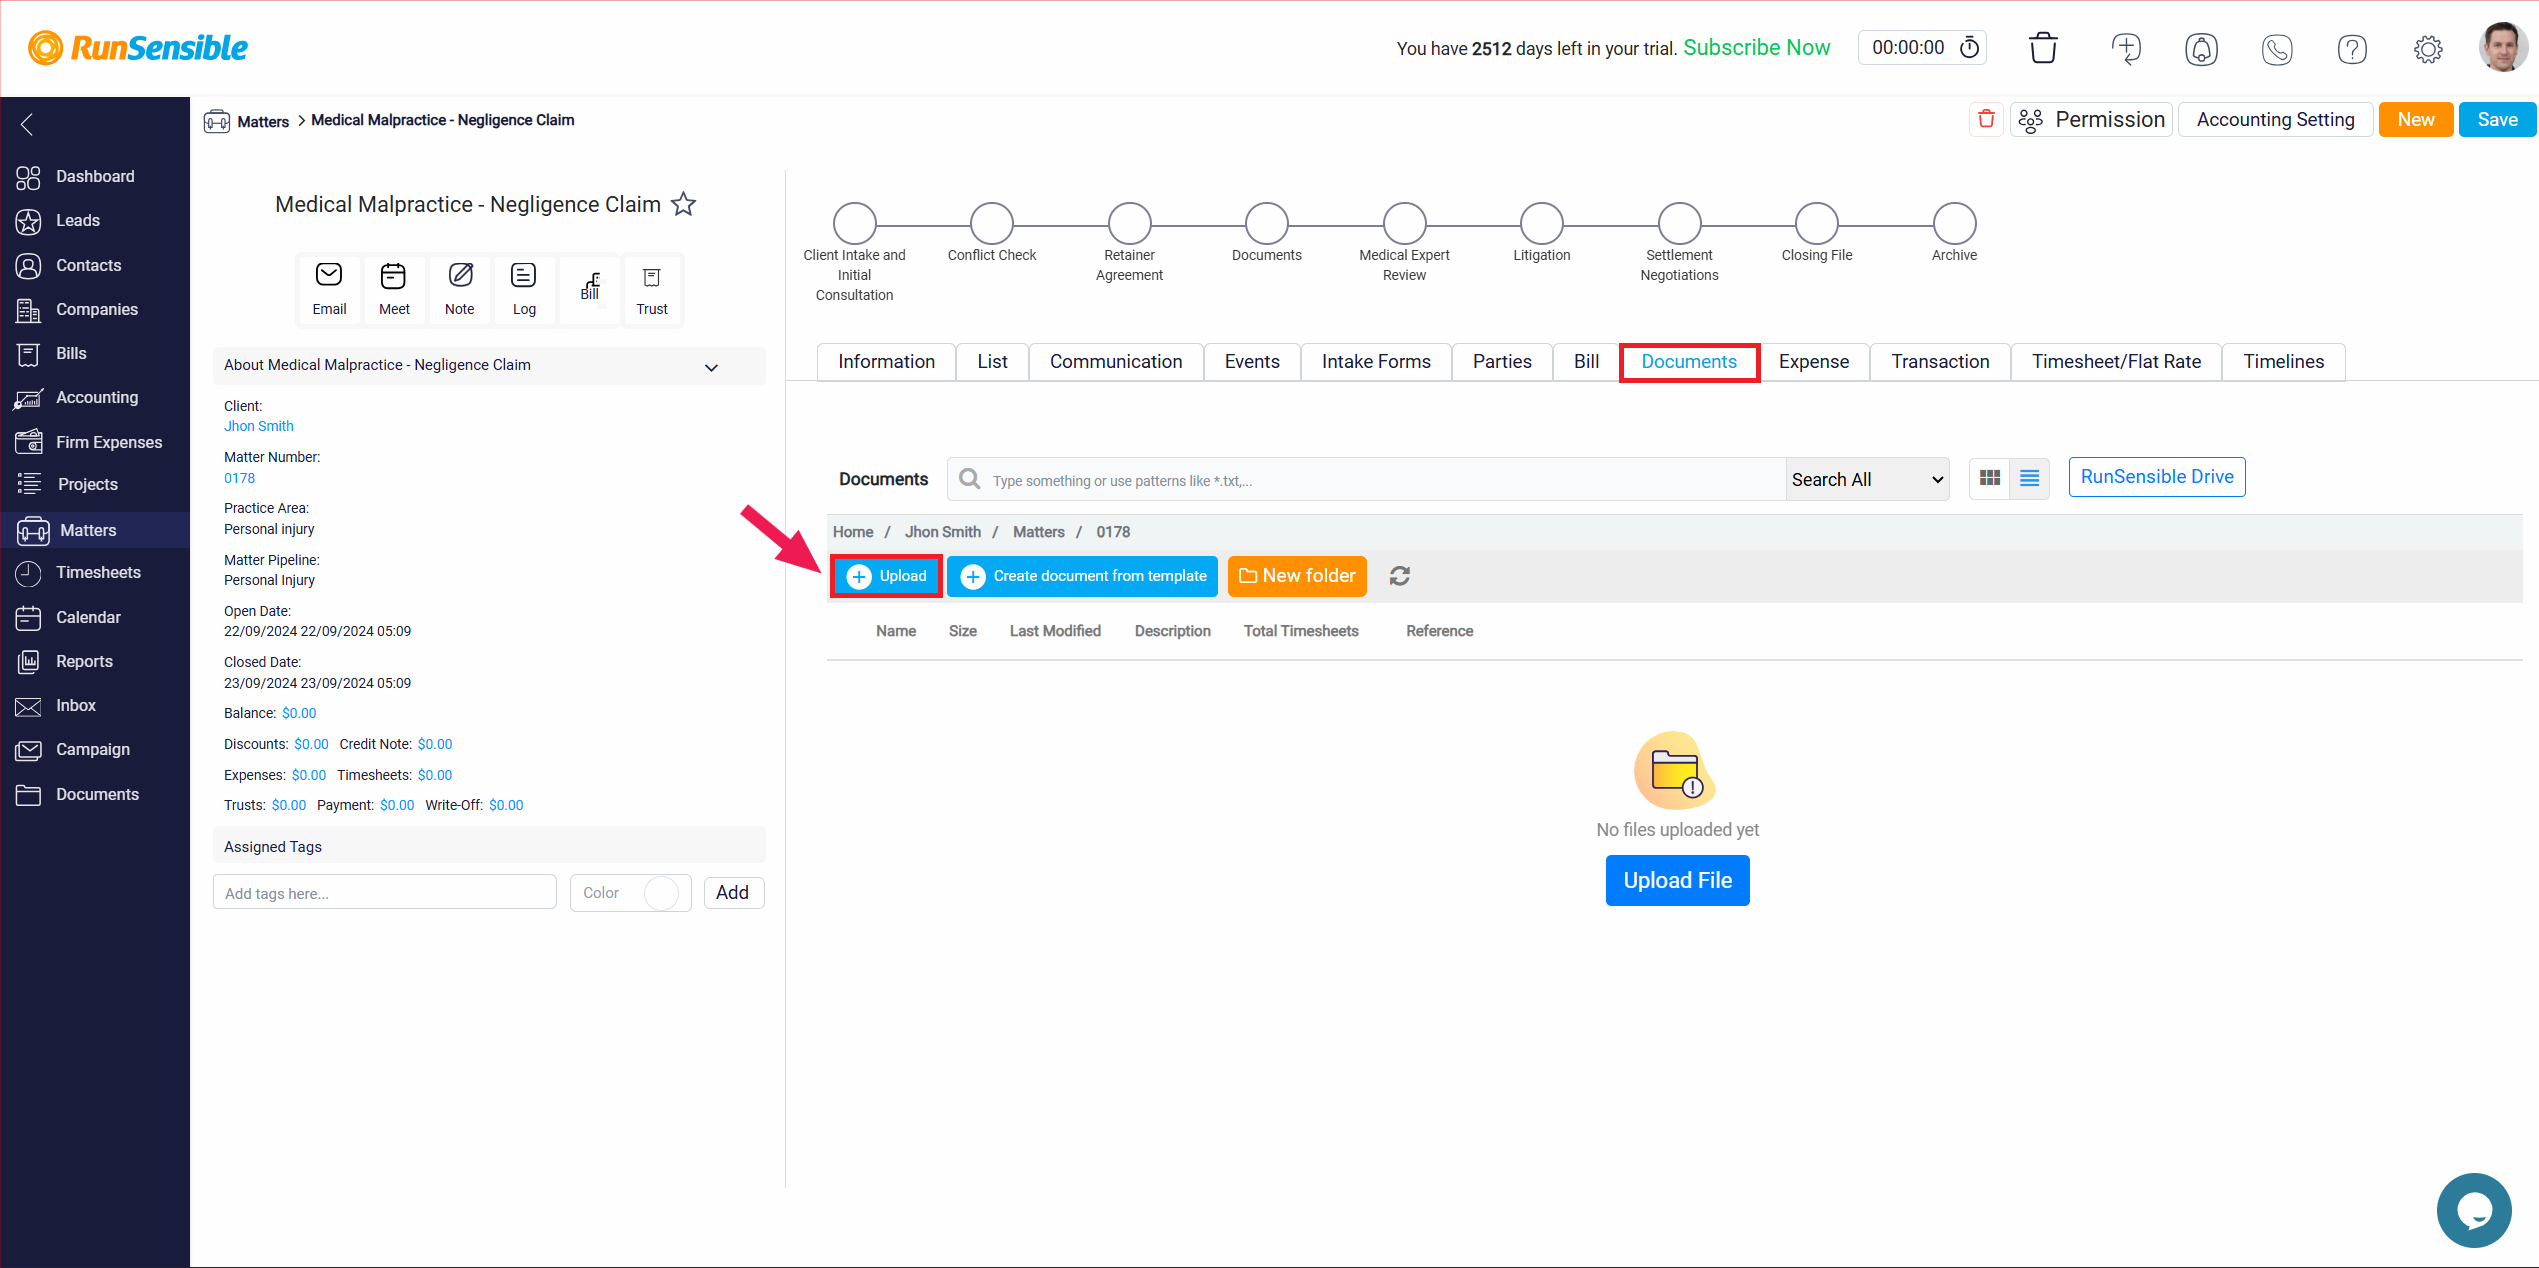
The next section you will encounter is the Document tab, which is designed to help you manage all the documents related to a specific matter. Within this tab, you can upload, organize, and work with the documents needed for your case or project. To upload a document, click on the Upload File button. This action will open an upload panel where you can select and upload the file you need.
In addition to uploading individual documents, you can also use document templates within the Document tab. Document templates are particularly useful because they allow you to customize documents based on the specific information related to the matter at hand. When you upload a document template, the system will automatically populate the template with the relevant information. This information is drawn from the Matters Information tab and the details of contacts you have assigned specific roles in the Associated Contacts tab.
For instance, if your template includes placeholders for important details such as client names, dates, or other relevant information, the system will automatically populate these fields with the data you have already entered in the Information tab of the contact assigned to the client role for that particular matter. This automated process draws directly from the contact information you have previously input, ensuring that all necessary details are filled in accurately without requiring manual entry. By pulling directly from the provided data, this method enhances precision and reduces the chance of errors, streamlining the document preparation process.
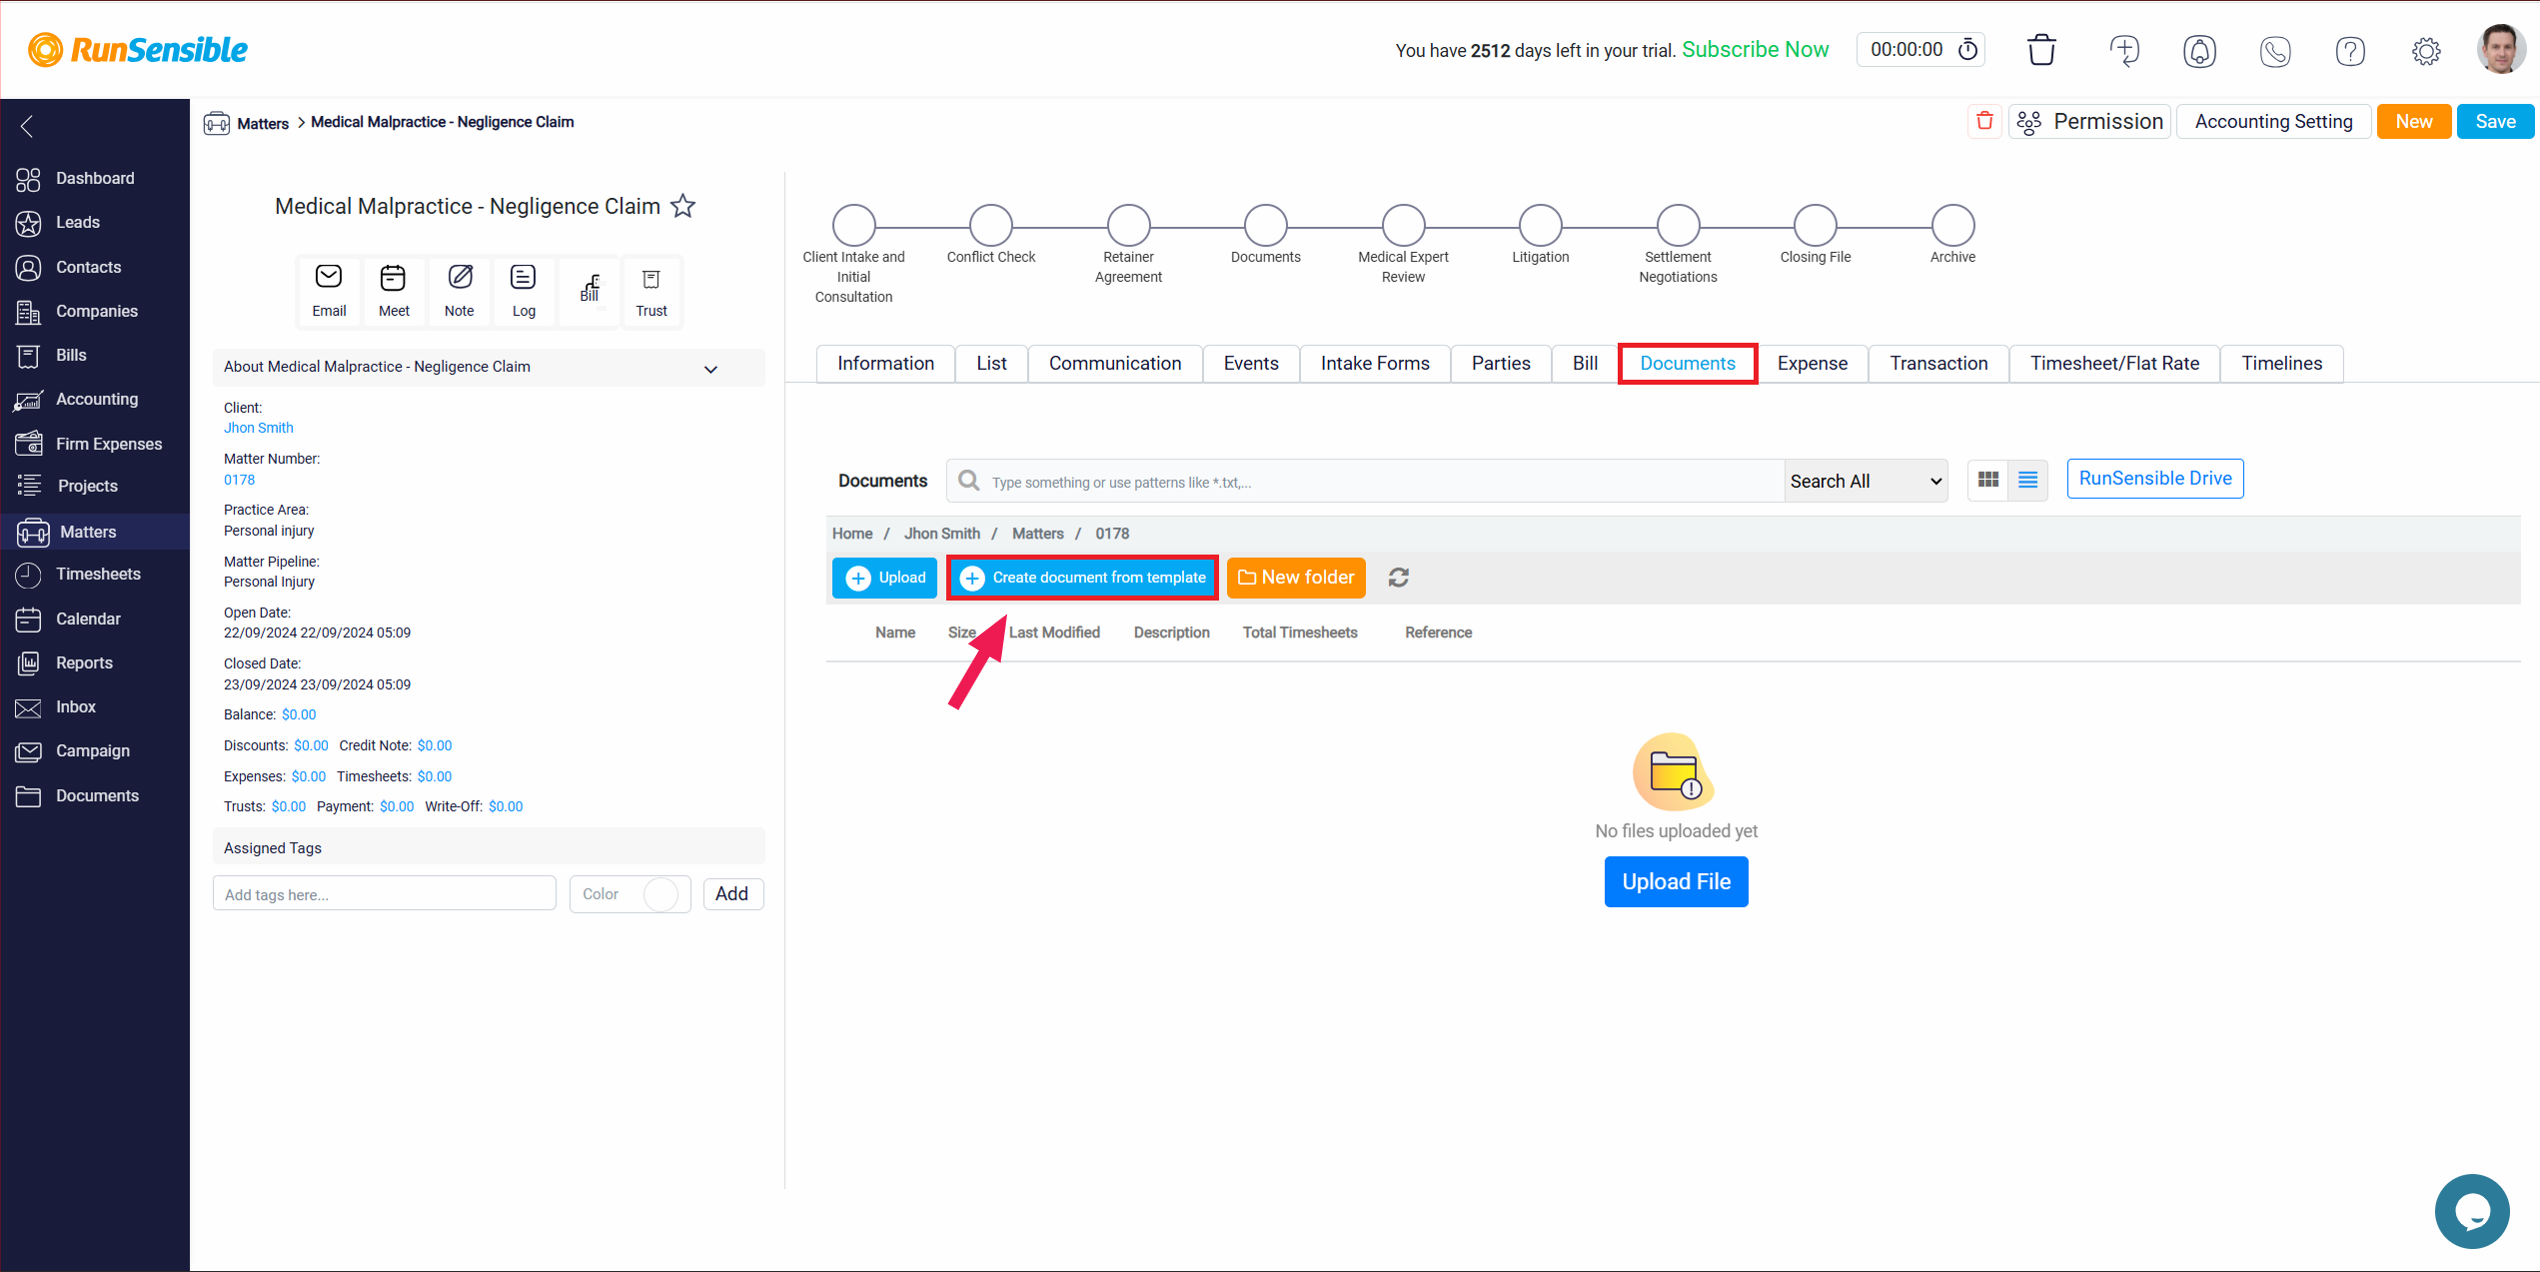
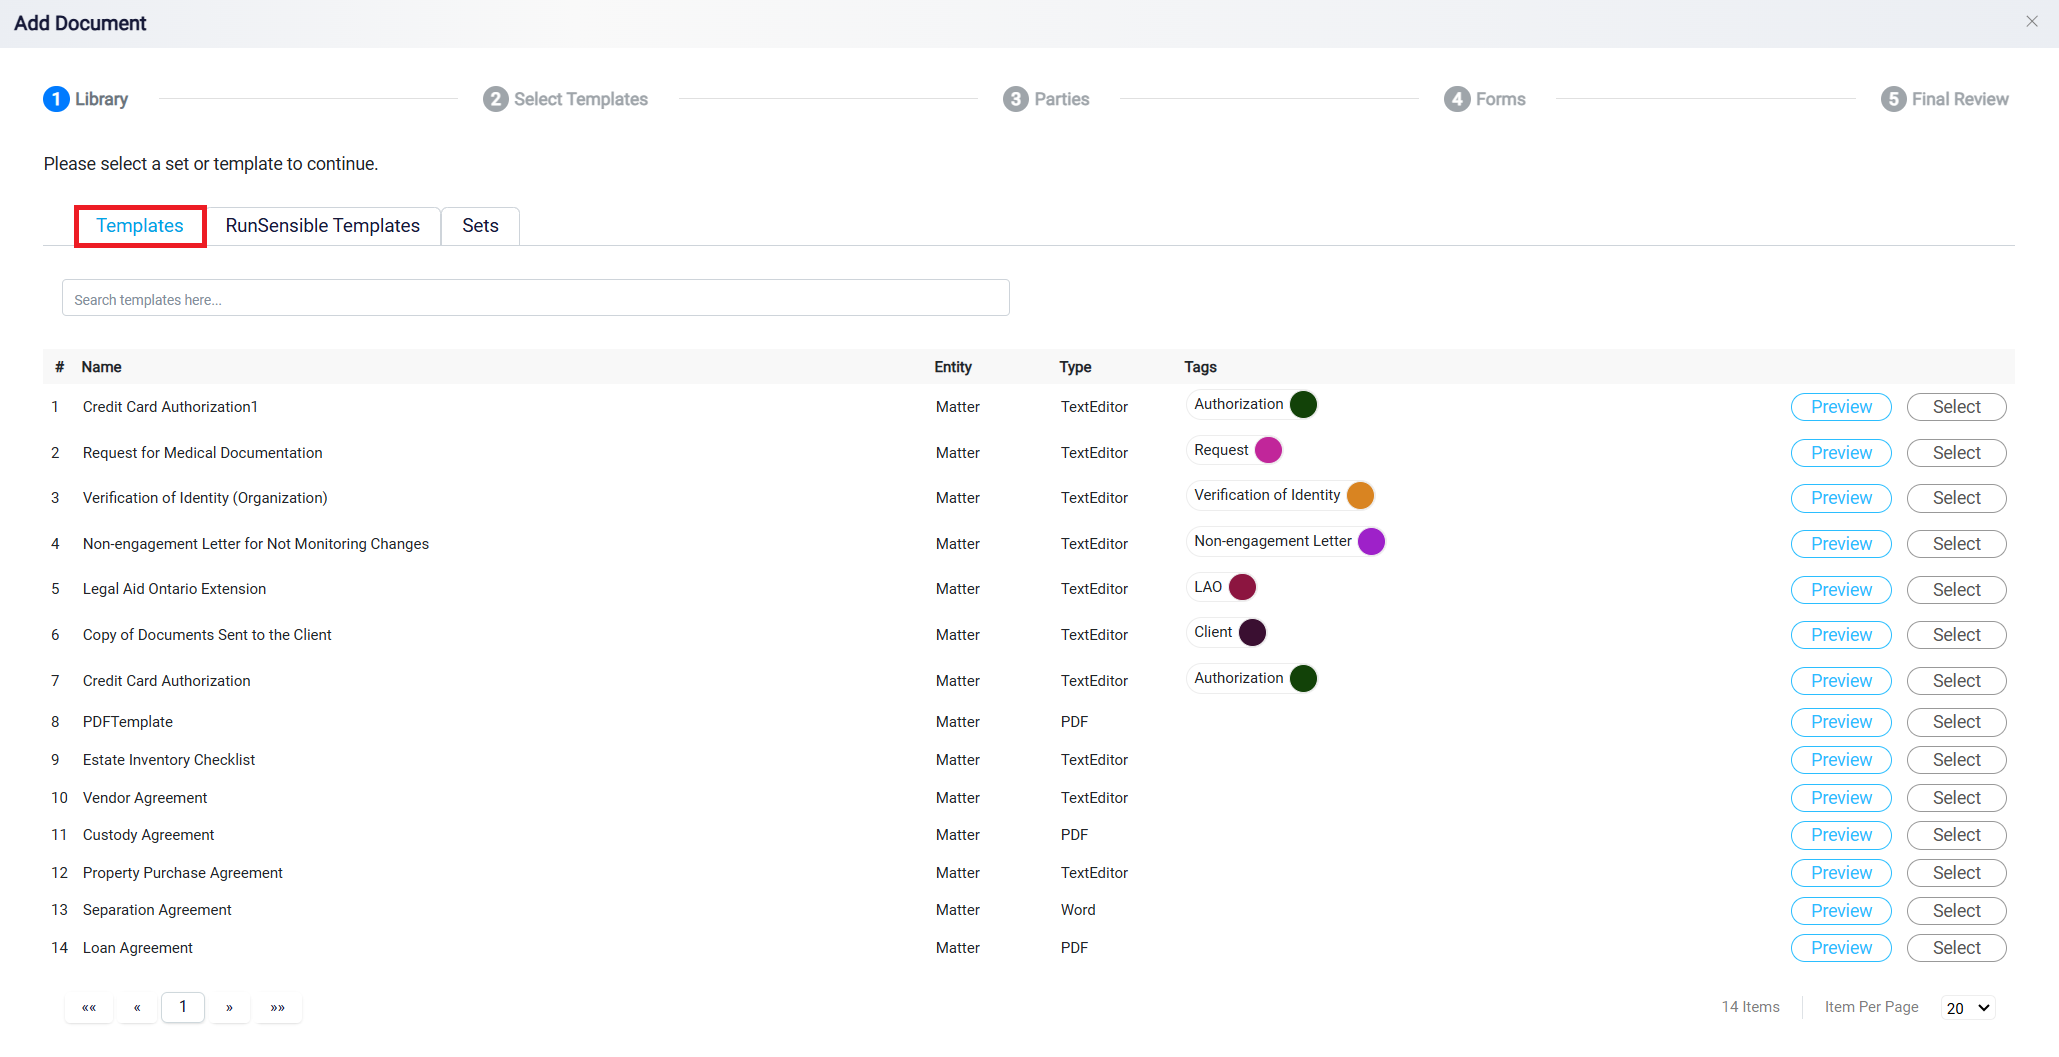
To add a document template, begin by clicking the Create Document from Template button located at the top of the page. Once clicked, a panel with three tabs will appear, each designed to help you manage your document templates effectively.
The first tab, labeled Templates, displays a list of all the document templates you have personally created within the system. This is where you can easily access, review, and manage your customized templates.
For more information about creating a document template, refer to the Document Template help file.
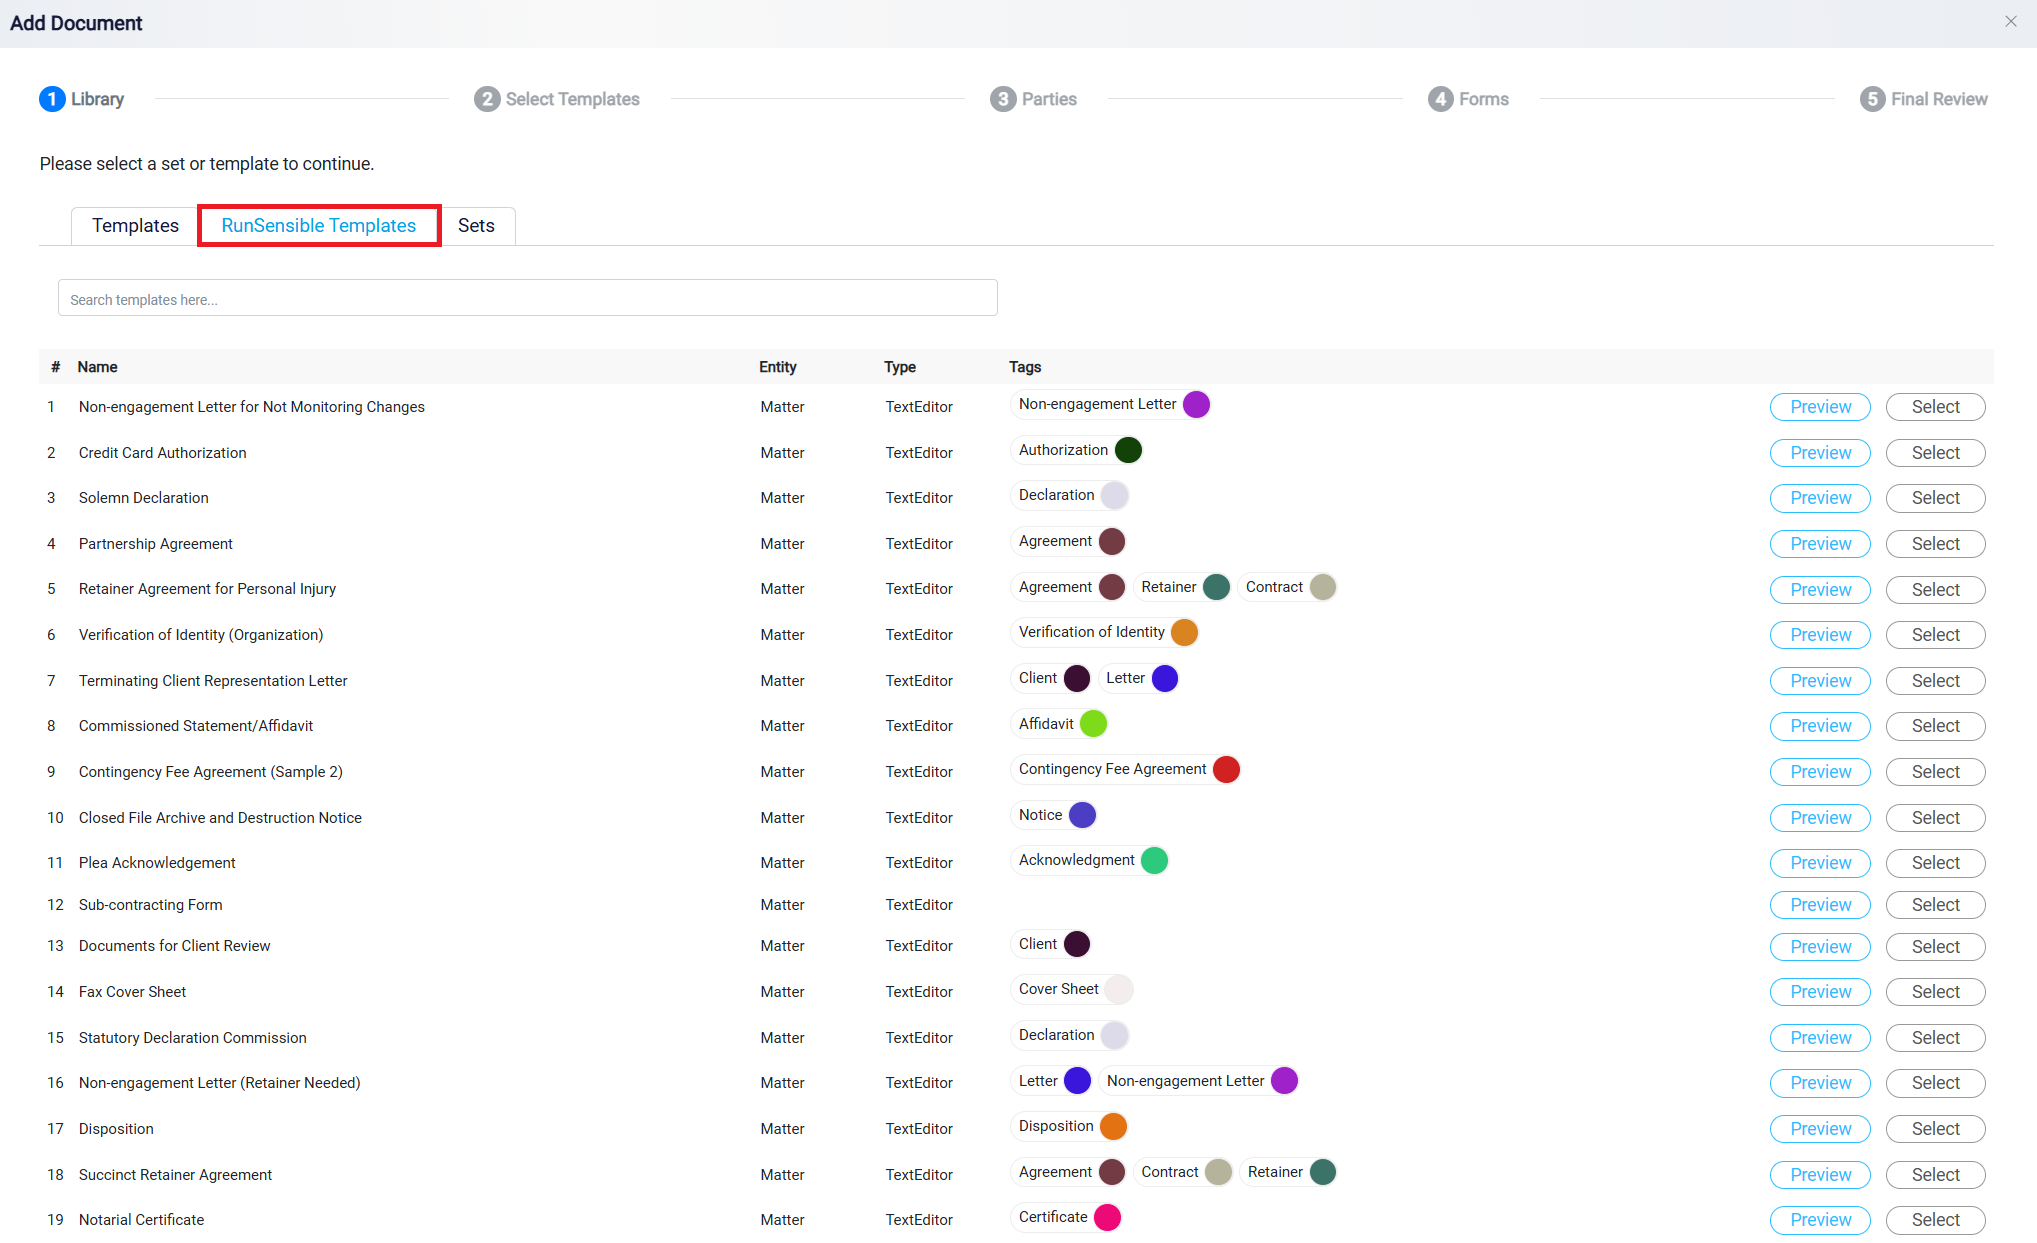
The second tab is RunSensible Templates. This tab contains a collection of pre-built templates provided by the system. These default templates are ready to use and can be modified to fit the specific needs of your case or project.
The final tab is called Set. This tab allows you to organize and group your templates for easier management. You can select multiple templates simultaneously, making it more convenient to apply them to different matters.

In each of these tabs, you will find two action buttons next to every listed template. The first button is Preview.
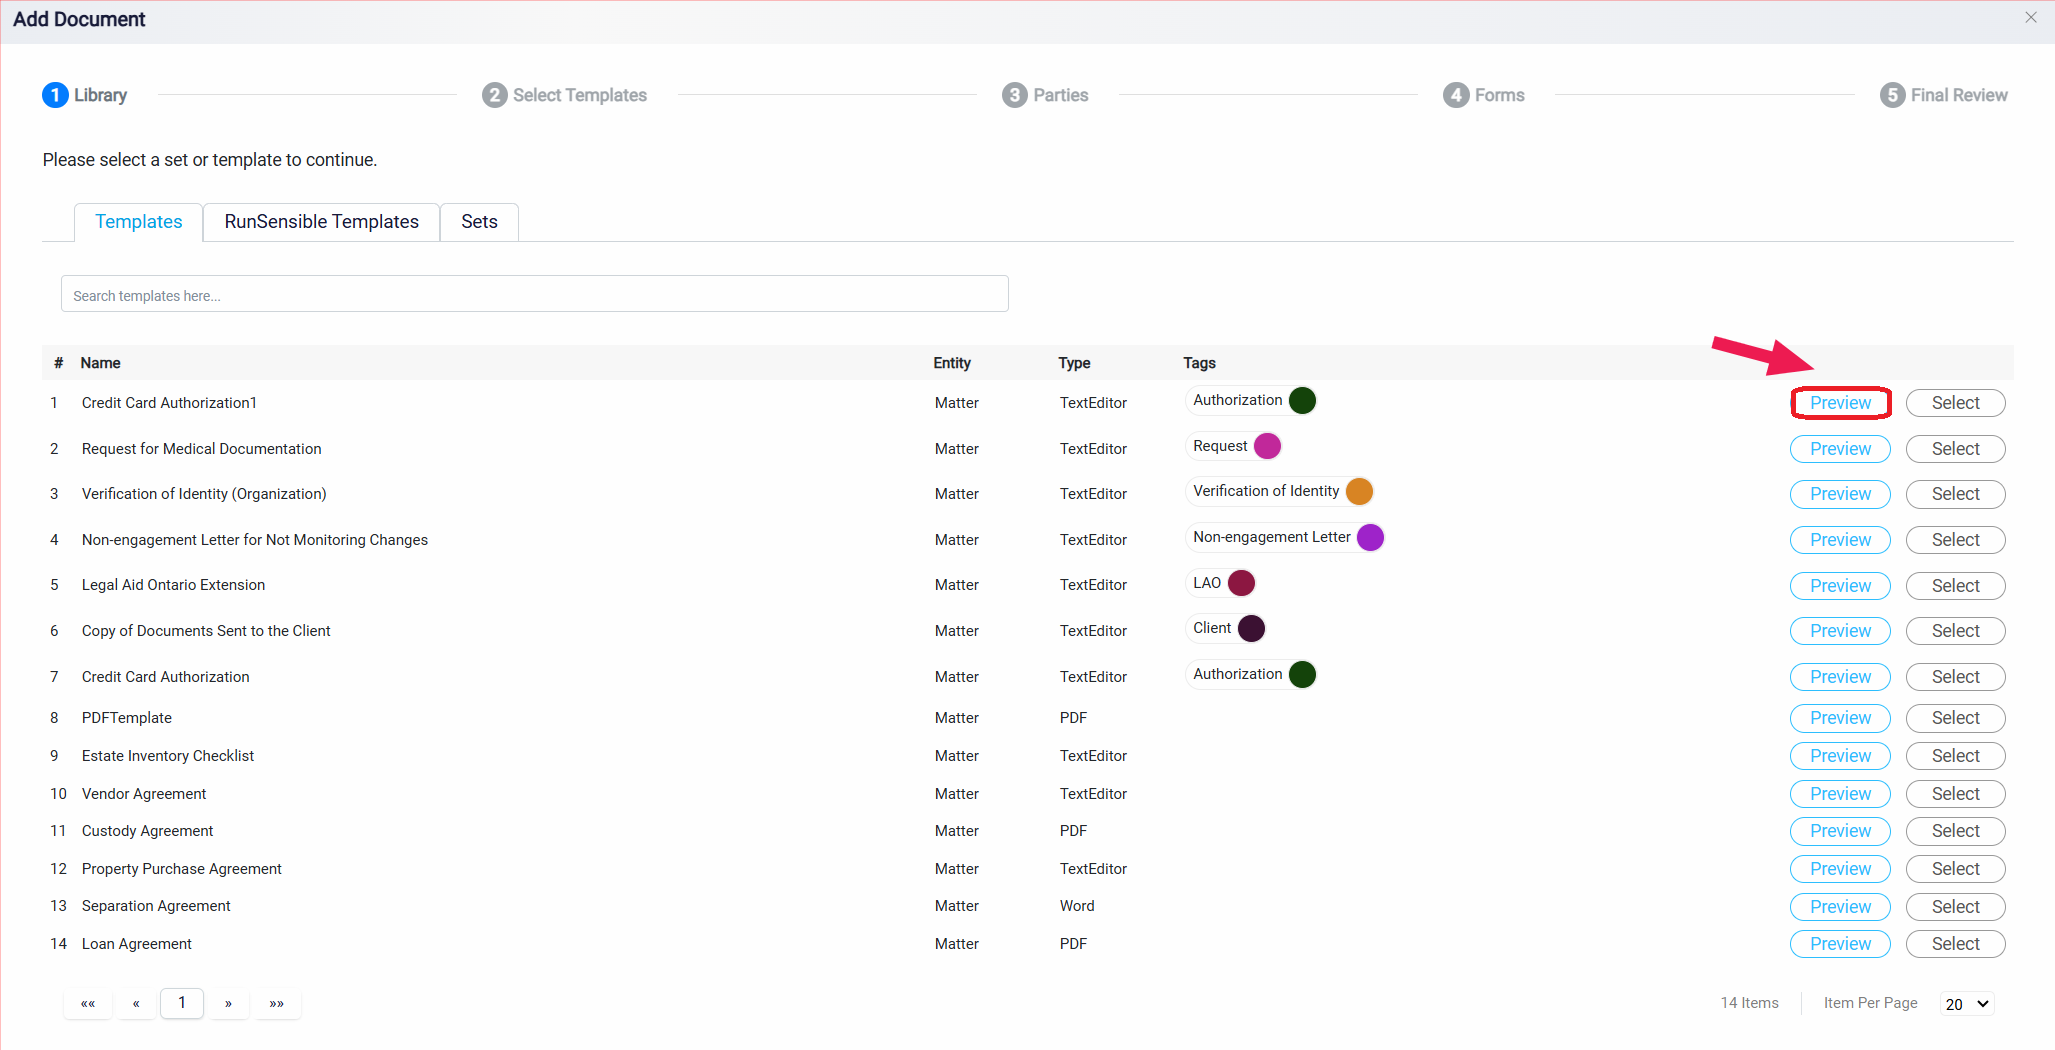
Clicking this will allow you to see the template before making any selections, allowing you to verify that it suits your requirements. The second button is Select. By clicking Select, you choose the template that you want to add to the matter’s Document tab.
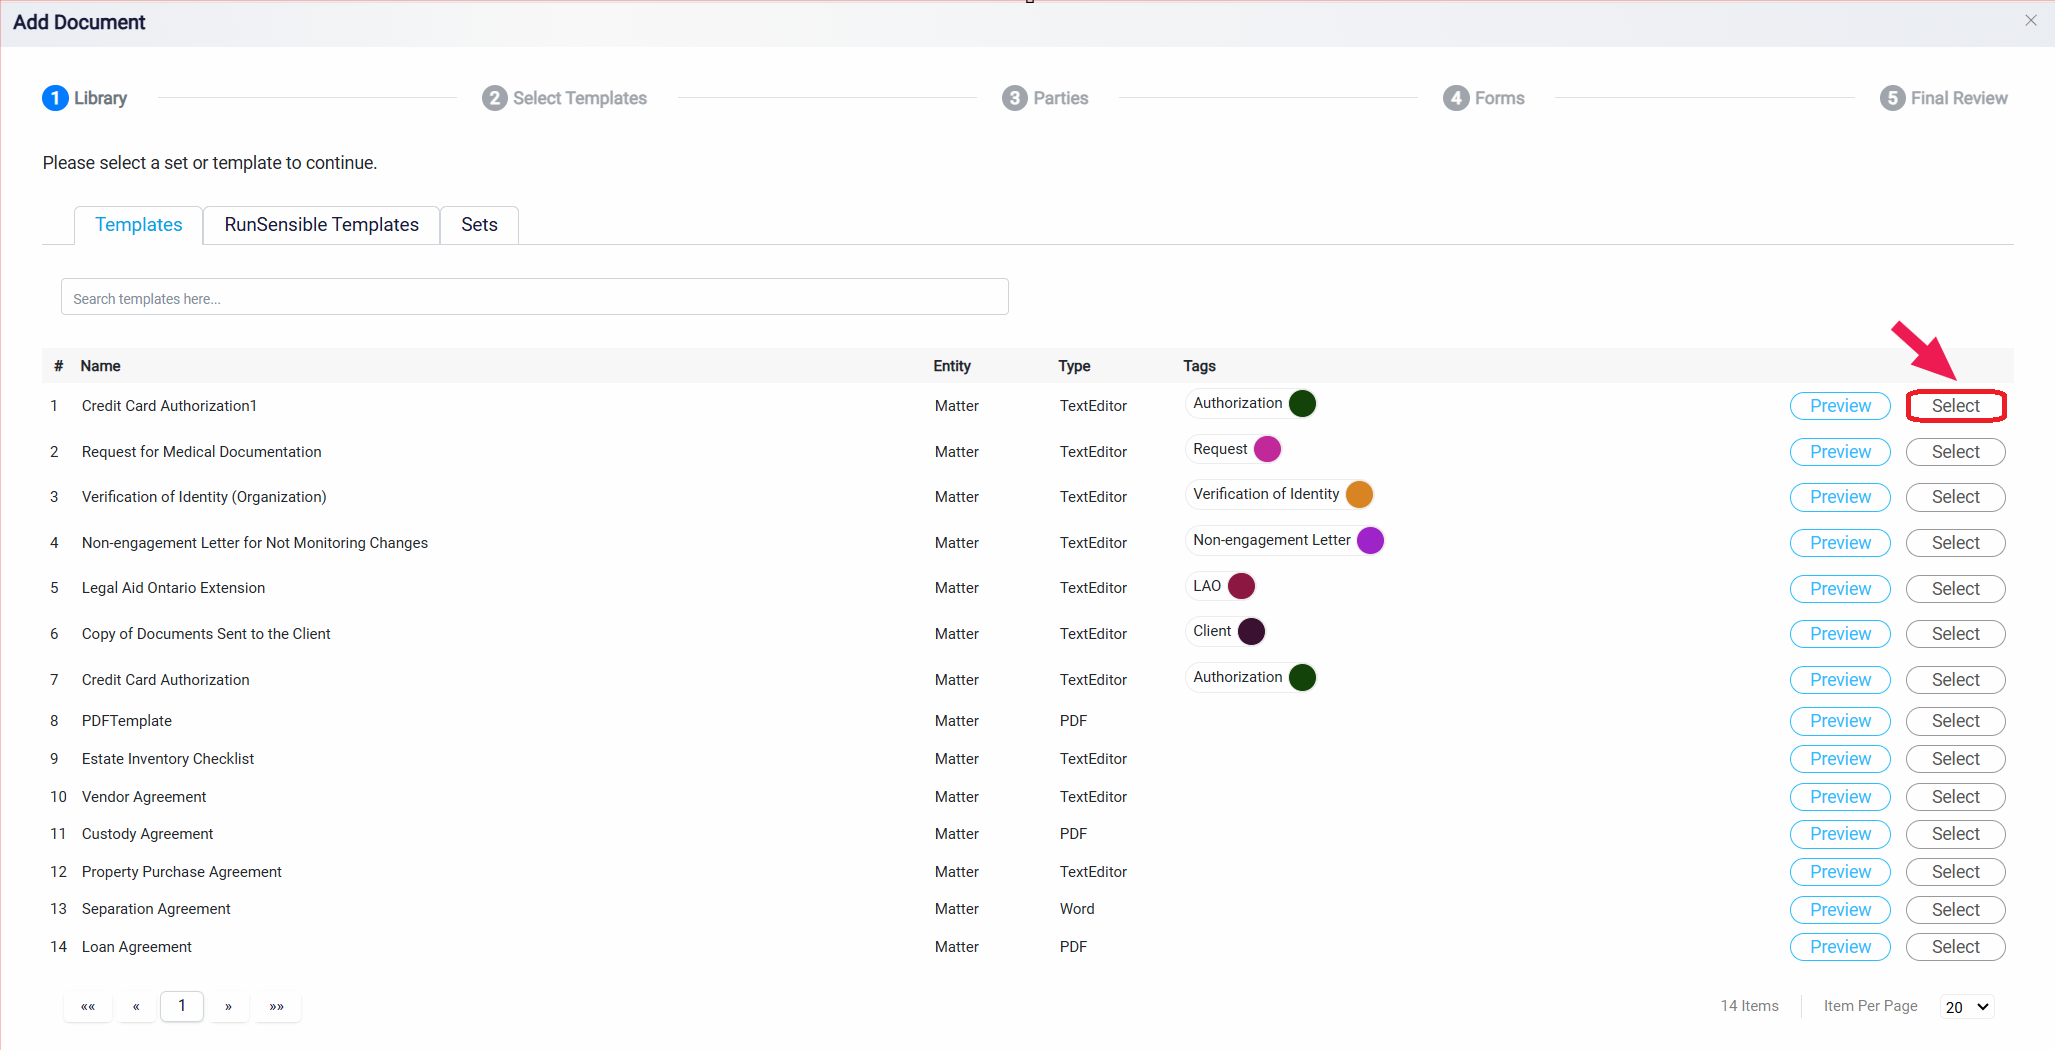
After selecting the desired template, you will be taken to a new page where the name of the chosen template will appear in the Template box. At this point, it is important to carefully verify that the correct template has been selected. If you have selected a set of templates from the previous step, you will see multiple templates listed in this box. Take a moment to review them to ensure they are the ones you intend to use. Once you have confirmed the selection, click the Next button located at the bottom left of the page to proceed.

On the next page, you will see several dropdown menus corresponding to the different roles defined within the template. These dropdowns allow you to assign contacts to each role. Select the appropriate contact for each role by clicking the corresponding dropdown menu. If more than one contact serves the same role in the matter, you can select multiple contacts. After assigning the roles, click the Next button to proceed.

Note: If you have already added a contact to a specific role in the Parties tab, their name will appear in the relevant drop-down menu for that role. If you have not added the contact yet, selecting the correct contact from the drop-down menu will automatically add them to the Parties tab under the appropriate role.
On the following page, you will have the opportunity to review and edit the information that will be automatically inserted into the document. Each role you defined during the creation of the template will appear as a separate tab, allowing for organized and easy navigation. Within each role tab, you will find the specific information types that were designated to be filled in during the template setup. This can include details like the first name, last name, or any other contact-related information necessary for the document.

If you have assigned multiple contacts to a single role, separate information panels for each contact will be displayed under that role’s tab. This ensures that all relevant individuals are represented, and you can review each contact’s details individually. In case any of the populated information is incorrect or incomplete, you can manually modify the fields to ensure accuracy.
Once you are satisfied with the accuracy of the data, click the Final Review button to proceed.

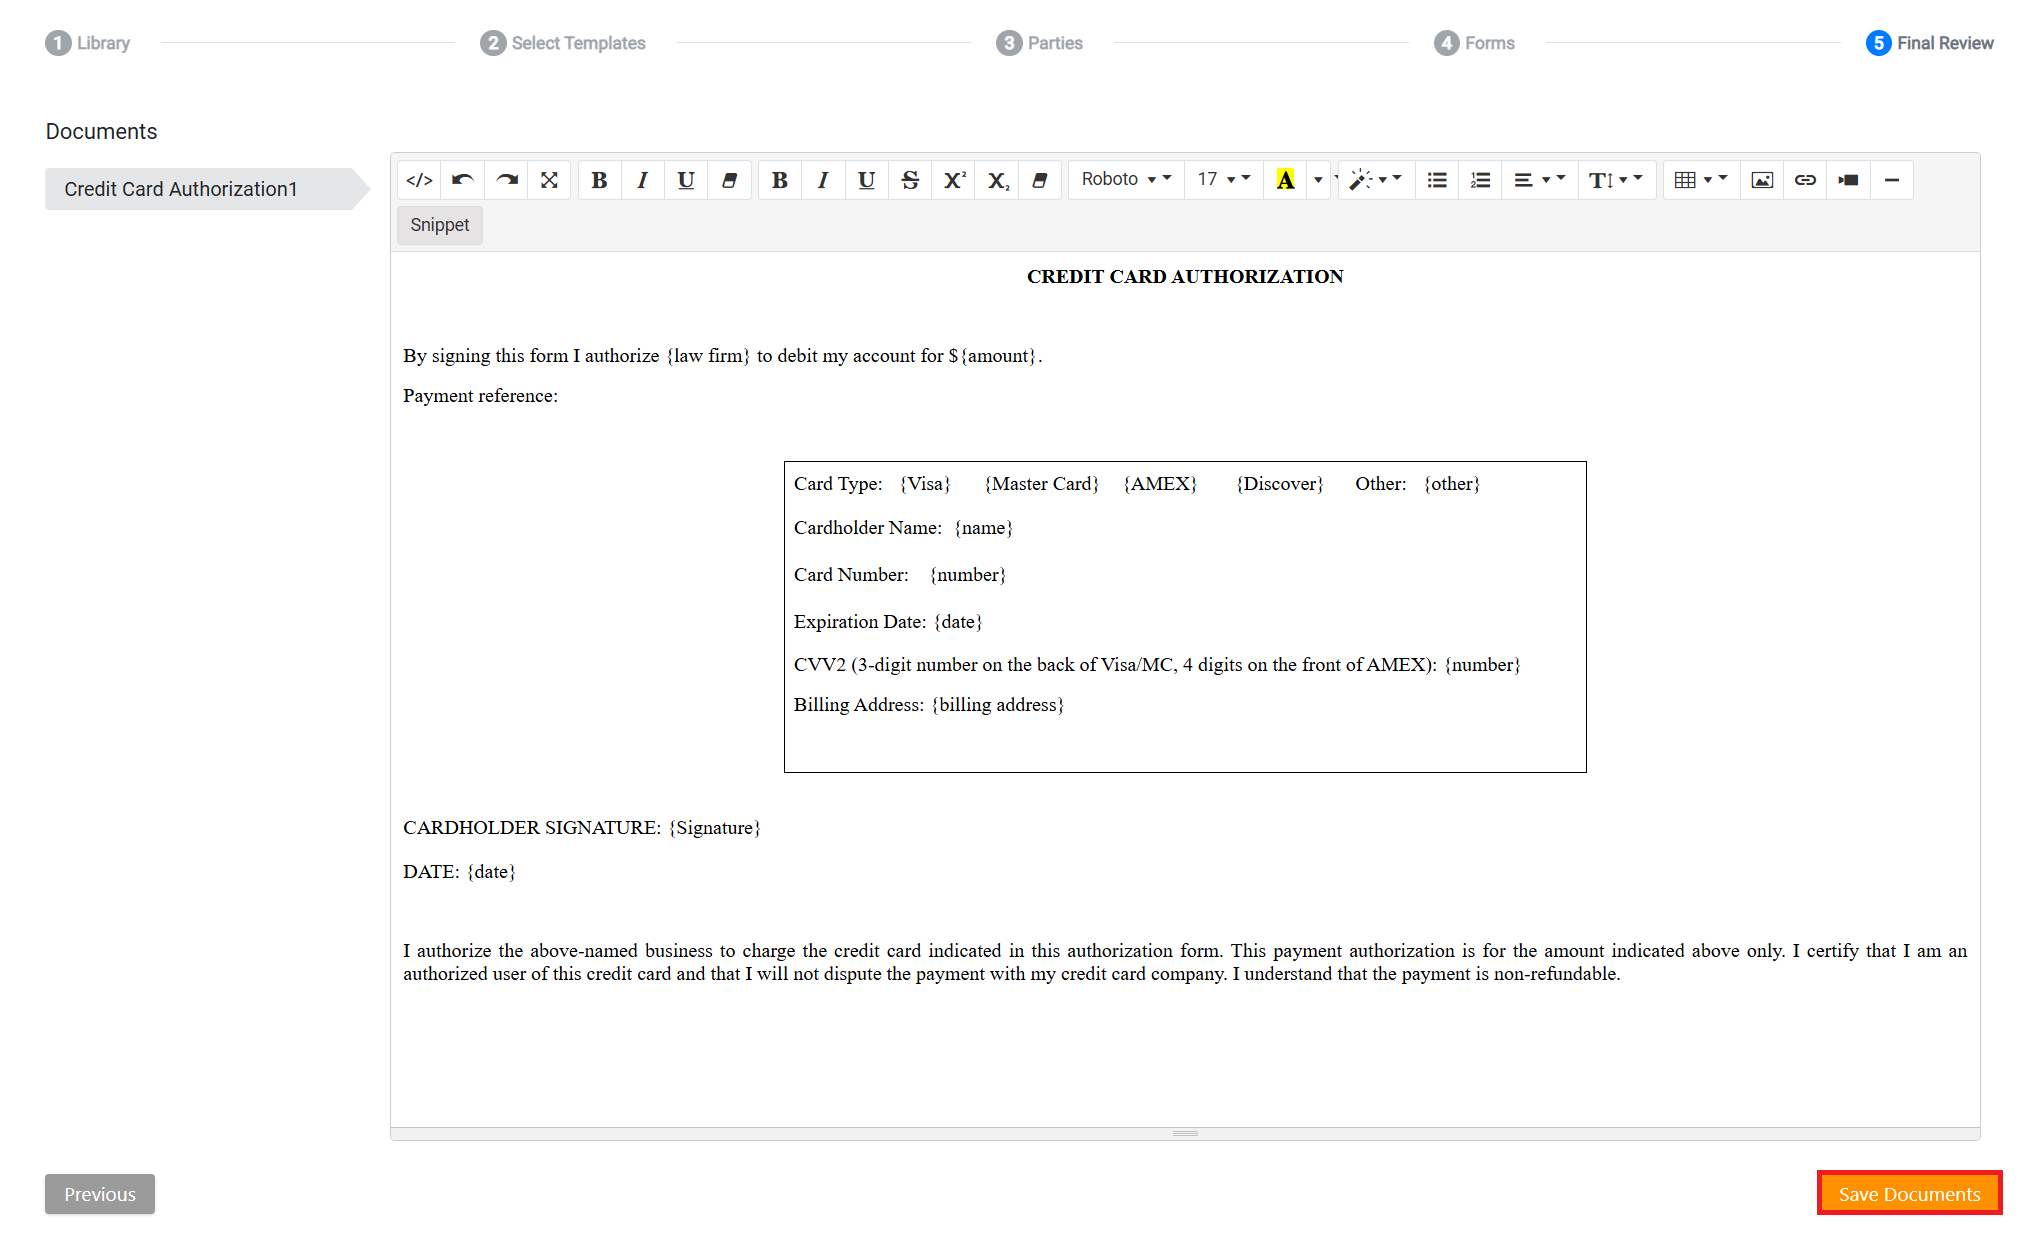
In the final step, you will be presented with the complete version of the document, fully populated with the relevant information. Review the document carefully for any errors or missing details. Once everything is correct, click the Save Document button to save the completed document under the matter’s Document tab alongside other related files.
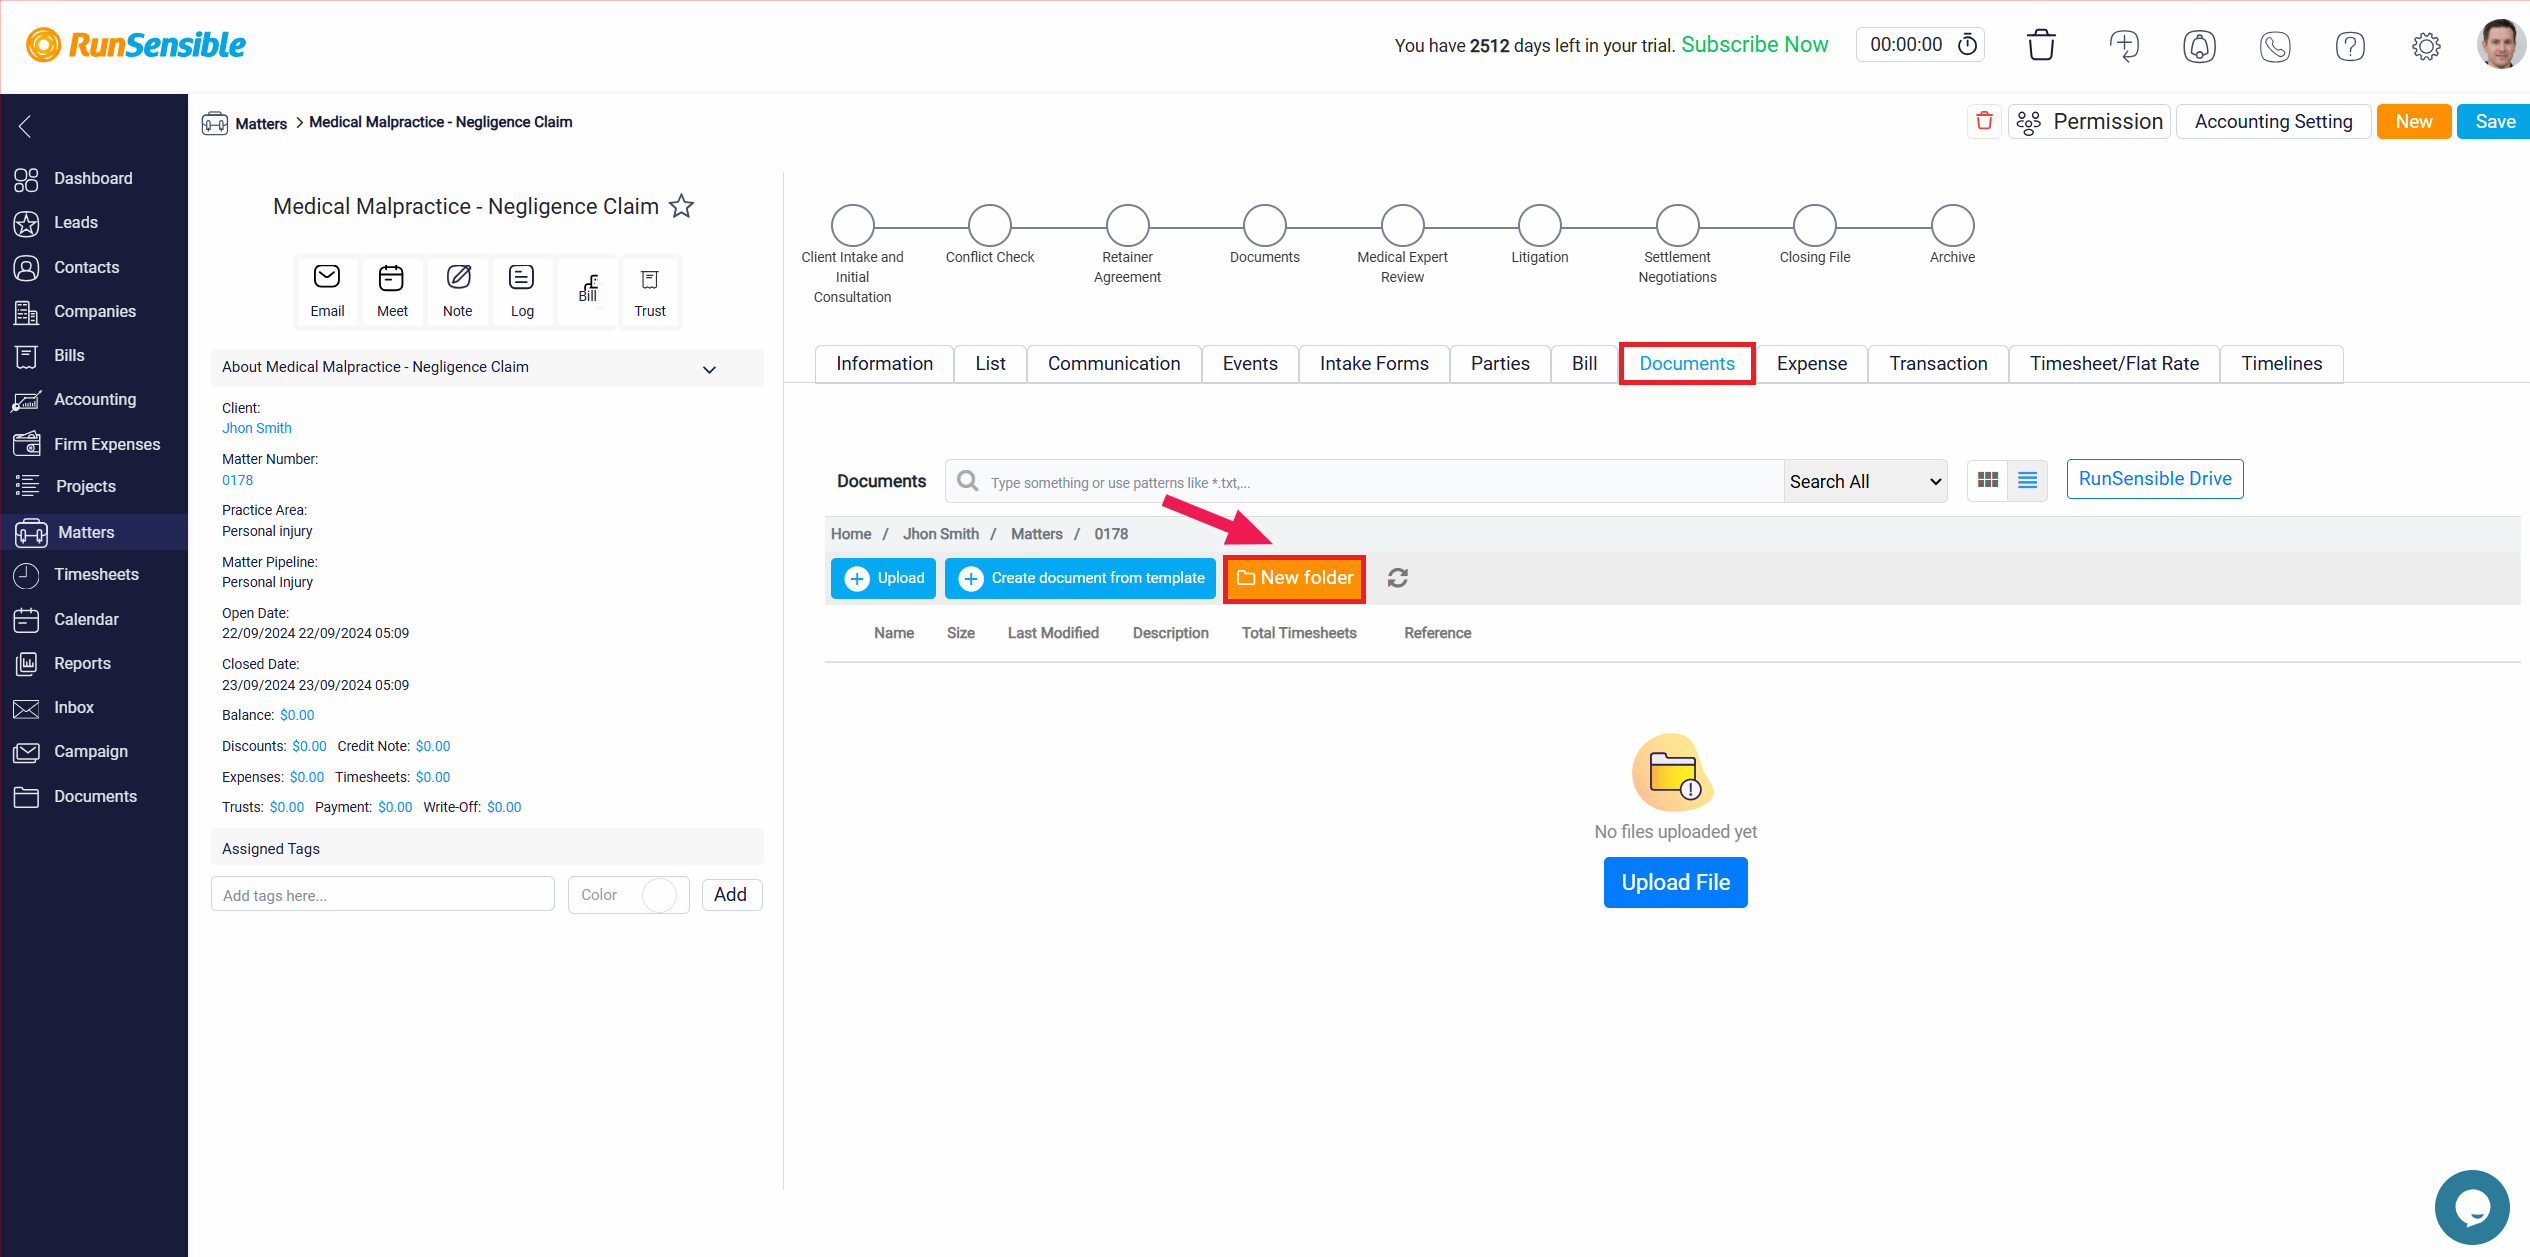
In the Document tab, can create folders to help organize your files. To do this, click on the New Folder button located at the top of the page. A pop-up will appear where you can enter the desired name for the folder in the Folder Name box. Once you have entered the name, click the Save button to create the folder.
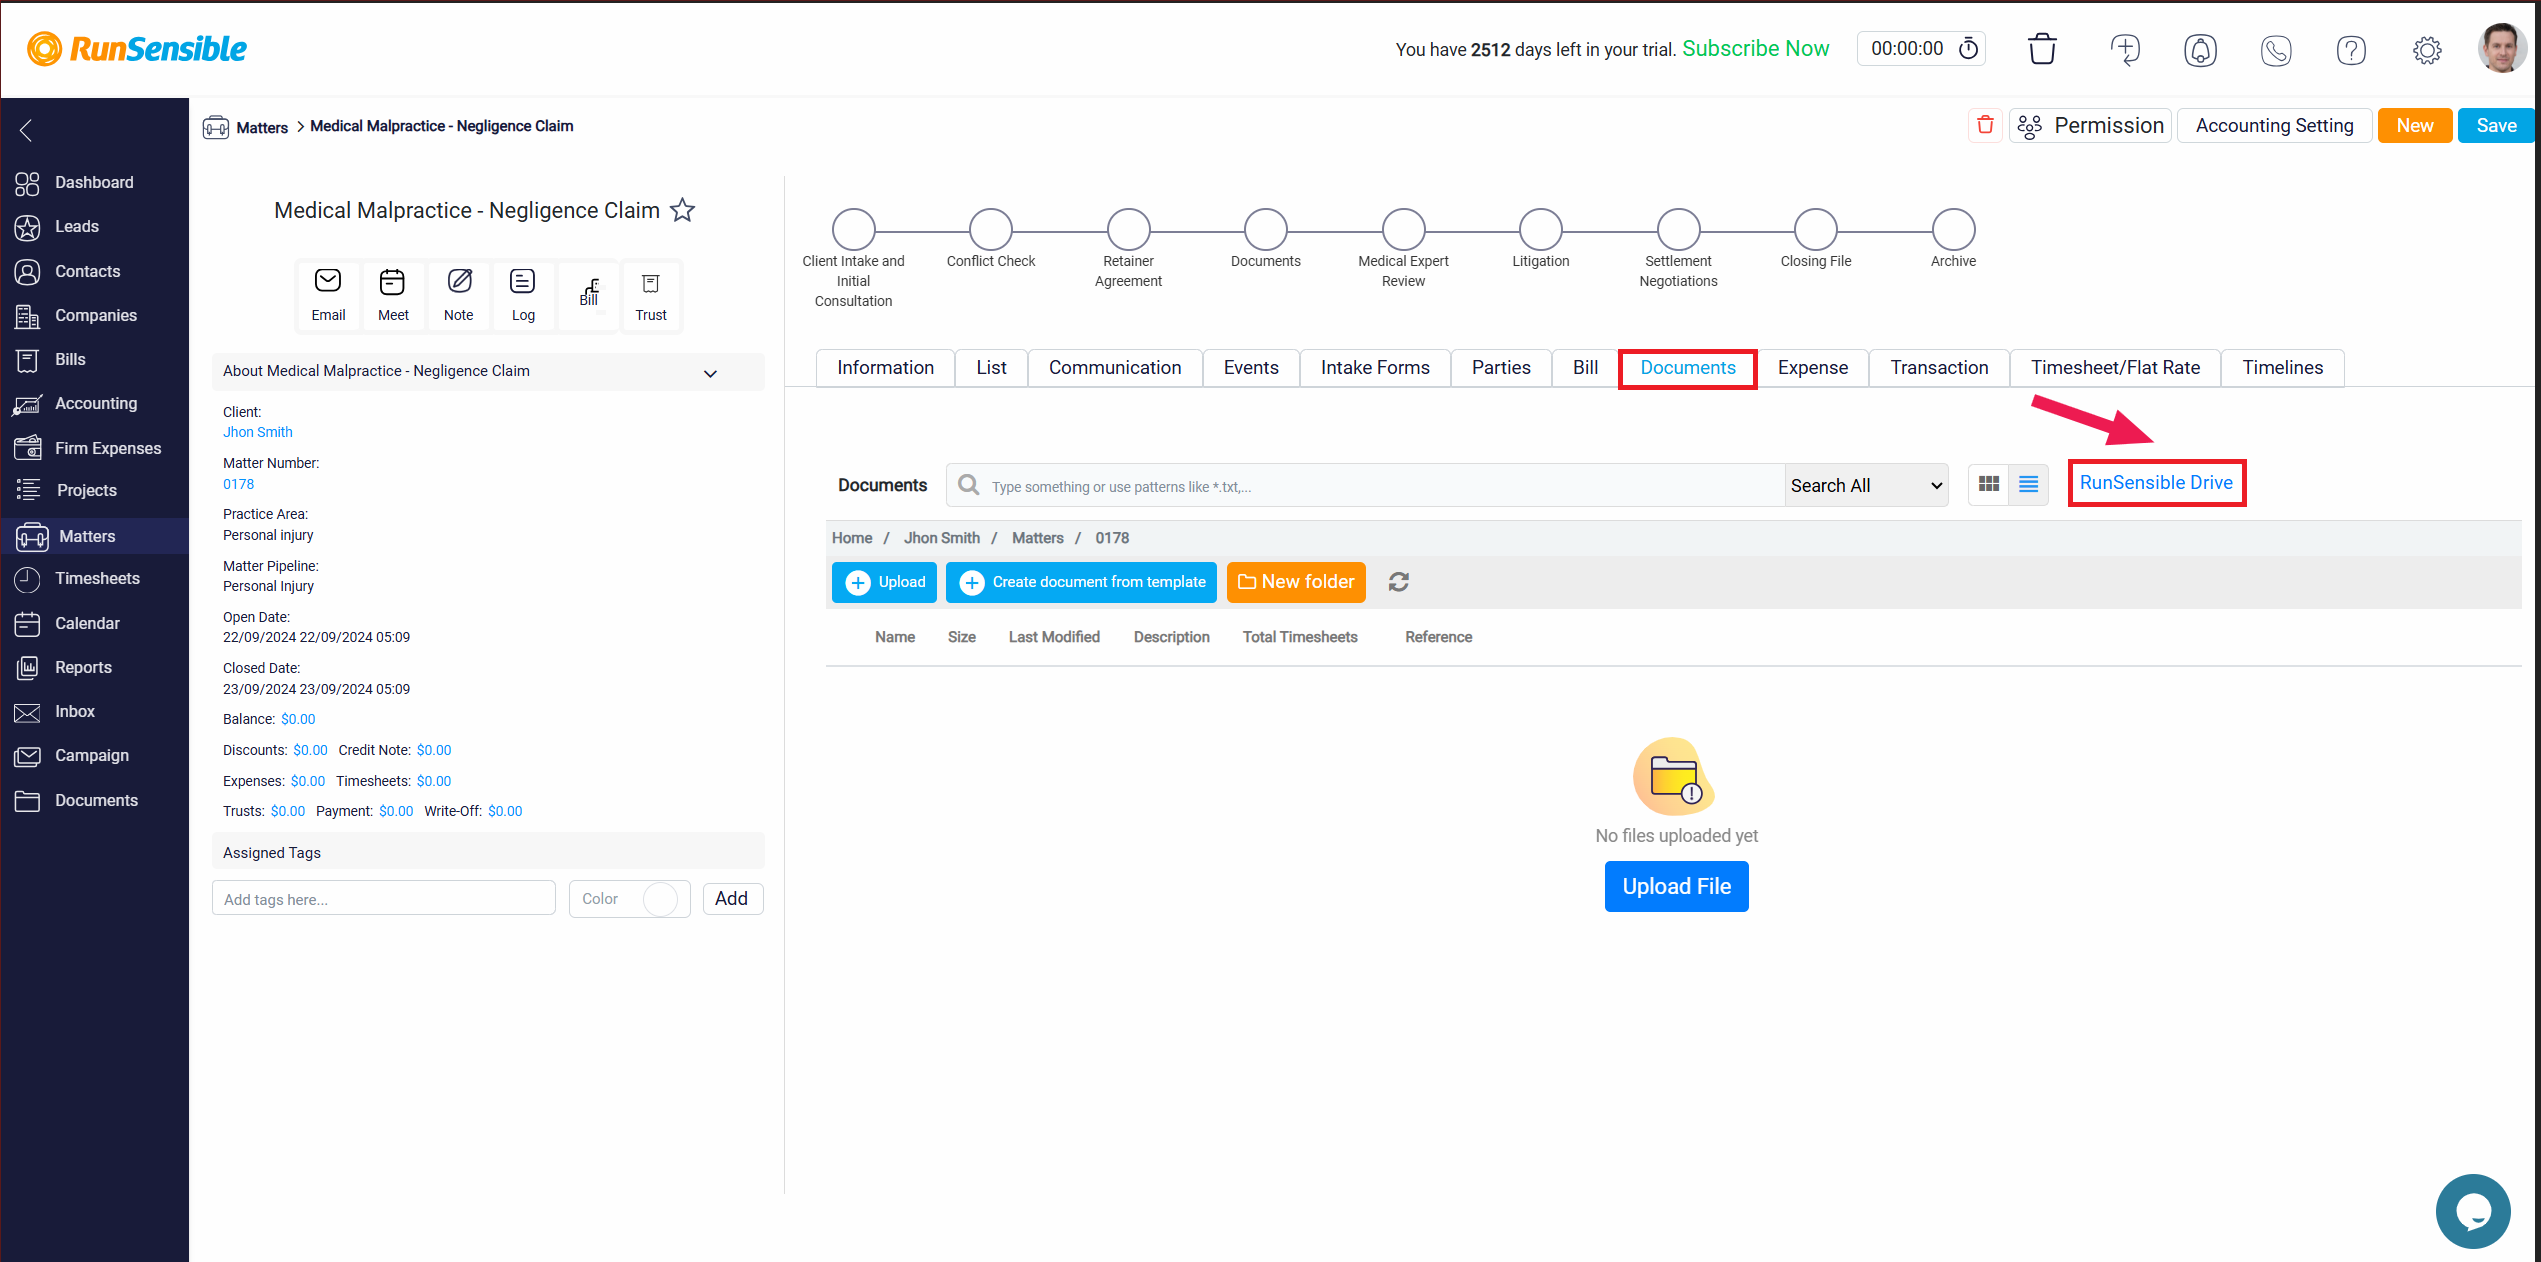
In the Document tab, there is a button labeled RunSensible Drive. By clicking on this button, you can download the Run Drive app to your PC. Once installed, this app will create a dedicated drive on your computer called Run Drive. This drive will sync all the documents and templates you have within the system directly to your computer’s desktop, giving you convenient offline access to your files. With Run Drive, you can manage and interact with your documents and templates as if they were stored locally on your computer.
