Adding Timesheets for a Matter
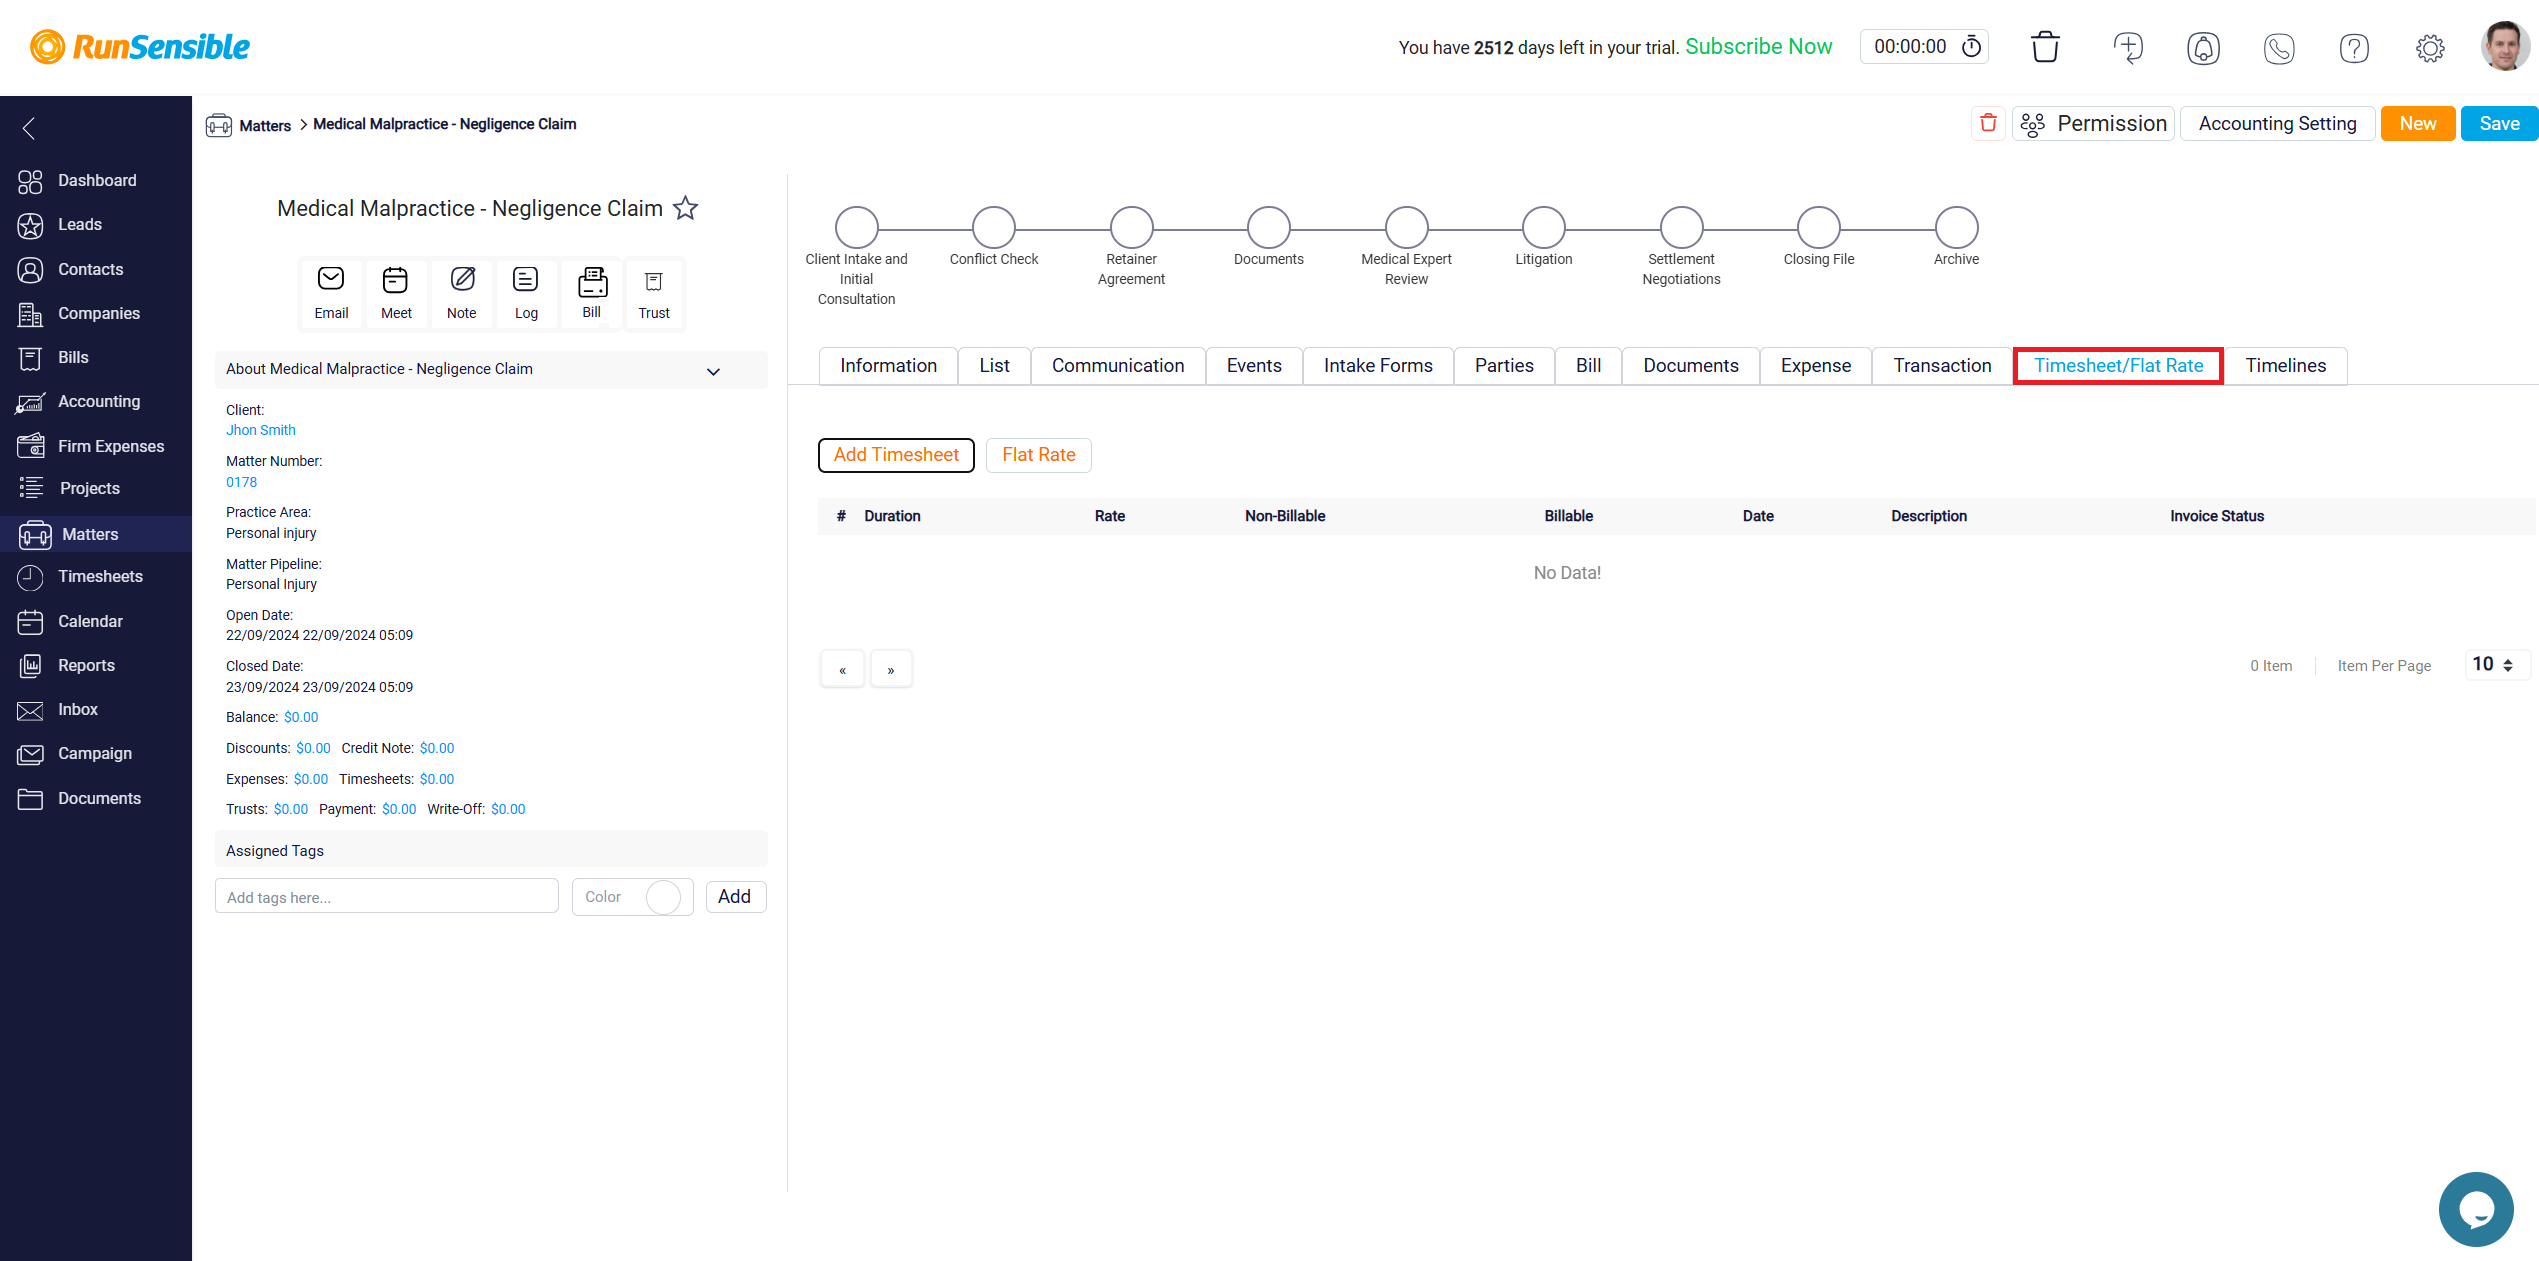
The next tab is the Timesheet/Flat Rate tab, where you can view and manage all the timesheets you have created for a particular matter. This tab is essential for tracking the time spent on a case and ensuring accurate billing.
Within this tab, there are two key action buttons that you will use frequently.

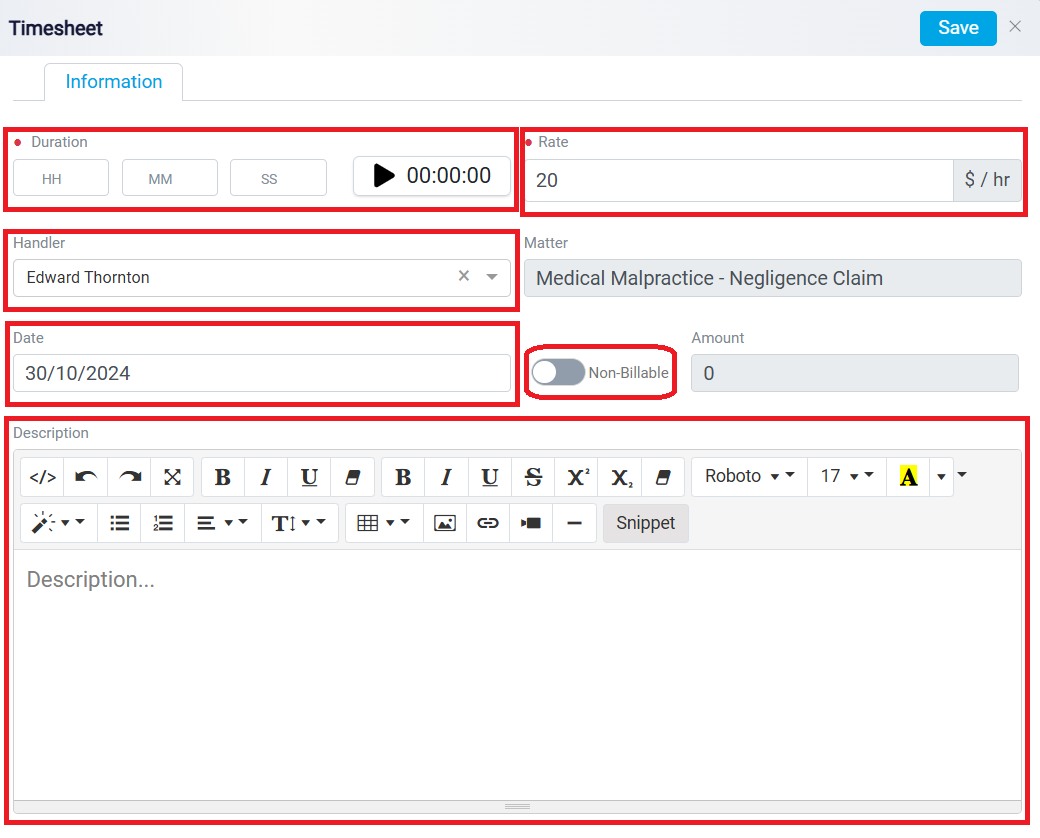
To add a new timesheet for this matter, click on the Add Timesheet button located at the top left. After clicking this button, you will be prompted to enter the time duration using the Duration panel. On the right side of the Duration panel, there is a button designed to help you track the actual time spent on a task. For example, if you have a meeting with a client related to this matter, you can activate this button at the start of the meeting to begin recording the time. This feature ensures that you accurately capture the time spent on various activities.
To the right of the Duration panel, you will see a Rate box, which displays your default hourly rate as set within the software. If needed, you can adjust this rate by modifying the number in the box.
The Handler dropdown menu shows the user who is currently creating the timesheet. If necessary, you can select a different user from this menu, assigning the timesheet to another individual.
The Date box automatically shows the date when the timesheet is being created, but you can modify this date as needed. Adjacent to the Date box is a toggle button labeled Non-Billable. By activating this toggle, you can add the timesheet to the matter without charging the client for the recorded time, which can be useful for internal tracking or pro bono work. Next to this toggle button is a box that calculates the amount of money you are charging the client, based on your default rate and the time entered in the Duration panel.
If additional context or details are necessary, you can enter them in the Description box.

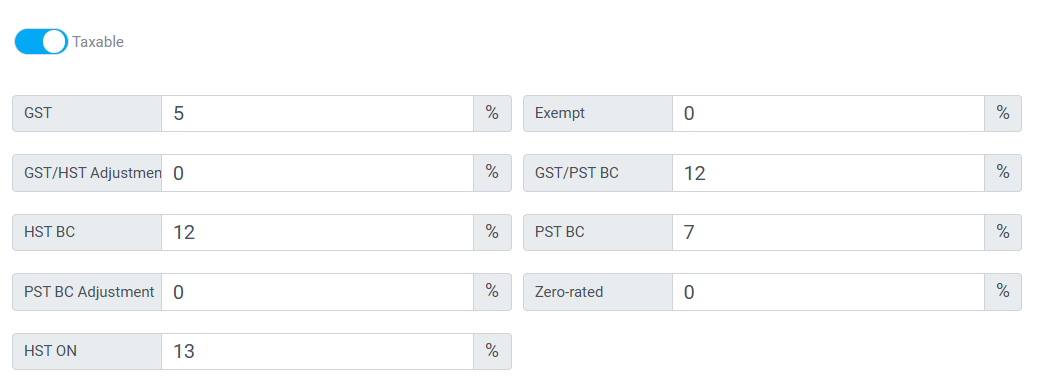
At the bottom of the panel, there is another toggle button labeled Tax. When you turn this button on, the system will automatically calculate the applicable tax based on your default tax rate. If you choose to leave this button off, no tax will be applied to the timesheet.

Finally, at the very bottom, there is a Permissions section that allows you to restrict access to this timesheet, ensuring that only authorized users can view it. The permissions functionality works the same way as previously explained, providing control over who can access specific timesheet information within your system.

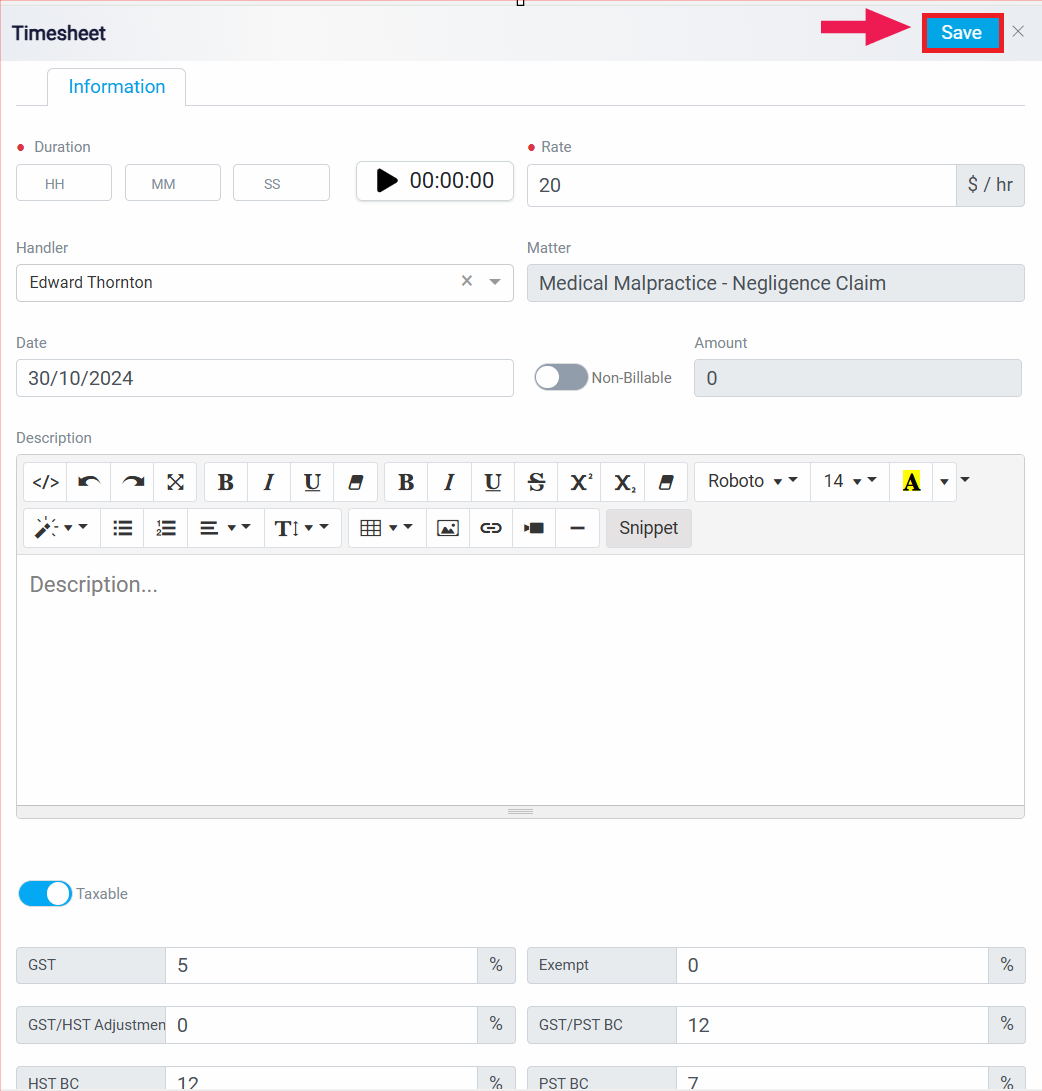
Once you have done this, click on the Save button on the top right side to save the timesheet.
