Viewing and Sorting Activities in the Timeline Tab
The next section you will encounter is the Timeline tab, which provides a comprehensive and detailed record of all changes and actions related to a specific matter. This tab offers a chronological log of every activity that has taken place, ensuring transparency and a clear history of modifications within the matter’s detail panel.
In the Timeline tab, you will find detailed information for each recorded action. This includes the specific type of action performed—whether it is an update, an edit, or the addition of new information—the exact date and time the action occurred, and the user responsible for performing it. This breakdown ensures you can easily track who made which changes and when they happened.
Note: The timeline is presented in descending order, meaning the most recent activity is listed at the top, and the earliest actions, such as the creation of the matter, are at the bottom. This organization allows you to quickly see the latest updates and also review the full history of the matter from its inception.
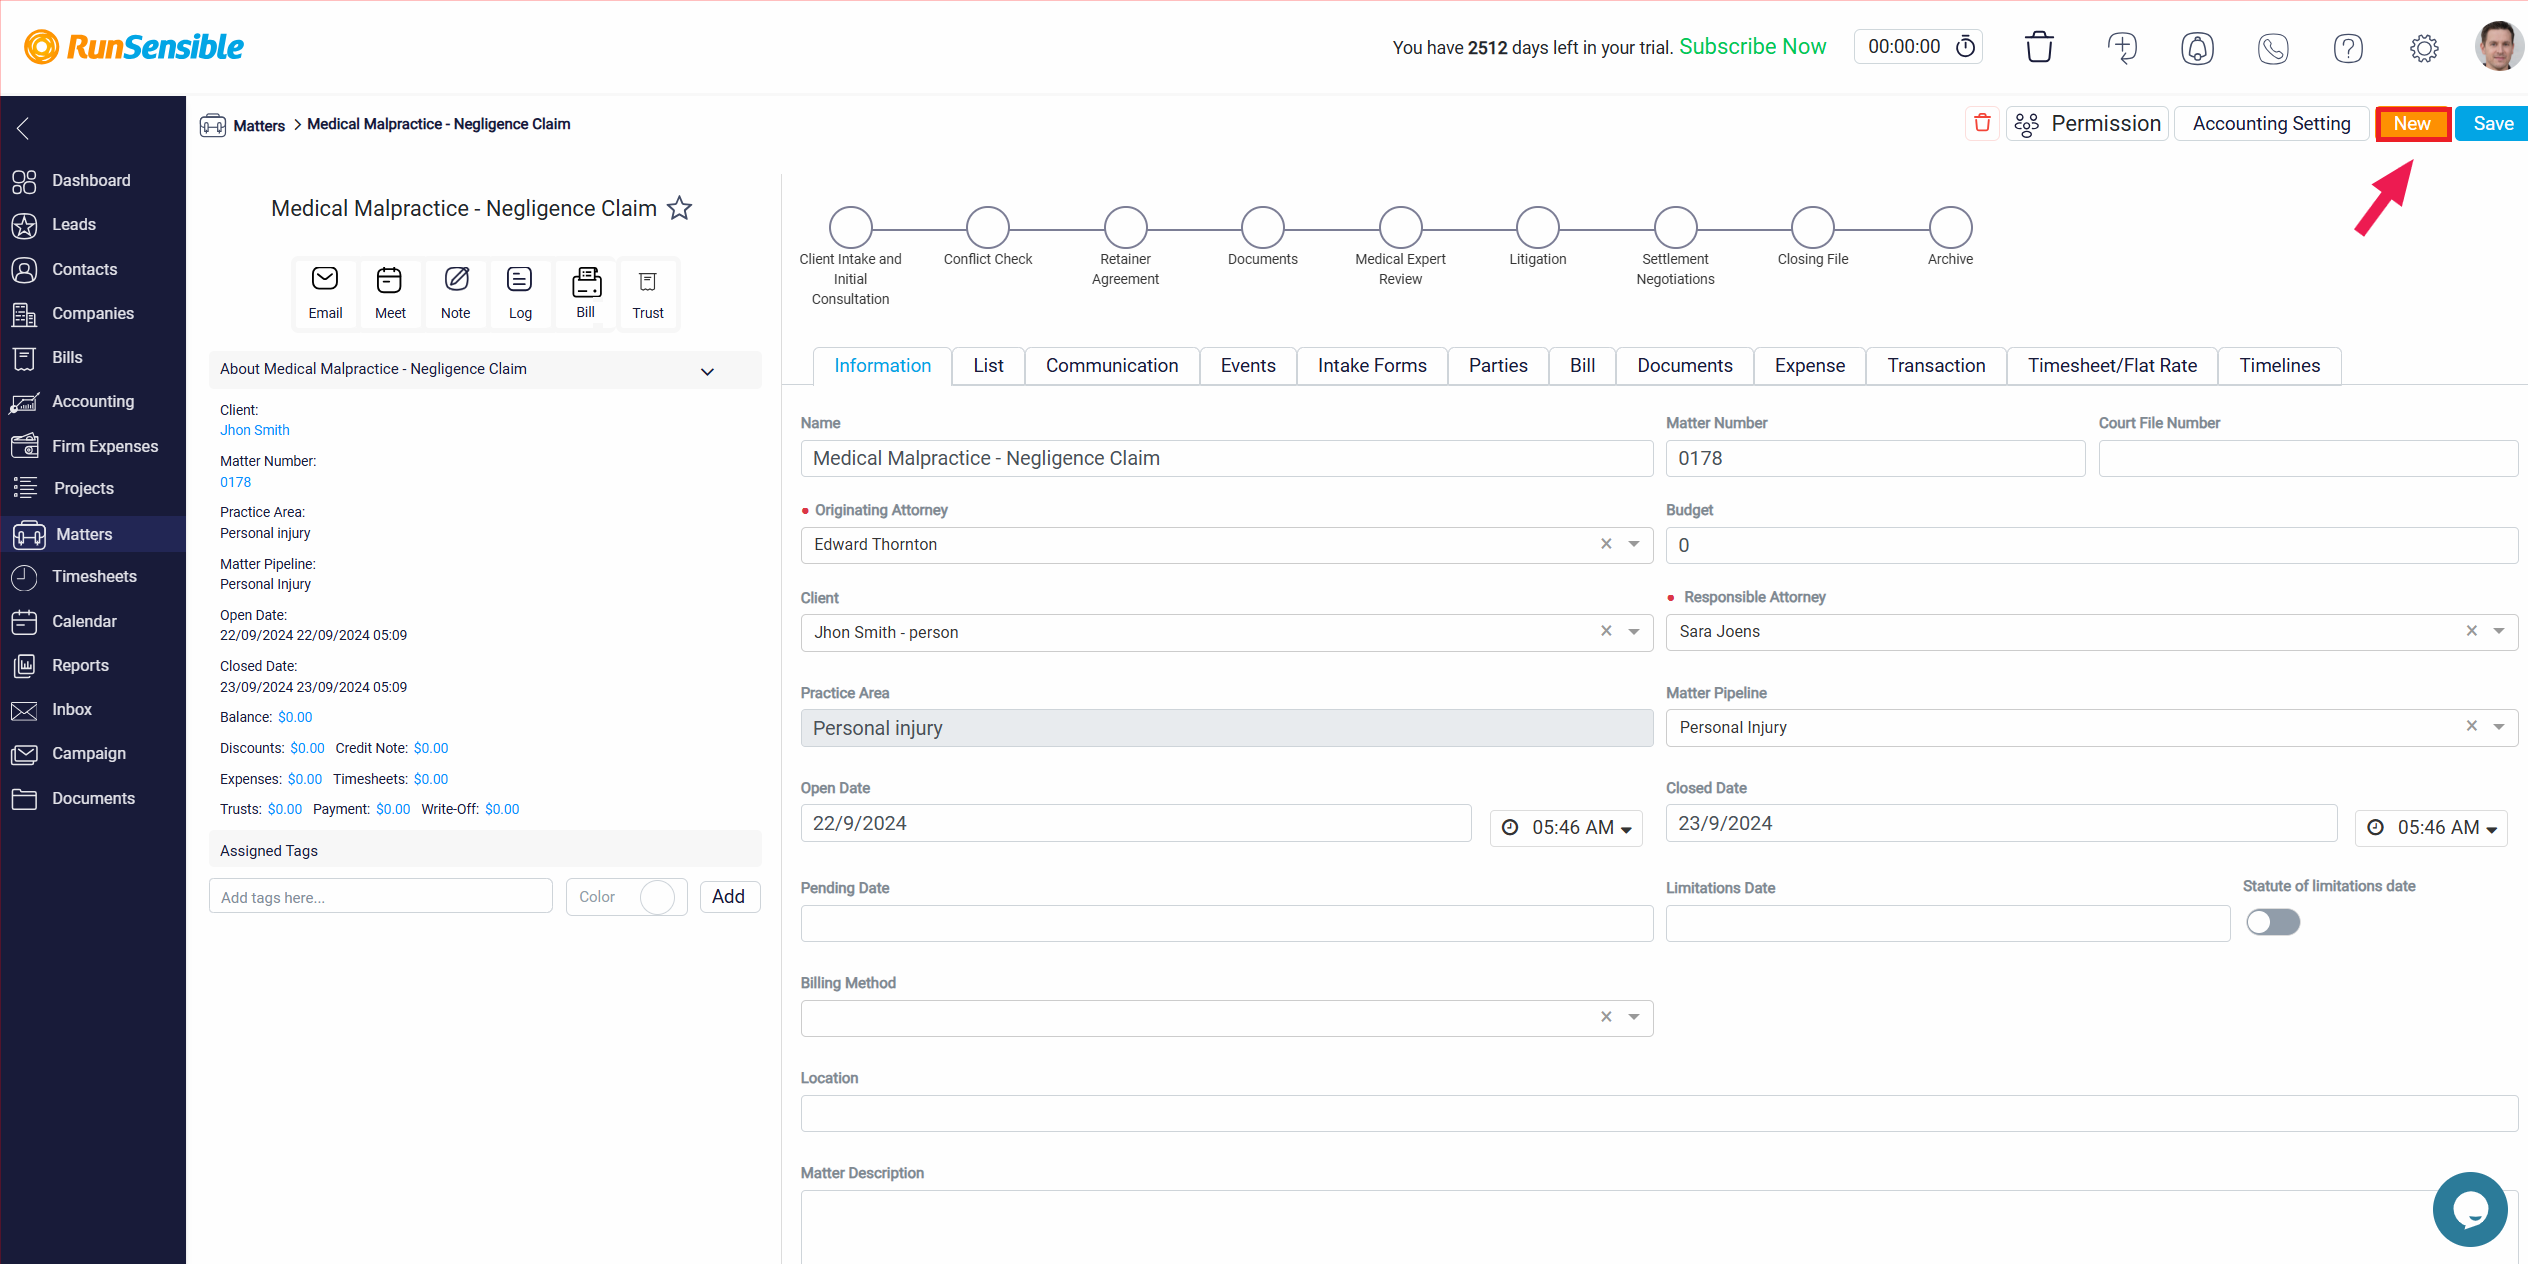
Next to it is the New button, which provides a quick way to create a completely new matter directly from this panel. This feature saves you time by allowing you to start new matters without leaving the current screen.

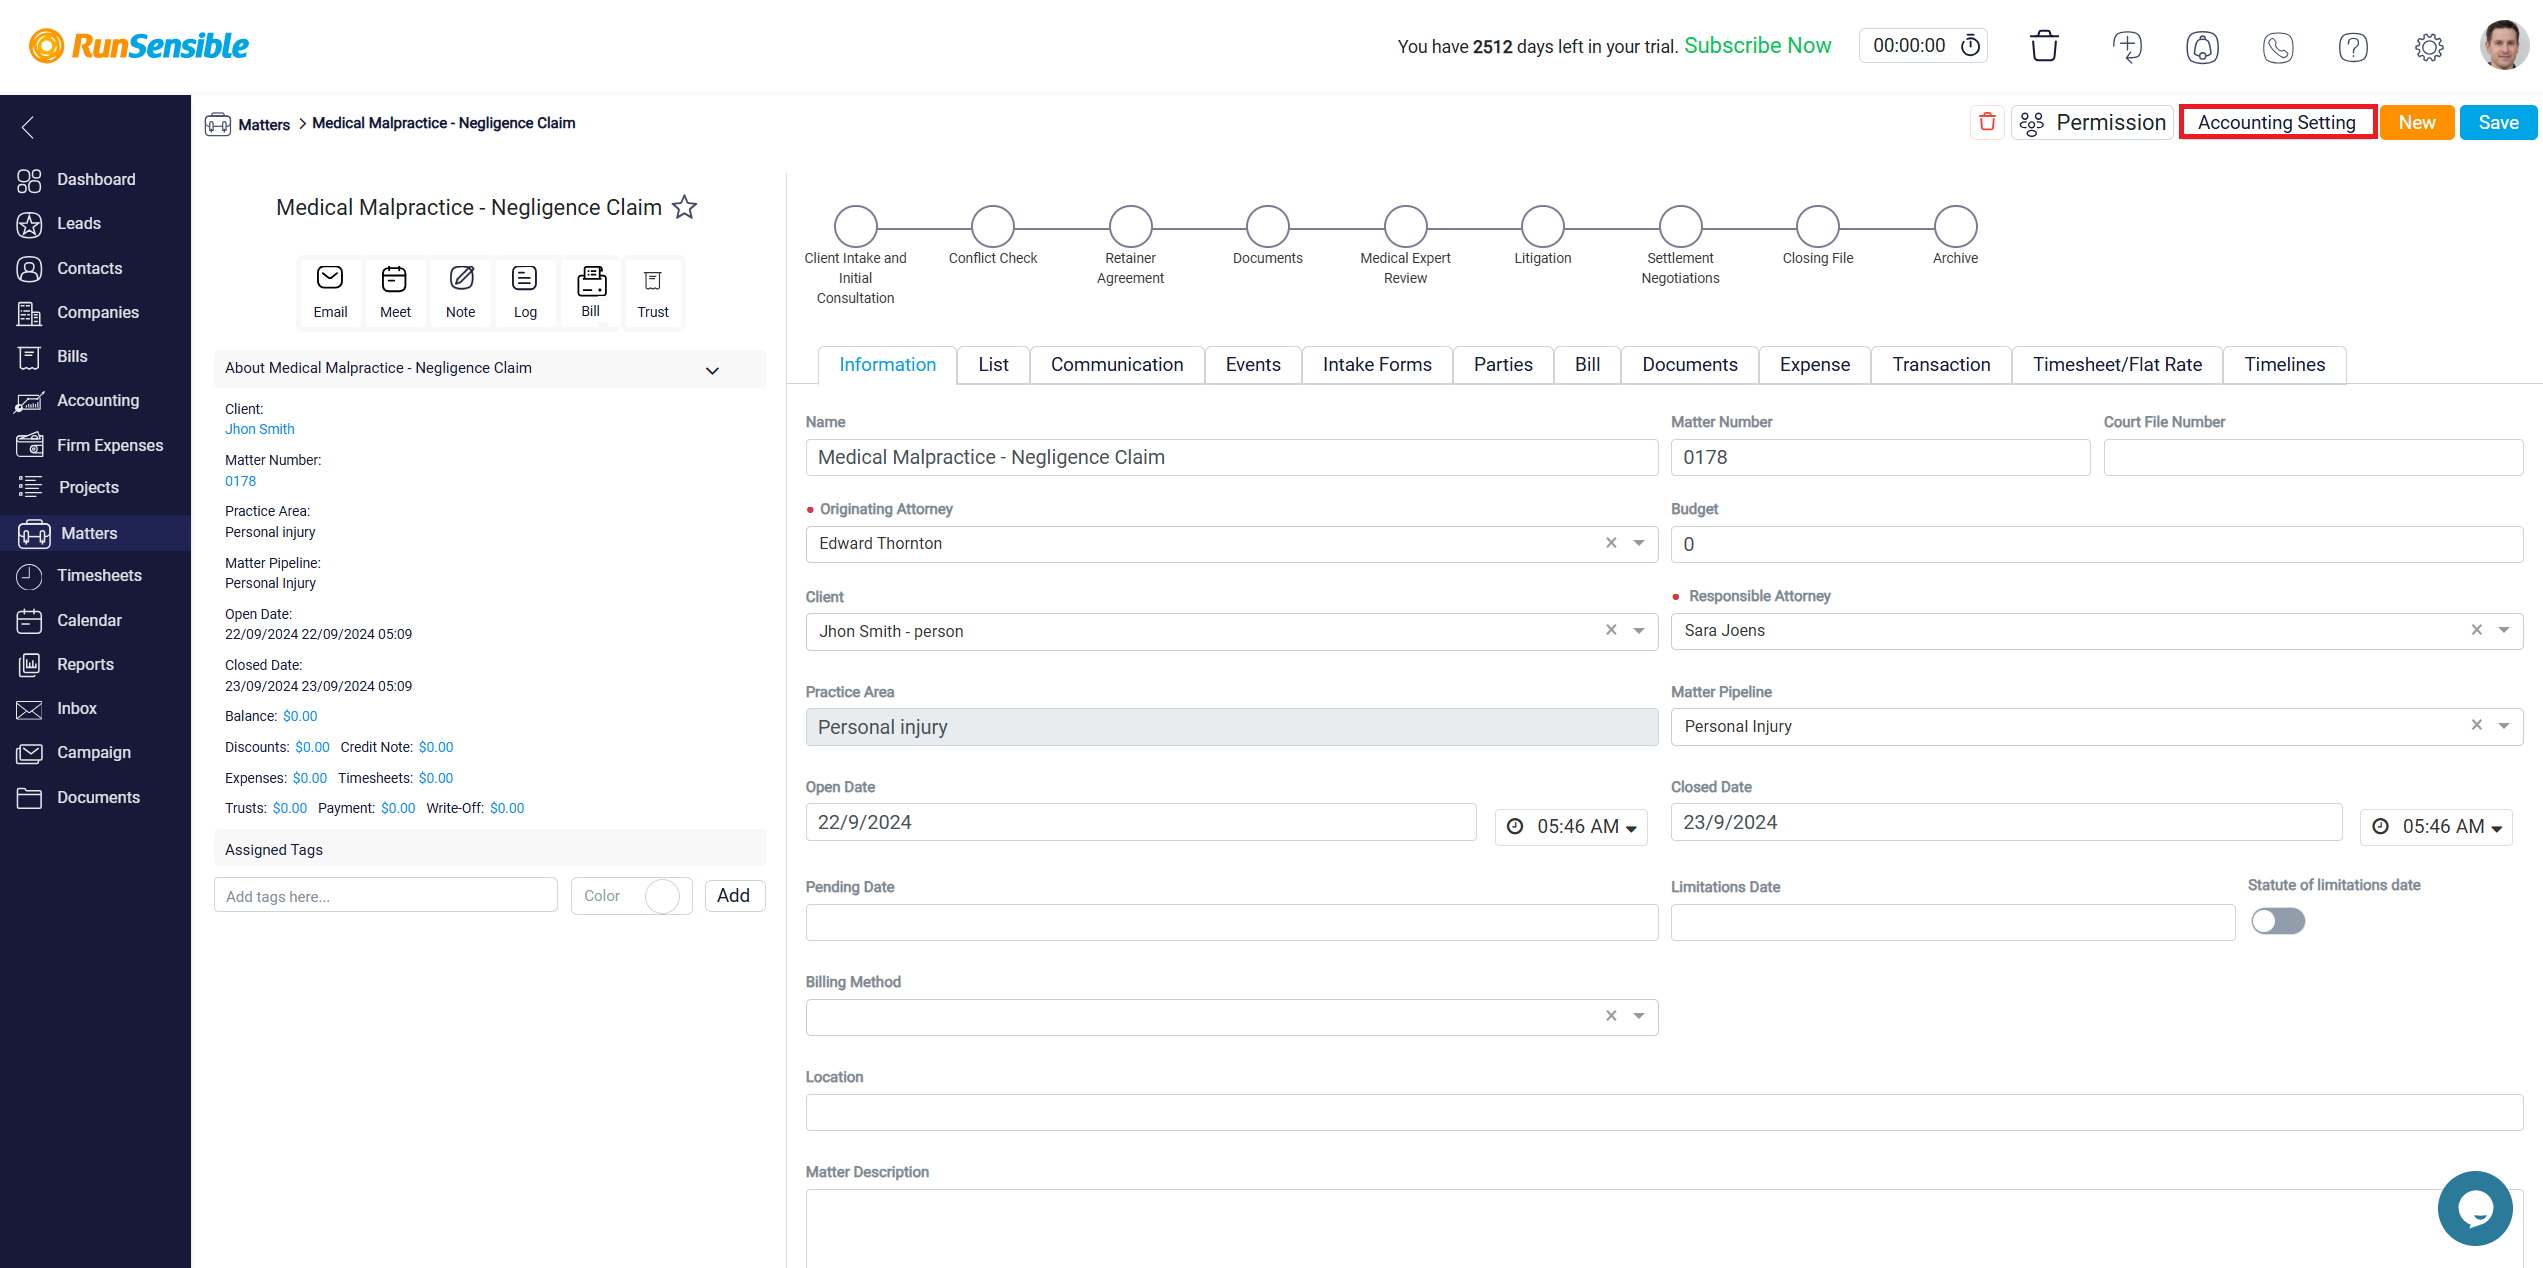
The third button is the Accounting Settings button.

By clicking this button, you can modify the default accounts assigned for specific financial transactions, as configured in the Chart of Accounts settings. This functionality offers flexibility in managing the financial elements of each matter, allowing you to designate which accounts will be used for important transactions such as billing, trust funds, and expense tracking. By ensuring that the correct default accounts are selected for each matter, you maintain consistency in financial reporting and streamline the accounting process. This helps ensure that all financial activities are properly categorized and managed according to your business requirements.
Once you click the Accounting Settings button, you will be presented with options to choose the accounts for Legal Fee Income and Trust Transactions from their respective drop-down menus. select the appropriate accounts based on your accounting needs.

After making your selections, remember to click the Save button located at the top right corner to apply the changes. This ensures that the selected accounts will be used for all future financial transactions related to this matter, maintaining an organized and efficient accounting workflow.

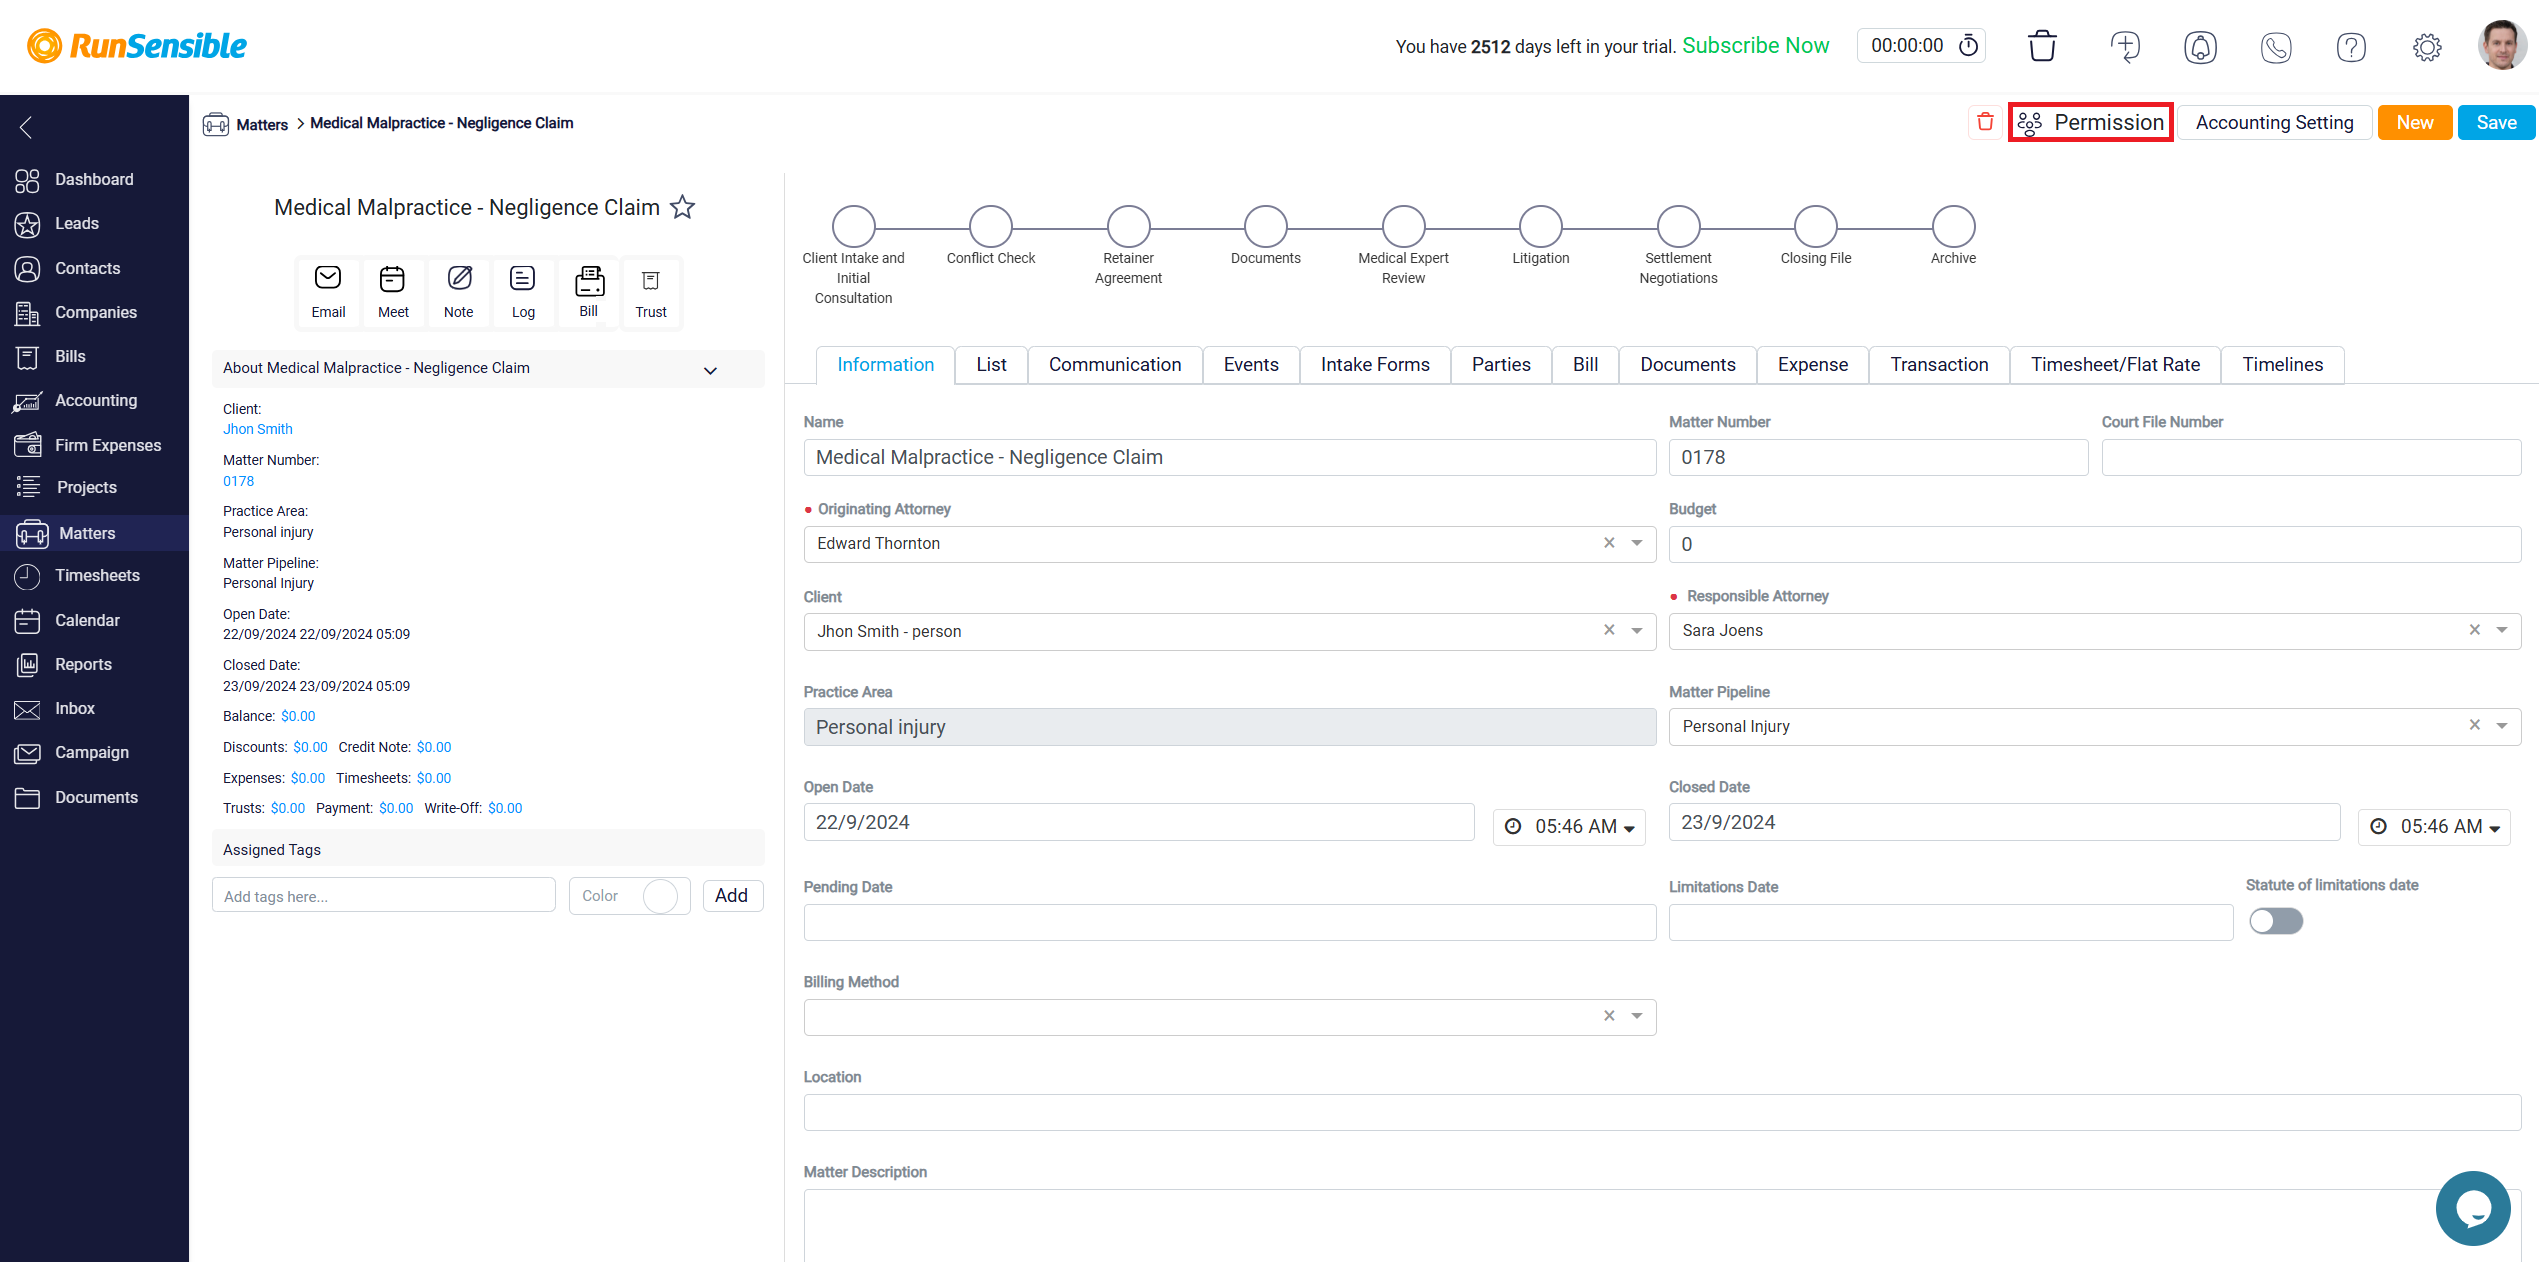
Following that, you will find the Permission button. This button allows you to adjust who can view or access this matter after it has been created. It functions similarly to the permission settings explained earlier, giving you control over the visibility and accessibility of the matter.

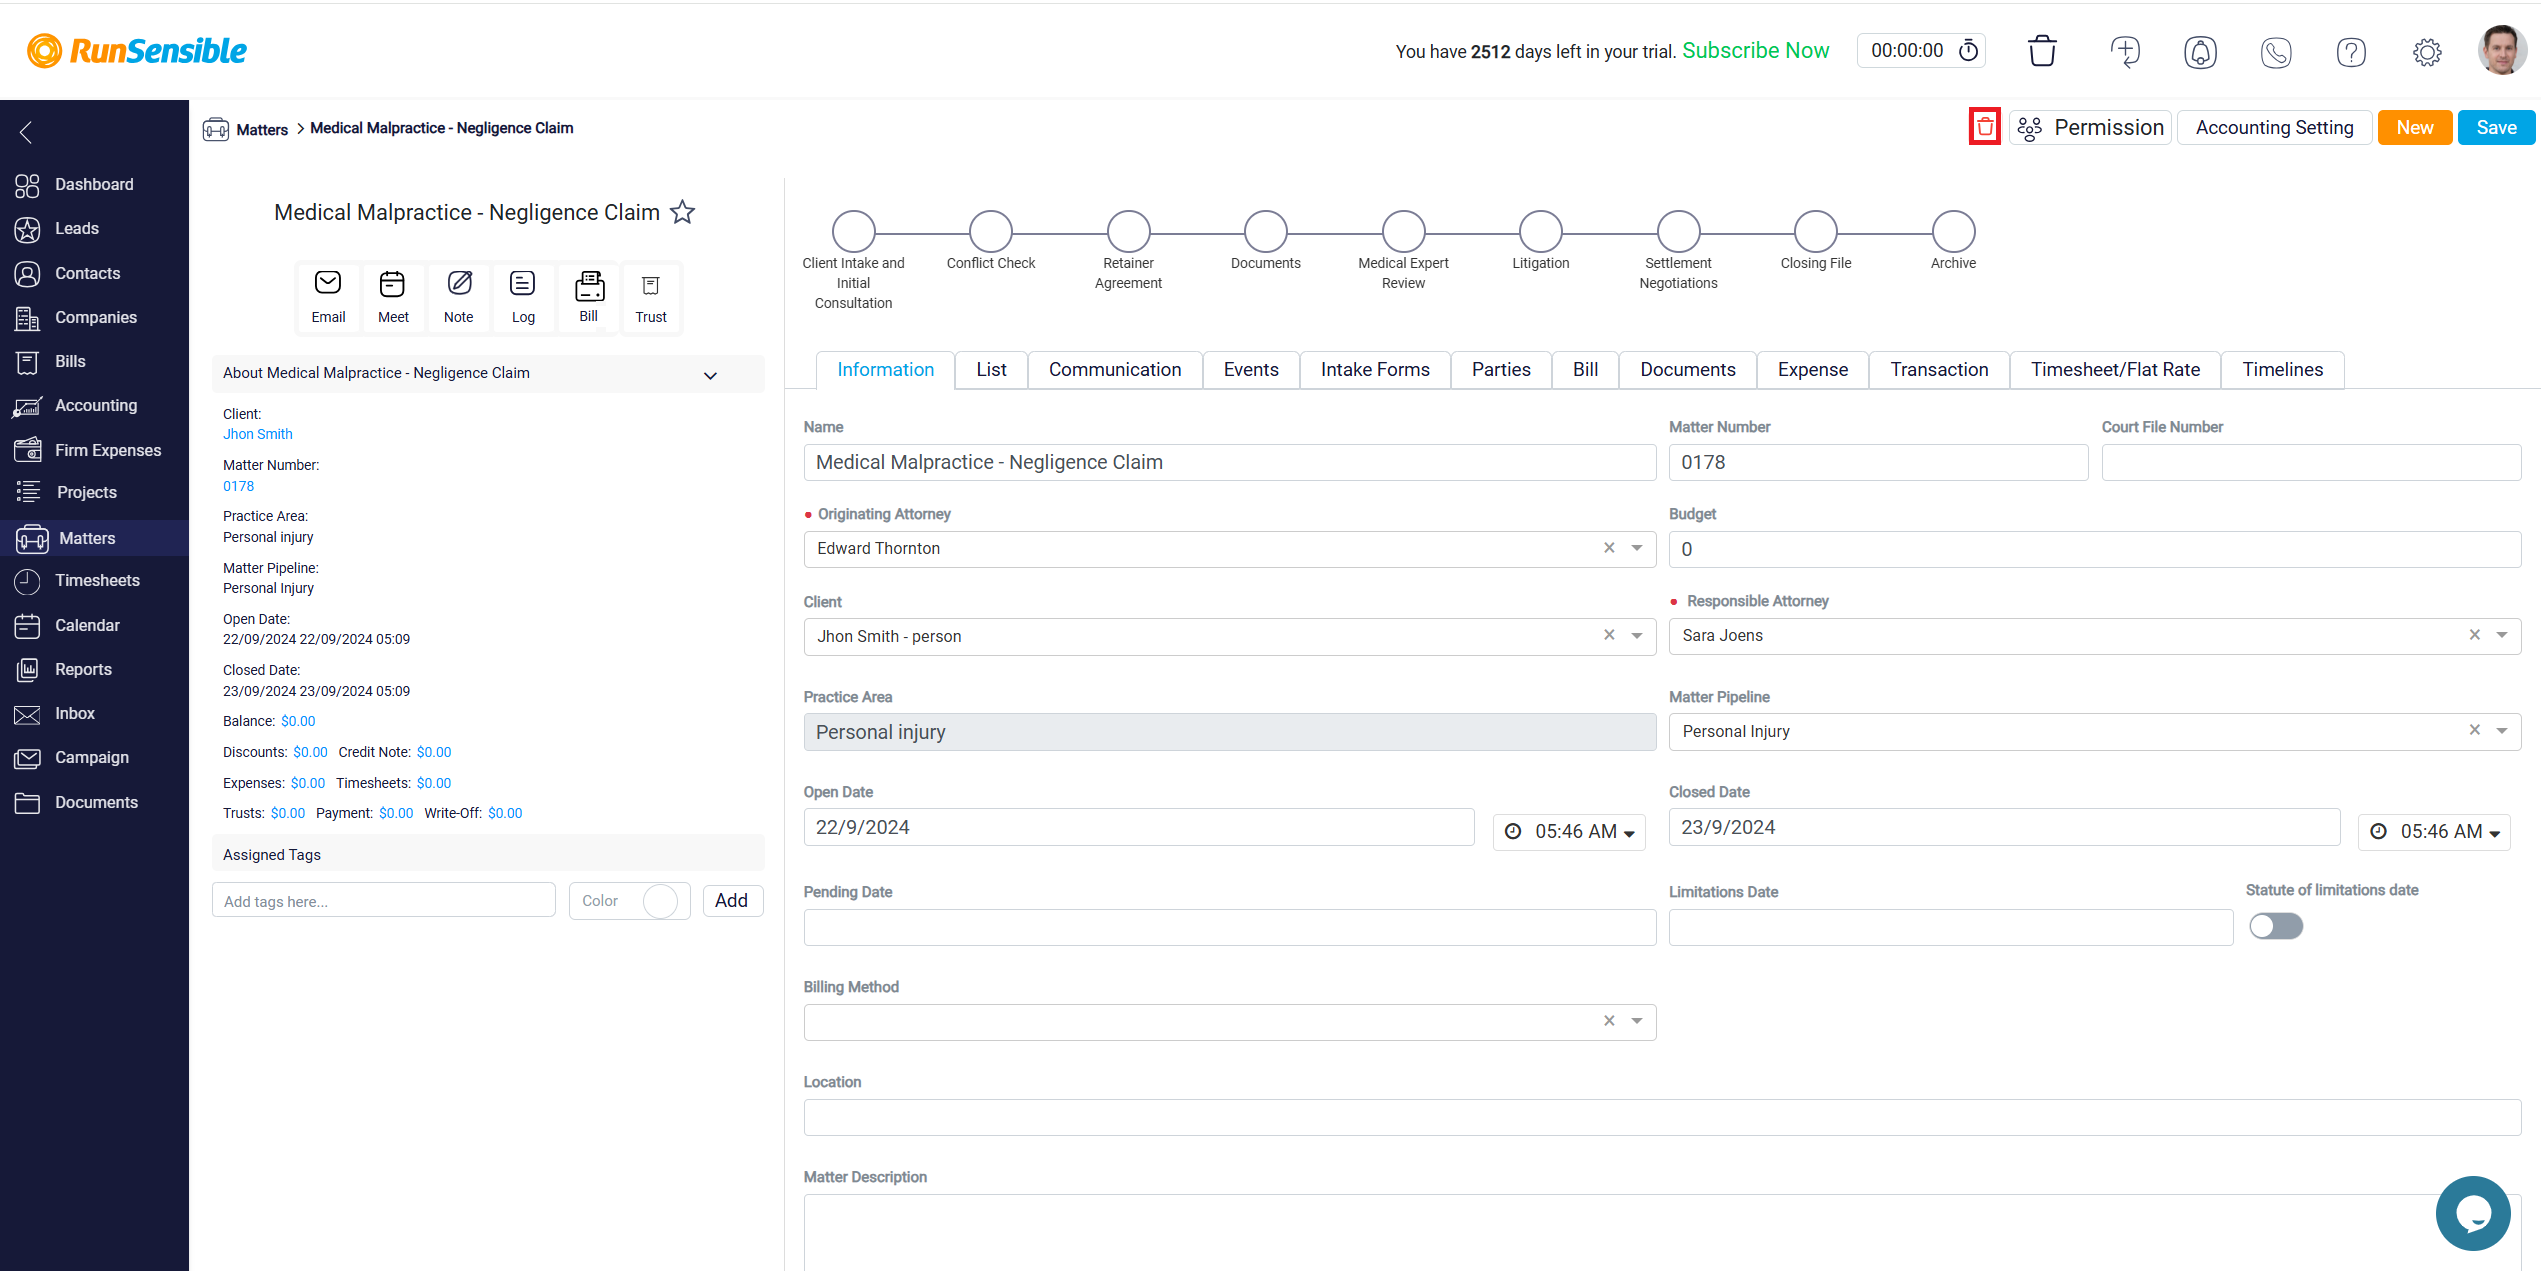
Lastly, the Trash button is available for permanently deleting the matter from the system. If you decide a matter is no longer needed, this button allows you to remove it entirely.
