Adding Hard Expenses to a Matter
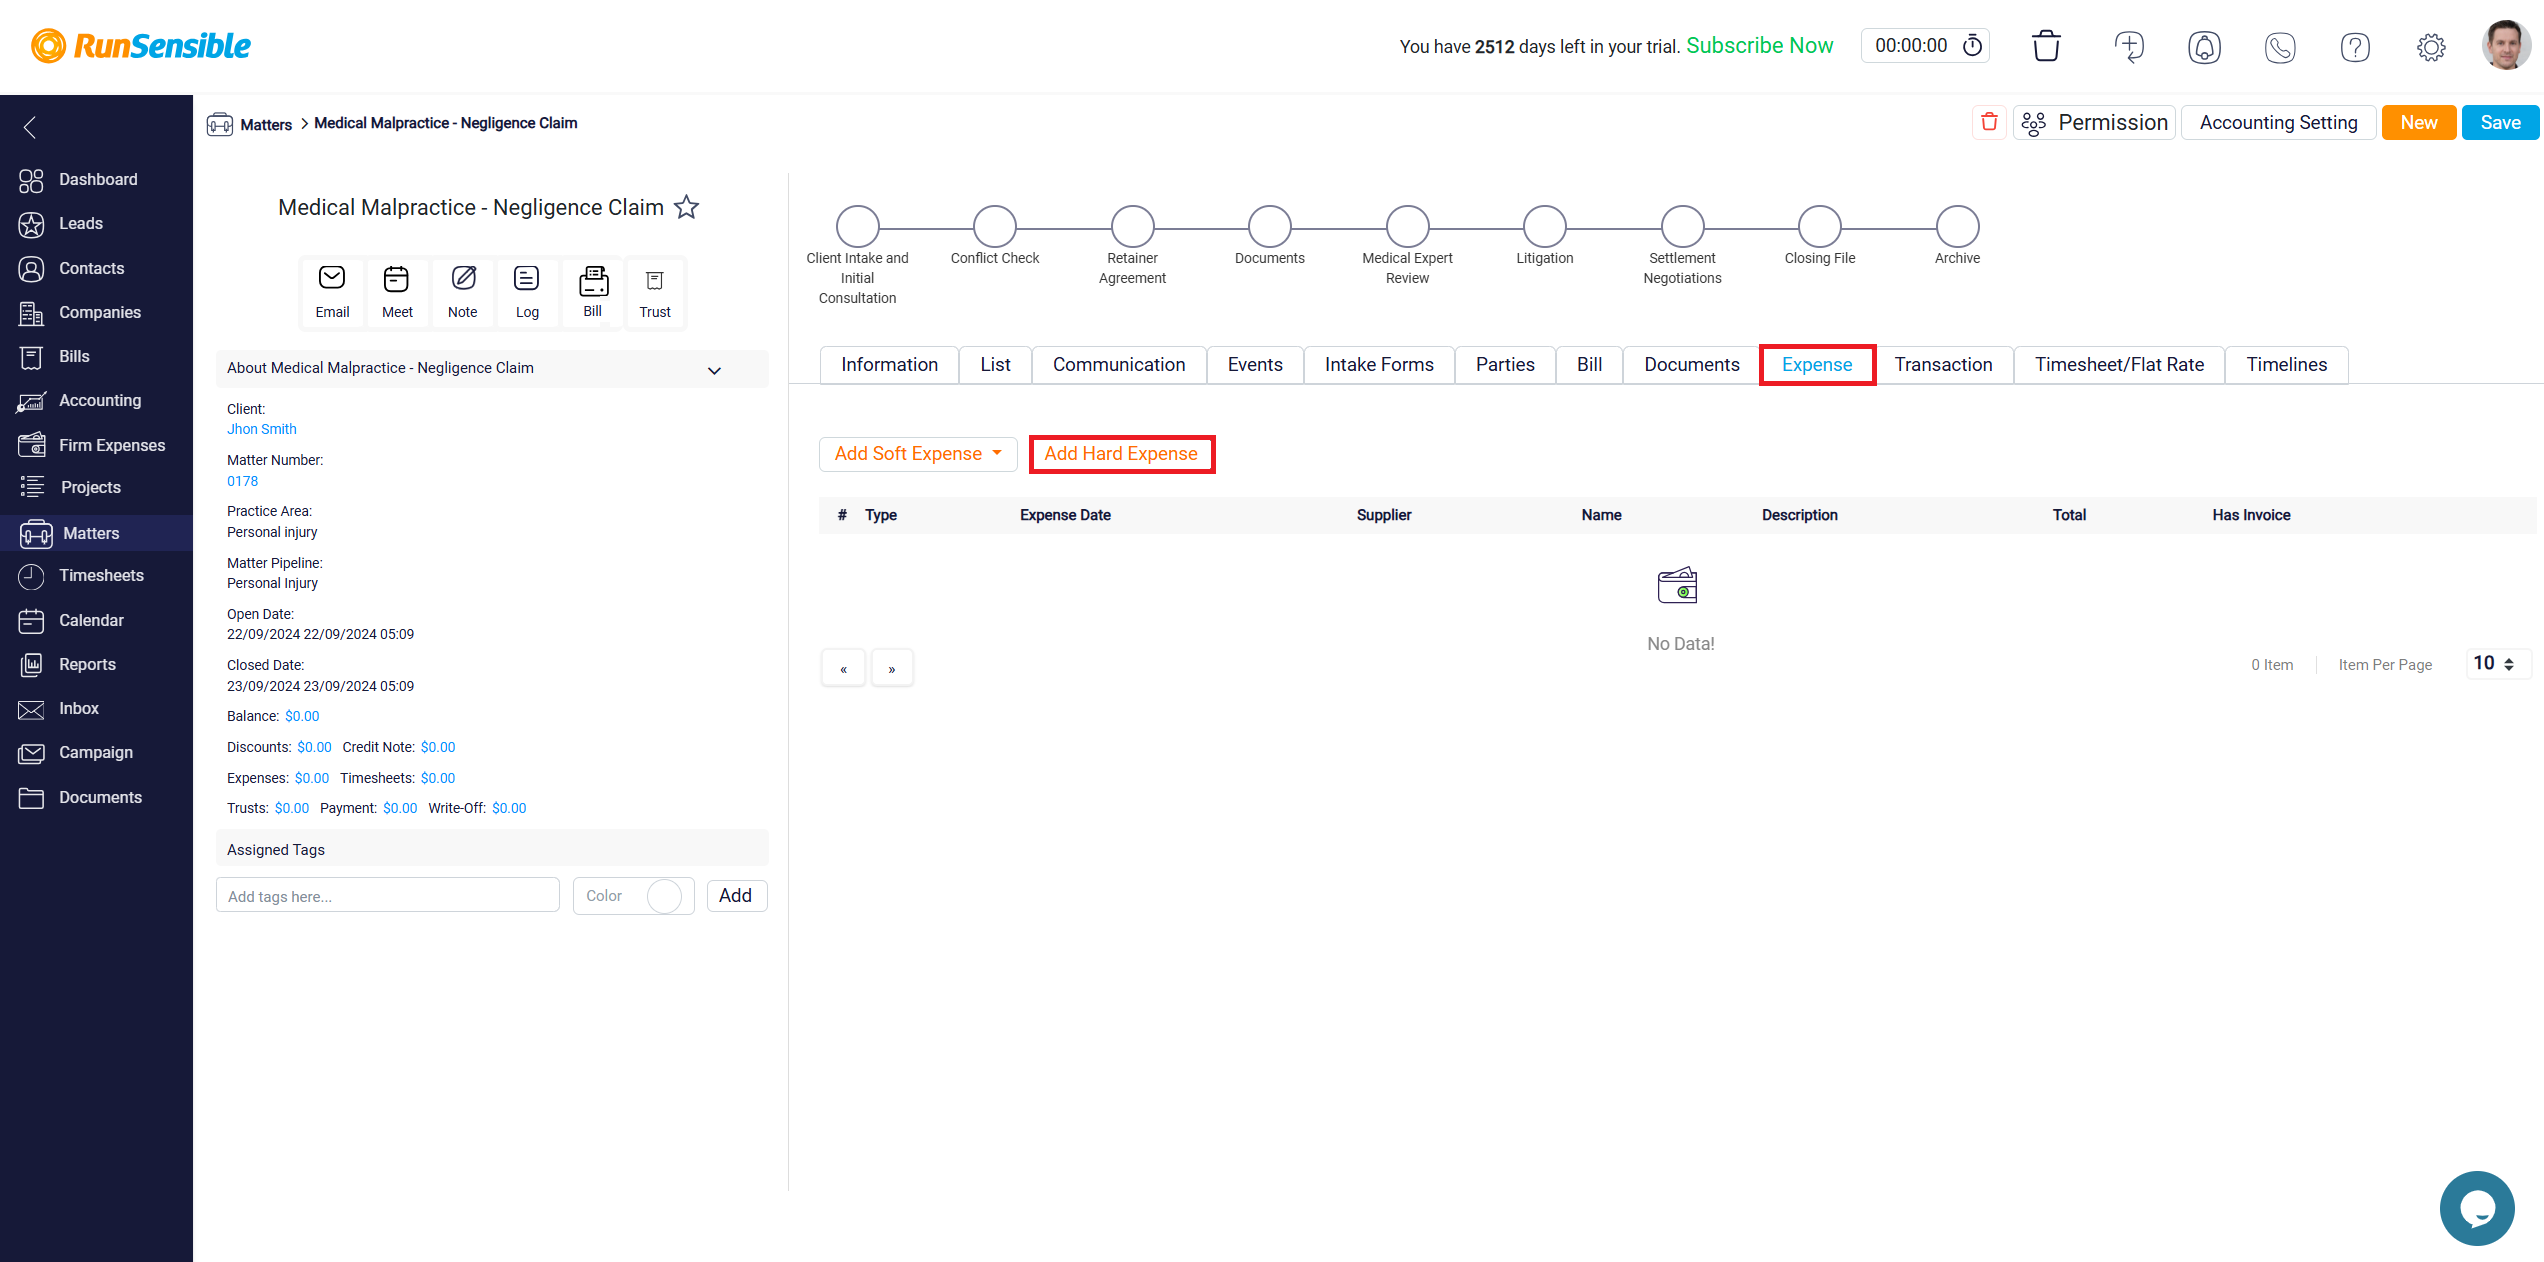
To include a hard expense, click on the Add Hard Expense button.
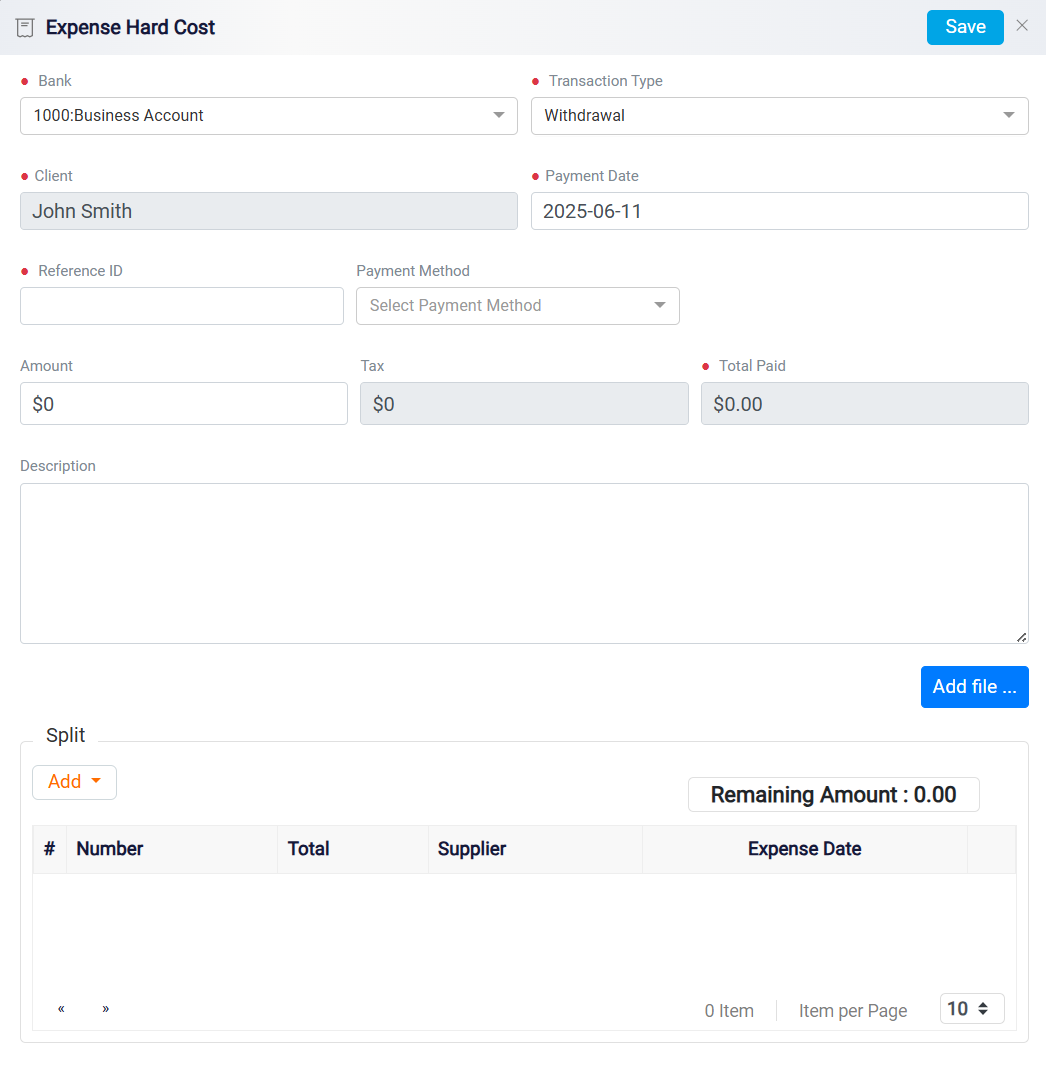
First, choose the bank you used for the payment from the Bank drop-down menu. If you paid electronically, select the specific bank account; if you paid in cash, select Cash. Enter the total amount spent in the Amount box and select the payment method from the Payment Method dropdown. If the payment method generates a reference ID, enter this unique identifier in the Reference ID box, and specify the date of payment in the Payment Date field.
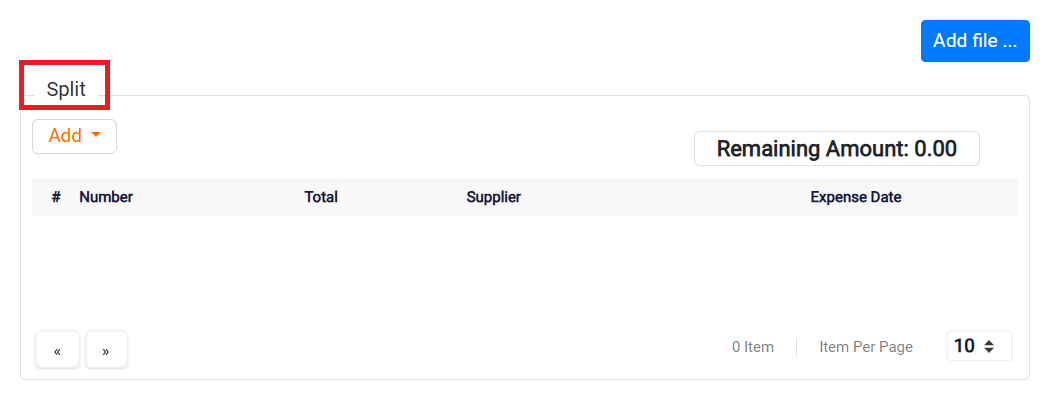
Next, navigate to the Split section to allocate the expense appropriately. You will see a Remaining Amount on the right side of the interface, which reflects the total amount you entered previously. To accurately record the expense, you need to allocate it until the remaining amount becomes zero.
Click the Add dropdown in the Split section and, if the specific expense has not been recorded before, select New Expense.
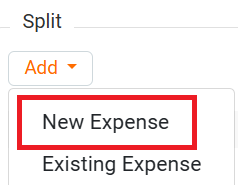
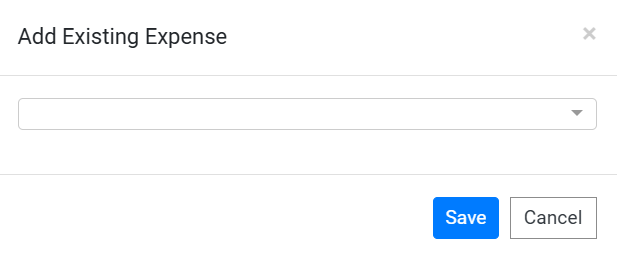
Follow the same process outlined for soft expenses to input the necessary details. If a similar expense already exists in your records, choose Existing Expenses from the dropdown and select the required expense(s). As you add each item, the corresponding amount will be deducted from the remaining amount in the Split section. The expense can only be saved once the remaining amount is reduced to zero, ensuring that all expenses are properly allocated.
Note: When you log an expense as a soft expense, it will appear in your regular expense reports. However, if you designate it as a hard expense, it won’t show up in standard expense reports. Instead, it will be listed under the Existing Hard Expenses section. This distinction helps maintain clarity between direct case-related expenses and broader, general expenses that may impact multiple cases.