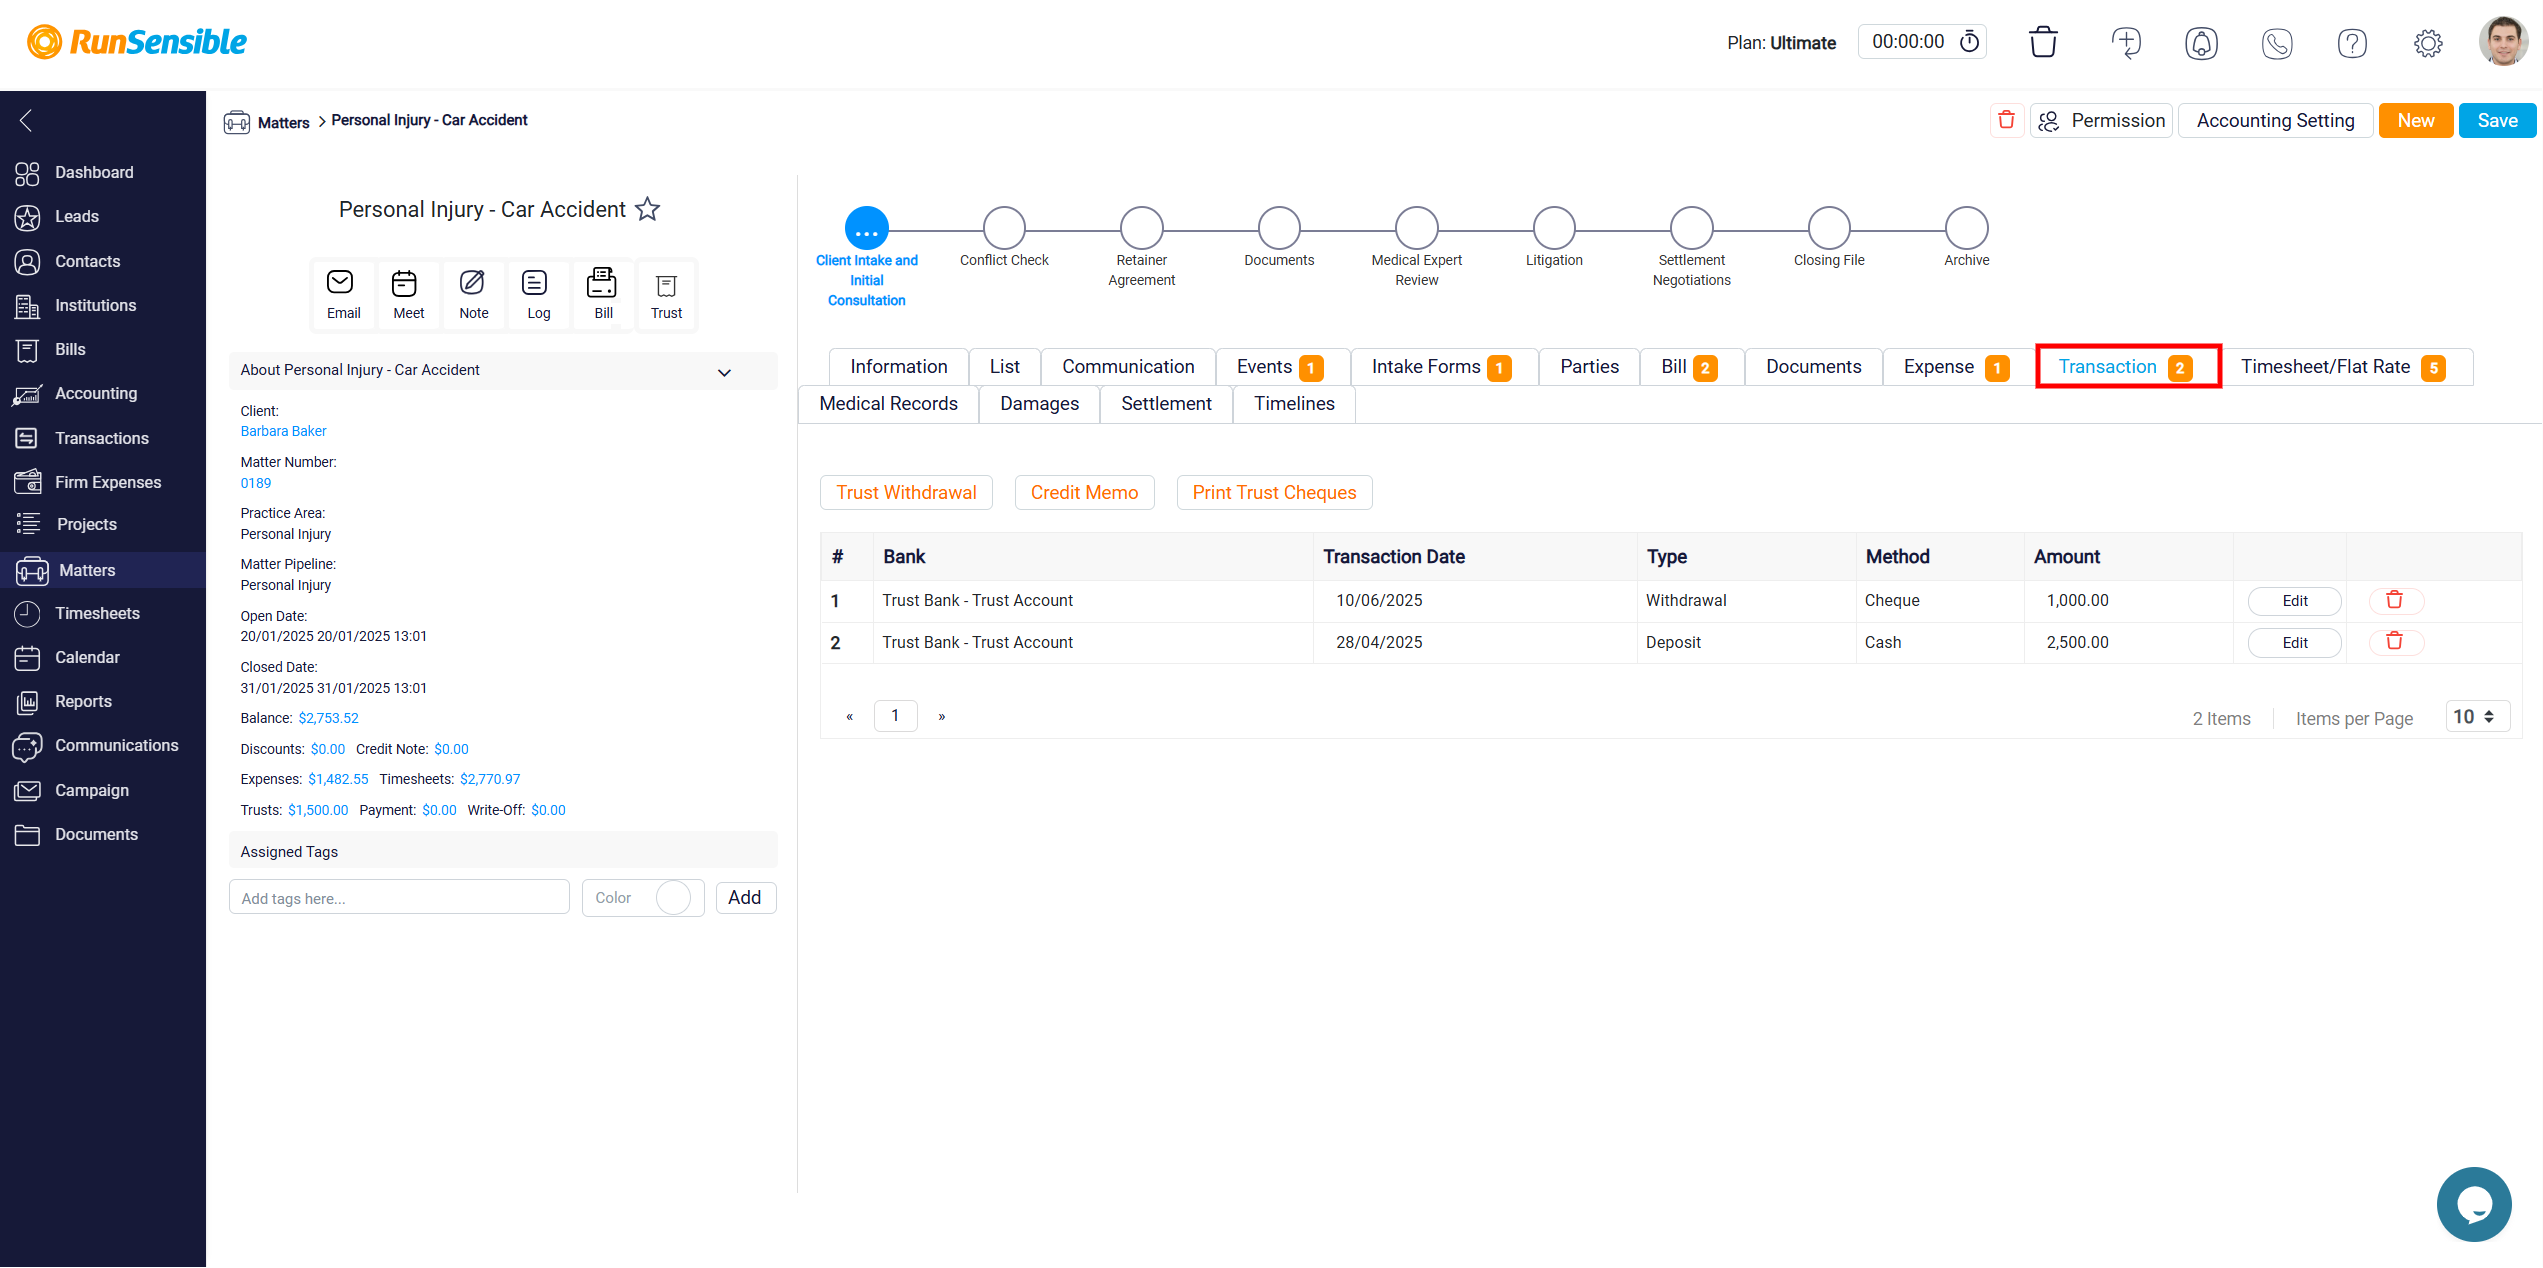
Tracking Financial Activity in the Transaction Tab
The Transaction tab provides a comprehensive overview of all financial activities related to this case. Within this tab, you can view a complete record of transactions, including payments made for expenses, payments received, and trust fund movements. Each transaction is displayed with key details such as the transaction date, type (e.g., payment or trust fund movement), payment method, and amount. This detailed breakdown allows you to easily track and review each financial entry associated with the case.
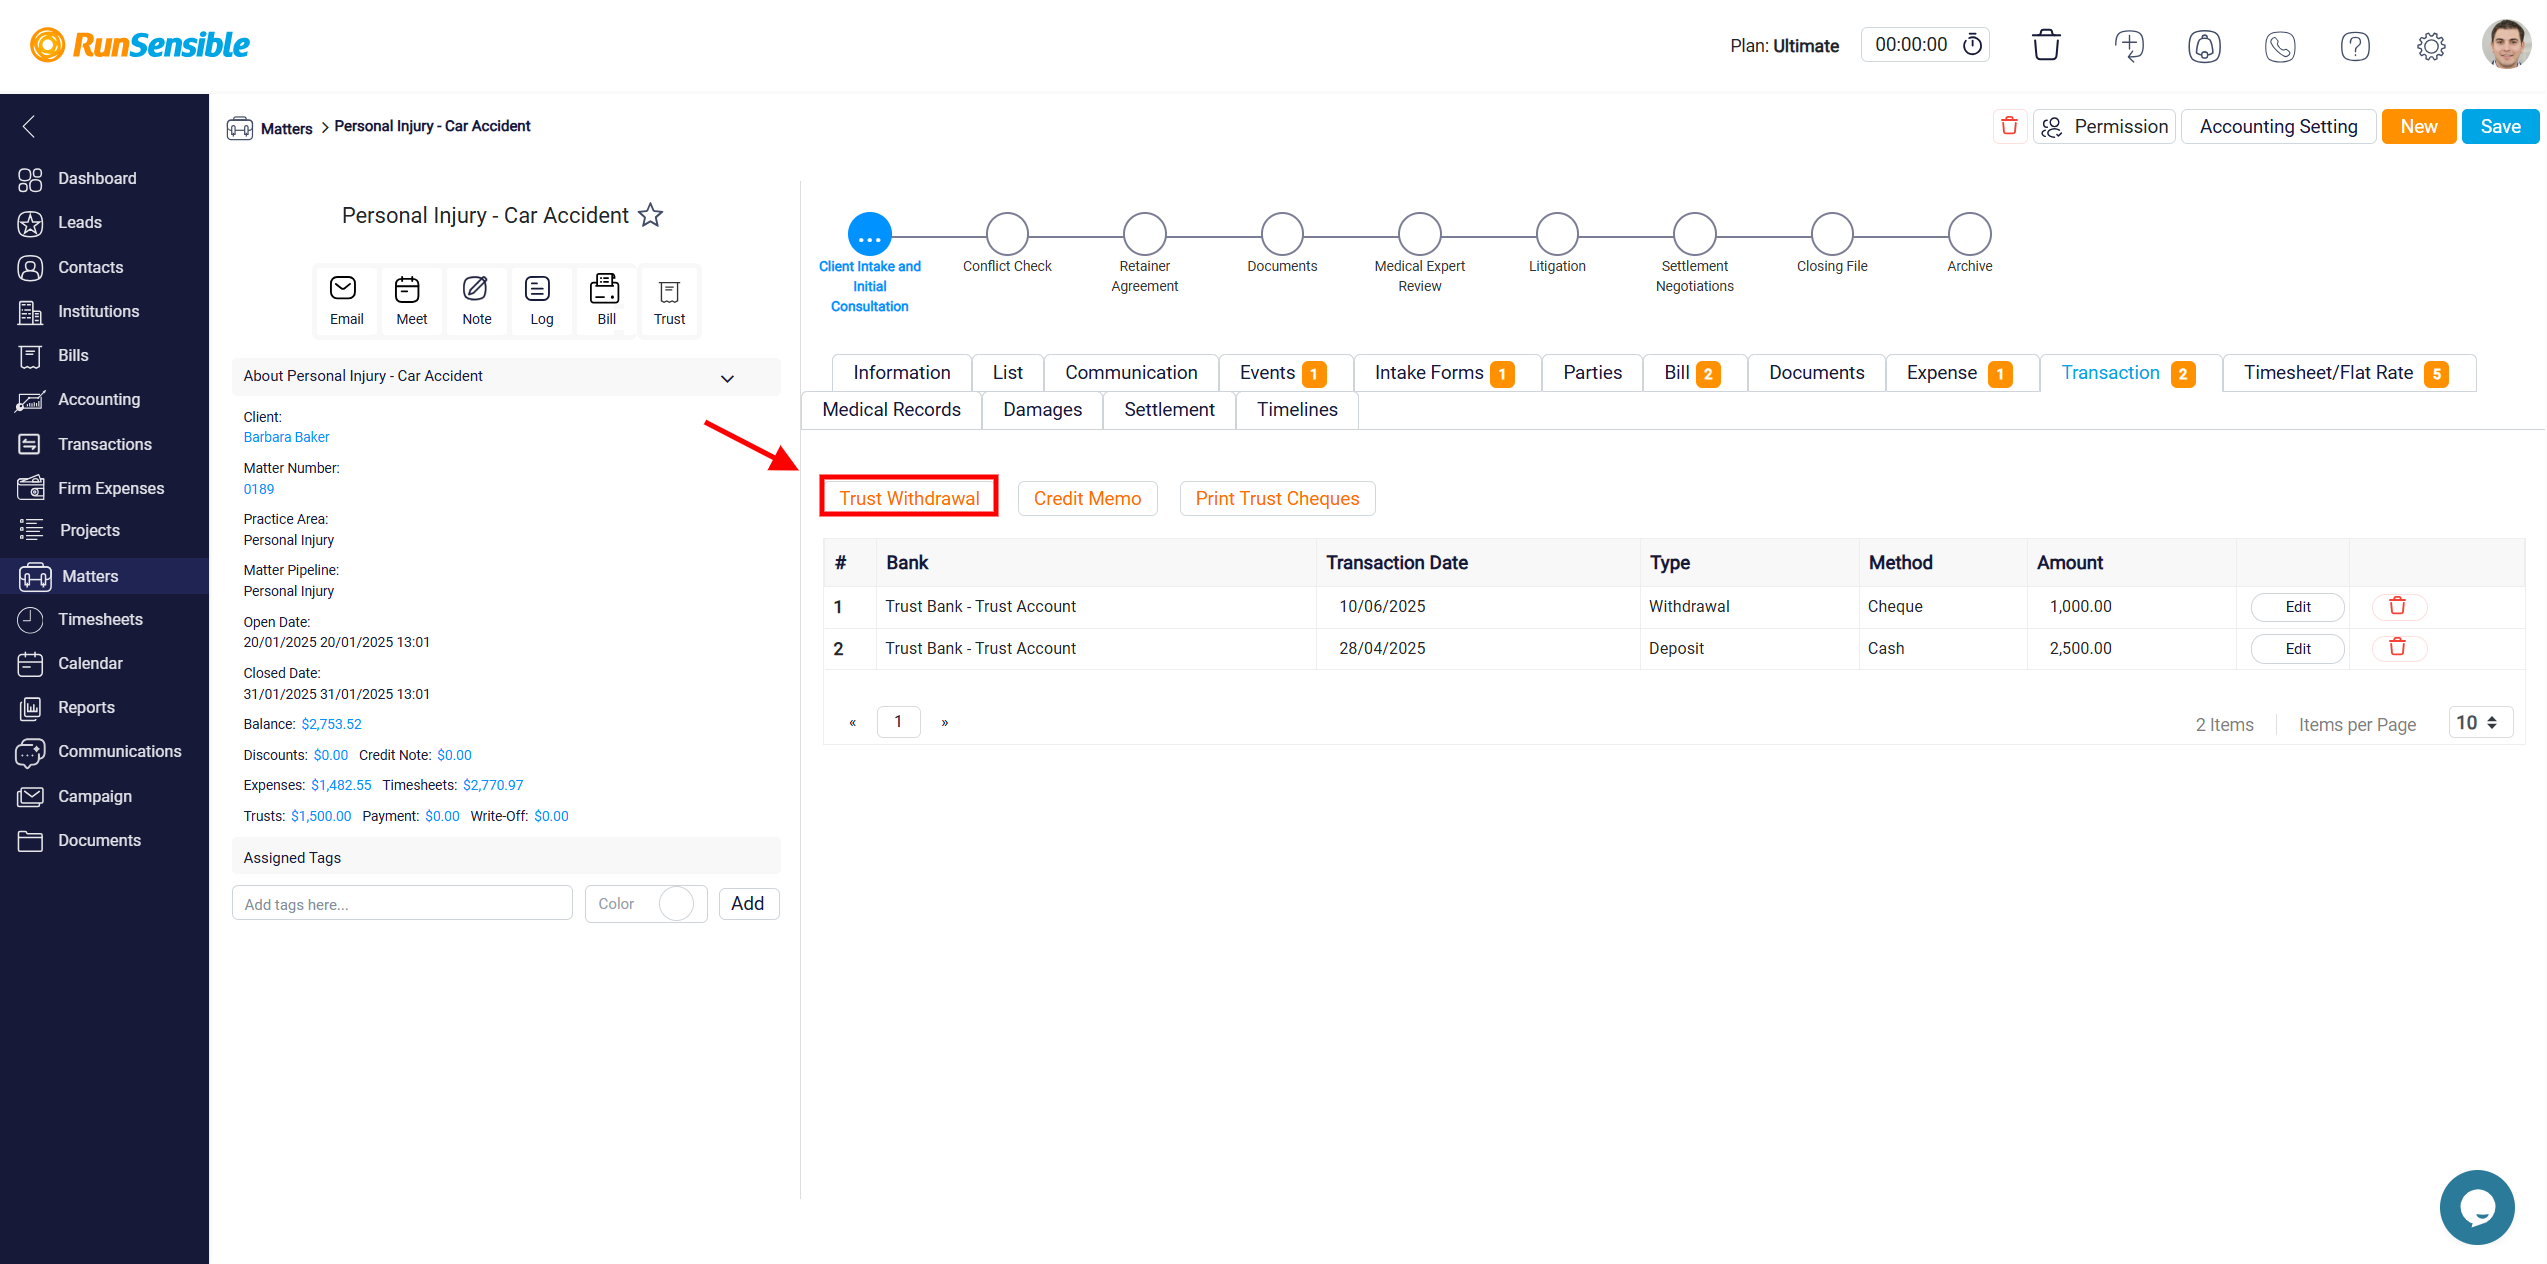
There is a Trust Withdrawal button that enables you to manage manage trust withdrawal transactions.
After clicking the button, the Matter Trust Withdrawal form will open. Fill in all the required details, including Bank Account, Type of Account, Client Name, Amount to be withdrawn from the client’s trust funds, Payment Method (Select Cheque as the method of payment. Once selected, a To Be Printed toggle will appear below, which should be enabled to indicate the cheque will be printed using the system’s check printing function), Payment Date, and Description (Optionally, add any relevant notes or details about the withdrawal).
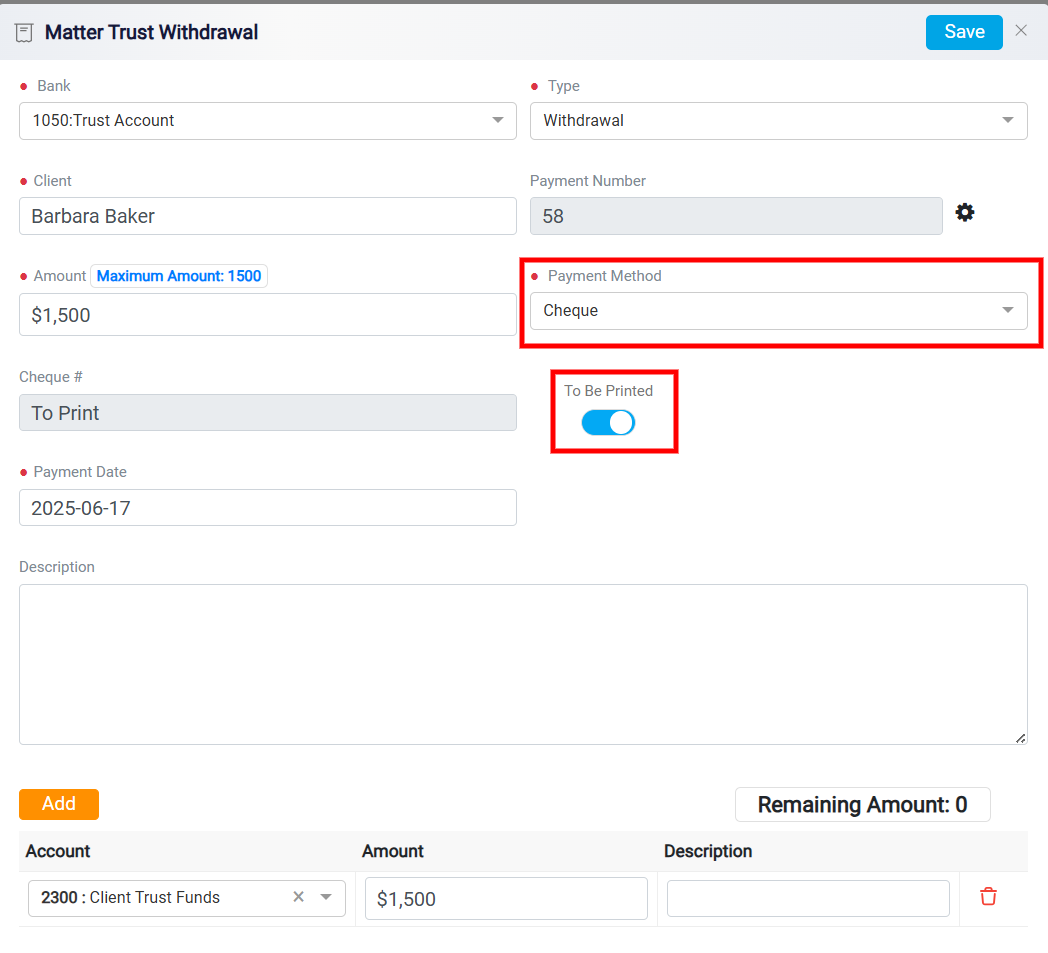
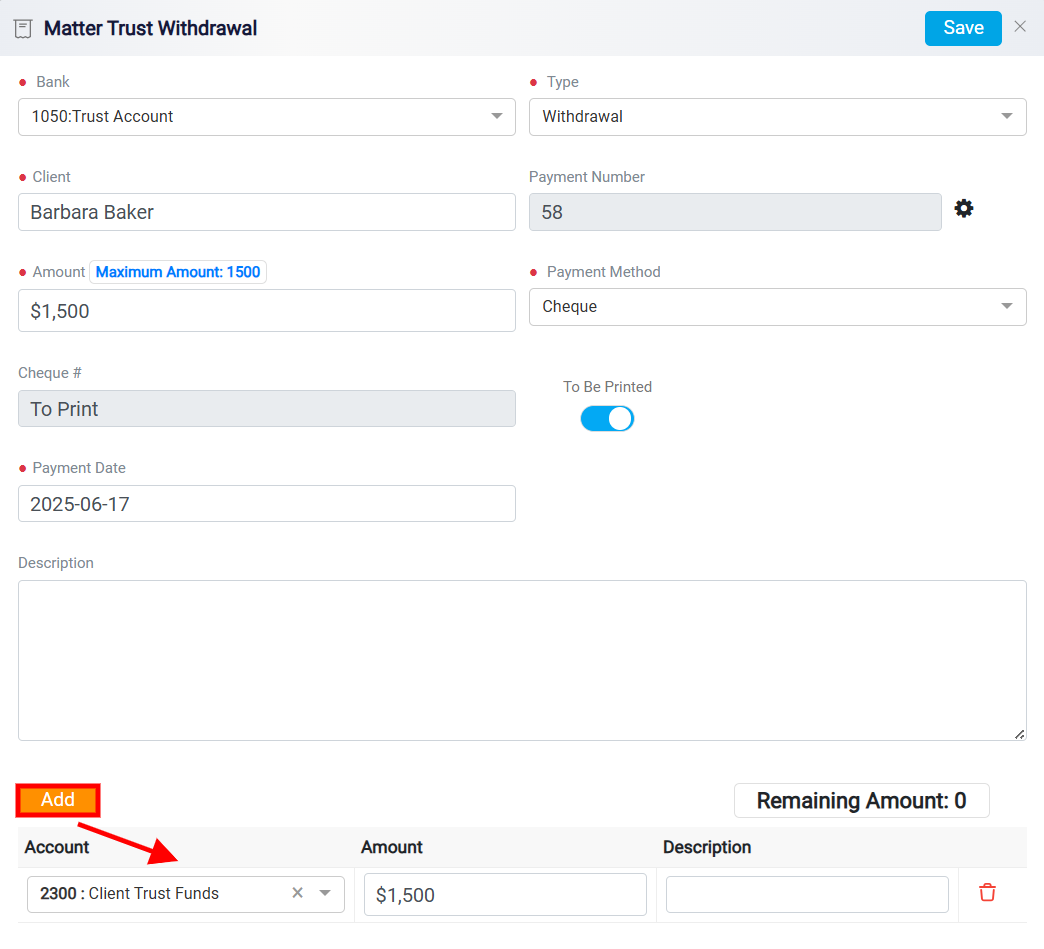
Next, click the Add button to enter the Account, Amount, and optionally, a description for the transaction line.
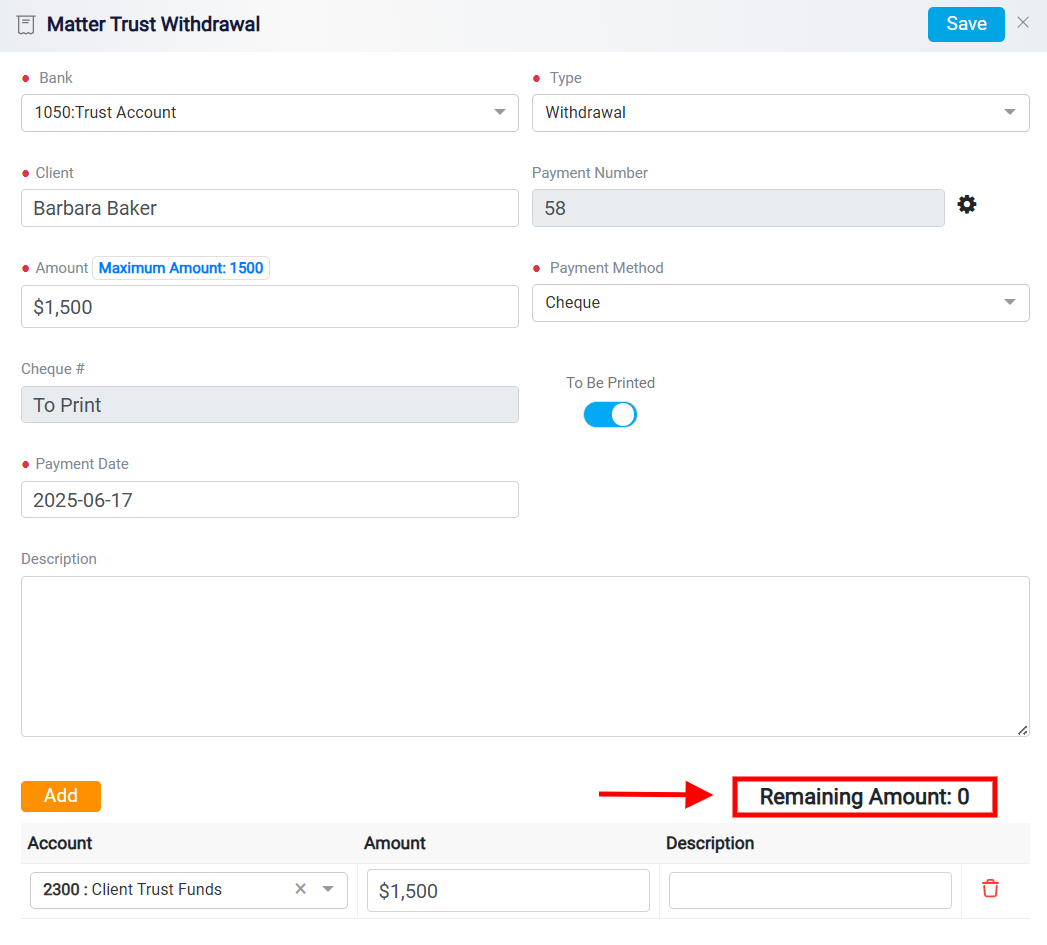
Ensure that the Remaining Amount displayed at the bottom is zero, which confirms that the full withdrawal amount has been allocated.
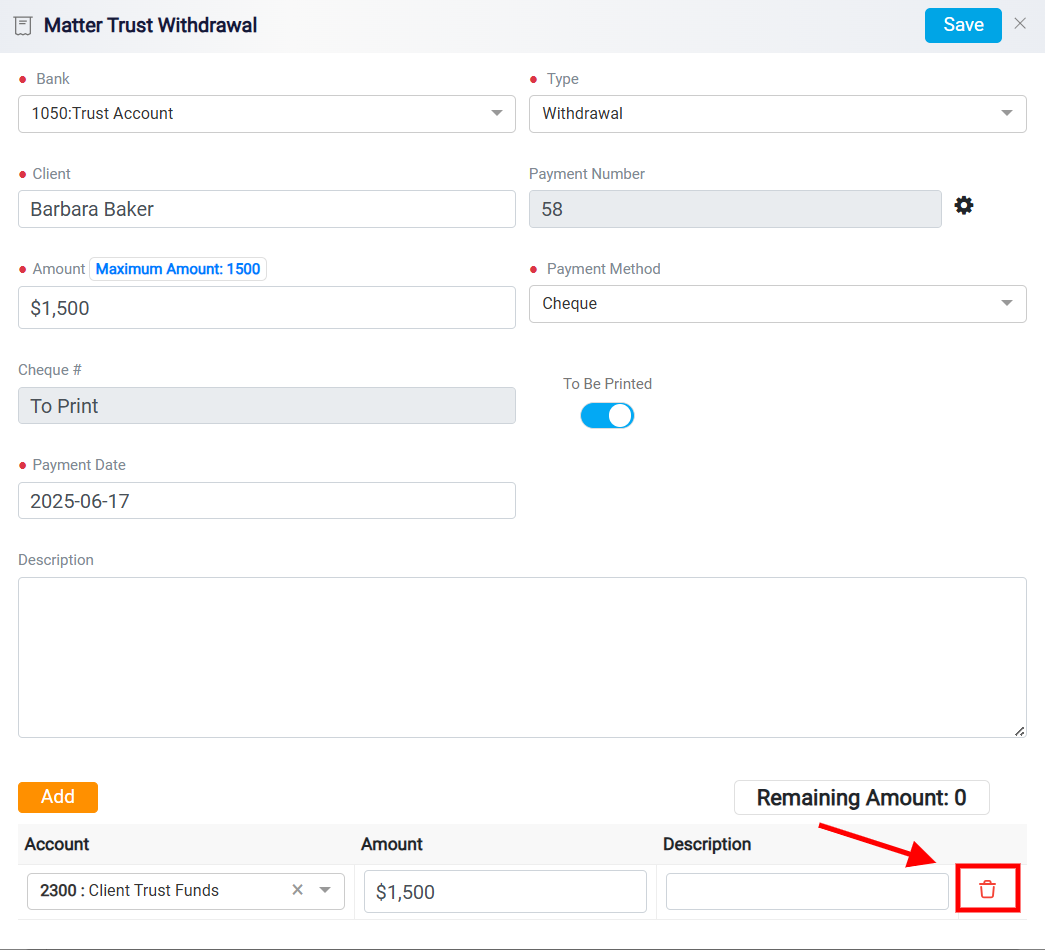
If an account entry is no longer needed, you can remove it by clicking the Trash icon next to it.
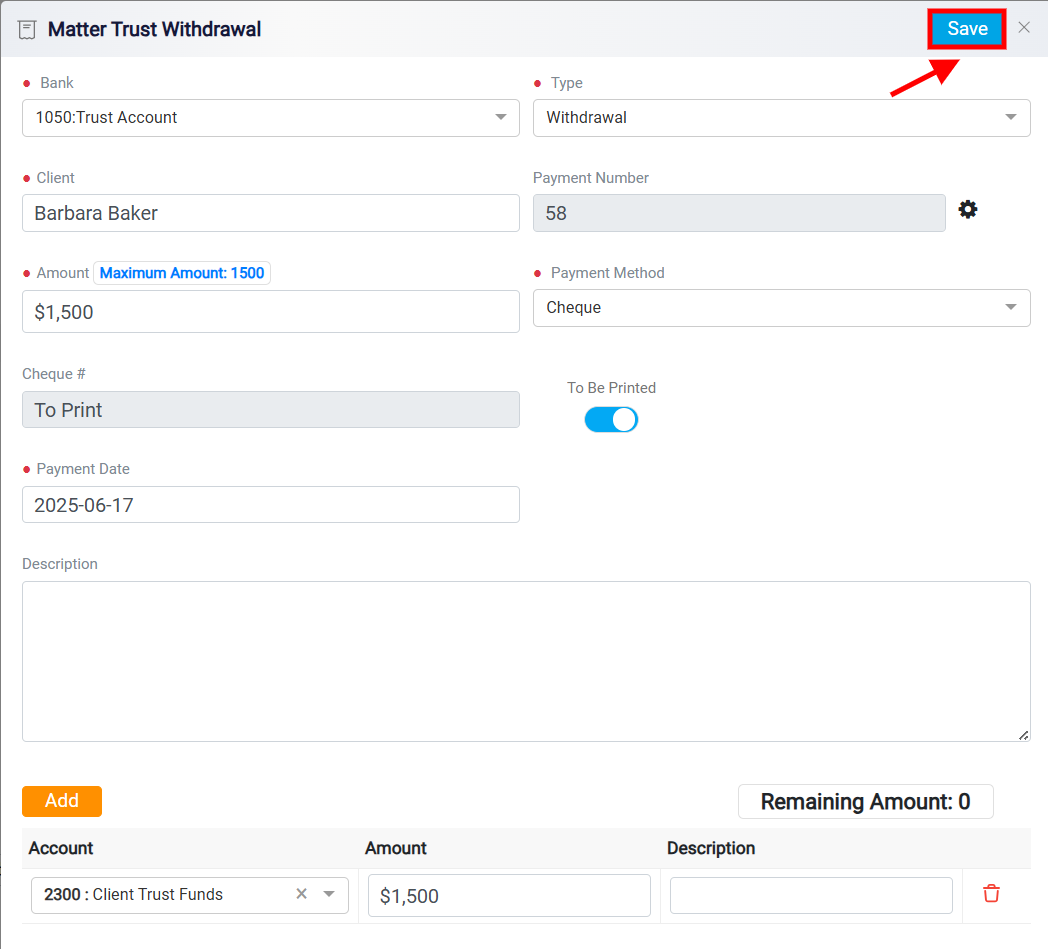
Finally, click the Save button to complete and finalize the trust withdrawal transaction.
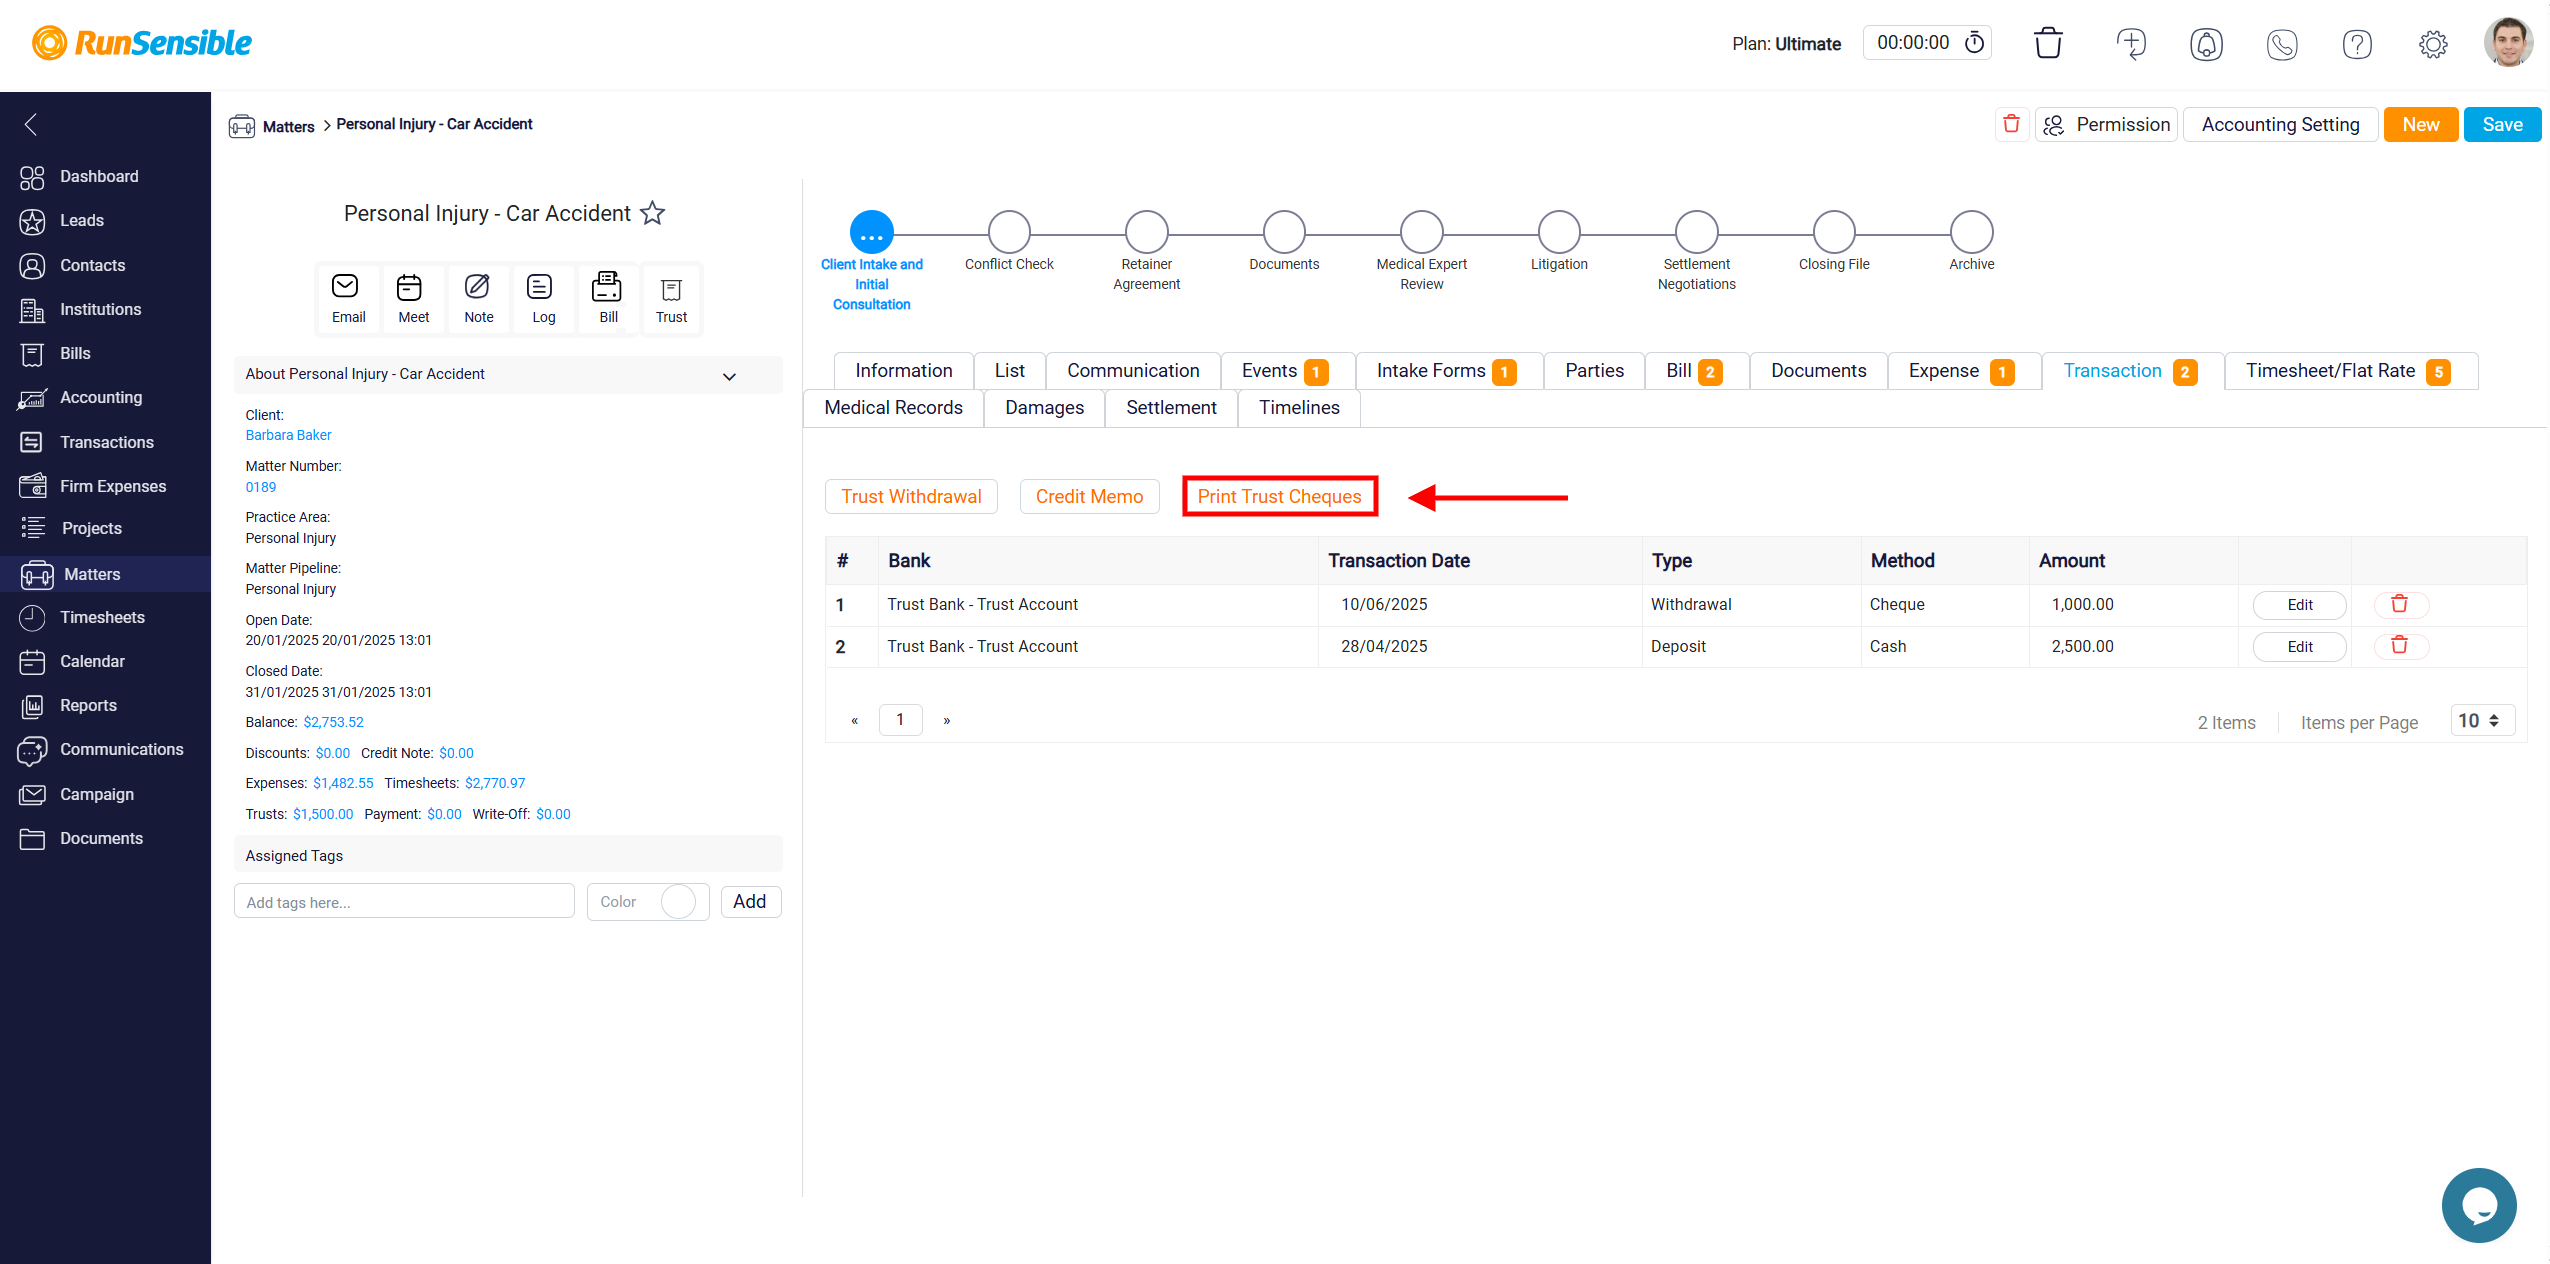
After managing your trust withdrawal, you can also easily print your trust checks by clicking the Print Trust Cheques button.
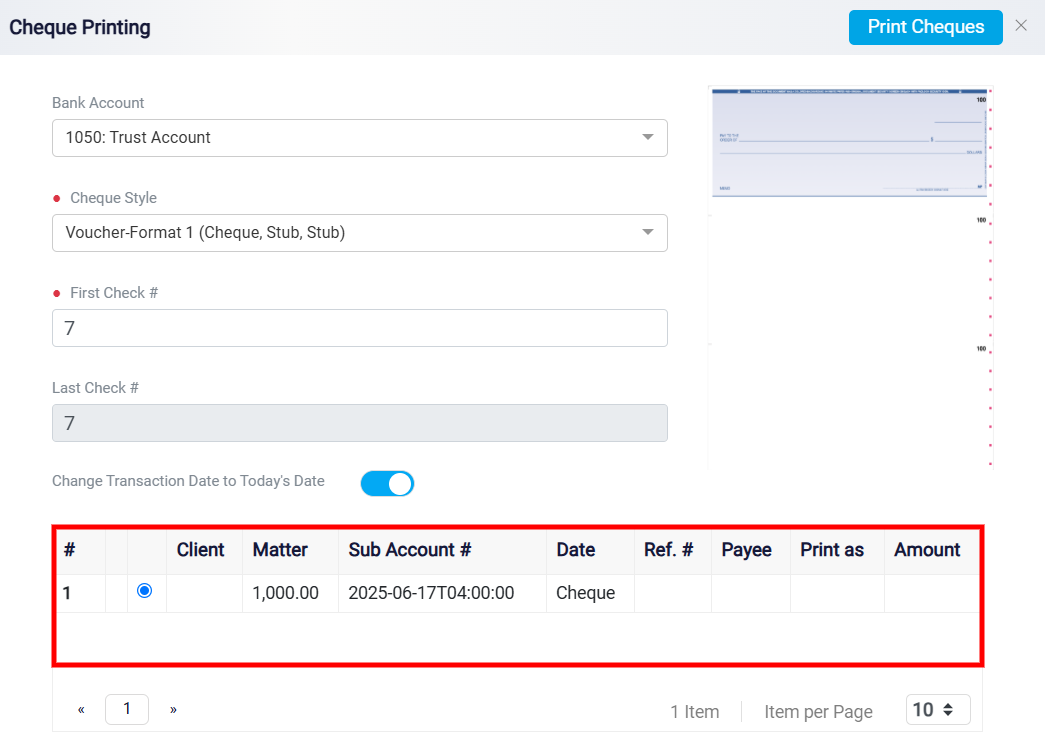
When you click on it a new panel will appear to insert the required data. The Cheque Printing page provides several customizable fields to configure important check details before generating physical checks.
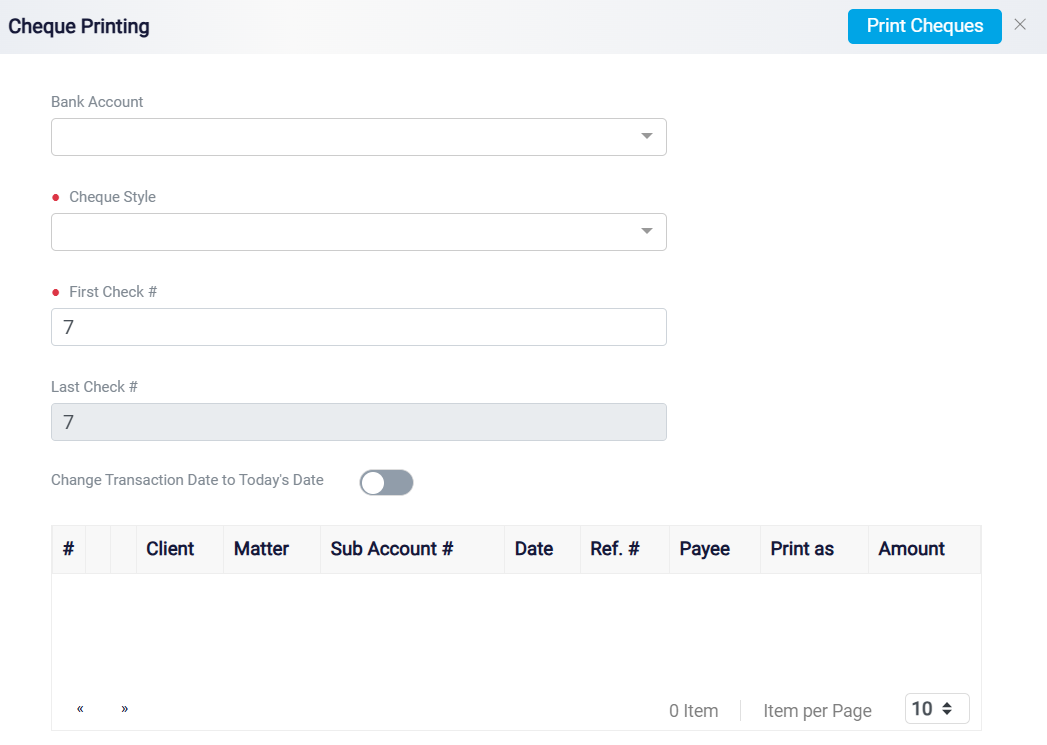
At the top of the page, you are prompted to select a Bank Account from a dropdown menu, ensuring the checks are drawn from the correct financial source. Following this, users must choose a Cheque Style, a mandatory field that allows them to specify the format of the printed check, such as Standard, Voucher, or Wallet style, depending on the paper layout they are using. The First Check Number field requires the user to enter the starting number for the sequence of checks being printed. The Last Check Number field typically auto-fills based on how many checks are queued, and initially matches the First Check Number if no checks are listed.
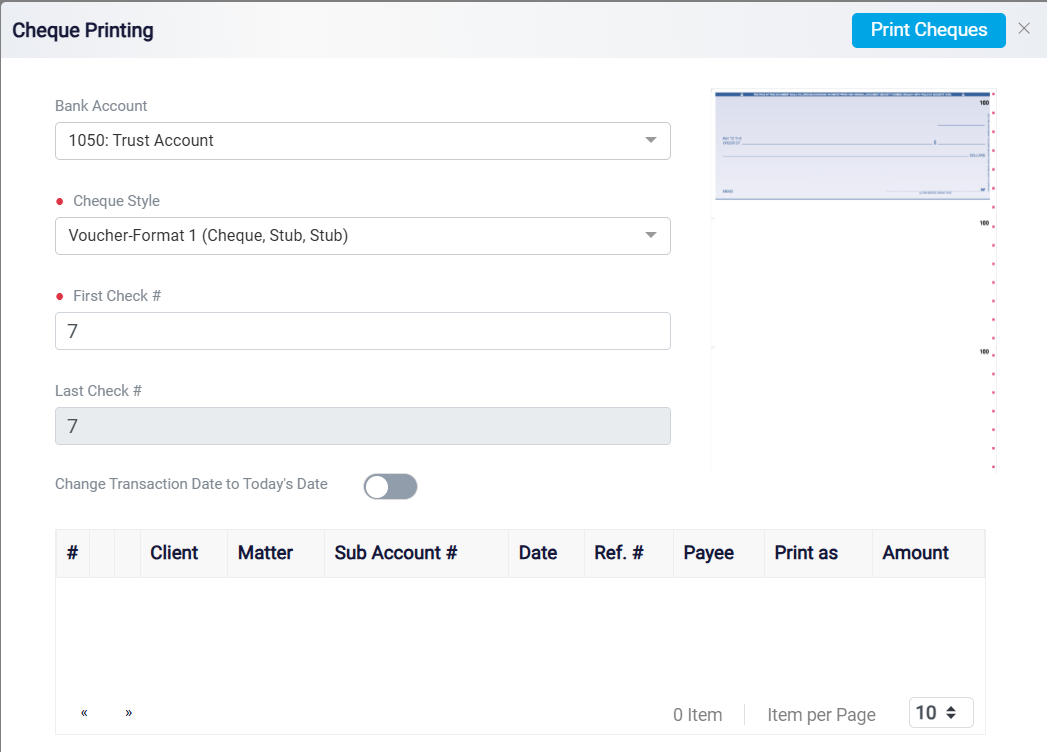
There is also a toggle option labeled Change Transaction Date to Today’s Date. When activated, this feature updates the transaction date on the printed checks to the current date, which is useful if checks were created earlier but are being printed at a later time.
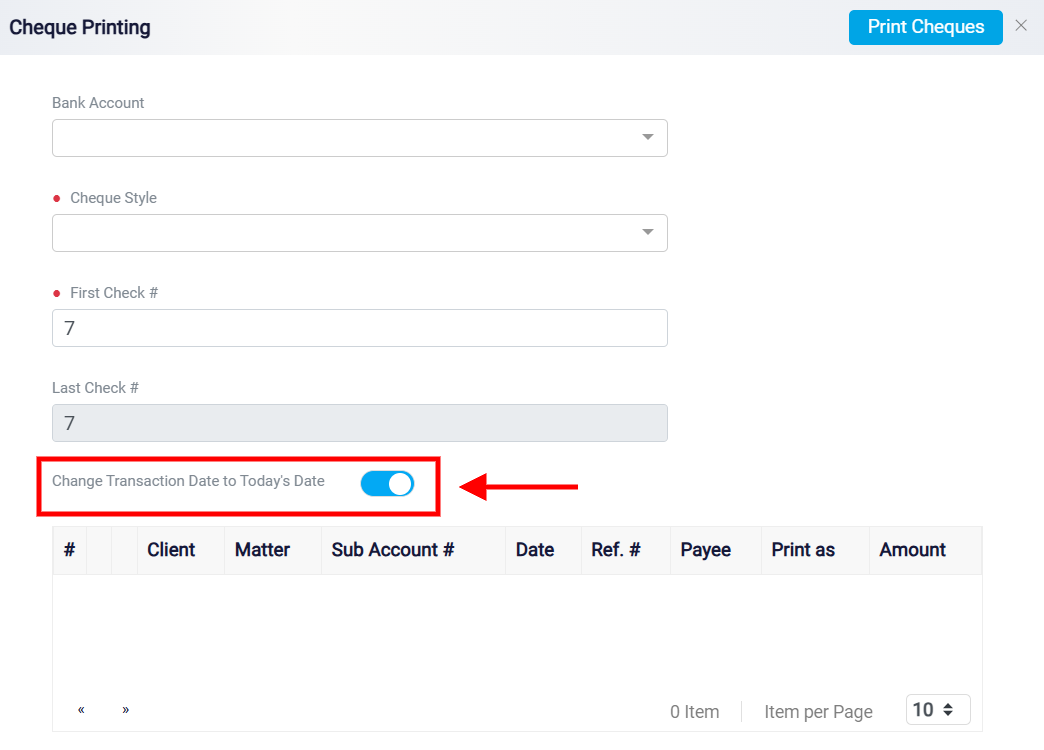
Beneath these fields is a transaction table that displays the list of checks scheduled for printing. The table includes columns such as Client, Matter, Sub Account Number, Date, Reference Number, Payee, Print as, and Amount. This layout provides a clear overview of each transaction related to the checks being printed.
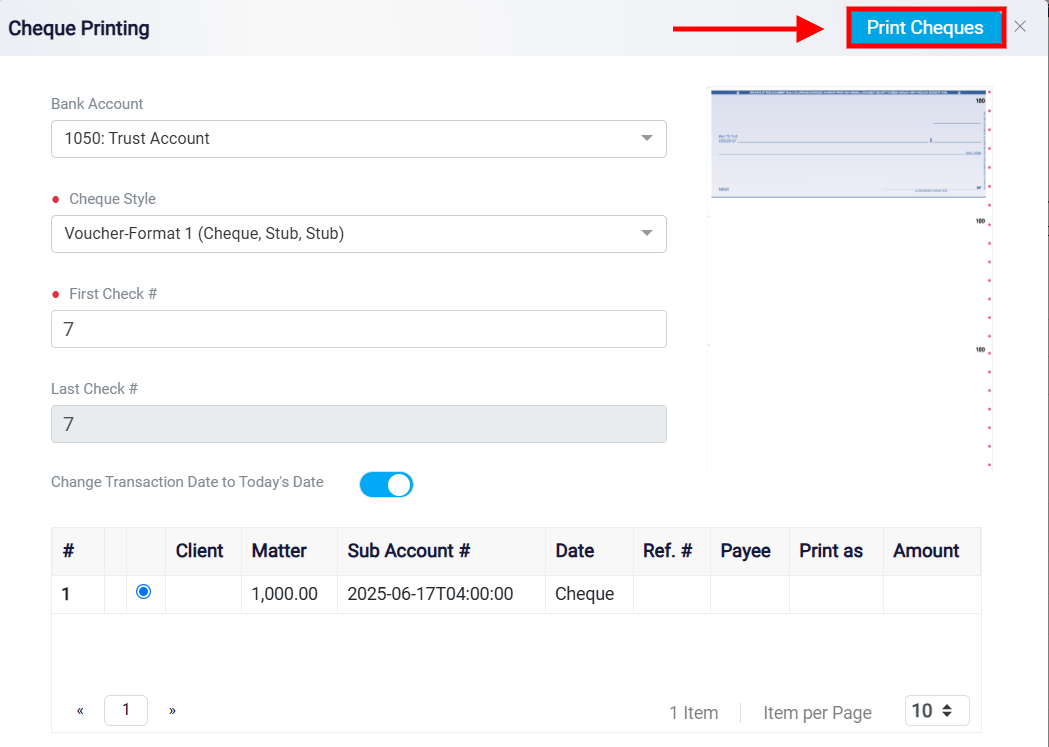
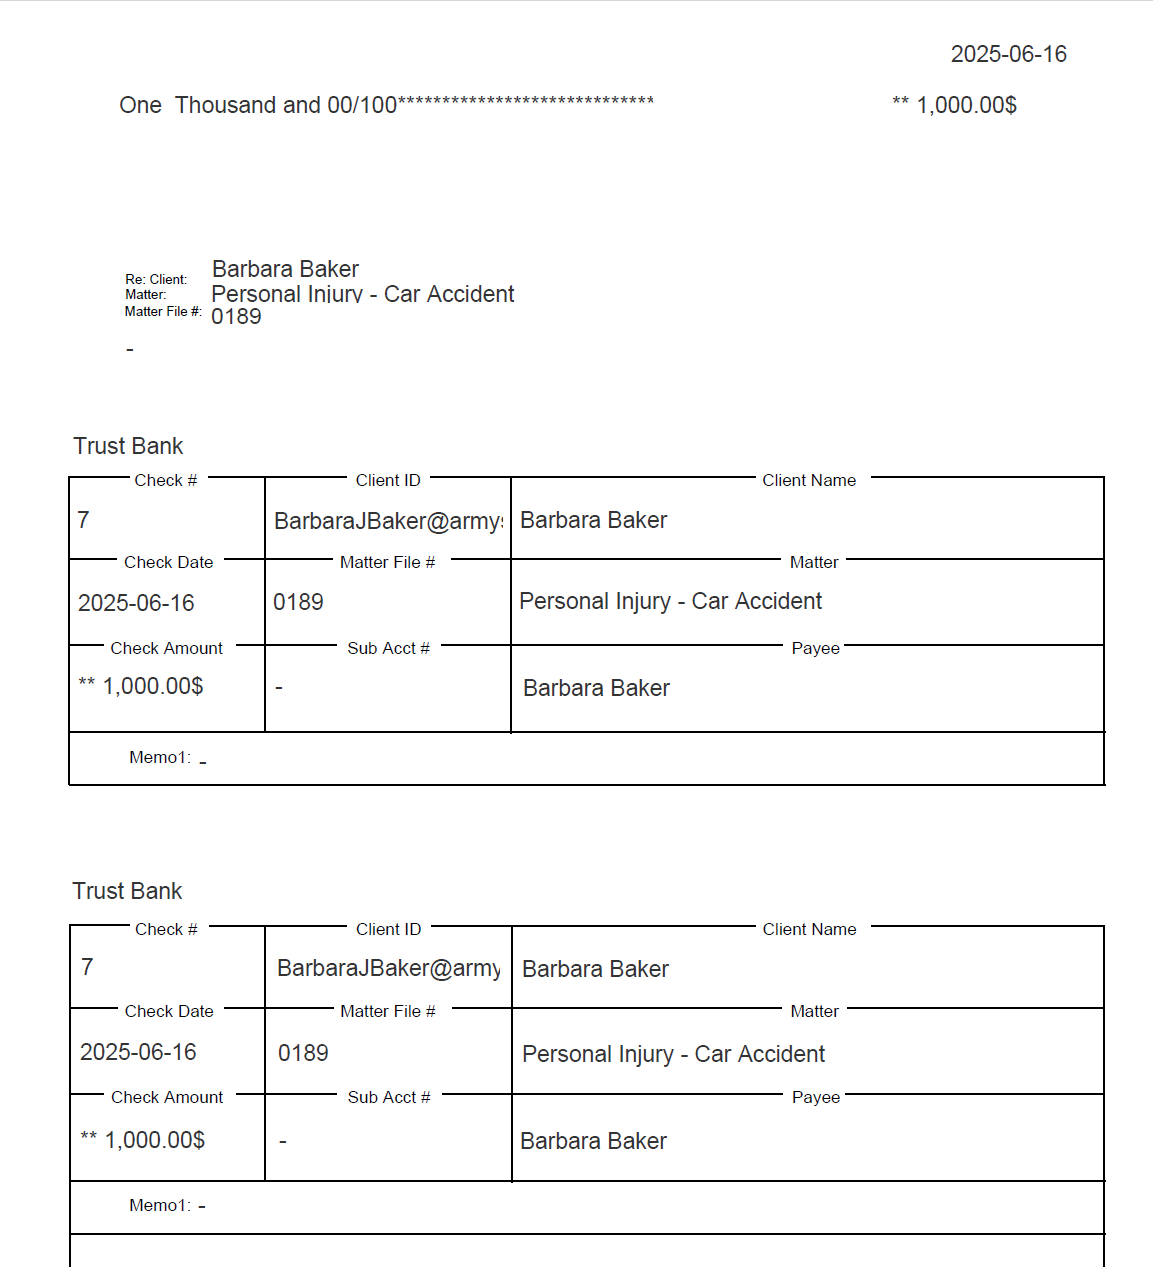
Once all fields are appropriately filled out and checks are selected, users can click the Print Cheques button located at the top-right corner of the page. This action initiates the process to print all listed checks based on the selected settings.
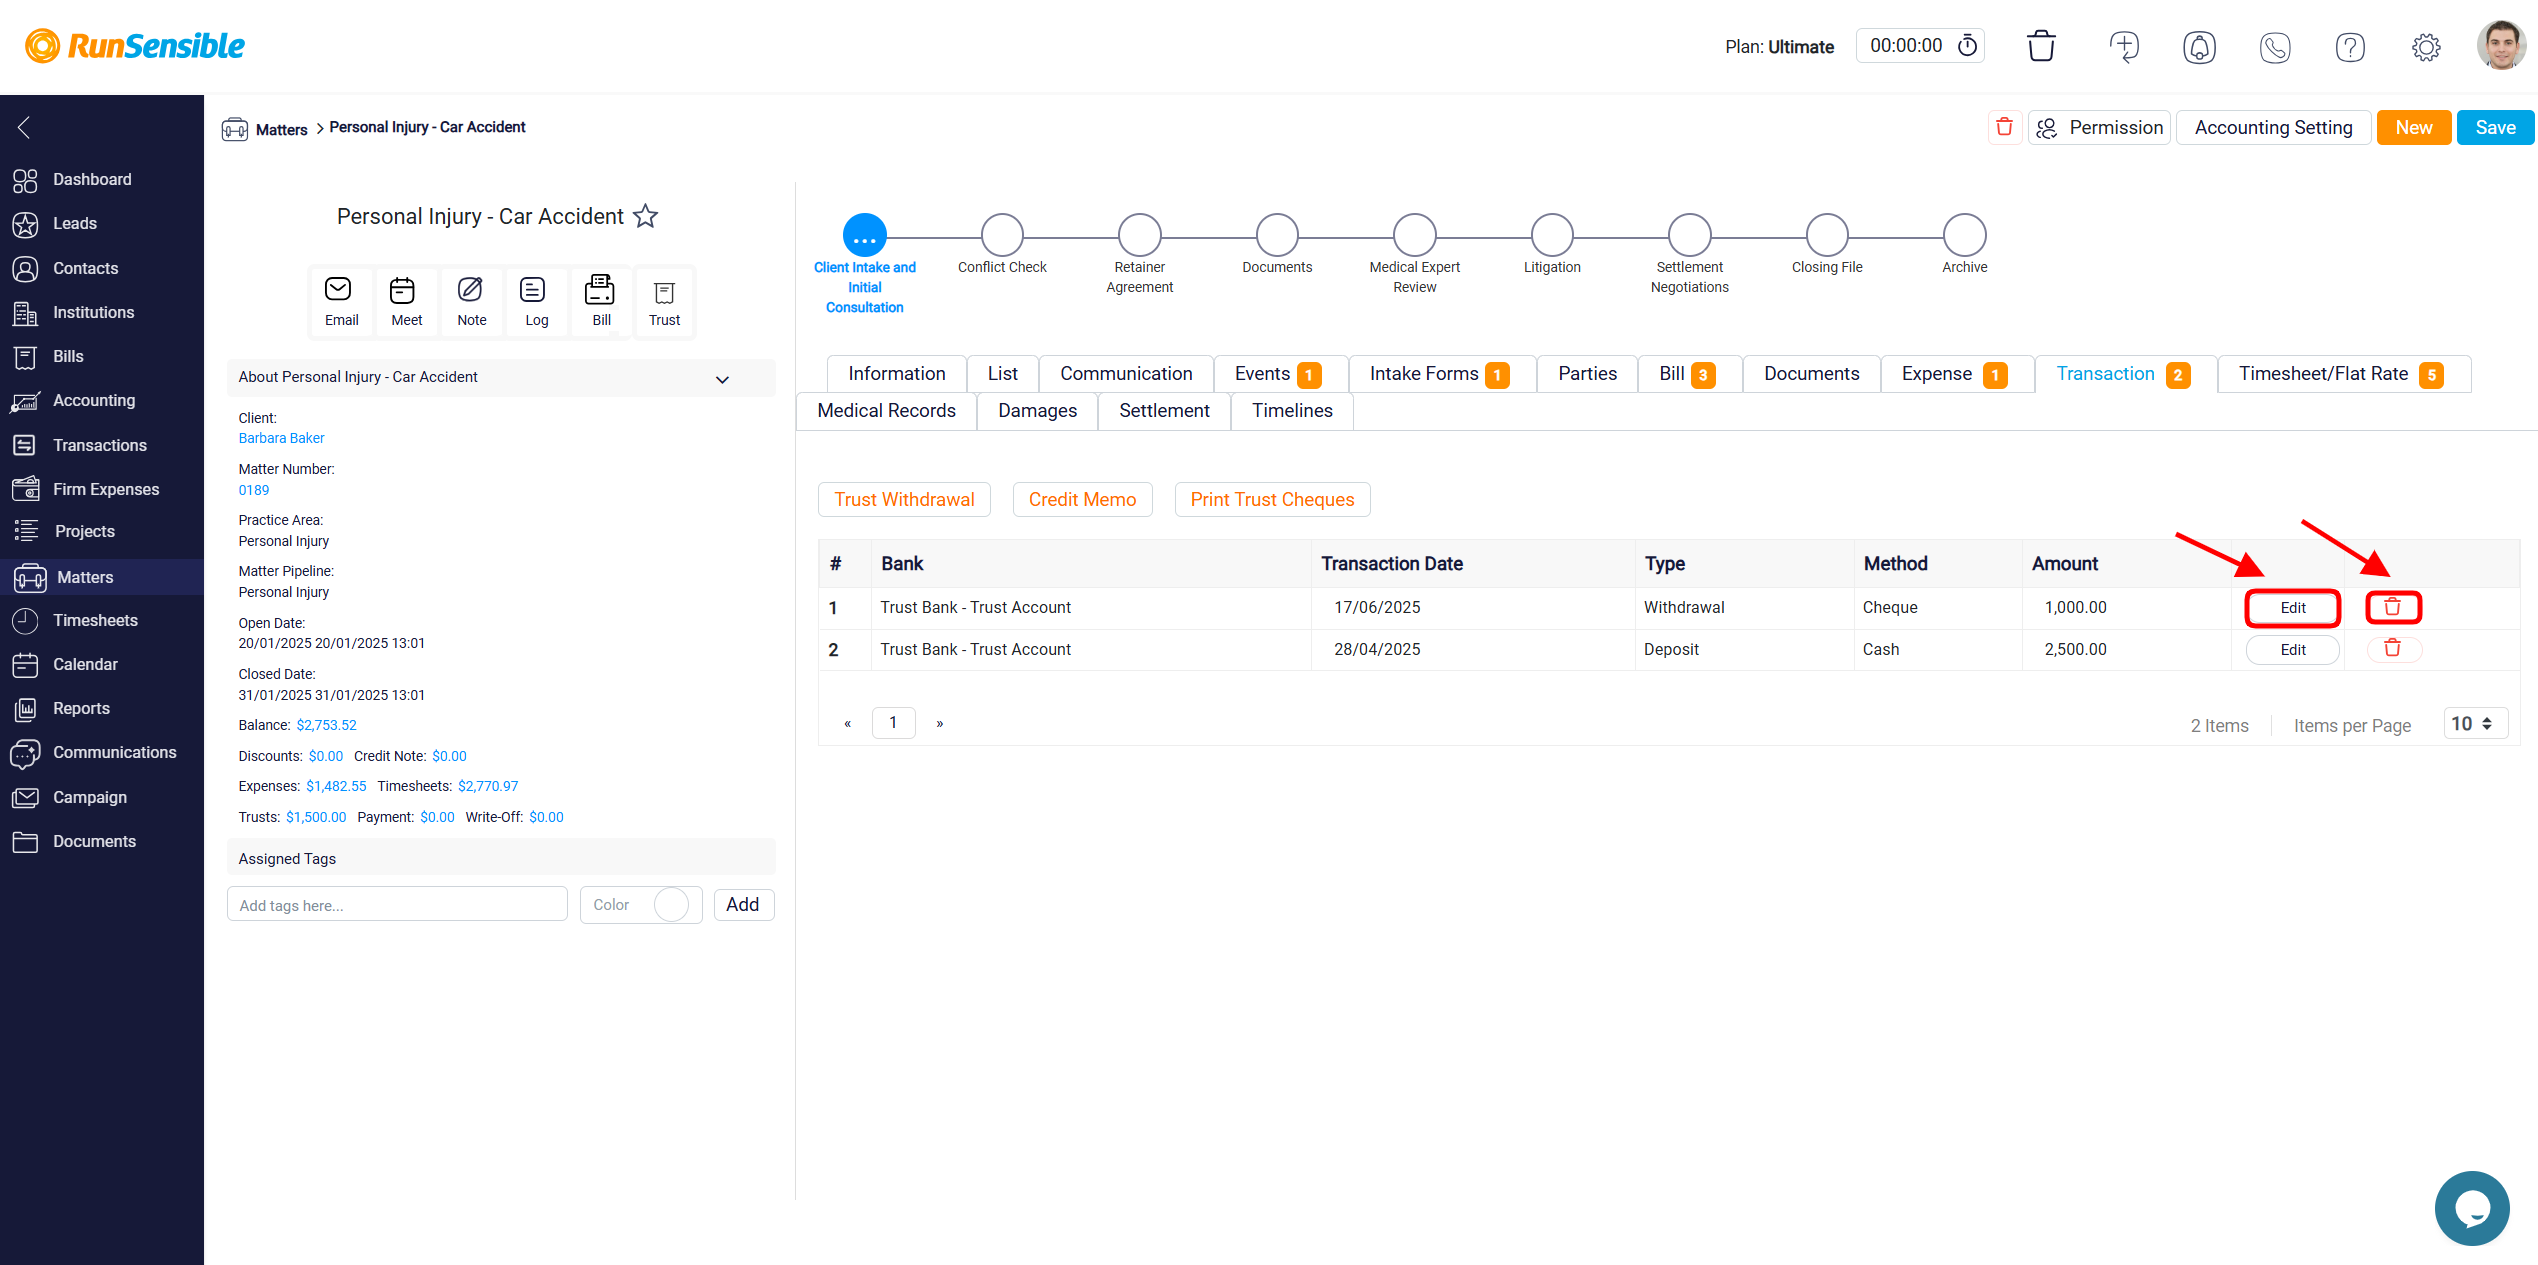
Additionally, you can easily modify or remove transactions by using the Edit and Delete buttons.
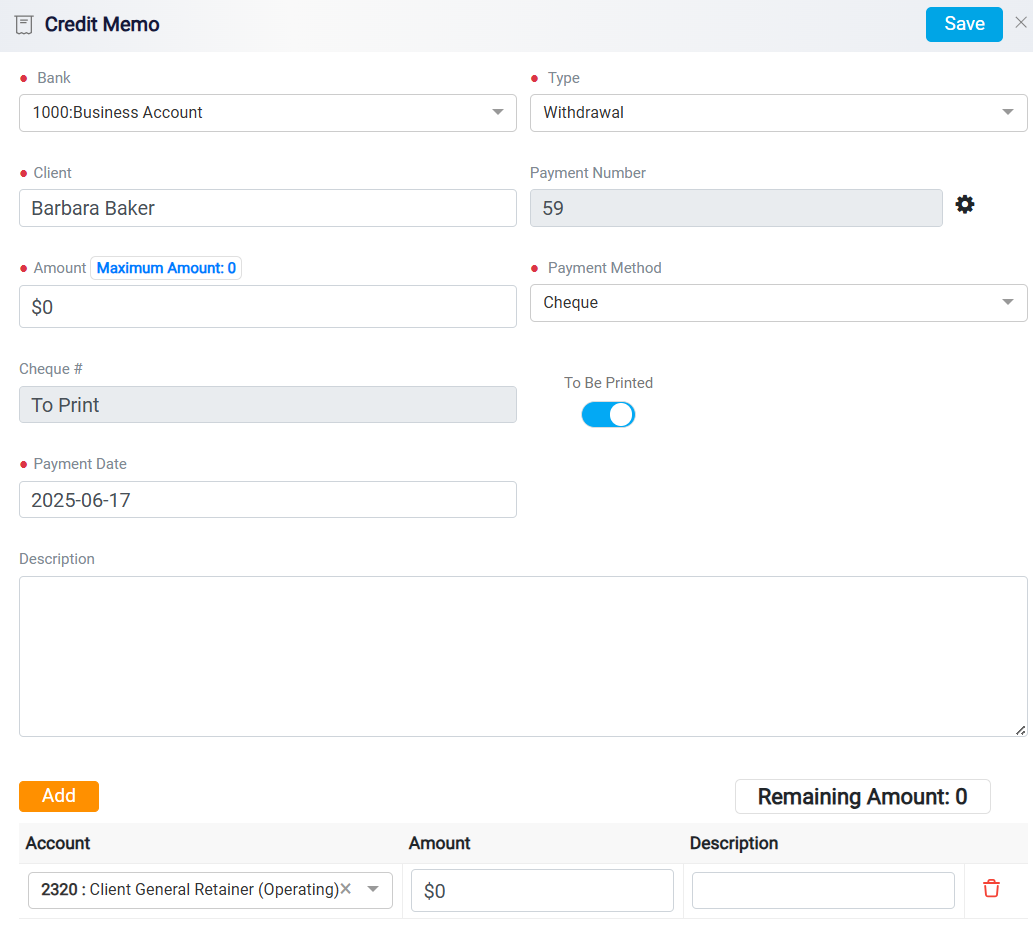
The Credit Memo is designed to used to adjust the billing records without affecting actual cash movement directly. It is typically issued in scenarios such as overpayments by clients, service cancellations, or billing errors. 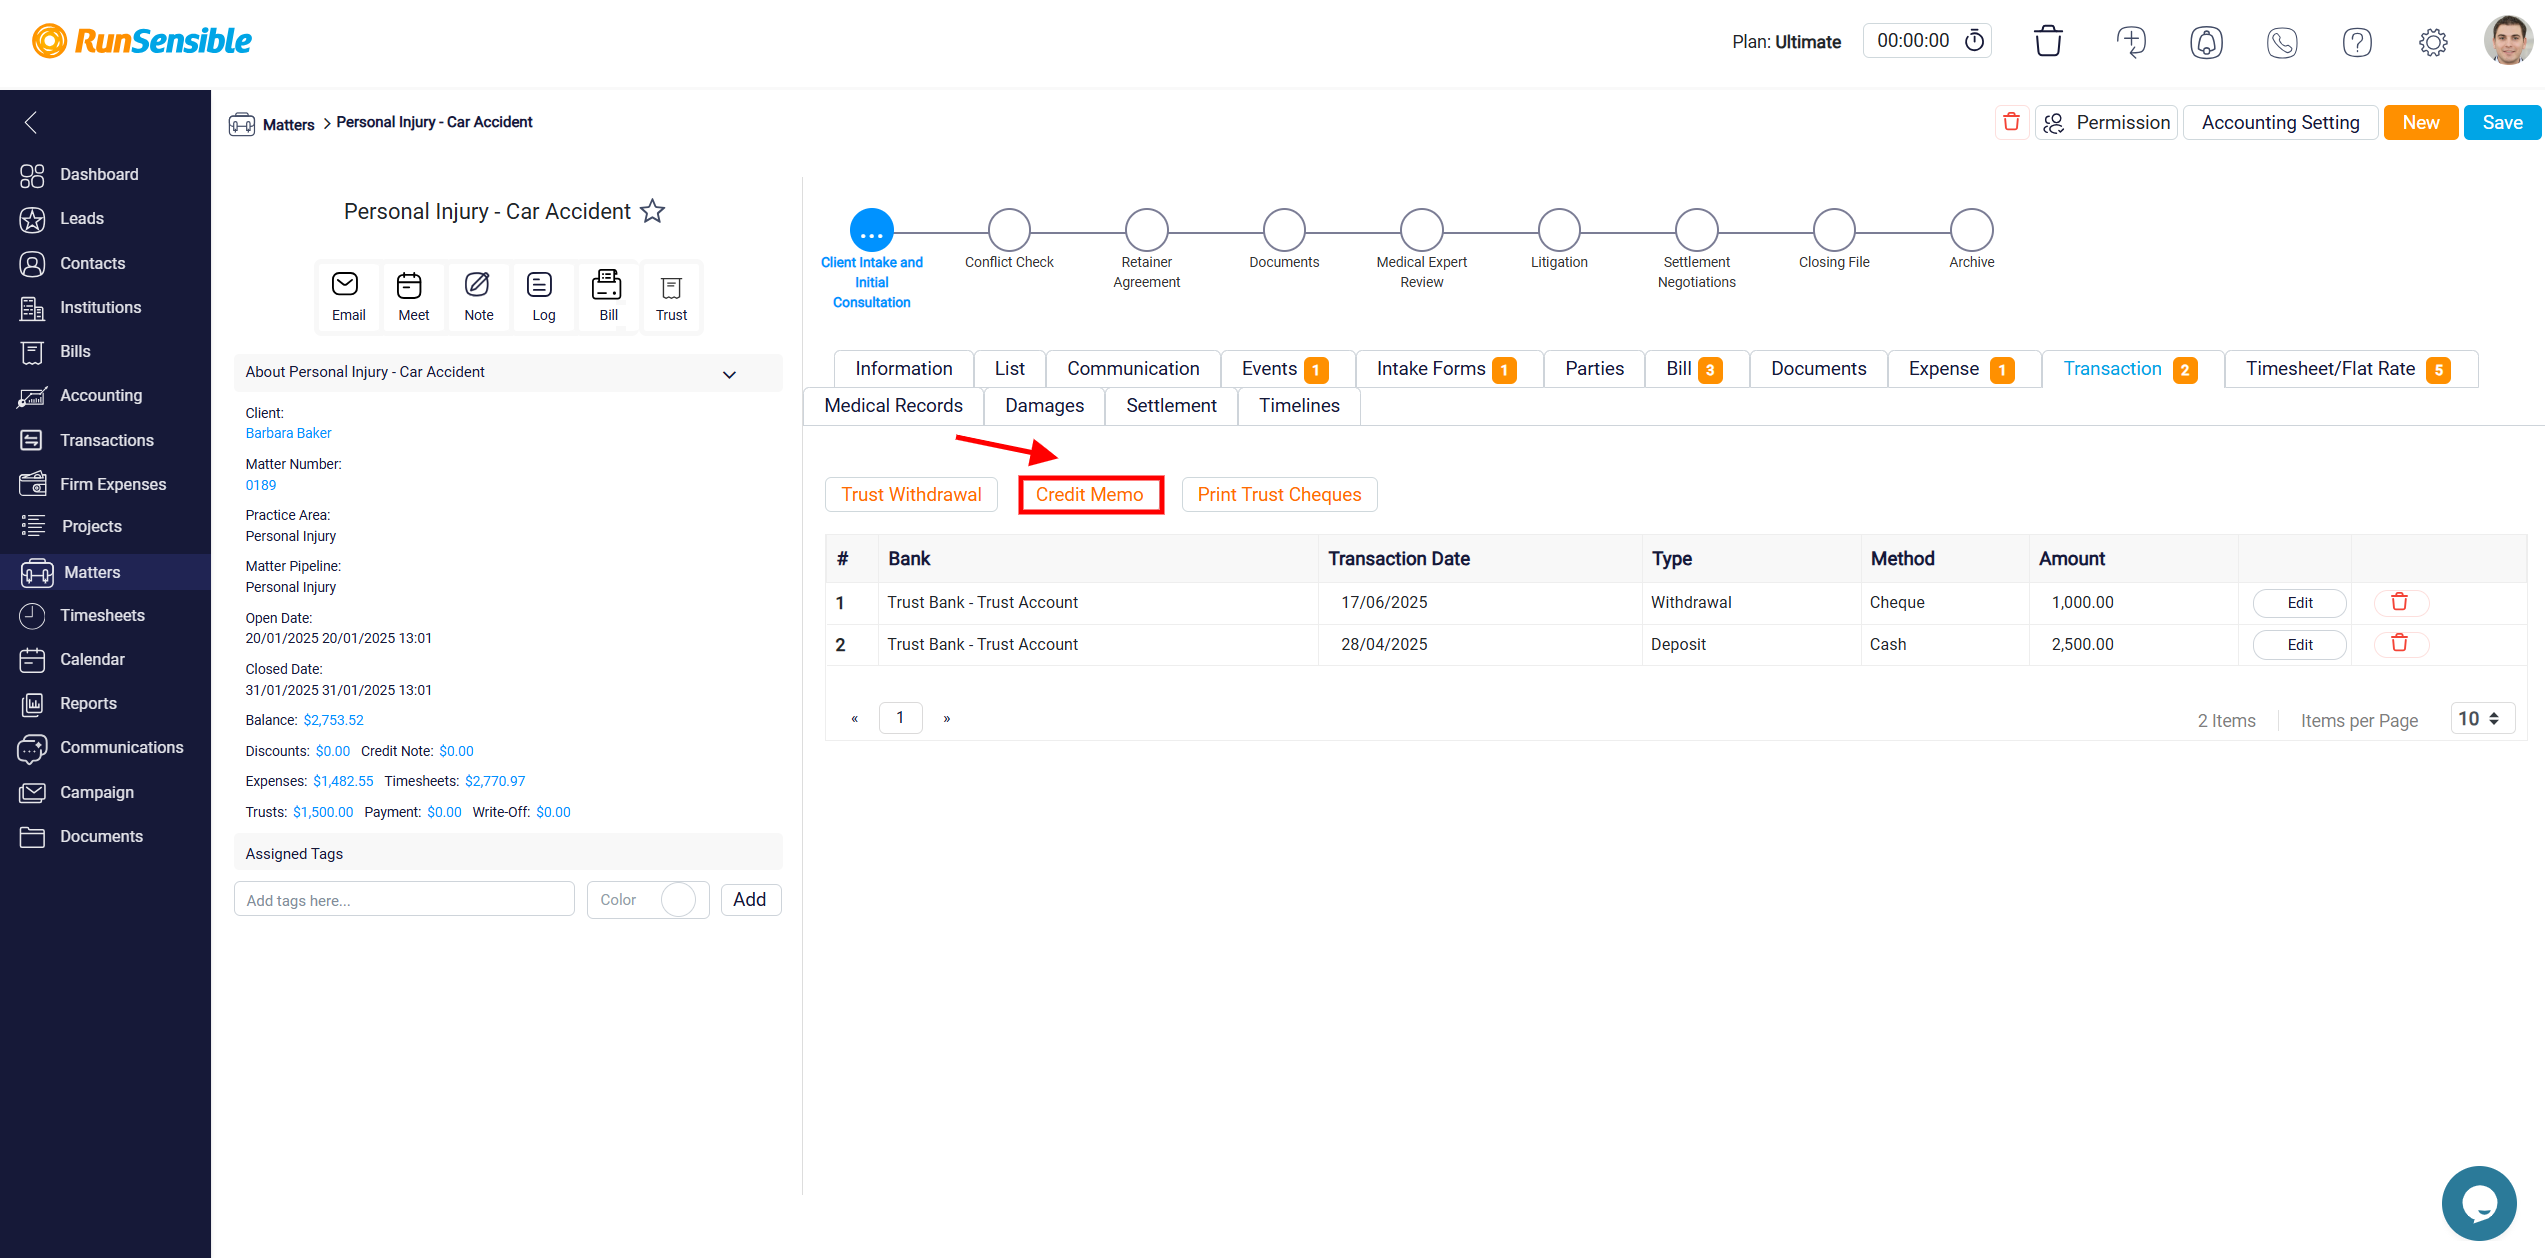
Clicking the Credit Memo button will open a form to specify the reason, amount, and type of adjustment. It includes several essential fields that ensure proper documentation and accounting of the transaction.
