Setting Bill Reminders for Clients
By default, the software is set to send a reminder to the client to pay the bill one week before the due date. If you wish to customize this reminder, click on the Edit button located to the right of the Bill Reminder toggle button under the timesheet section. Upon doing so, you will see three preset toggle options that you can activate individually or together, according to your preference: reminders can be sent one week before, three days before, or one day before the due date.
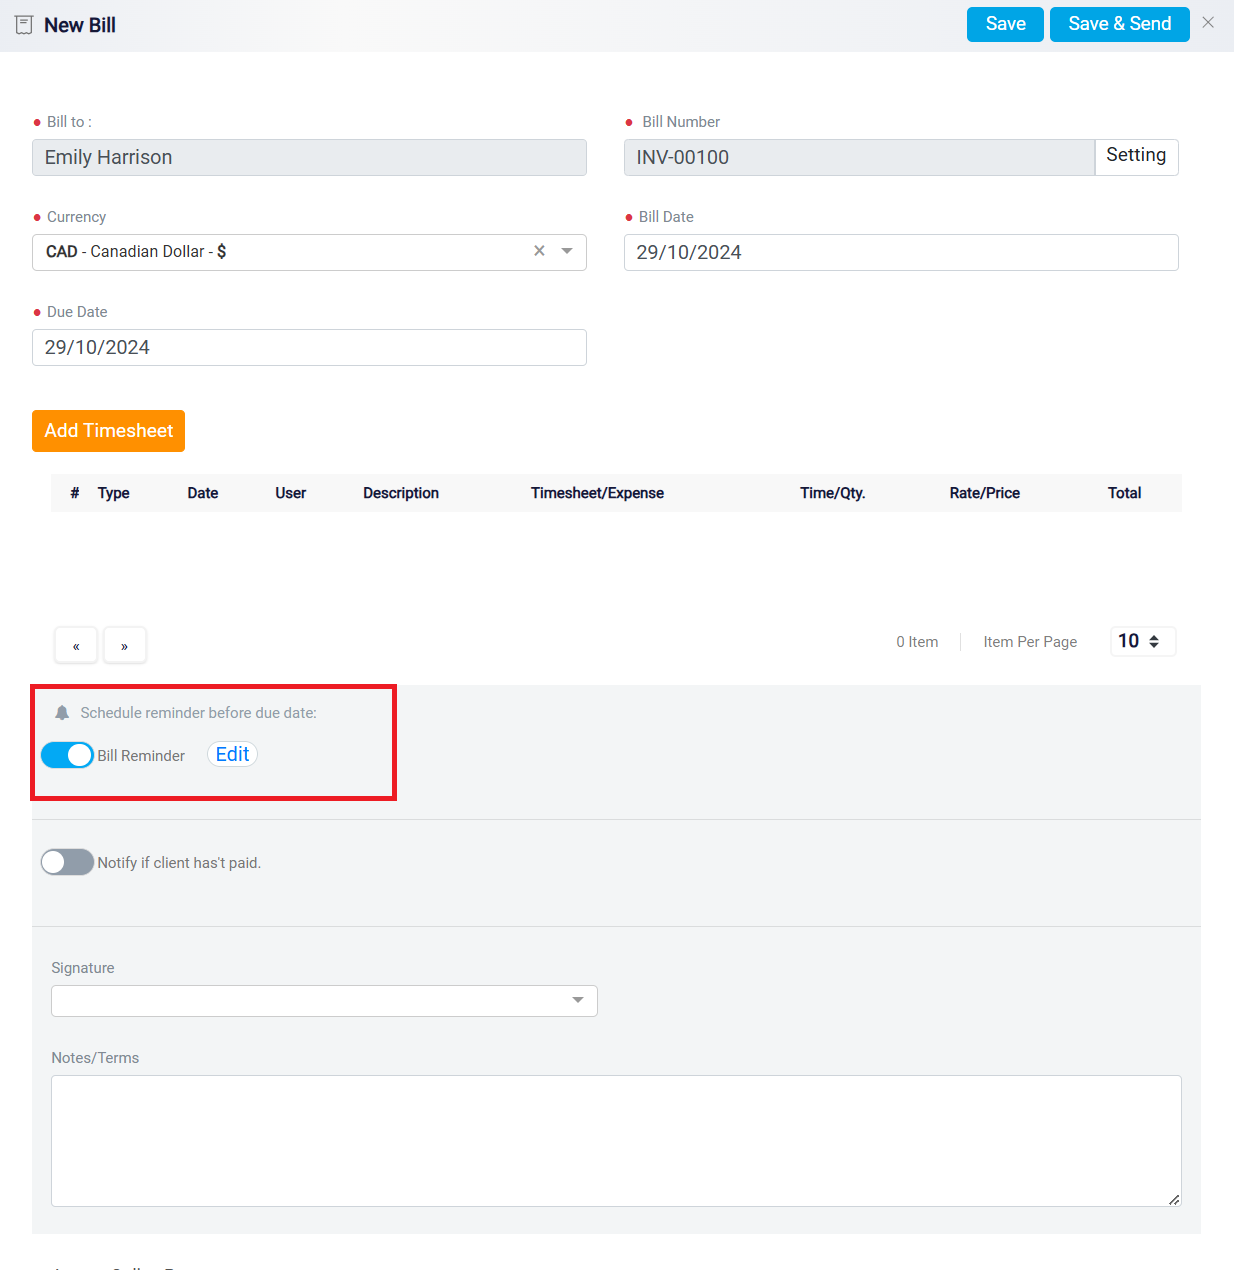
If these preset options do not meet your needs, you can activate the Custom toggle button at the bottom. Once activated, a panel will appear where you can specify exactly how many days before the bill’s due date you want the client to receive a reminder.
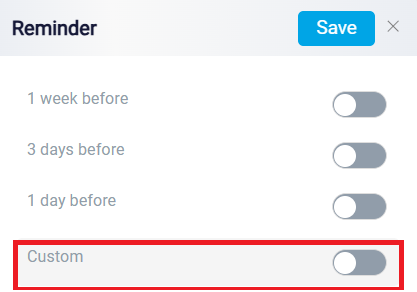
You can set multiple custom reminders by clicking on the Add More Custom Days button.
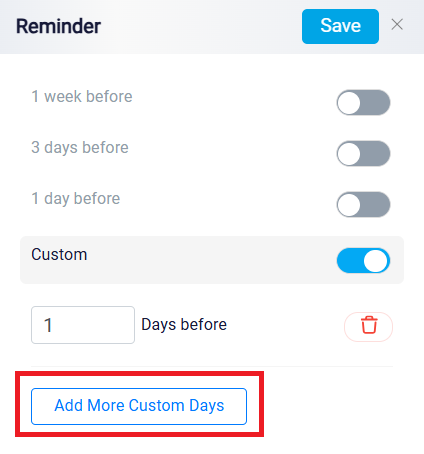
After configuring your reminder settings, click the Save button at the top right of the panel to apply your changes.
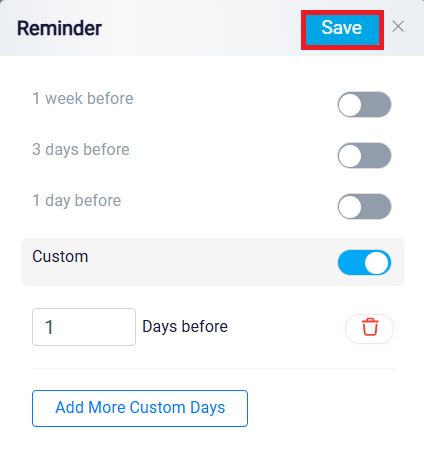
Additionally, if you prefer that no reminders be sent to the client, you can toggle off the Bill Reminder button. This will prevent any notification from being sent, allowing you to manage reminders manually or through other means.
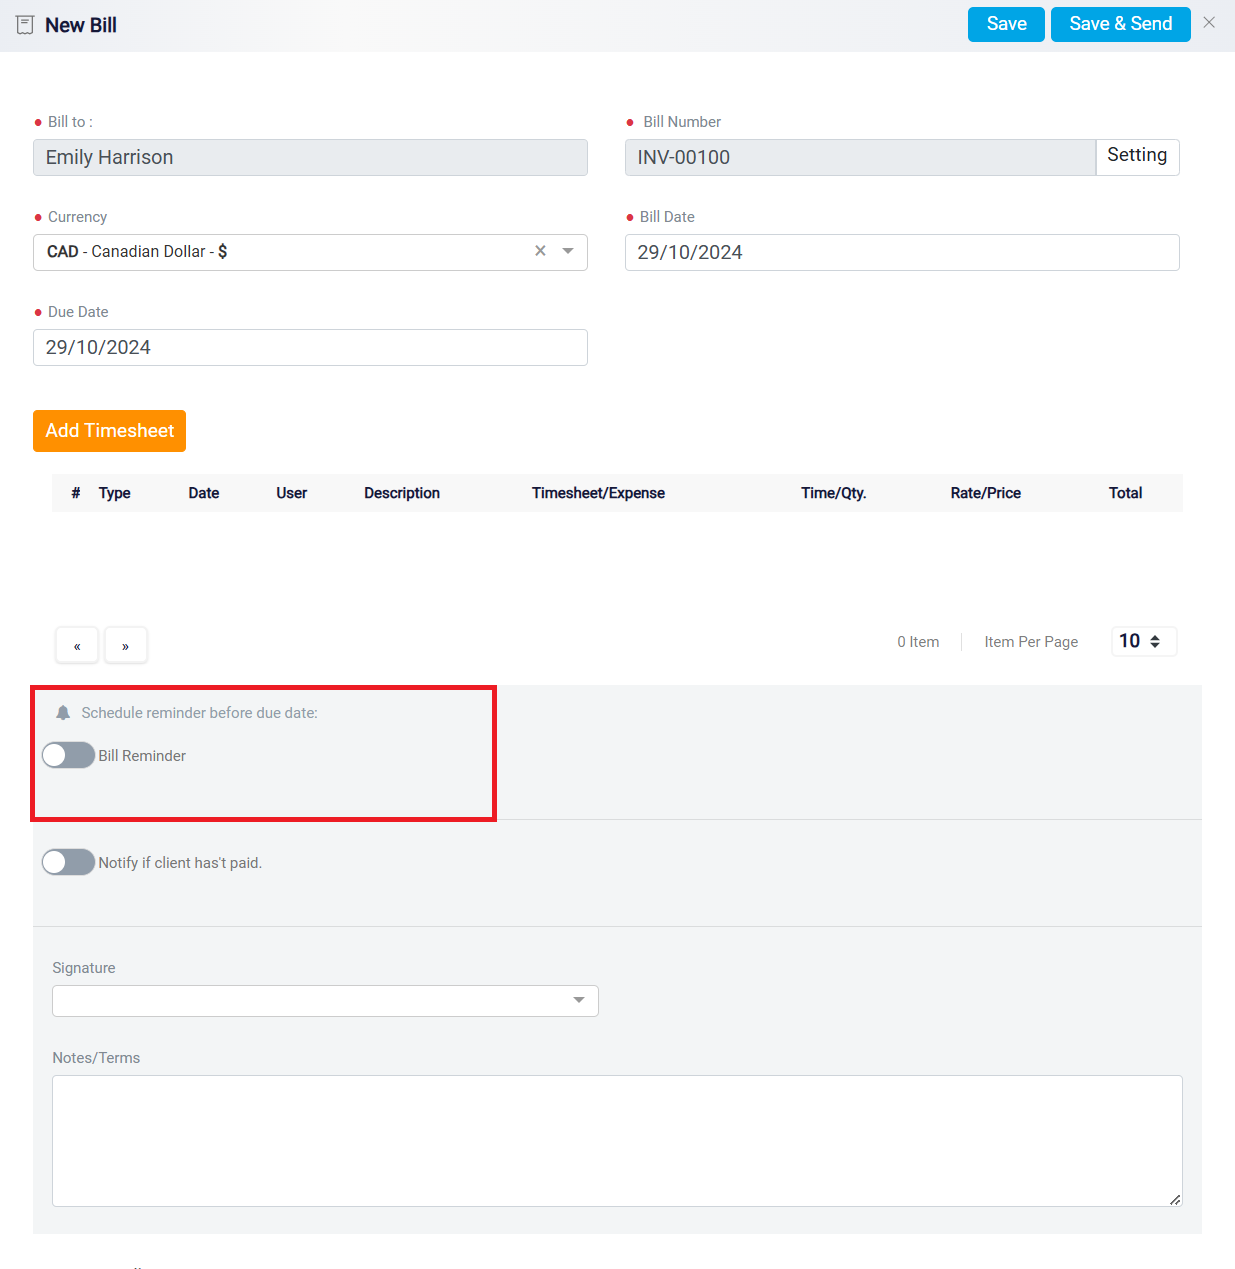
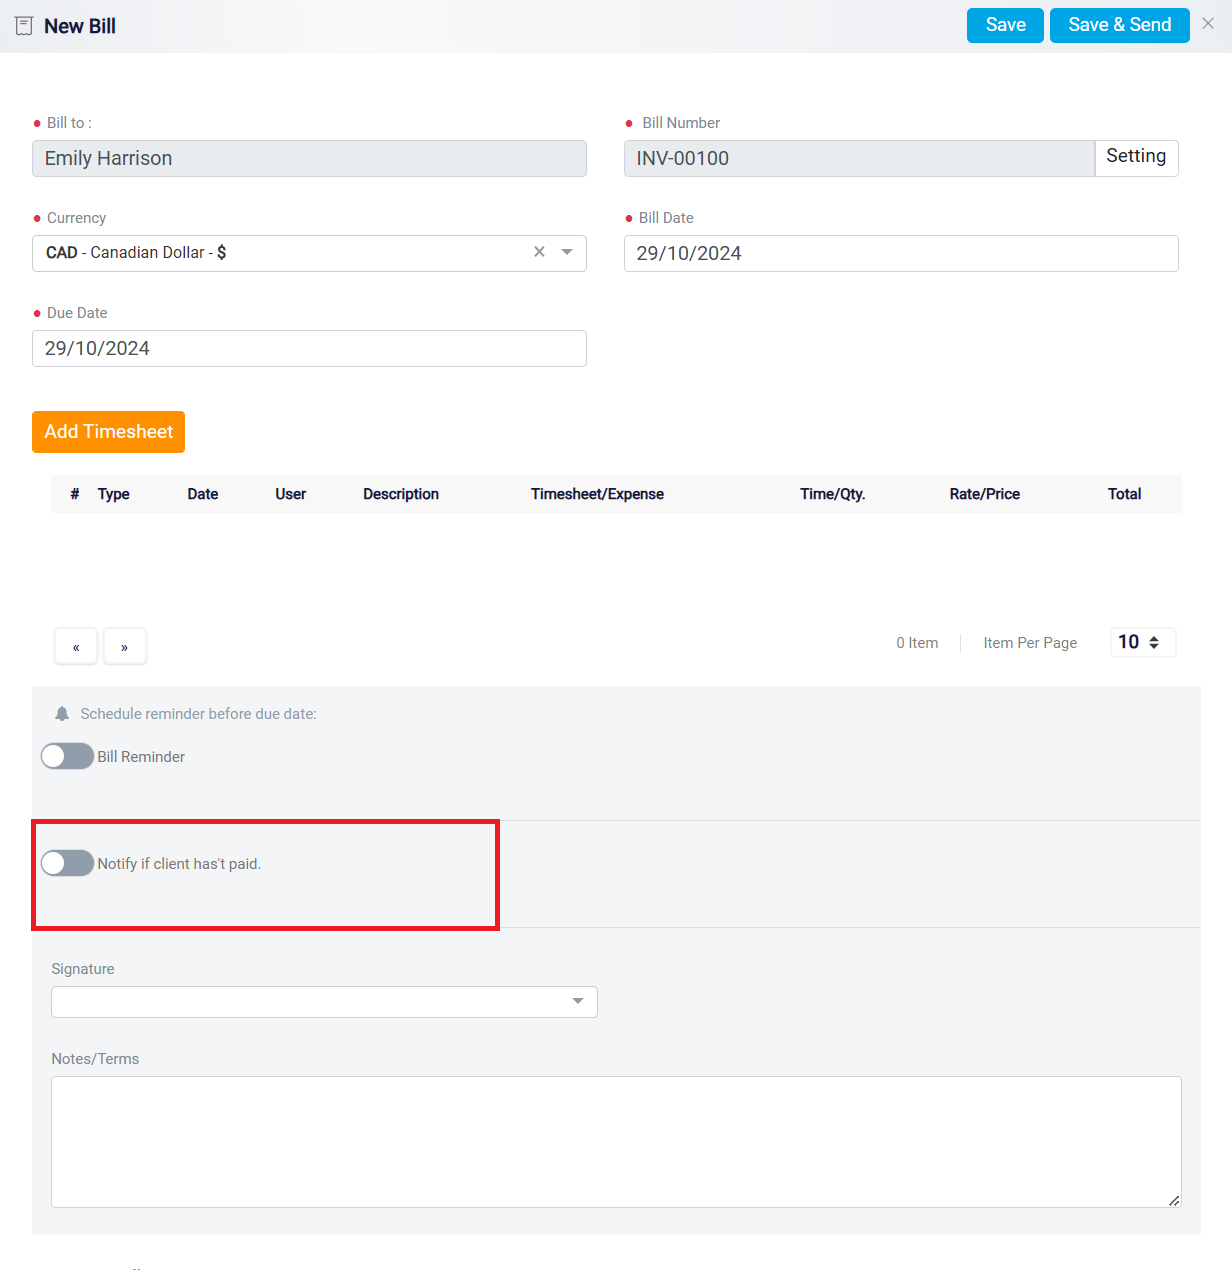
By toggling the Notify if the client has not paid button, you can configure a setting to inform a specific user if a client fails to pay their bill by the due date.
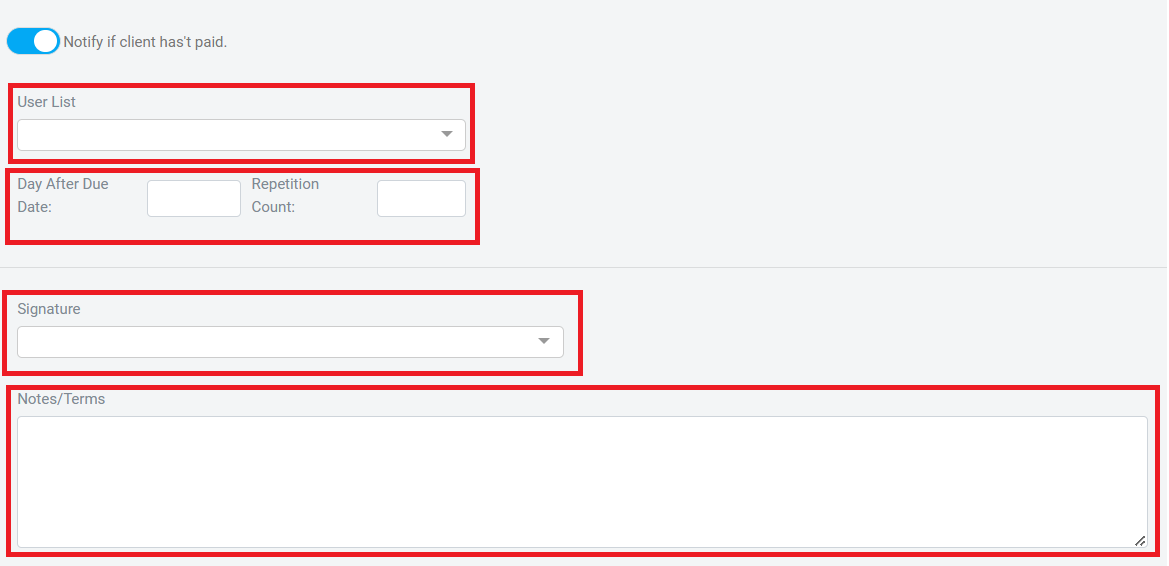
When you toggle this button ON, a panel will open, allowing you to customize this notification.
First, select the user who should be informed from the User List dropdown menu. This ensures that the designated individual will receive updates regarding the client’s payment status. Next, in the Days After Due Date box, enter the number of days after the bill’s due date when you want the user to be notified. This feature allows you to set a specific time frame for when the notification should be triggered.
You can use the Repetition Count box to specify how many times the client must miss the payment due date before the user is notified. For instance, rather than notifying the user immediately after the first missed payment, you can set this feature to inform the user only after the client has missed multiple payment deadlines.
In the Signature dropdown menu, you will find a list of all the signatures you have previously set up within the software. Select the one that is most relevant to this bill from the dropdown menu to ensure the bill is properly authorized and personalized according to your standard practices.
For more information on how to add a digital signature, refer to the Setting Up Your RunSensible Profile help file.
In the Note/Terms box, you can input any explanations, additional information, or specific terms related to the bill. This is where you can clarify payment conditions, provide detailed instructions, or include any other pertinent details that the client should be aware of.
At the bottom of the panel, you will see the payment gateways integrated into your system. If you have multiple gateways available, you can choose the one you wish to use for processing this particular bill. This selection allows you to manage how payments are received, ensuring that they are routed through the preferred gateway.

Once you have entered all the details, click the Save or Save & Send button located at the top of your screen to finalize your entry.