Client Portal Access
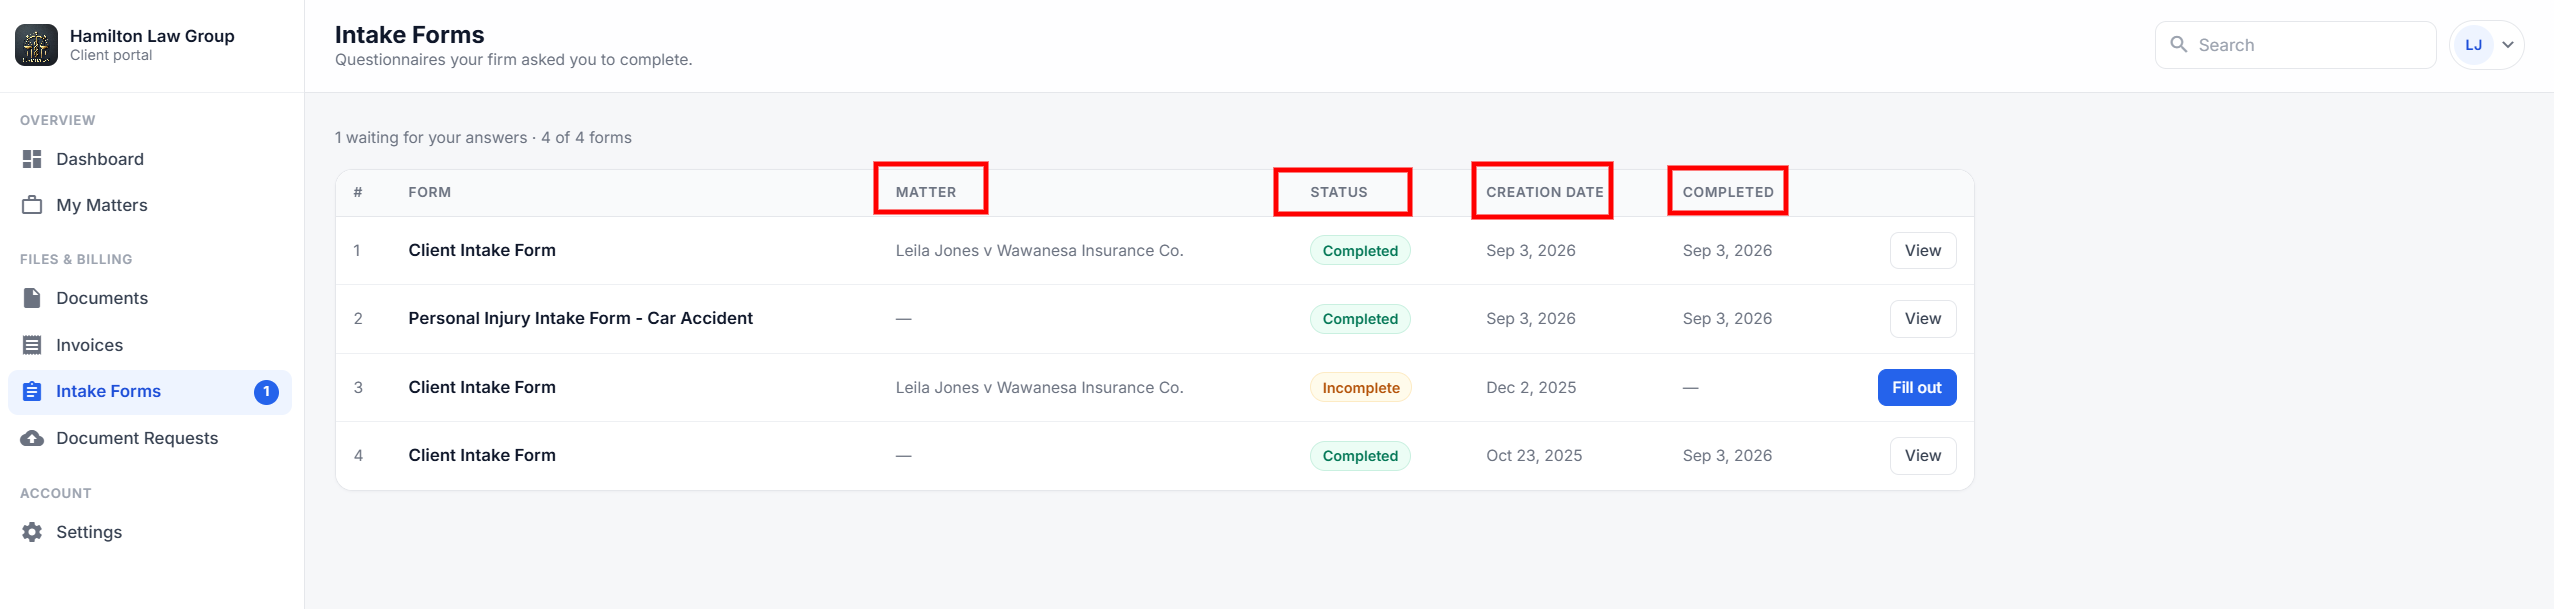
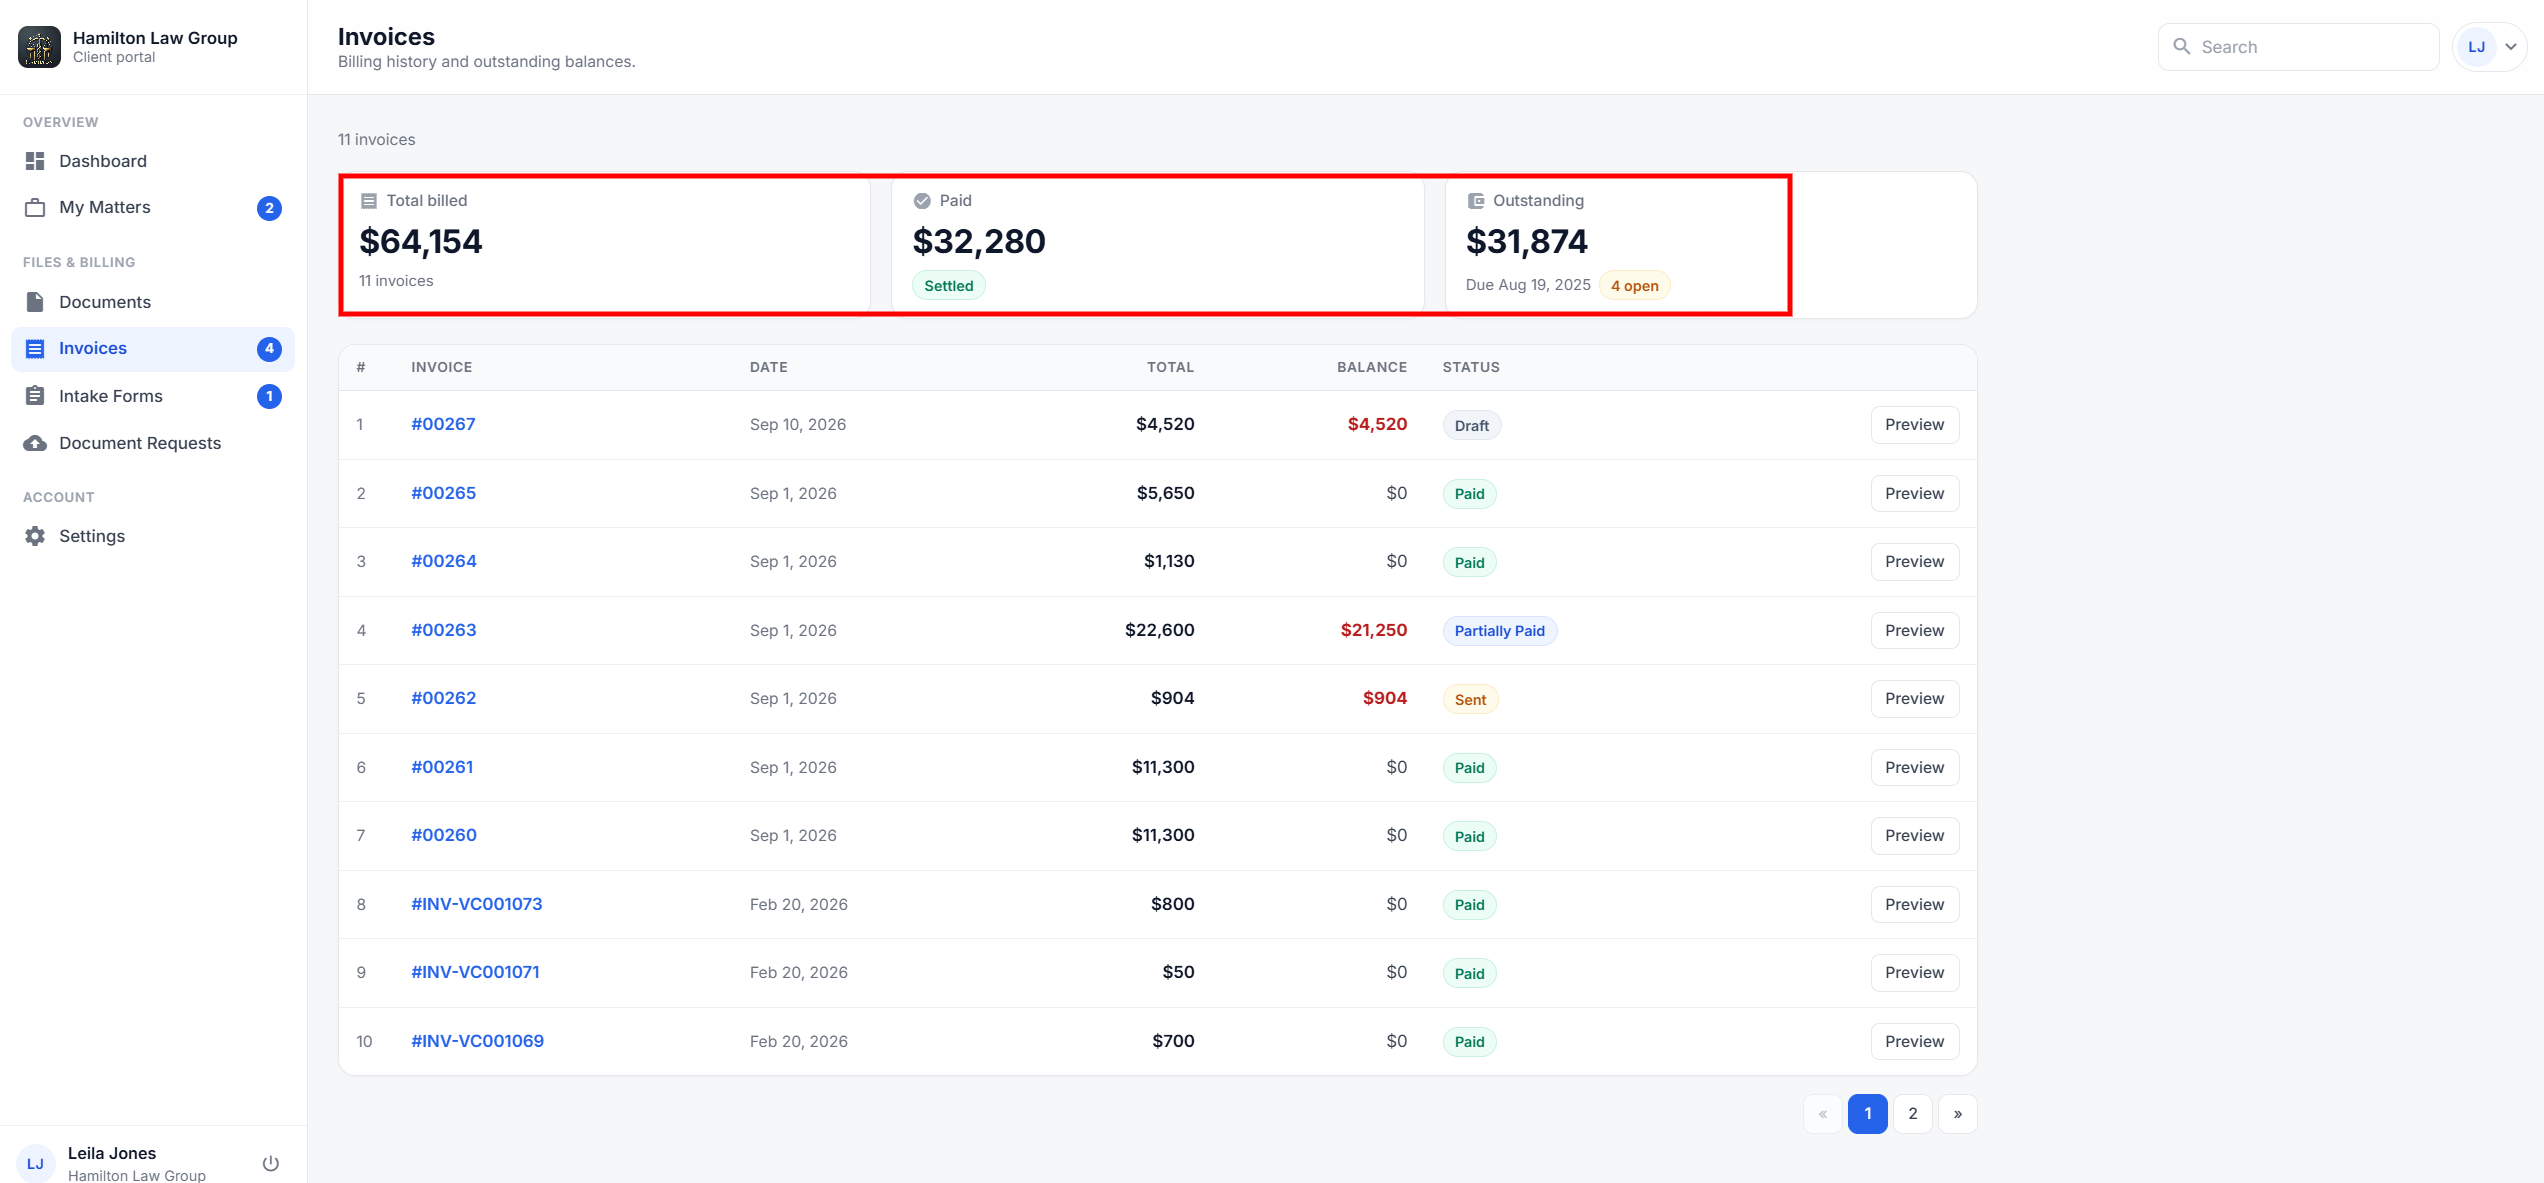
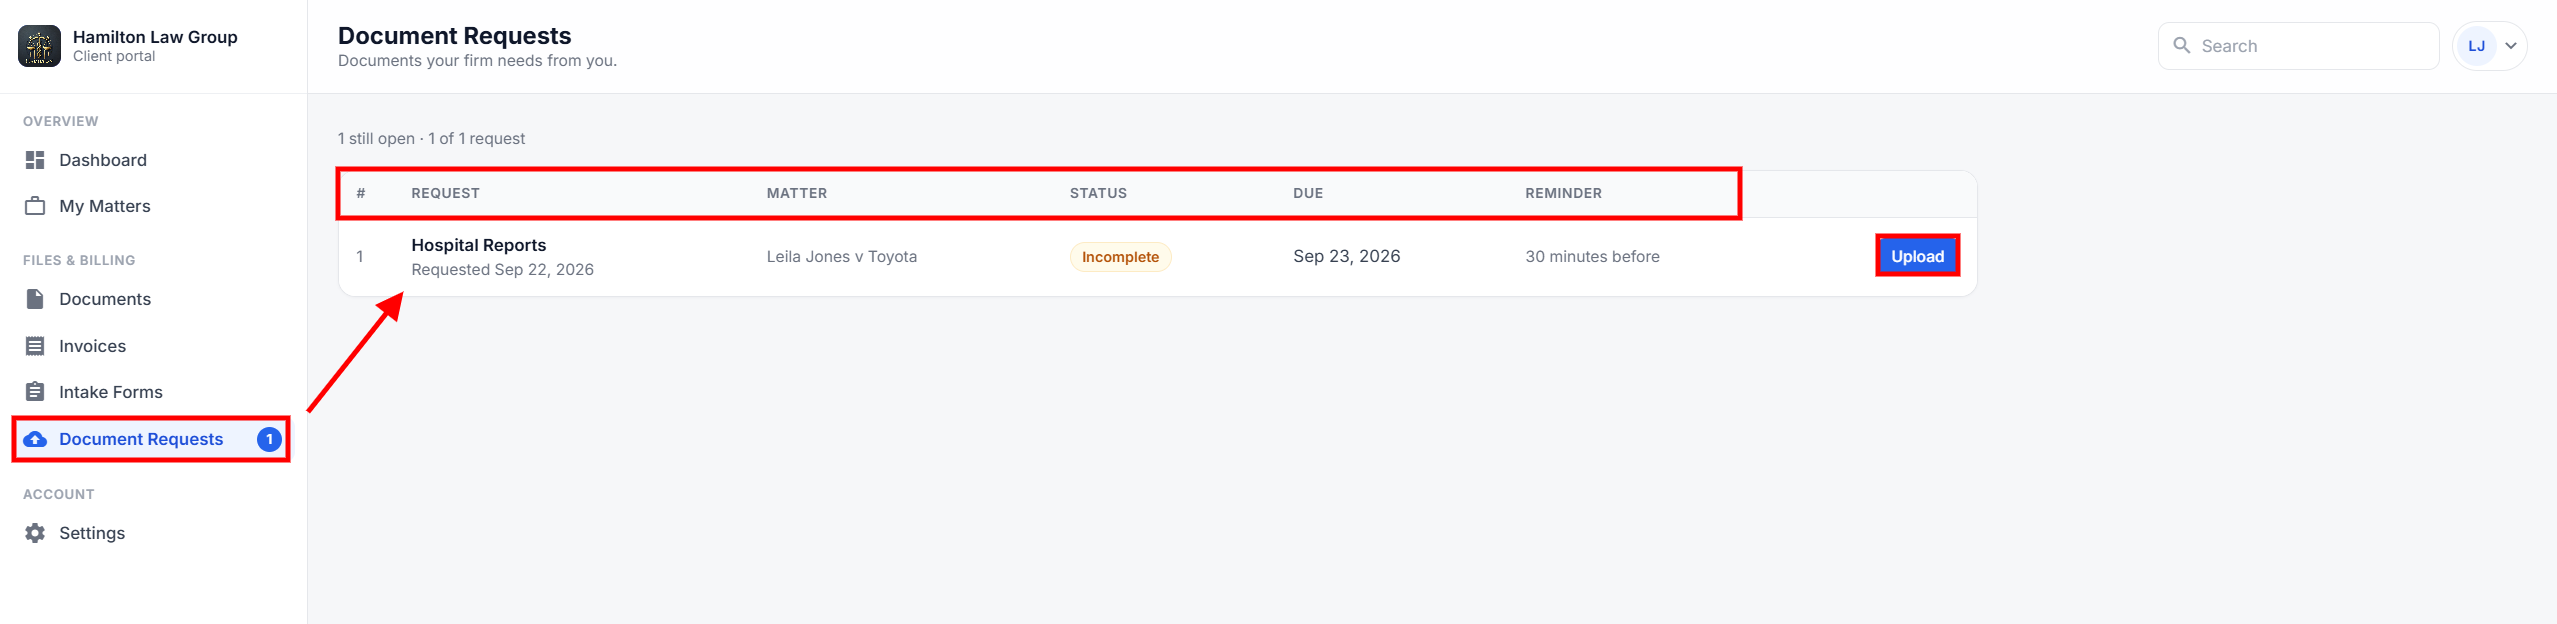
In RunSensible, a client portal can be created for a contact so the client can access information connected to their profile. Through the portal, the client can view items shared with them, such as matters, documents, forms, invoices, intake forms, and document requests. This gives the client a separate access area where they can review and manage the information shared by the firm without accessing the internal RunSensible system.
To check whether a client has a portal, go to the Contacts section from the left sidebar menu and open the client’s contact detail panel. In the contact panel, click the Client’s Portal button near the top-right side of the screen.
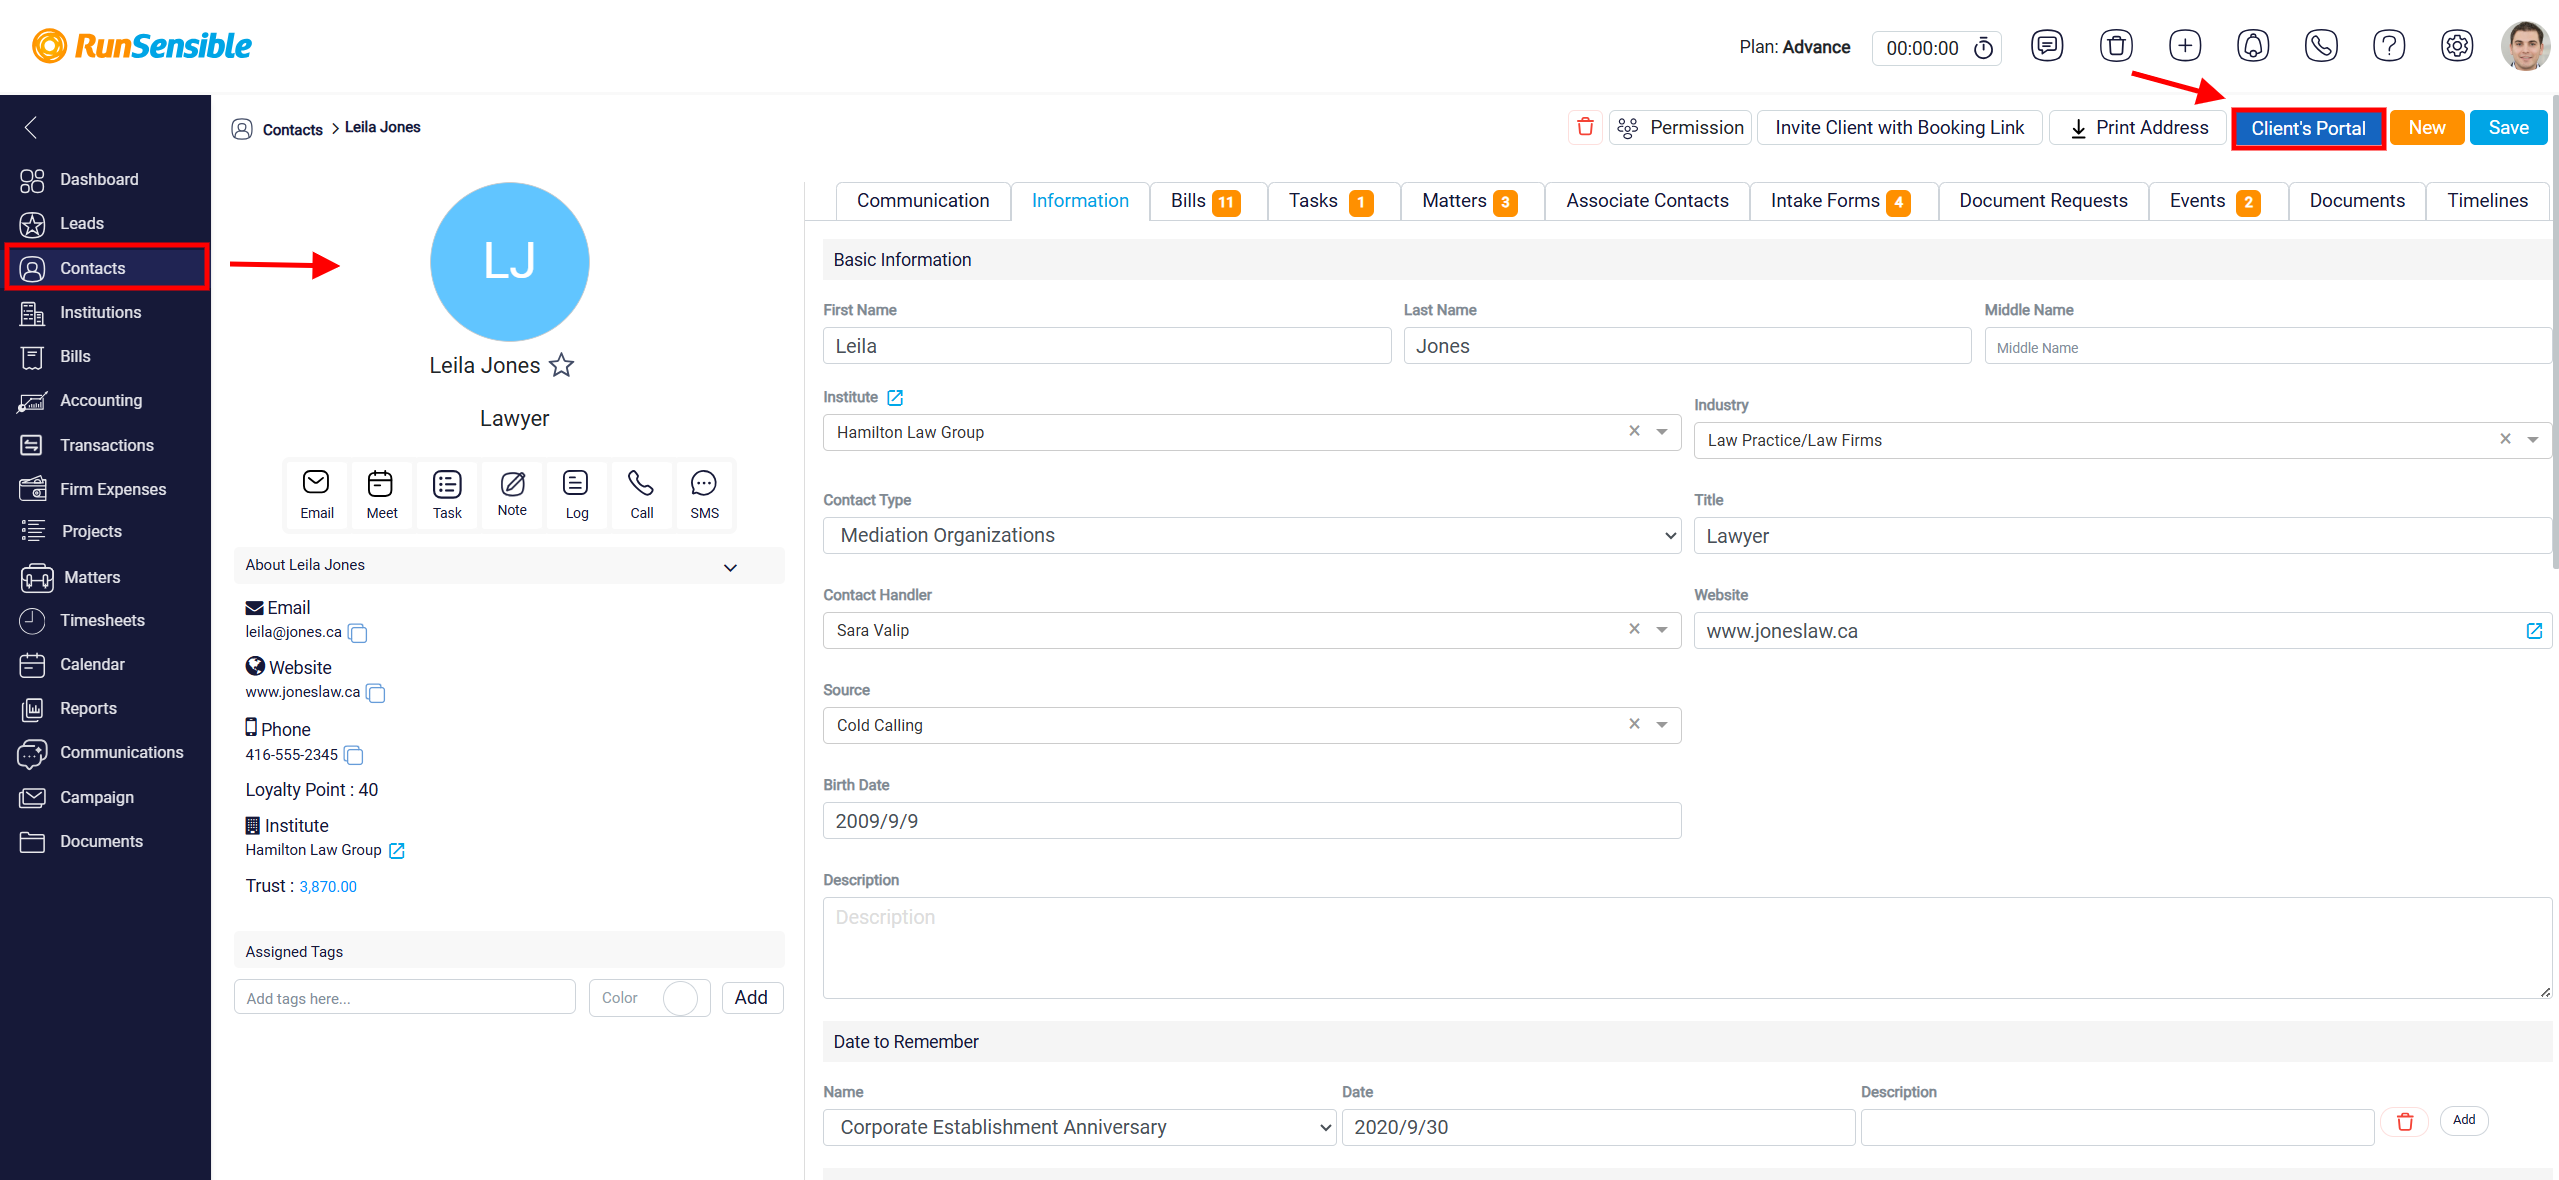
The panel that opens will show whether the contact already has an active portal or whether you need to invite them.
Client Portal Invitation
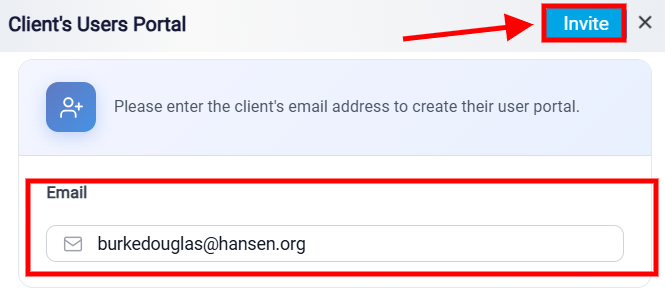
If the contact does not have an active portal, the Client’s Users Portal panel opens in invitation mode. In this view, the system asks for the client’s email address so a portal account can be created for them. The email field is usually filled with the email address saved in the contact’s profile. Before sending the invitation, make sure the email address is correct because the client will use it to access the portal. If the email address is missing or incorrect, you can update it from the contact’s Information tab, or you can change it directly in the email field shown in the portal invitation panel.
After confirming the correct email address, click Invite in the top-right corner of the panel. The system will send an invitation email to the client. This email includes a link that allows the client to activate or access their portal account.
Client Portal Registration
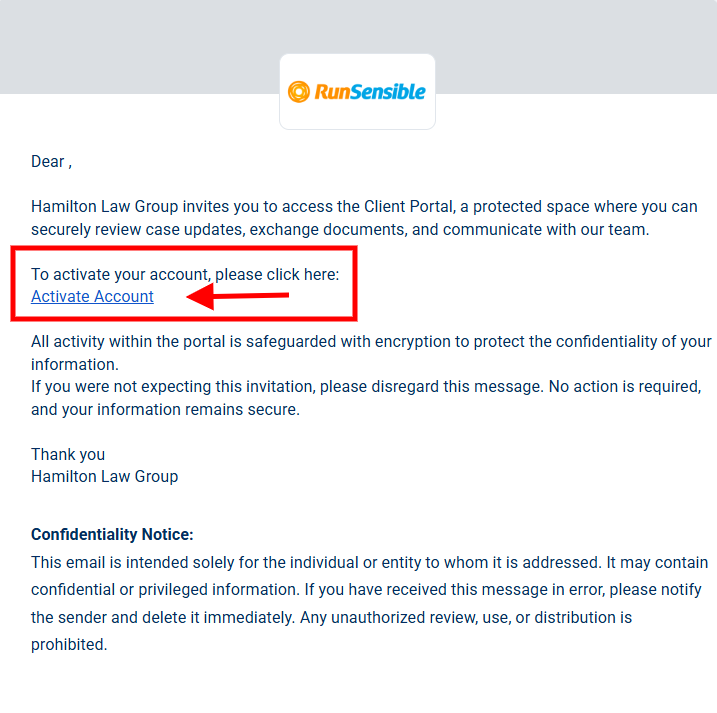
From the client’s side, the process begins with the invitation email. The client opens the email and clicks the activation link, such as Activate Account. After clicking the link, the client is redirected to the portal verification page.
On the verification page, the client must enter the same email address that received the invitation. The system then sends an OTP code to that email address. The client enters the OTP code to verify the account. Once the code is confirmed, the client portal becomes active and the client can access it.
If a portal account already exists for the same email address, the system may show a message saying that the account already exists. This means the client does not need to create a new portal account. Instead, they can click Go to Portal and sign in using the existing account connected to that email address.
Active Client Portal
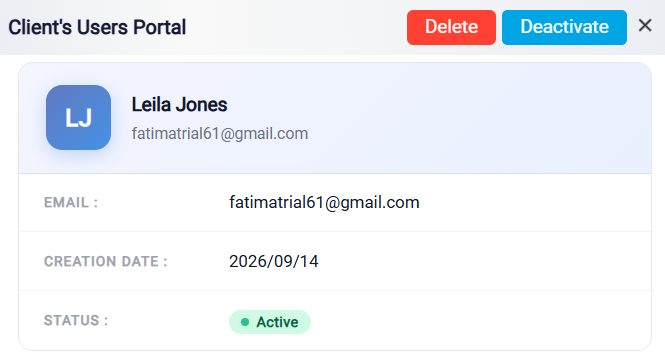
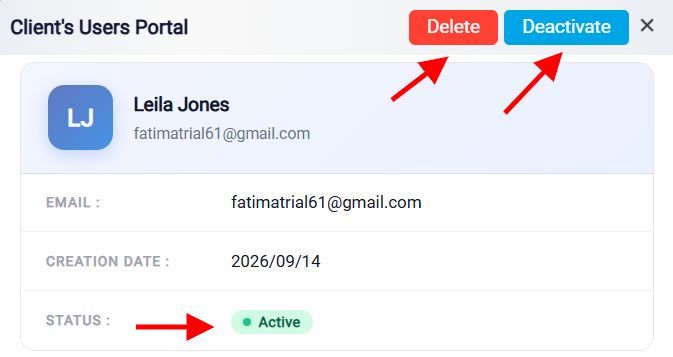
If the contact already has an active client portal, clicking the Client’s Portal button opens the portal account management view. This panel shows the client’s portal profile information, including their name, email address, portal creation date, and current status.
If the status is Active, the client can sign in and use the portal. From this panel, you can also manage the portal account. The Deactivate button temporarily stops the client from accessing the portal without deleting the portal account. The Delete button removes the portal user record if it is no longer needed.
Client Portal Sign In
After the portal account is created, or if the client already has an account, the client can access the portal by going to https://portal.runsensible.com/. The client enters the email address connected to their portal account and continues with the sign-in process. The system sends a one-time passcode to the client’s email address. The client enters this code to verify their identity and access the portal.
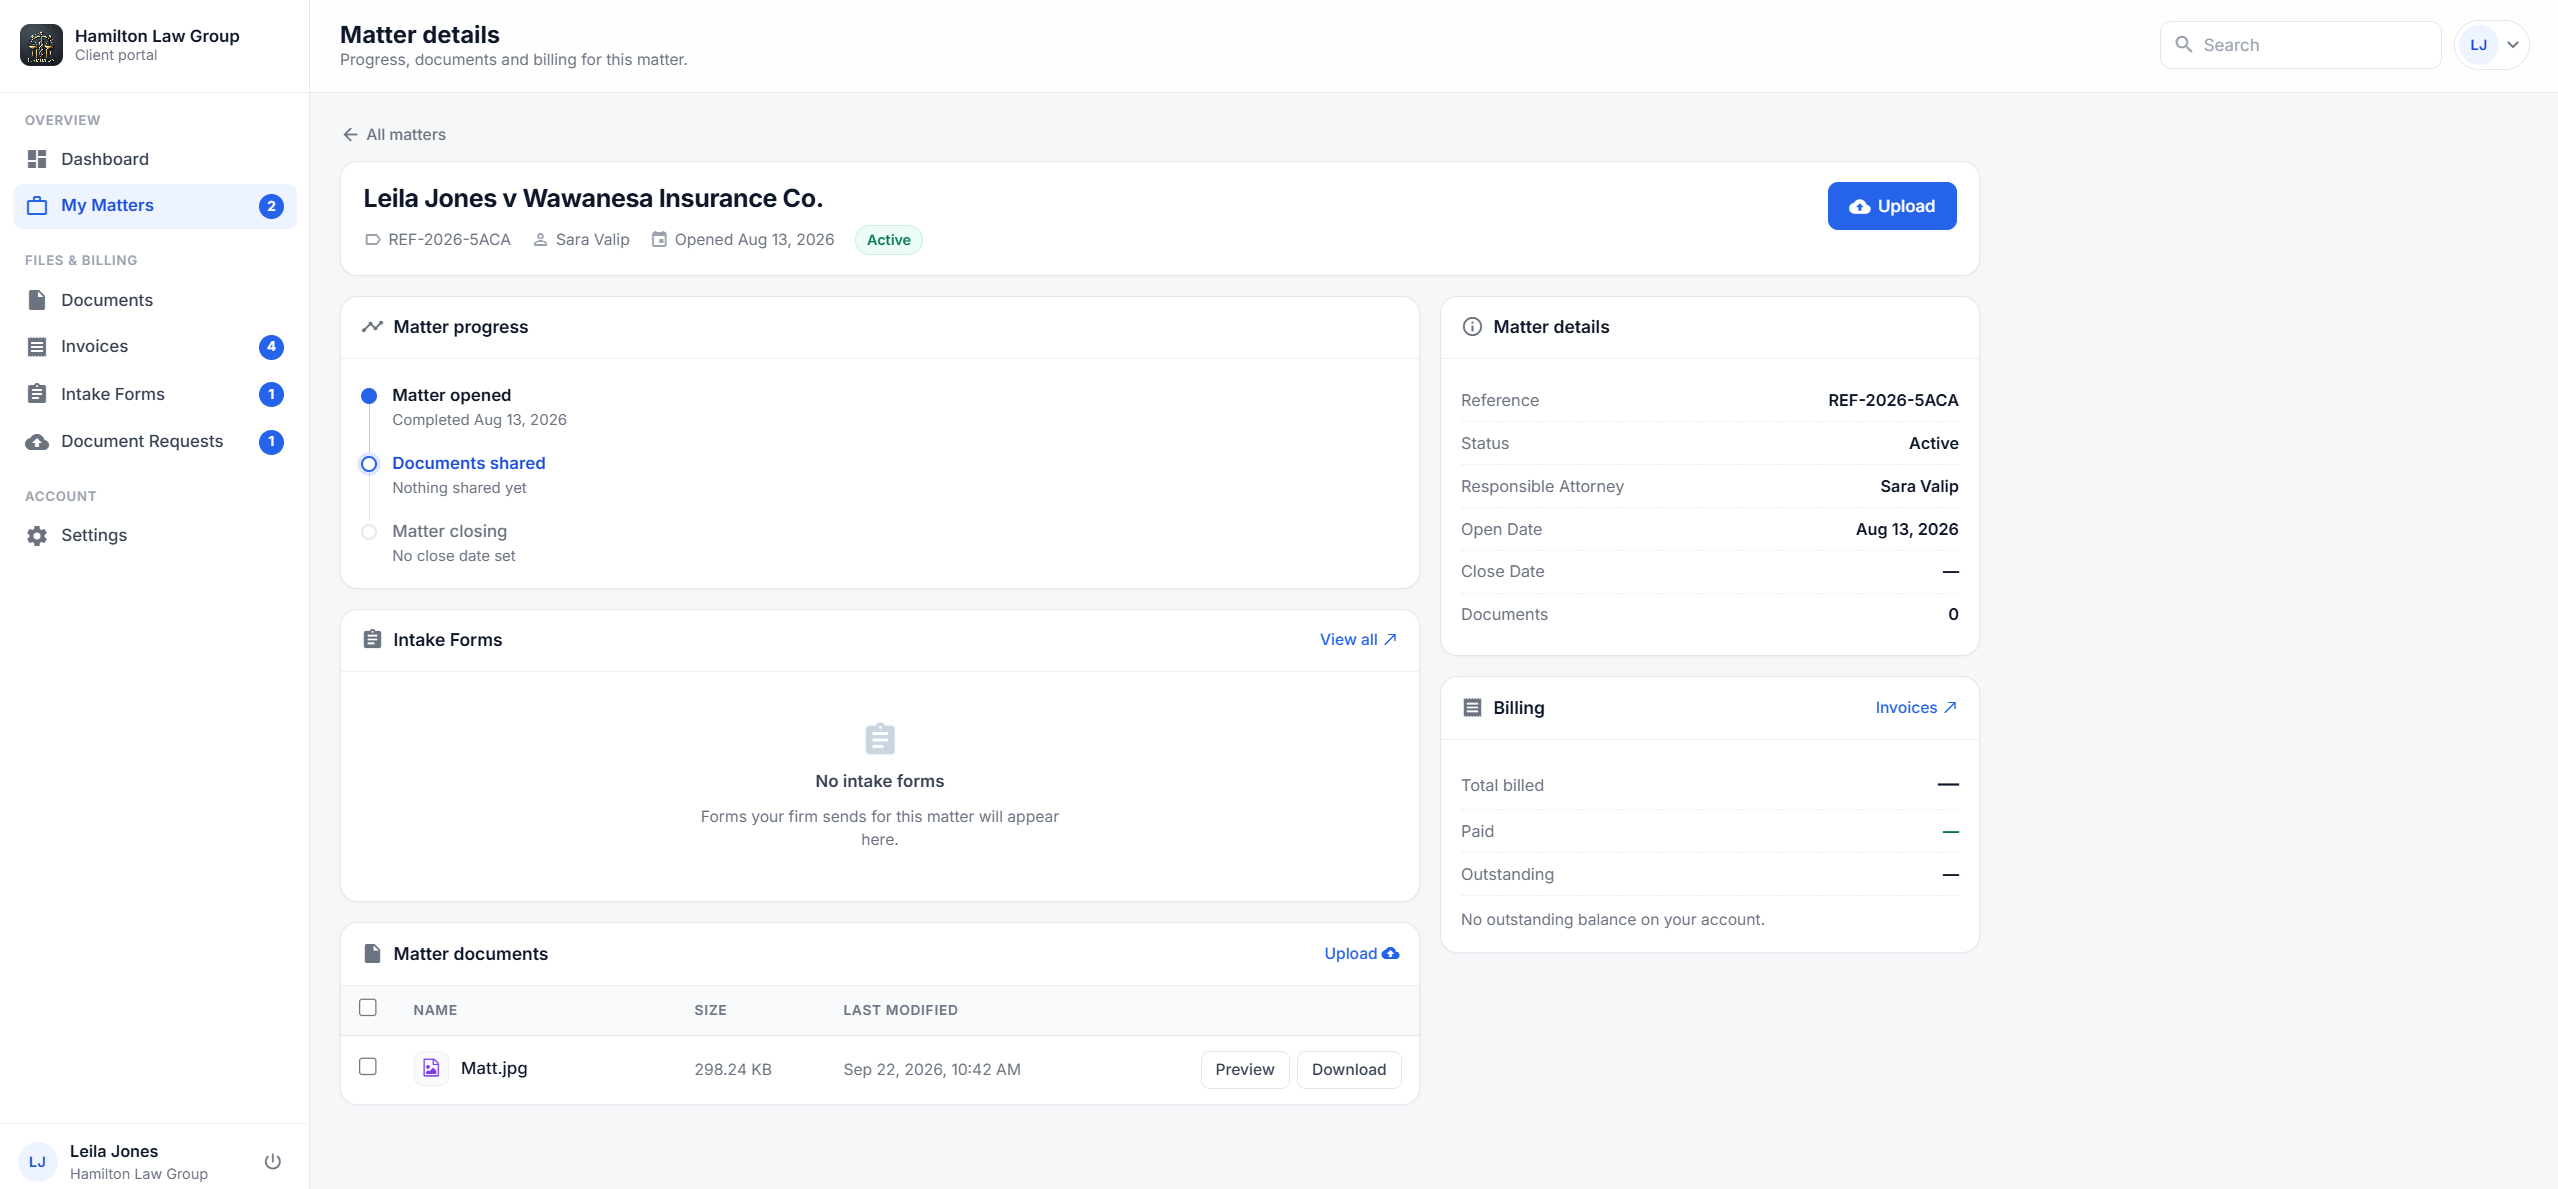
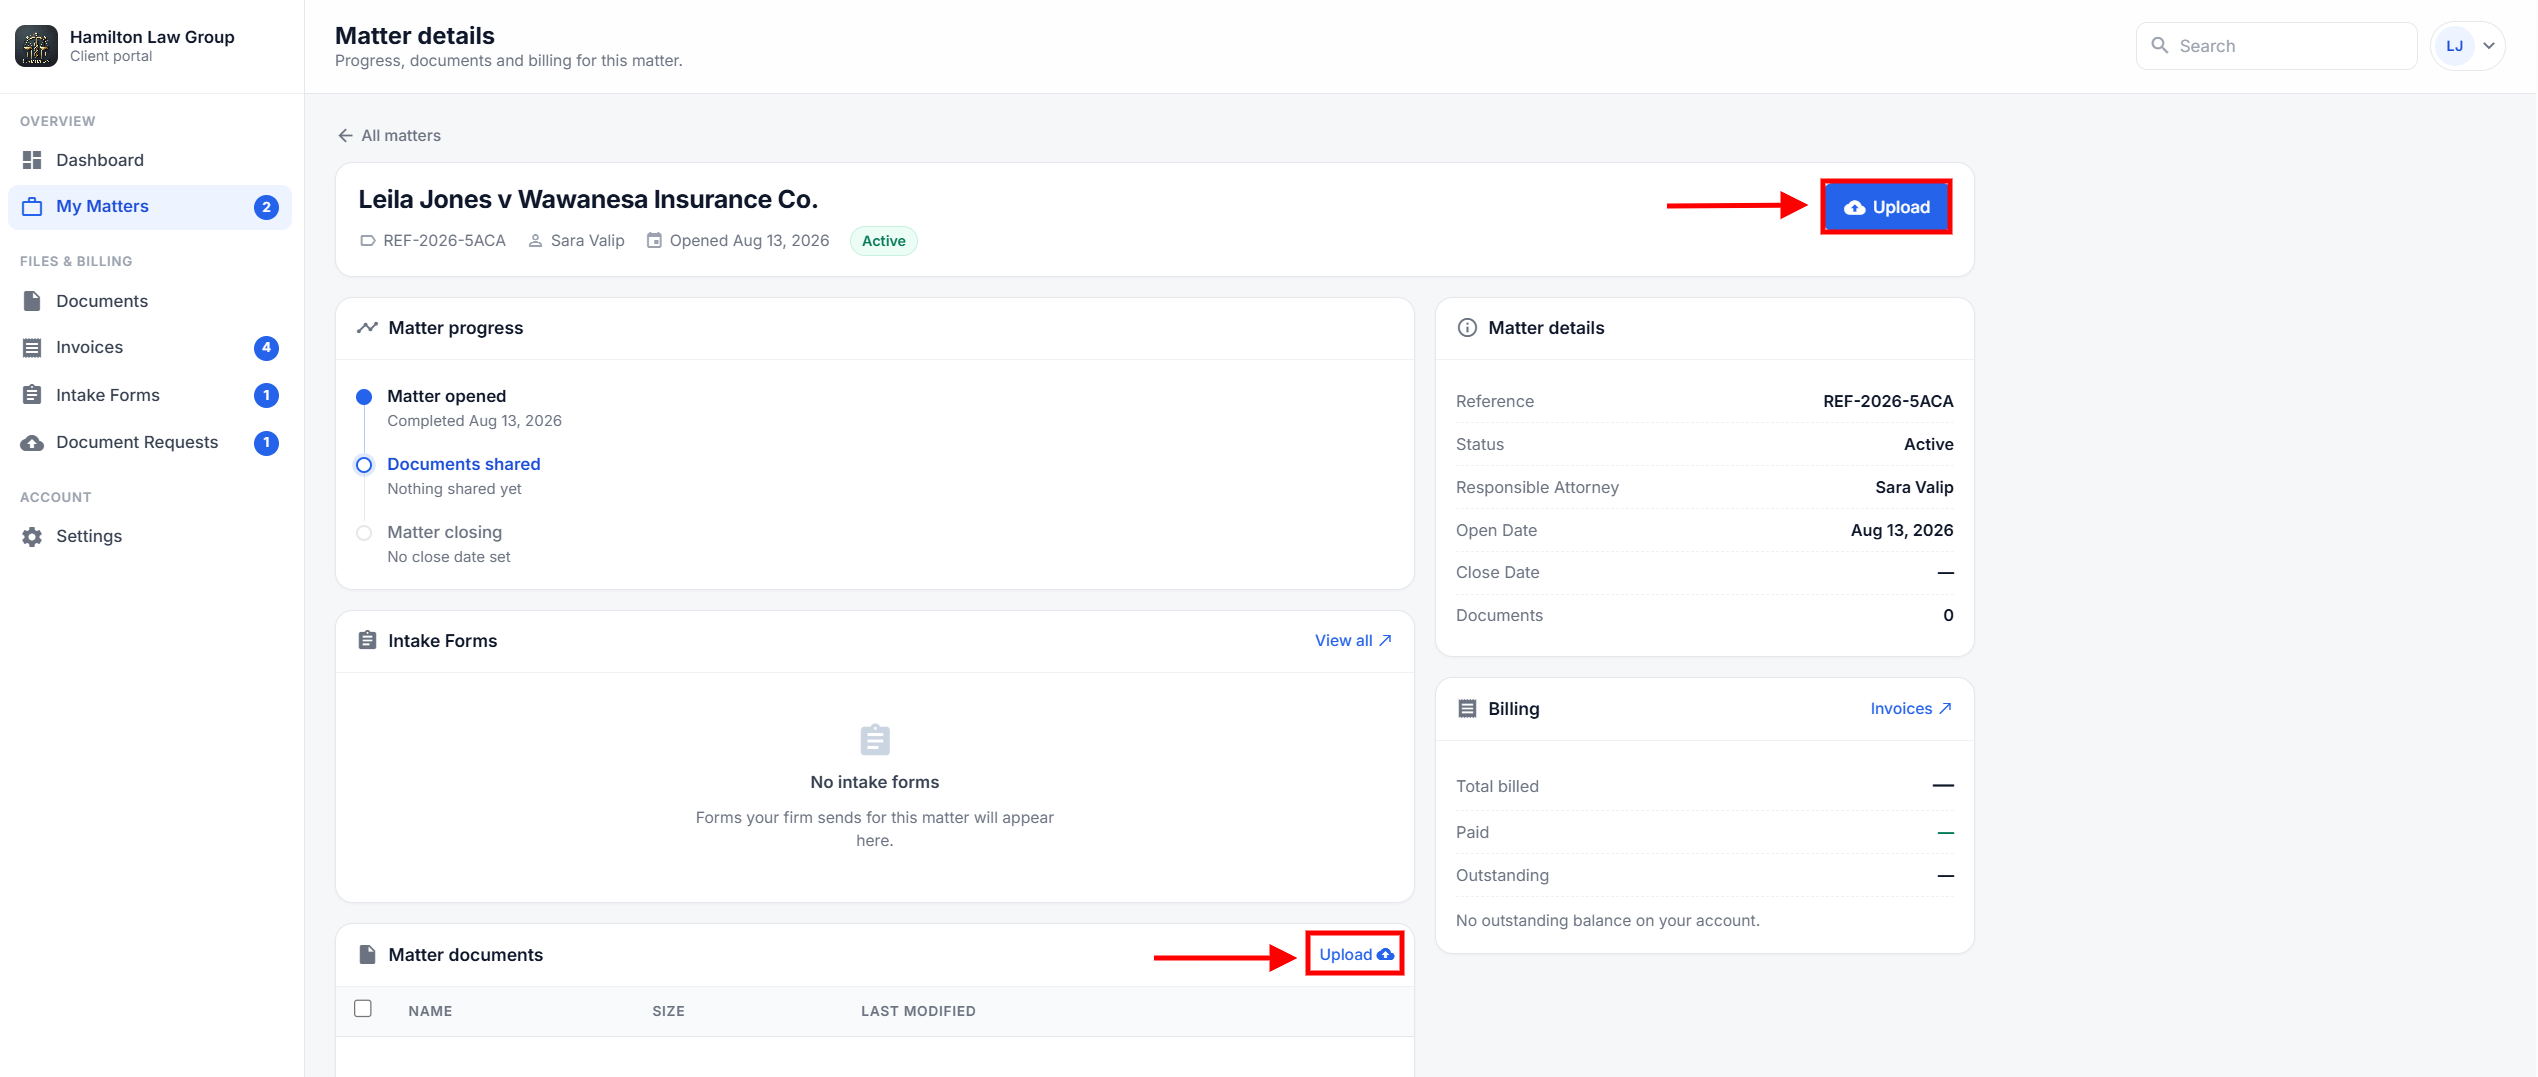
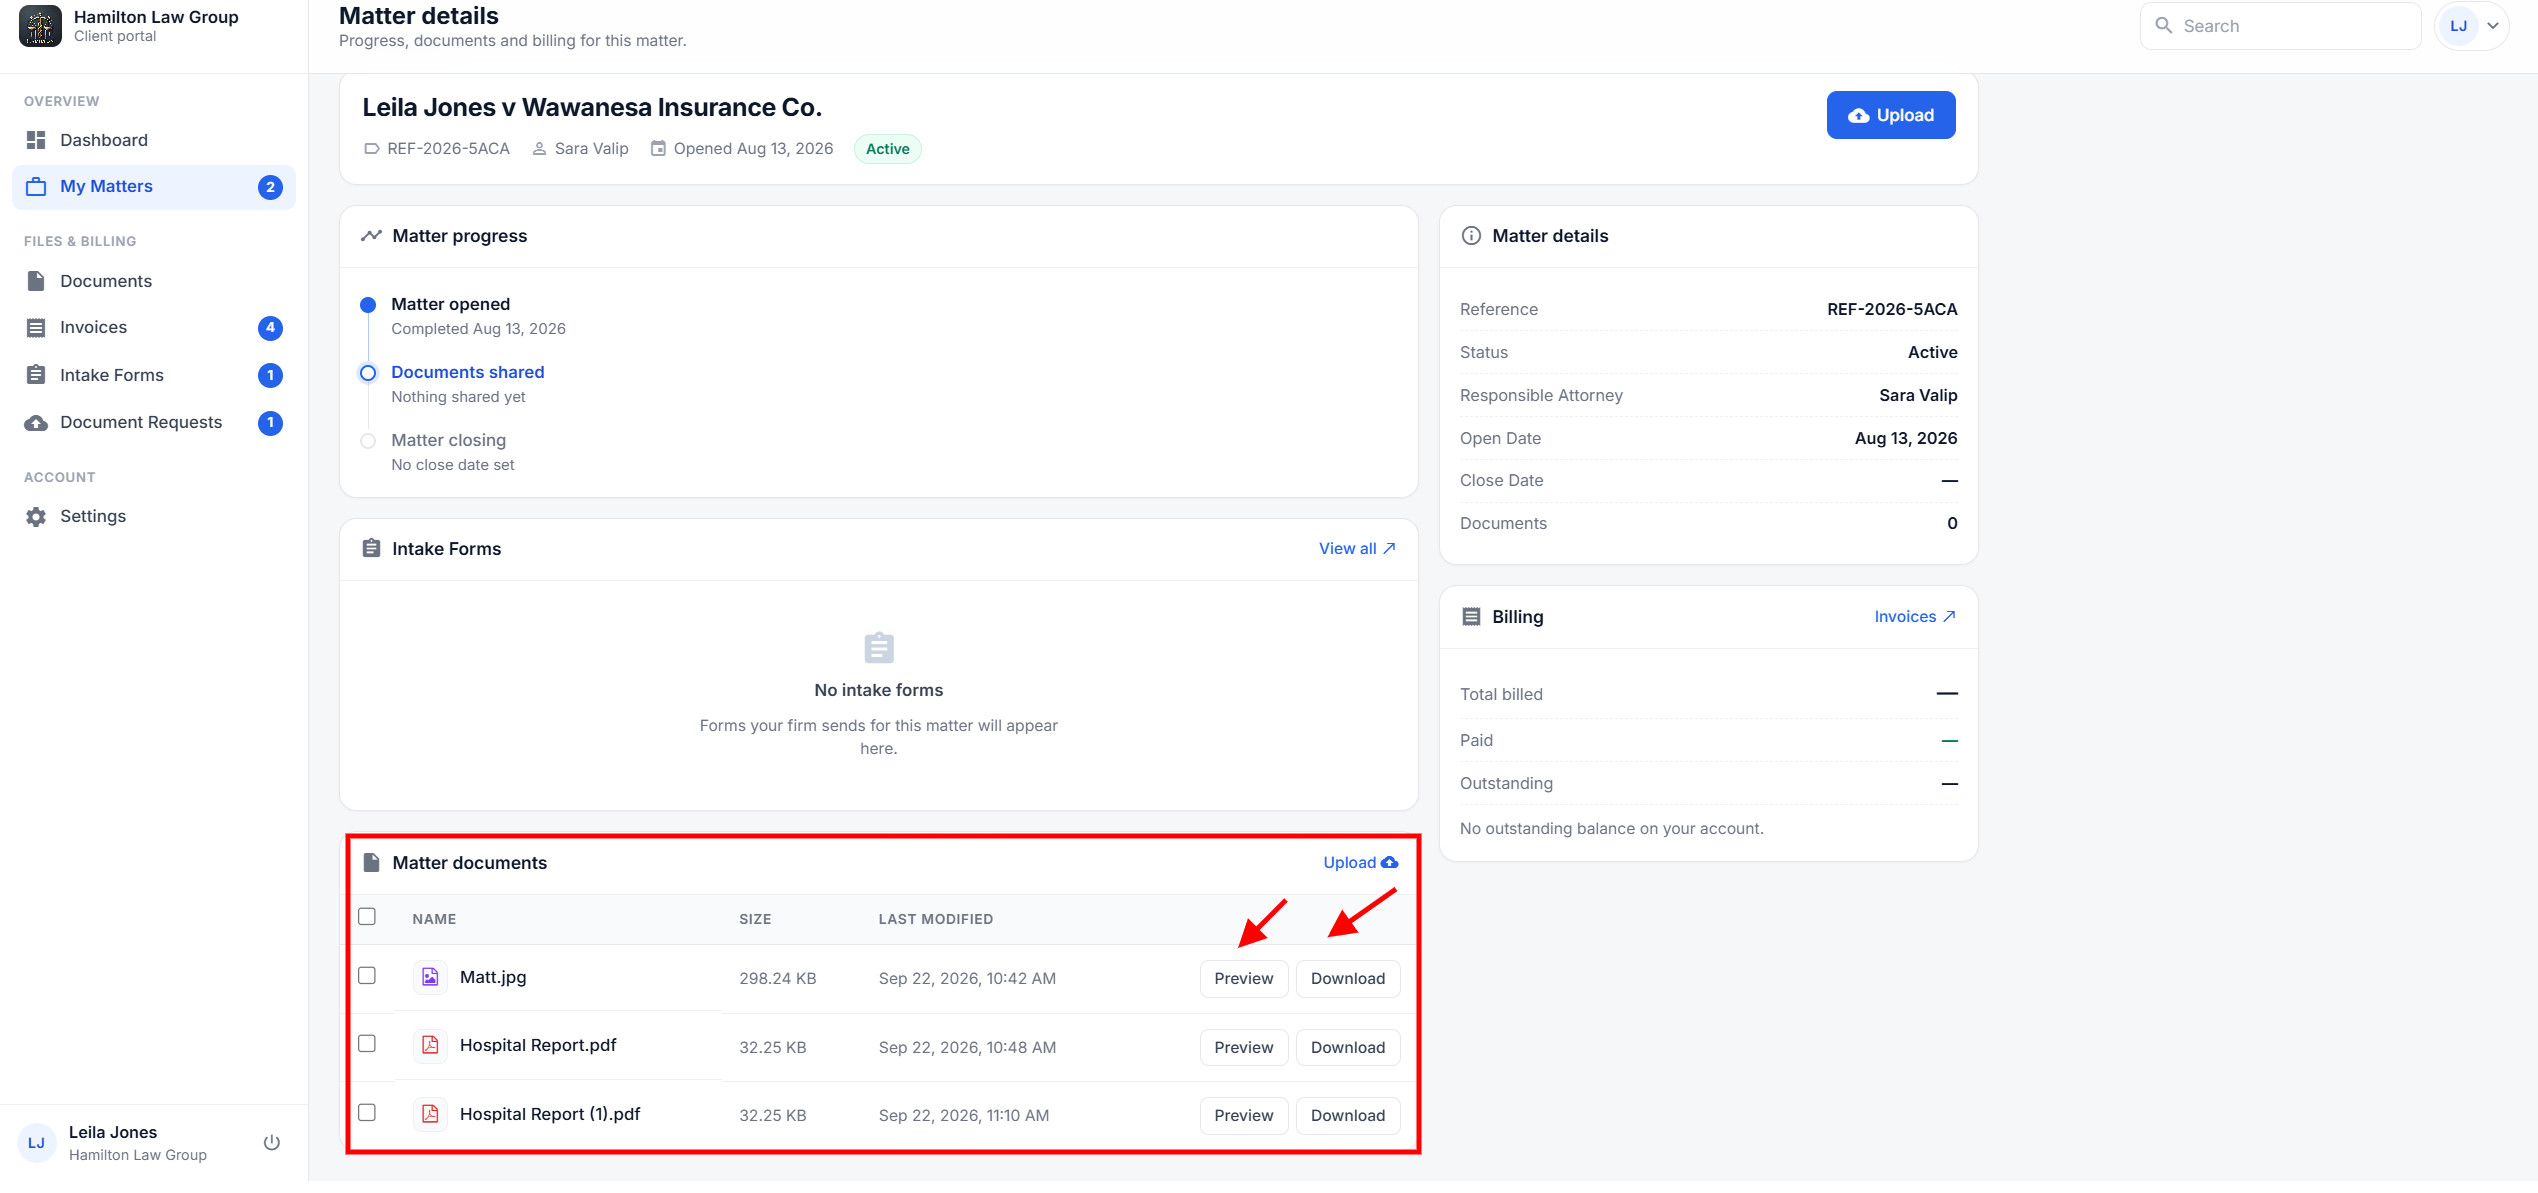
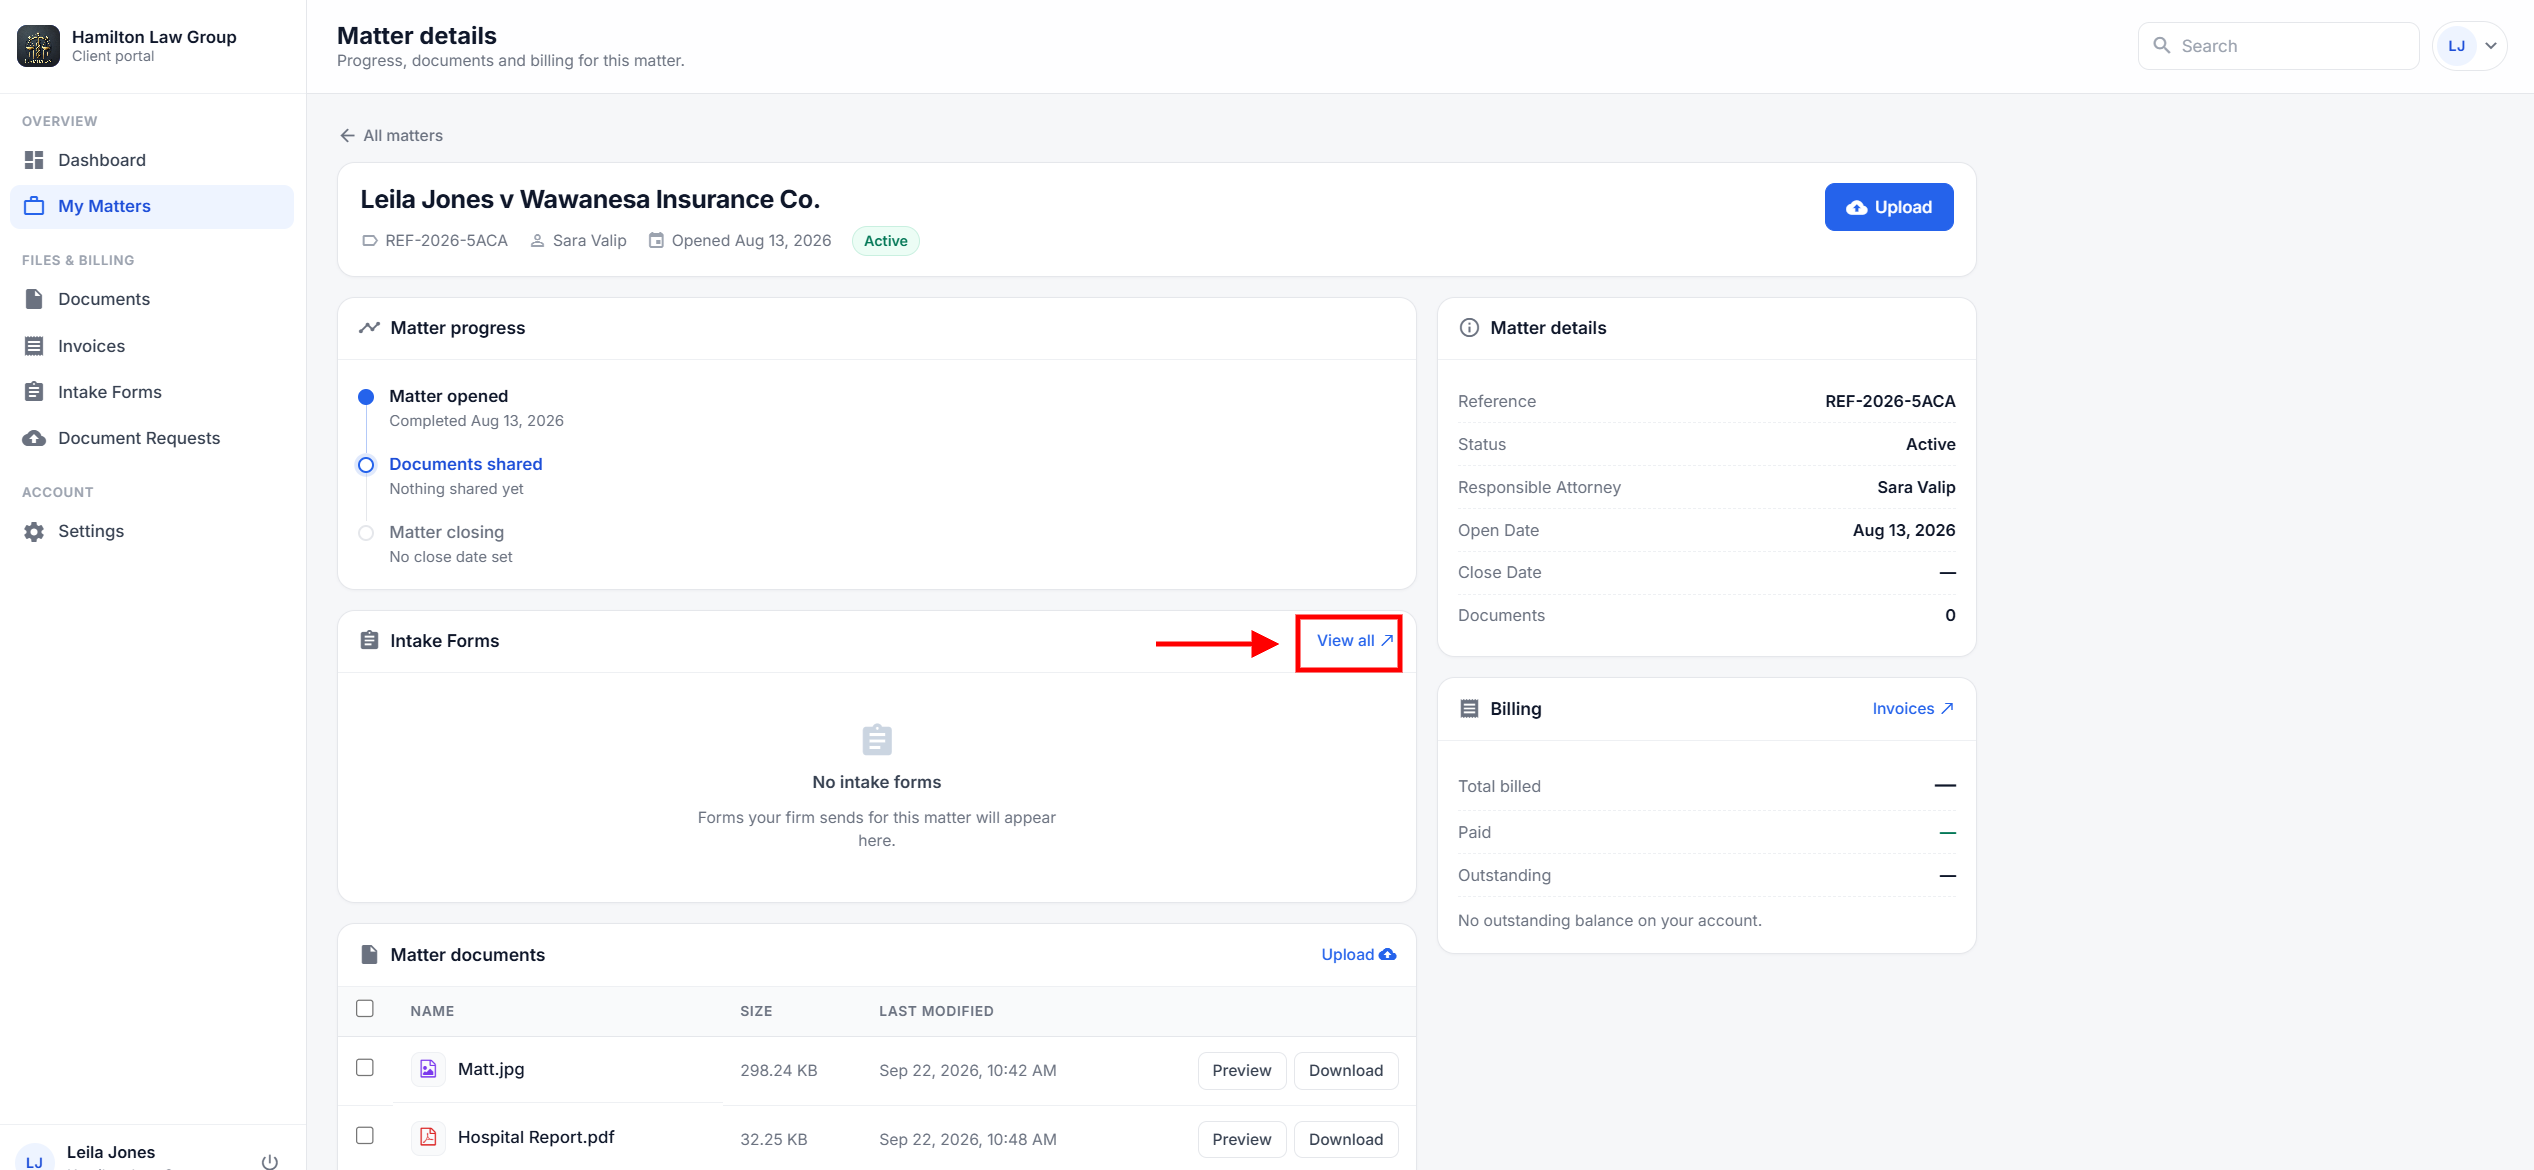
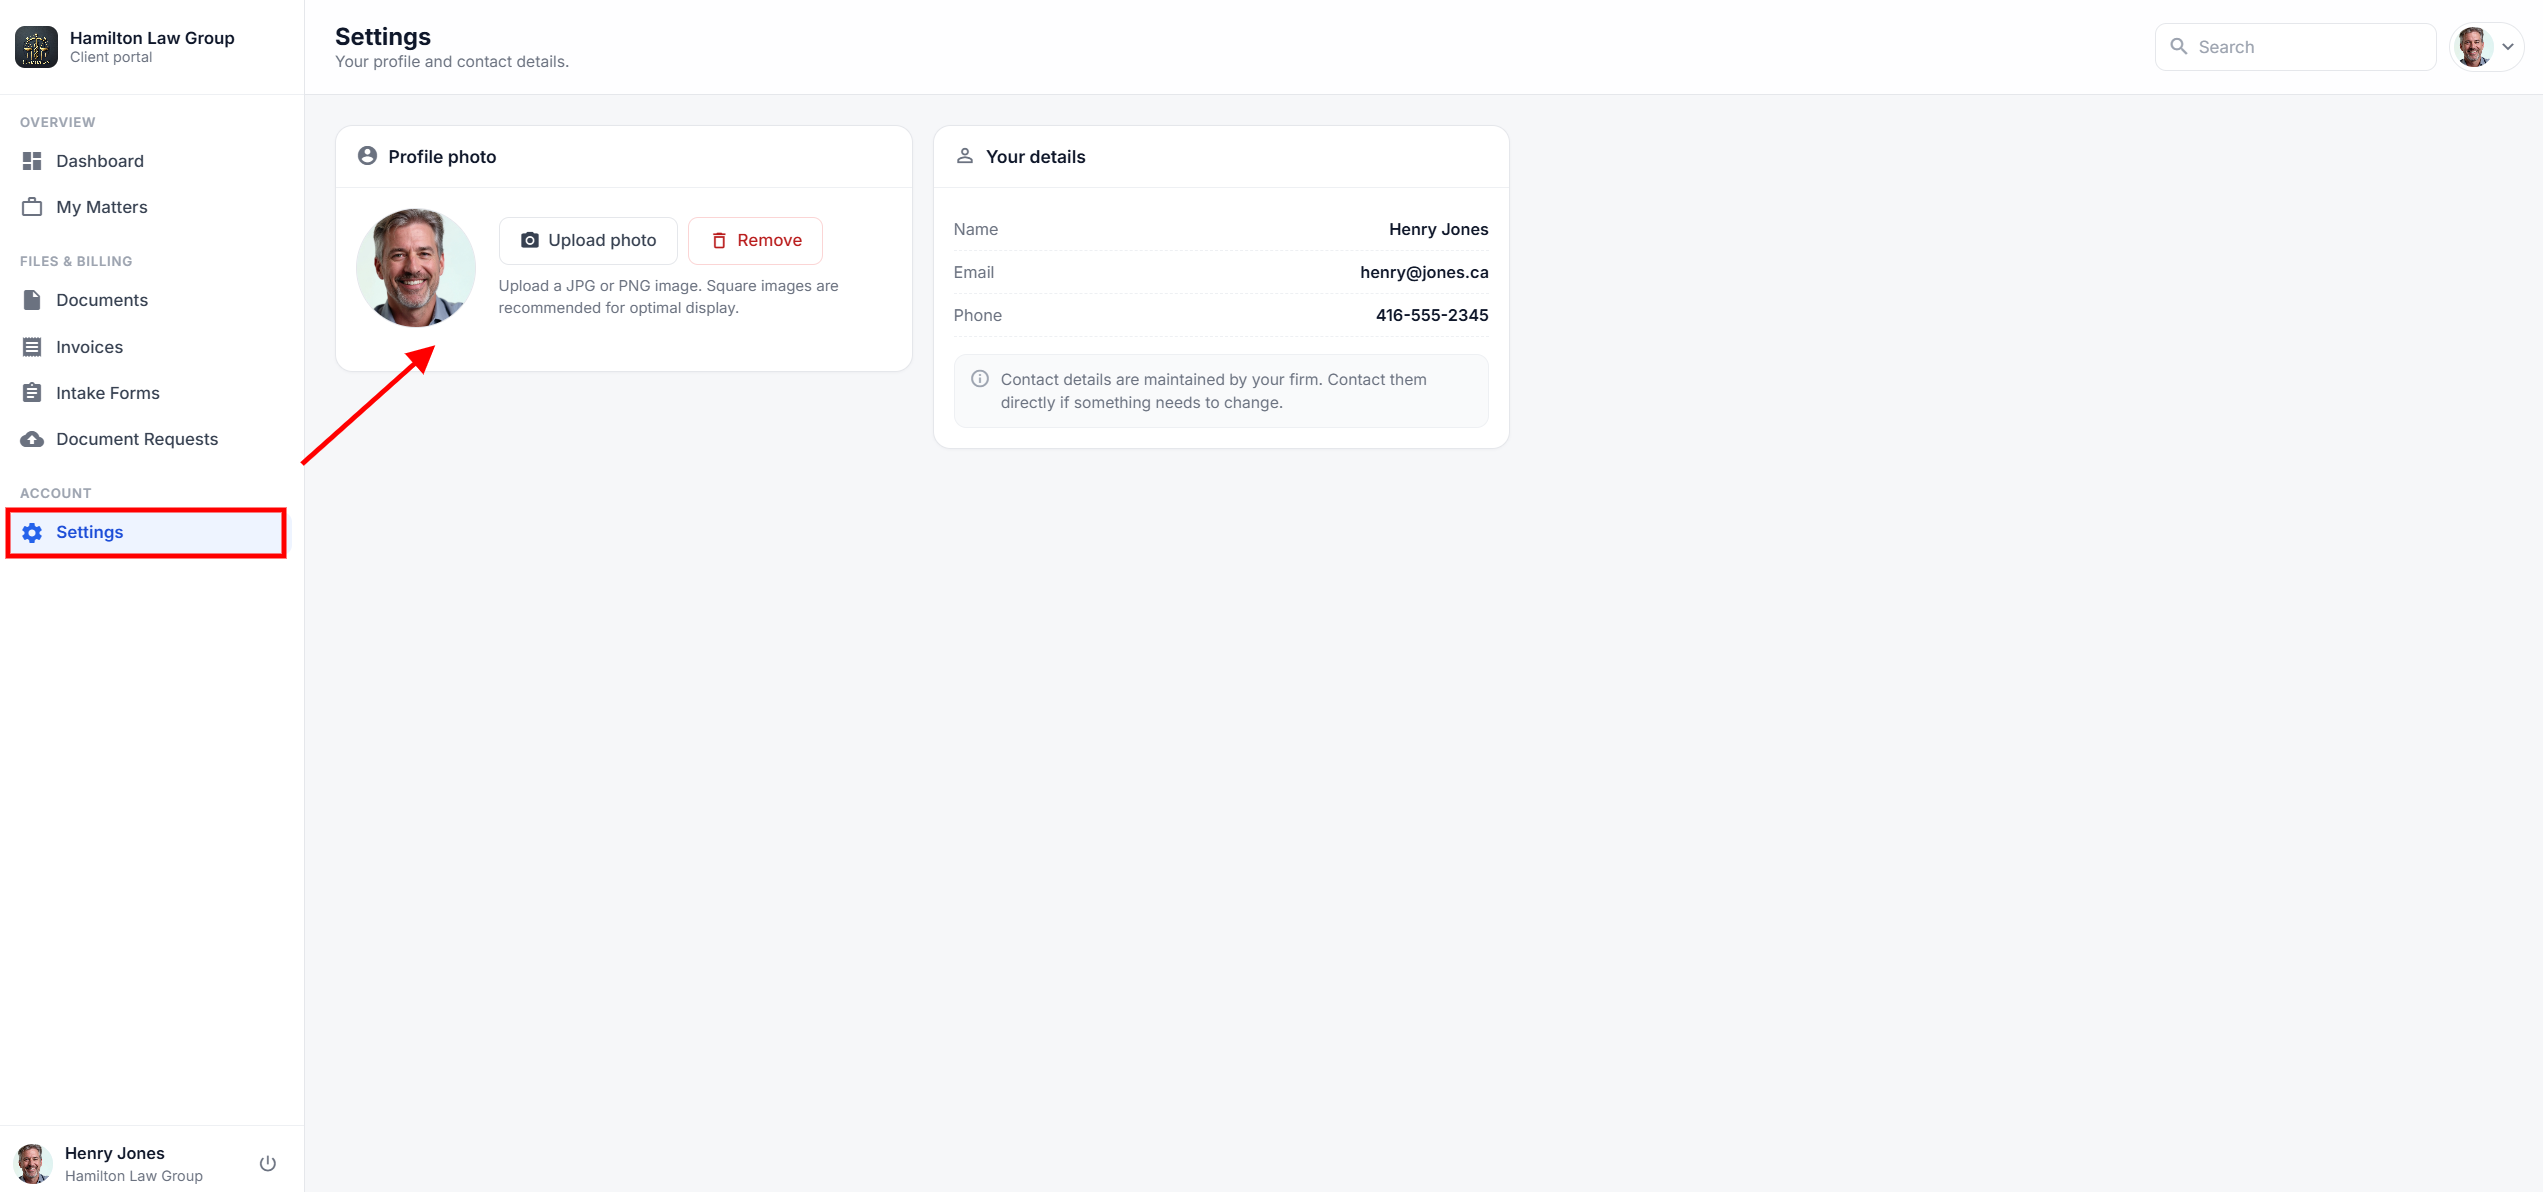
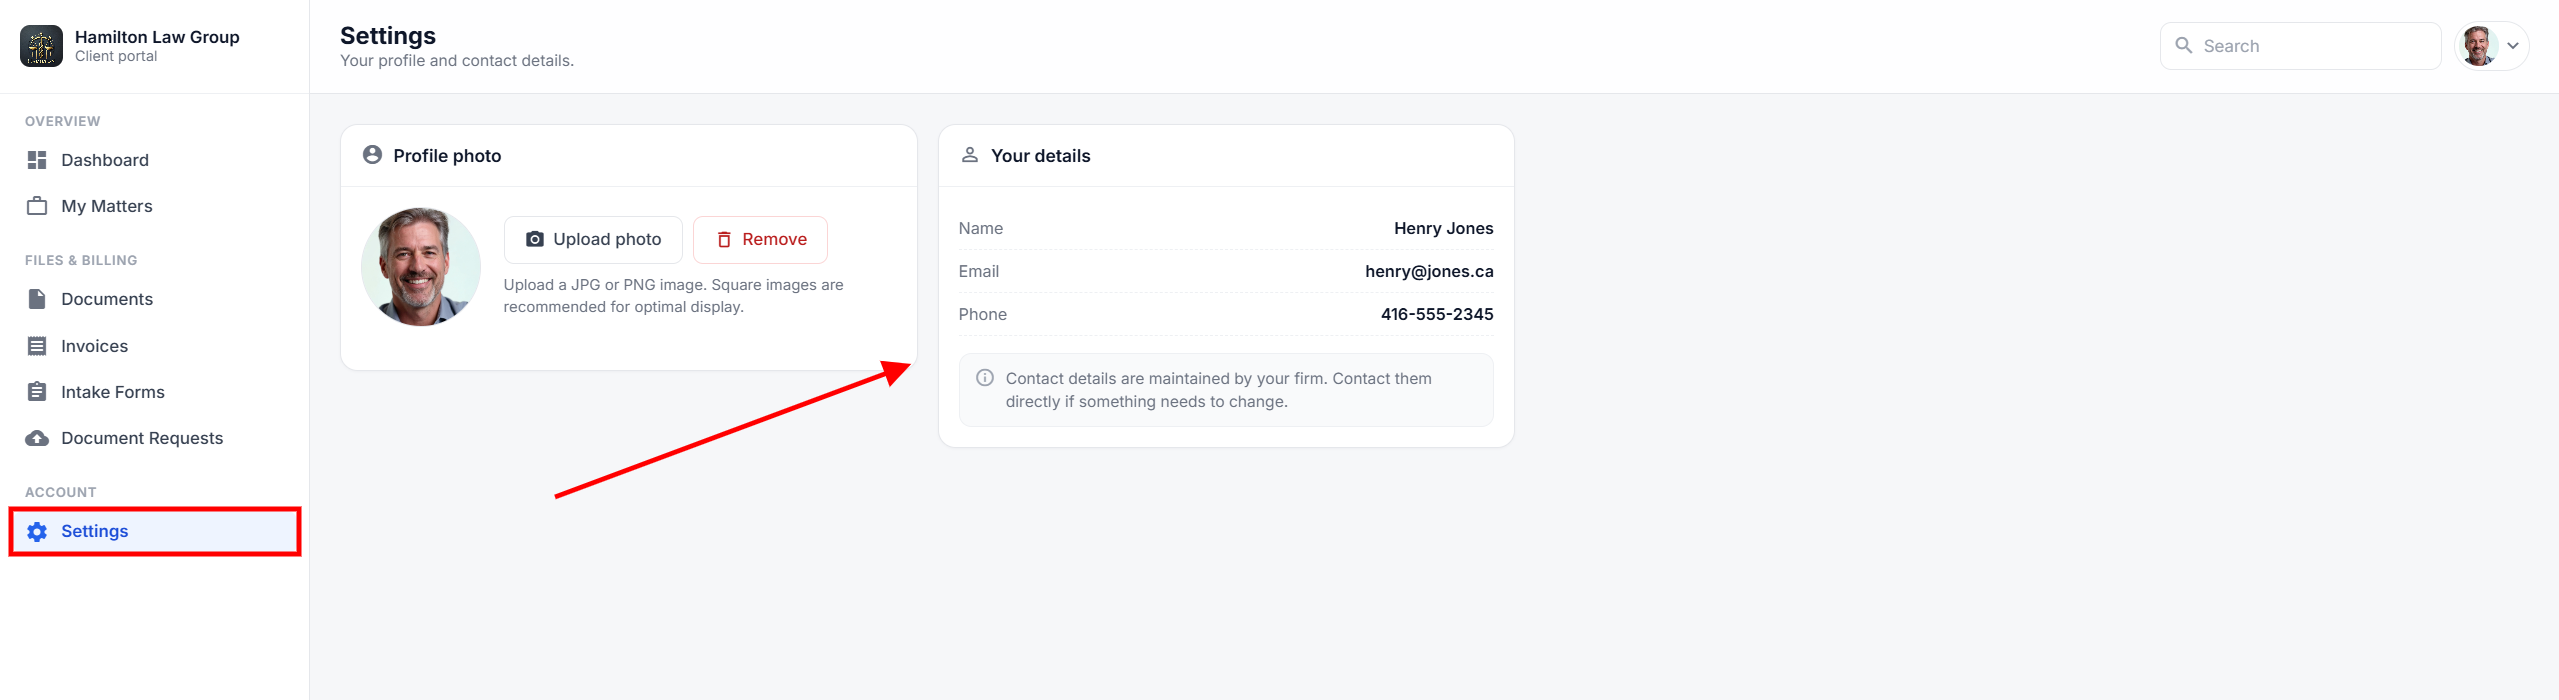
Once signed in, the client is taken to the portal dashboard. The Client Portal Dashboard shows the information that the firm has shared with the client. From there, the client can view their profile area and access the available portal sections, such as Matters, Documents, Invoices, Intake Forms, and Document Requests.
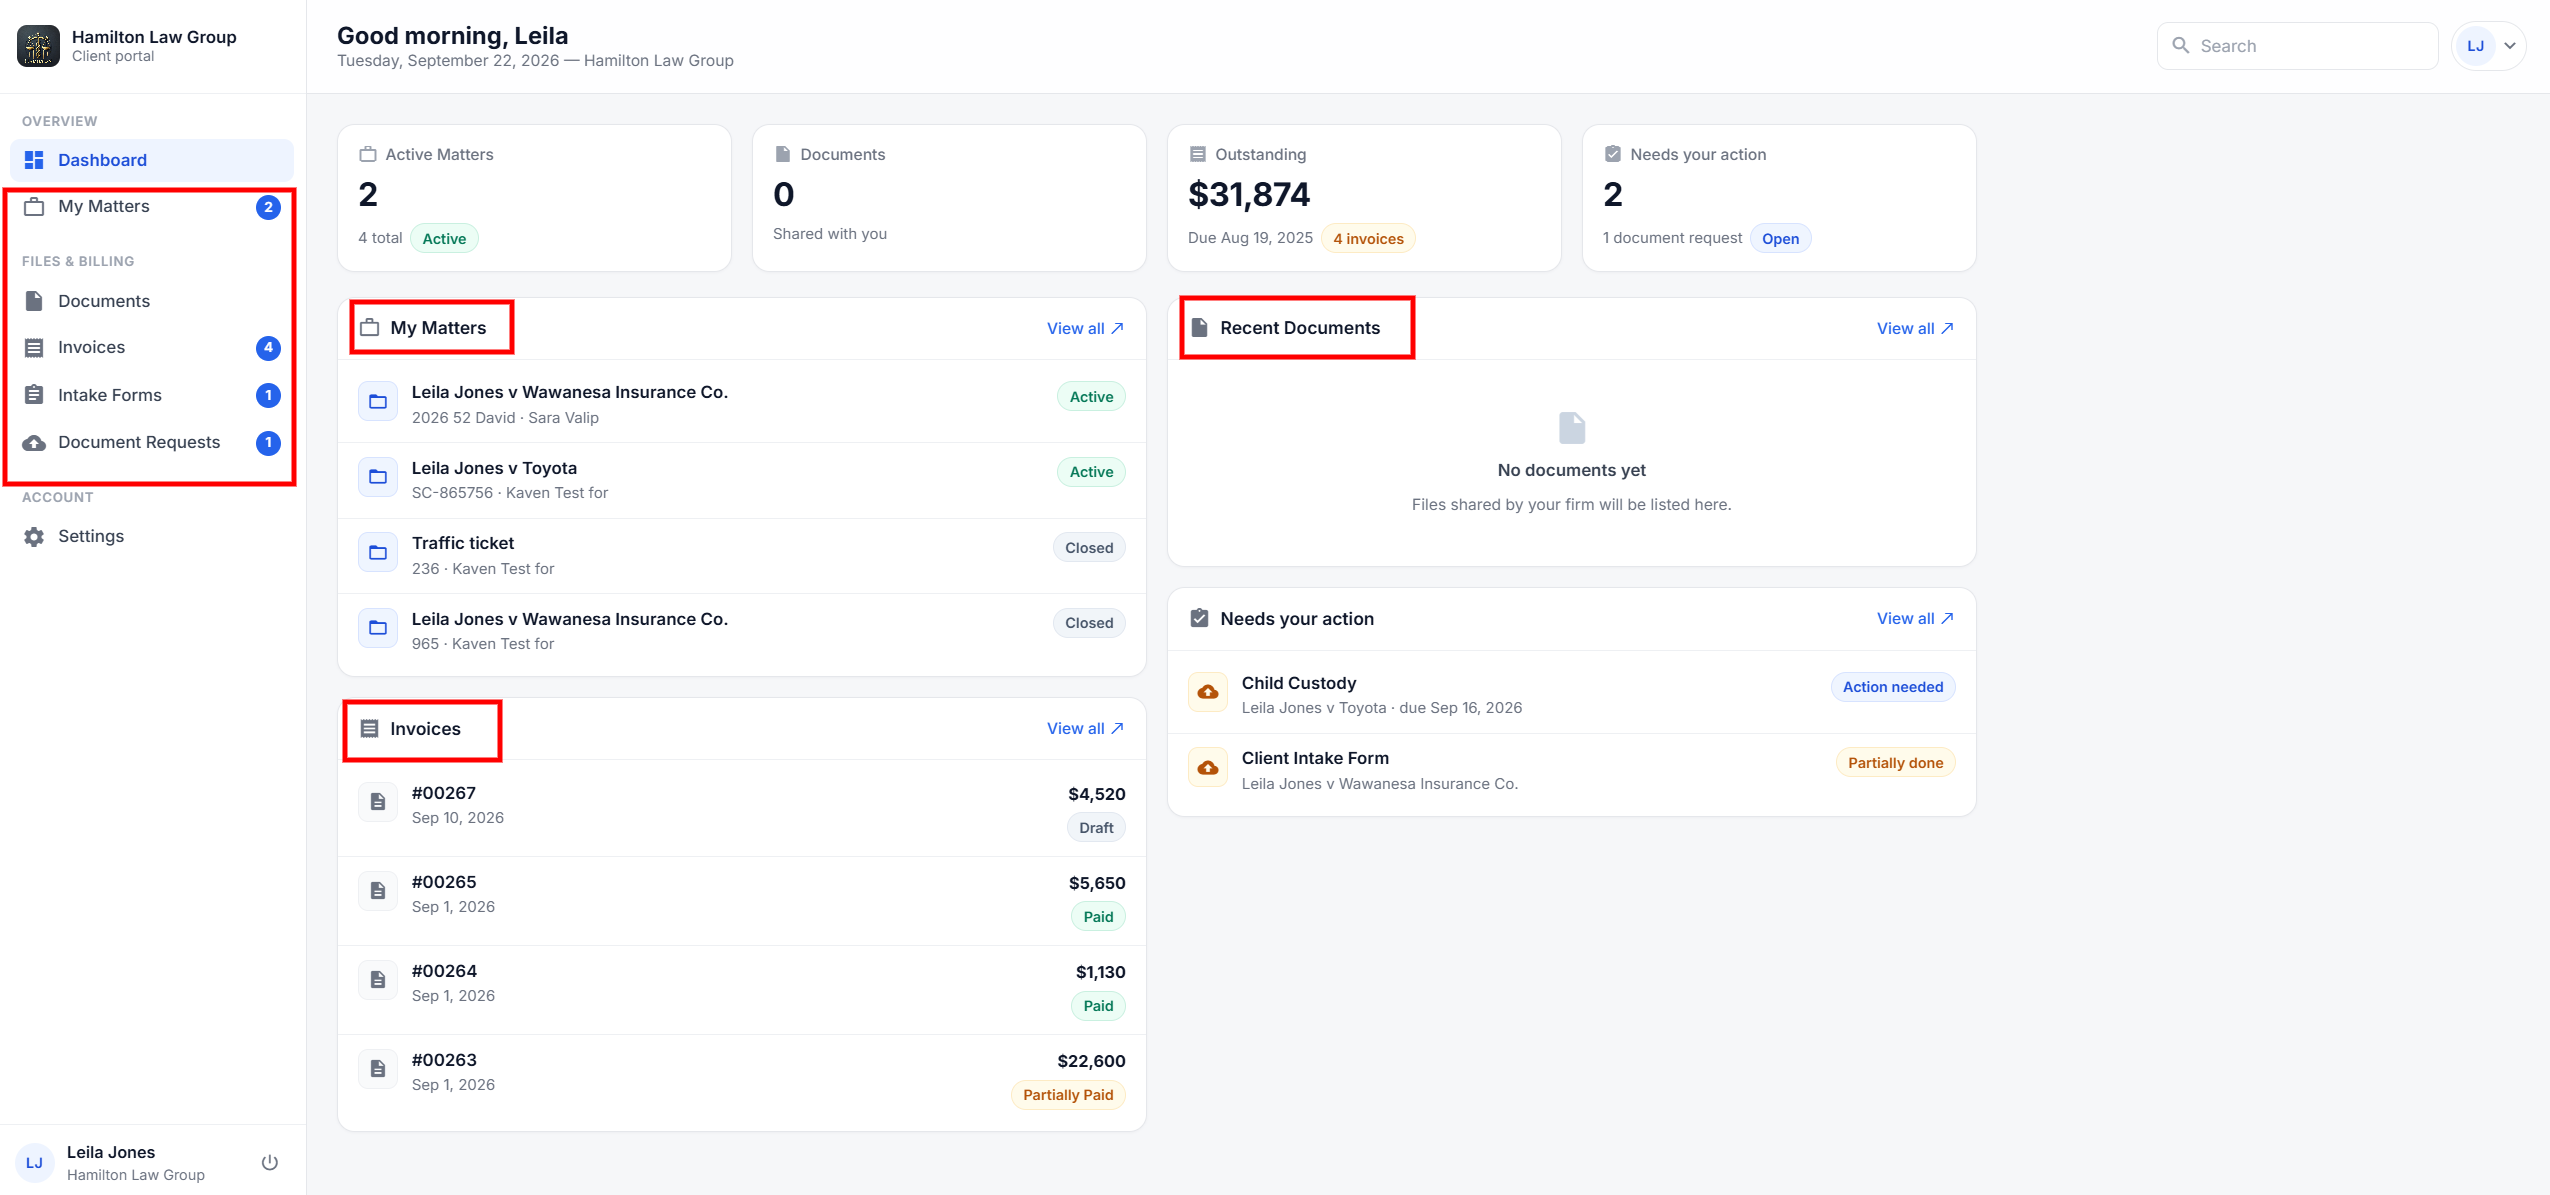
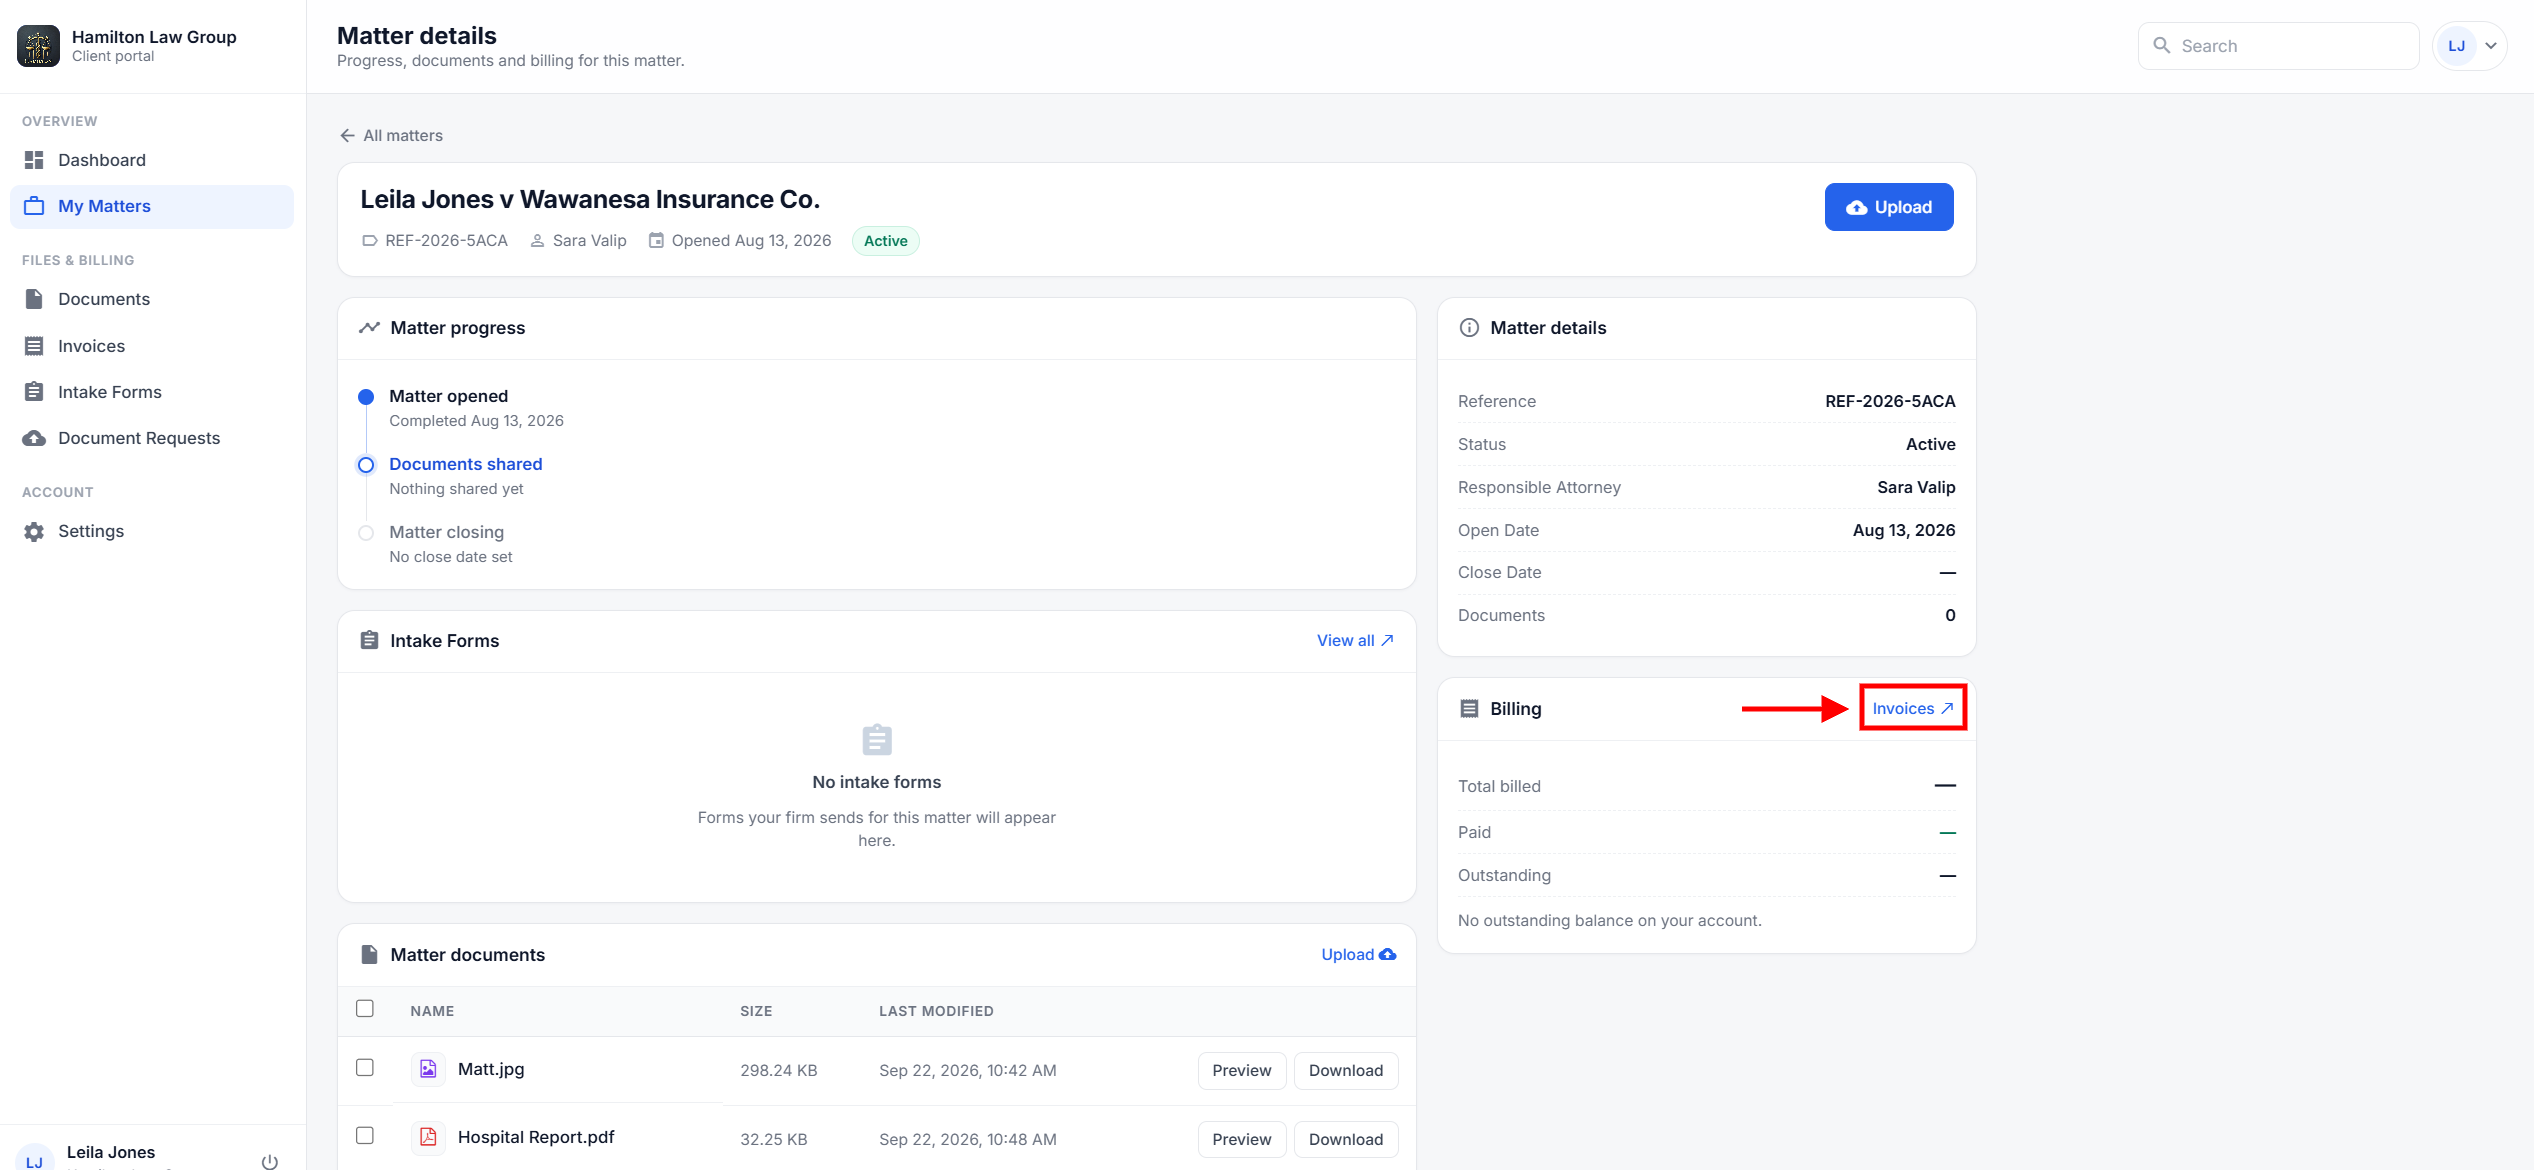
In the Matters tab, the client can see the matters connected to their contact record. If there are no matters available, the table will show No Data. If matters are available, the client may see details such as the matter title, matter number, assigned lawyer, start date, close date, and current status.
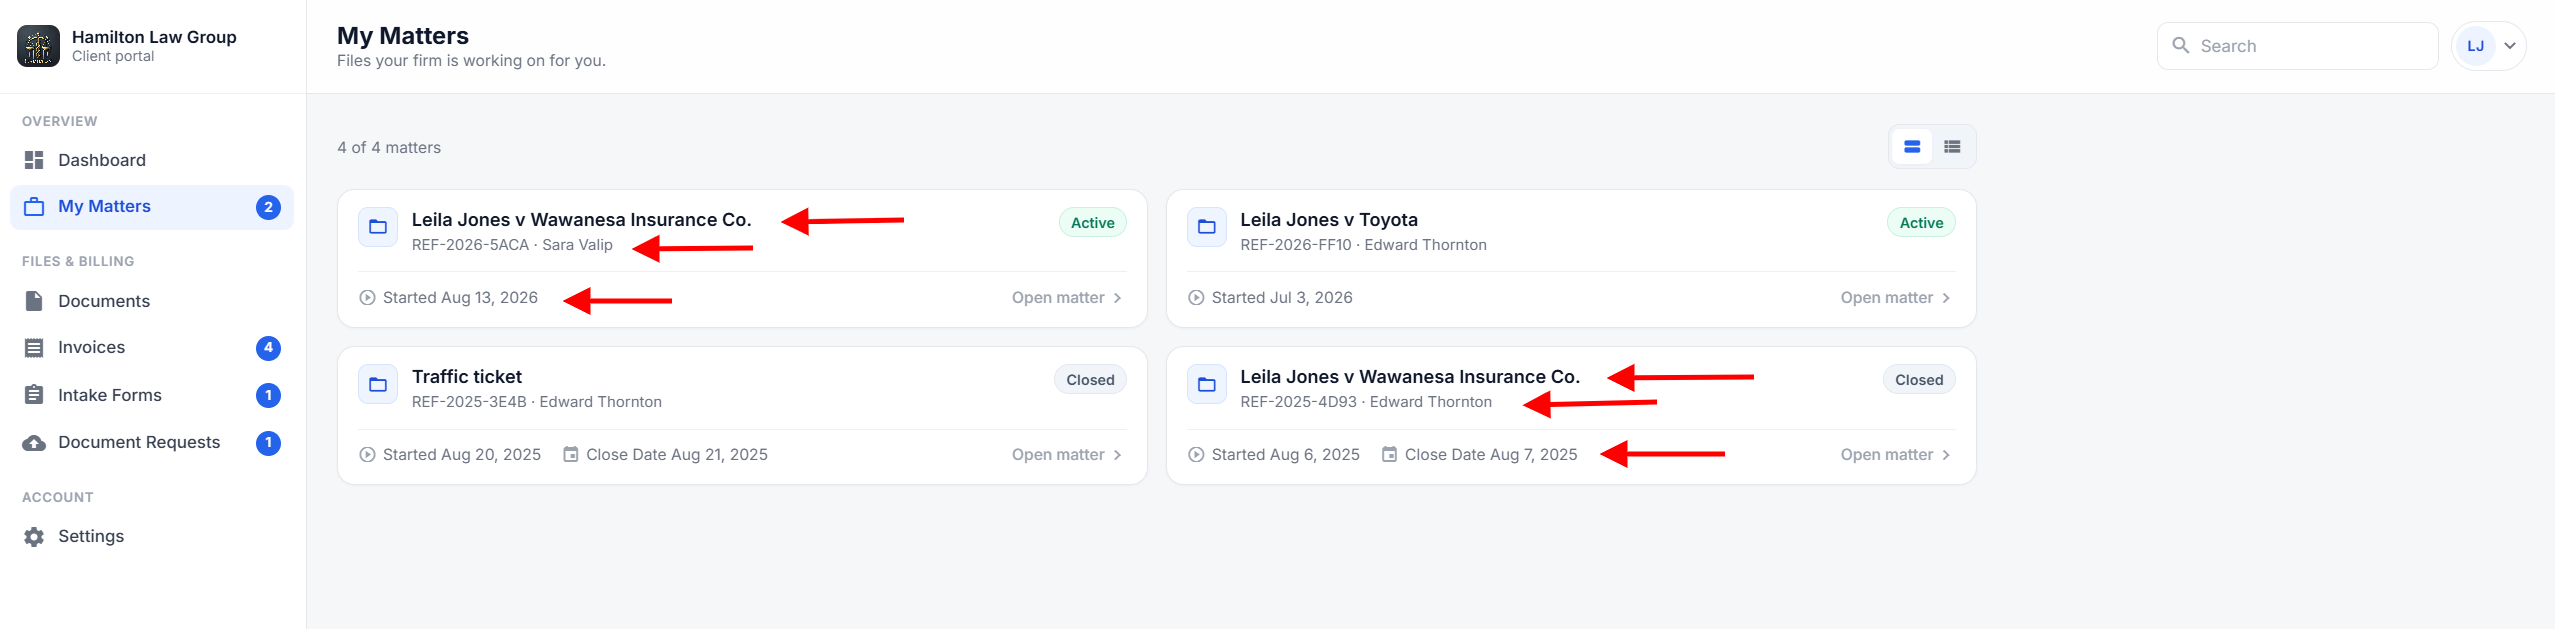
The status displayed in the upper-right corner of each matter helps you quickly understand its current state. An Active status indicates that the matter is currently open and being worked on by your law firm. A Closed status indicates that the matter has been completed or closed. For closed matters, the Close Date is also displayed when available.
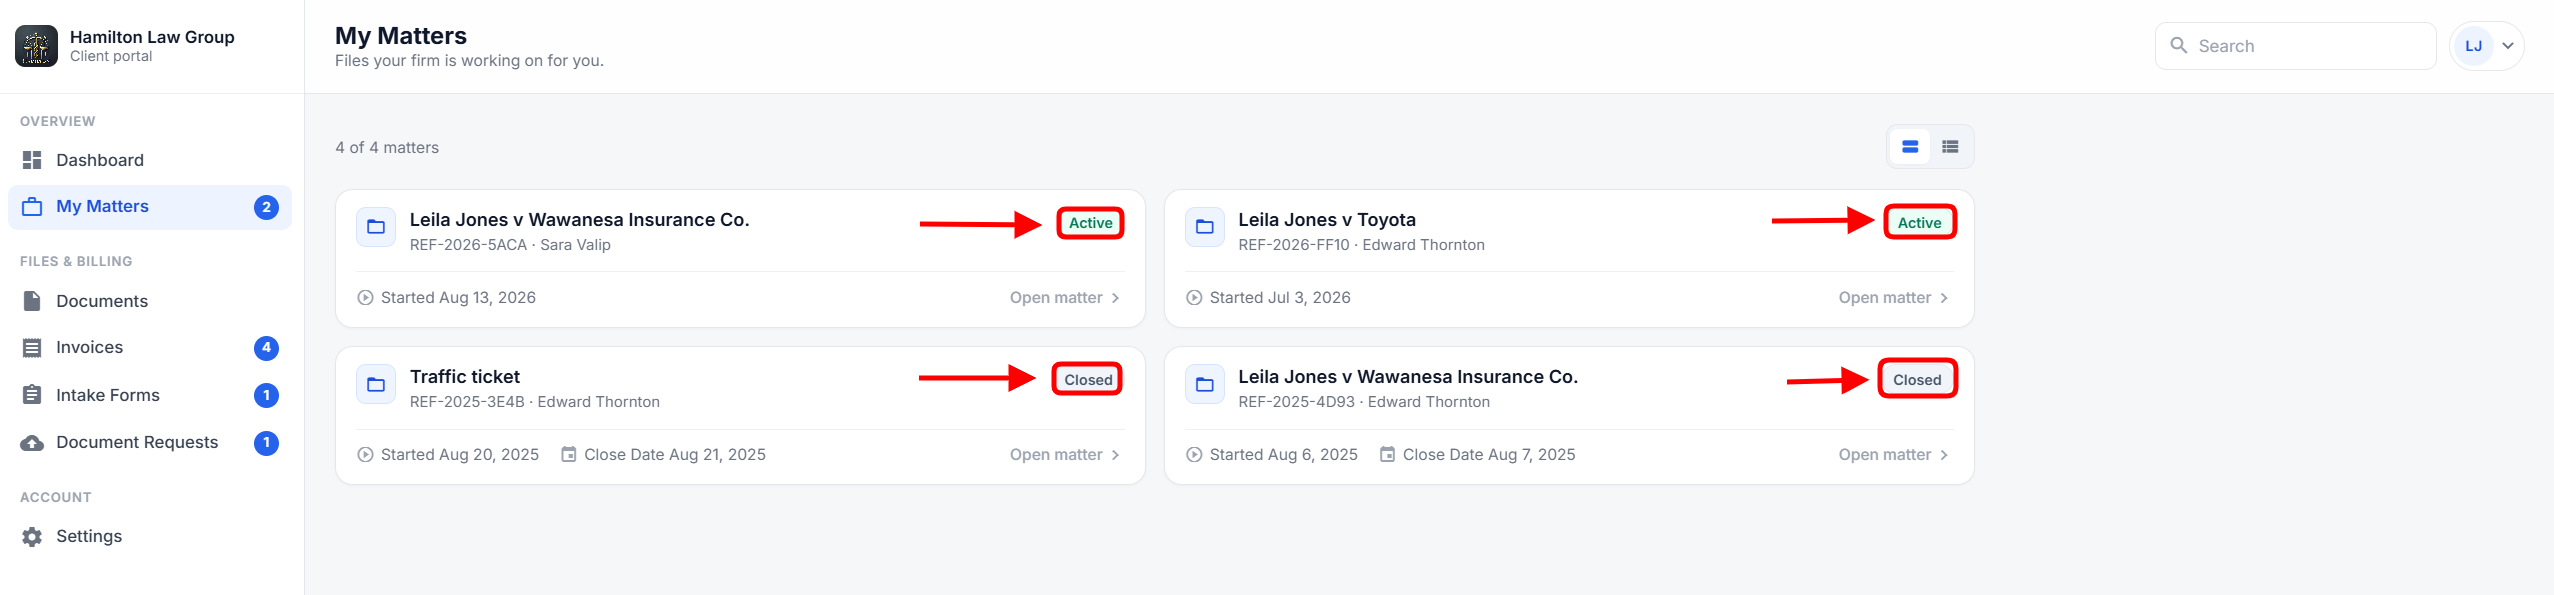
To access more information about a matter, click Open matter on the corresponding card. This allows you to view the details and information associated with that specific matter.